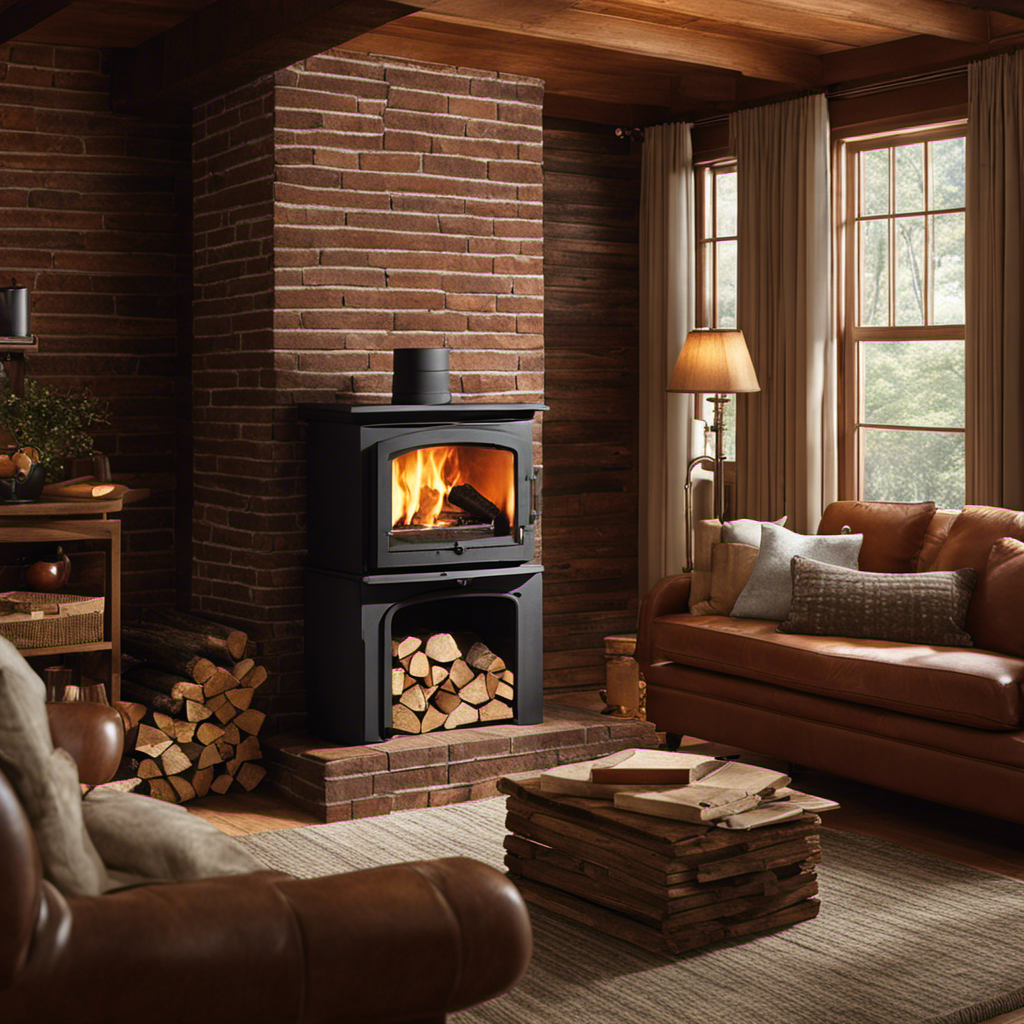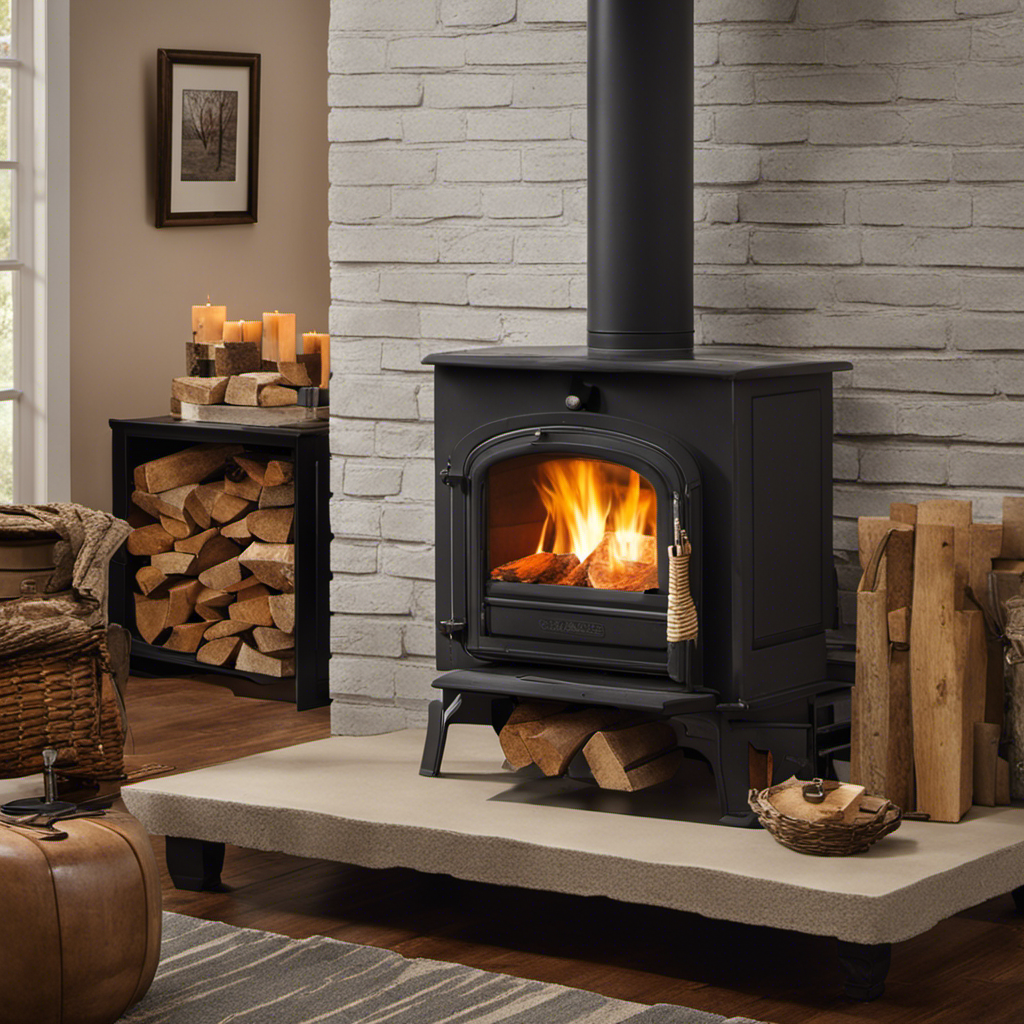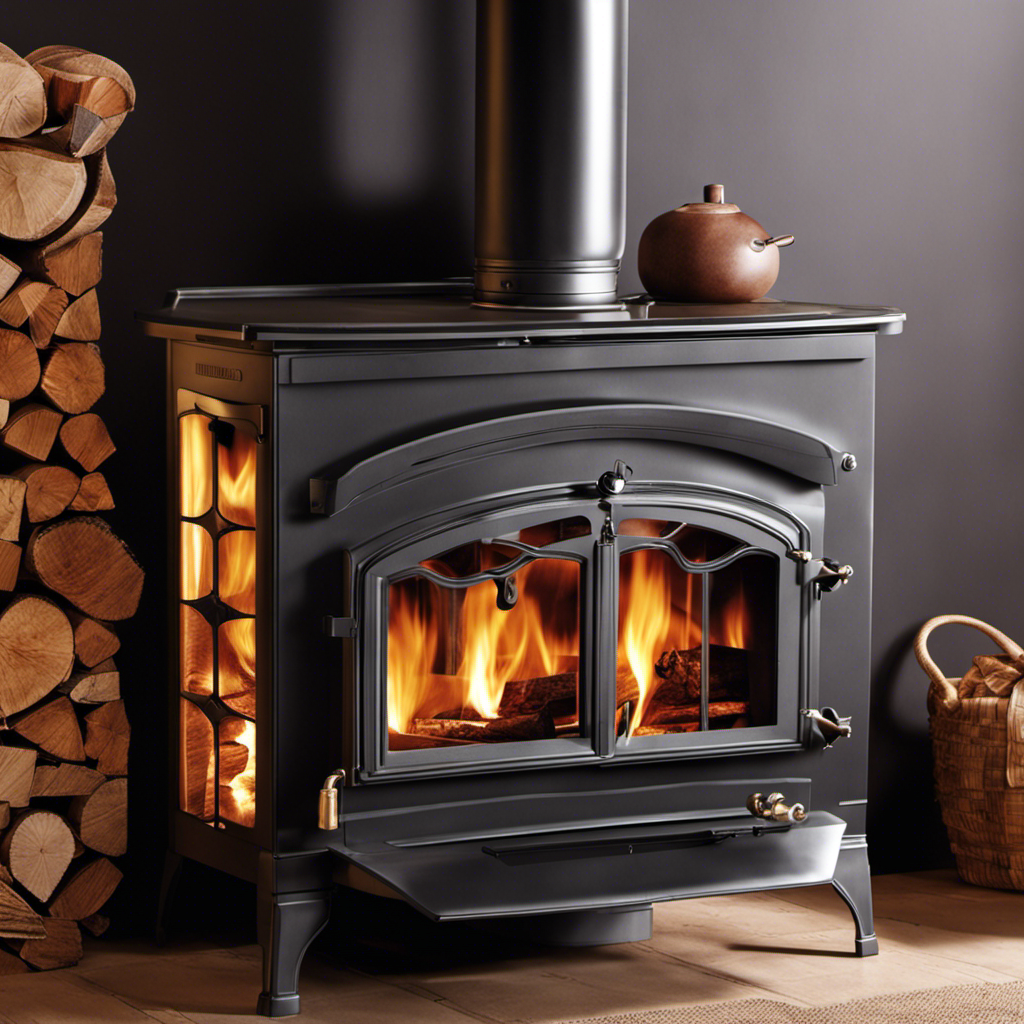
You may be wondering, “Why would someone construct a water heater from a wood stove?” Let me explain to you, it’s a budget-friendly and environmentally conscious method of heating your water.
In this guide, I’ll show you step-by-step how to construct your own wood stove water heater. From selecting the right wood stove to connecting the water supply, I’ll cover all the technical details.
Get ready to save money and reduce your carbon footprint with this DIY project. Let’s get started!
Key Takeaways
- Consider the size and heating capacity of the wood stove.
- Choose a well-ventilated and easily accessible location for the stove.
- Select a wood stove compatible with a water heating system.
- Regularly test and maintain the system for efficient operation.
Selecting the Right Wood Stove for Your Water Heater
I think the key to selecting the right wood stove for your water heater is considering the size and heating capacity.
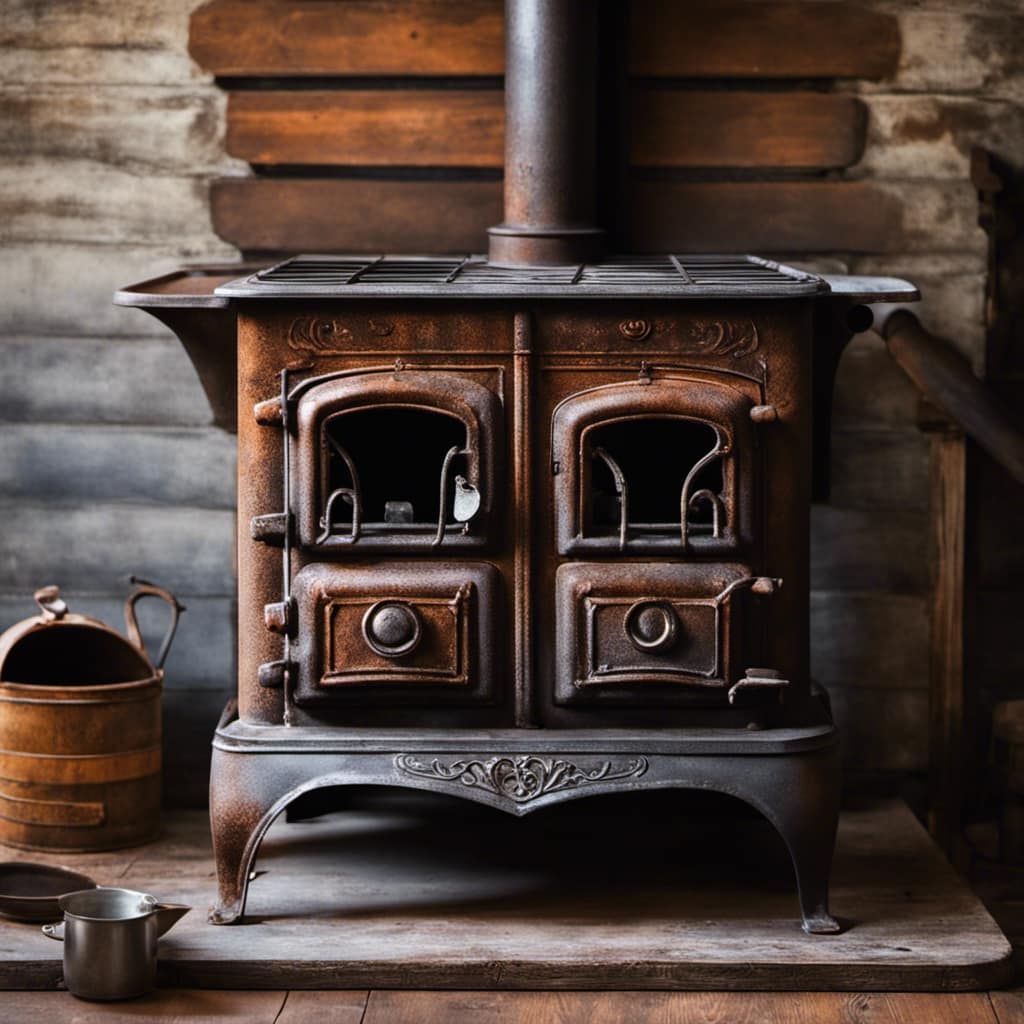
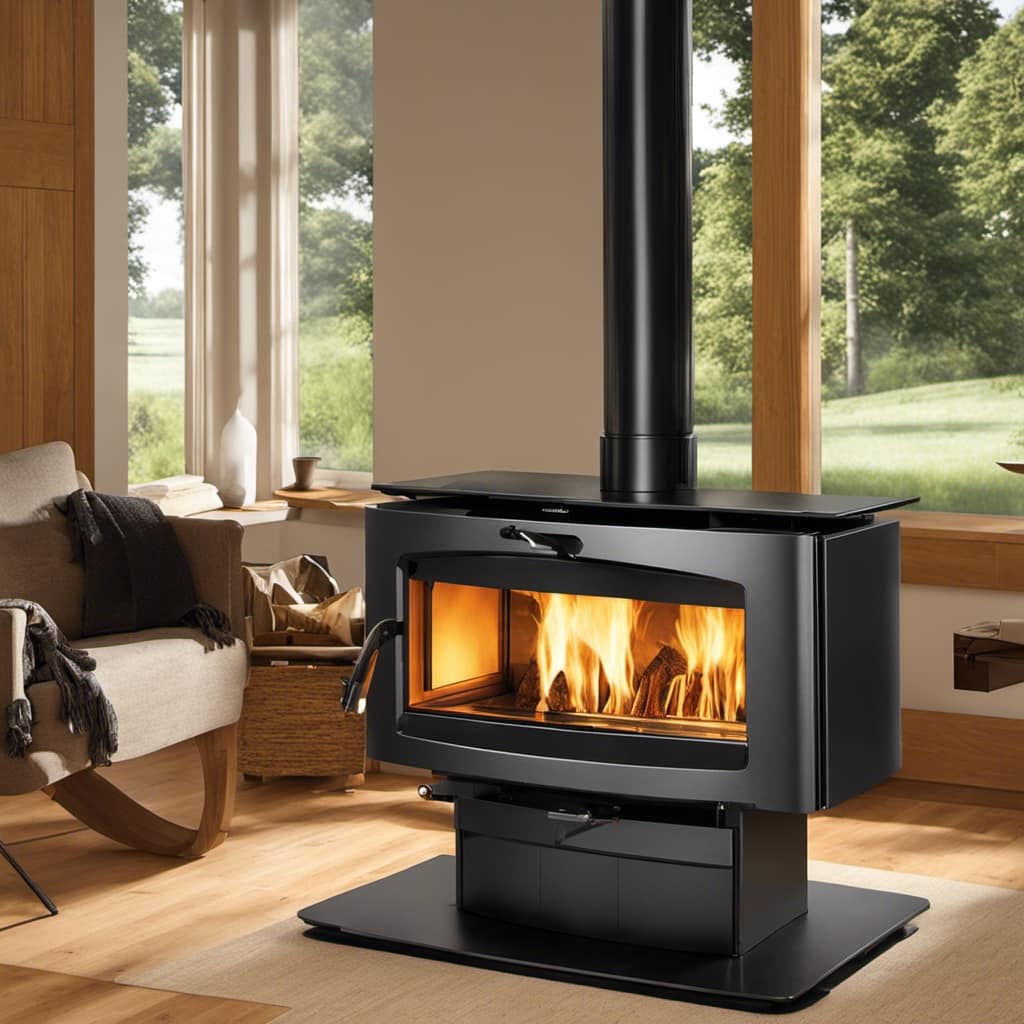
When choosing the best location for your wood stove water heater, it’s important to find a spot that’s well-ventilated and easily accessible for maintenance. You should also ensure that the stove is placed on a non-combustible surface, such as a concrete pad or fire-resistant tile.
Calculating the heating capacity of your wood stove water heater involves determining the amount of hot water you need and matching it with the stove’s output. This can be done by considering factors such as the size of your household, the number of bathrooms, and your hot water usage patterns.
Gathering the Necessary Materials for Your Project
To get started, I’ll need a list of all the materials required for this project. Sourcing materials is an important step in budget planning, as it allows you to determine the cost and availability of each item.
Here is a breakdown of the necessary materials for building a wood stove water heater:
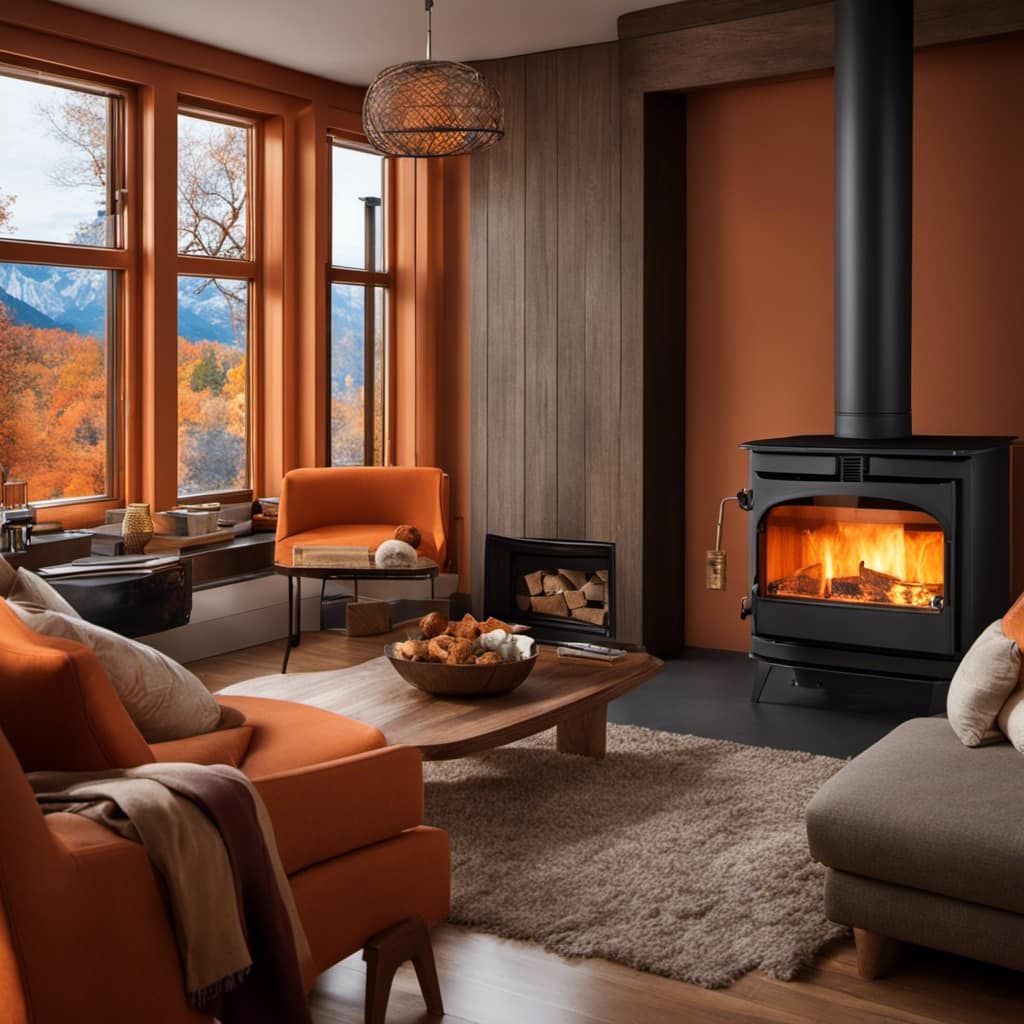
- Wood stove: Choose a stove that’s compatible with a water heating system.
- Water tank: Select a tank that can withstand high temperatures and has the capacity you desire.
- Heat exchanger: This component transfers heat from the stove to the water.
- Piping and fittings: Use durable pipes and fittings to connect the stove, tank, and heat exchanger.
- Insulation: Insulate the pipes and tank to minimize heat loss.
- Valves and controls: Install valves and controls to regulate water flow and temperature.
Once you’ve gathered all the materials, you can proceed to the next section about building the heat exchanger for your wood stove water heater.
Building the Heat Exchanger for Your Wood Stove Water Heater
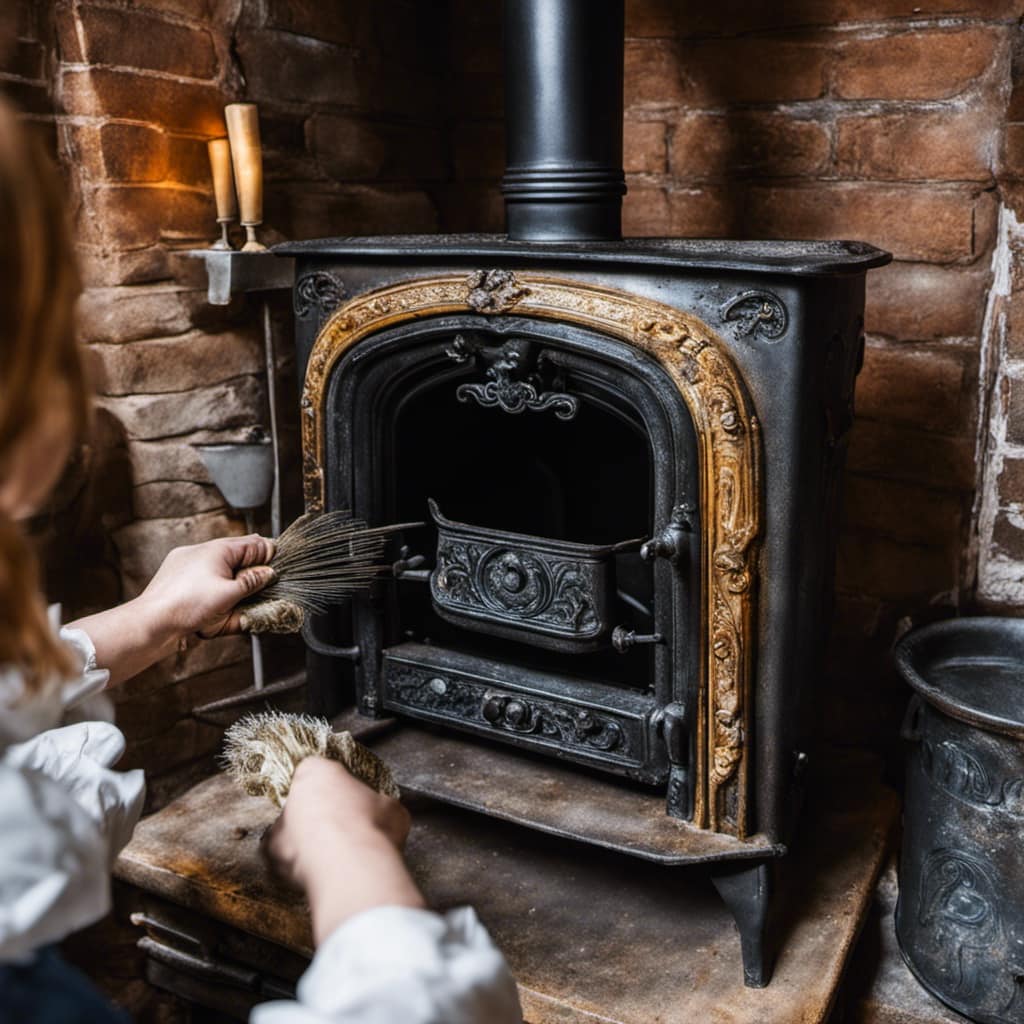
The heat exchanger is an essential component for transferring heat from the stove to the water in my wood stove water heater. Sizing the heat exchanger correctly is crucial to maximize heat transfer efficiency. To determine the appropriate size, I consider factors such as the stove’s BTU output, the desired water temperature, and the flow rate.
I use a formula to calculate the required surface area of the heat exchanger based on these parameters. Additionally, I choose a heat exchanger design that promotes turbulent flow and minimizes scale buildup to enhance heat transfer.
By maximizing the surface area and ensuring efficient flow, I can transfer as much heat as possible to the water, maximizing the effectiveness of my wood stove water heater system.
With the heat exchanger built, the next step is connecting the water supply and plumbing for the system.
Connecting the Water Supply and Plumbing for Your System
With the pipes in place, I connect the hot and cold water lines to the appropriate fittings on the heat exchanger. This step is crucial for installing the water heater tank and ensuring a proper water supply for your wood stove water heater system. Here are the key steps in connecting the water supply and plumbing:
-
Installing the water heater tank:
-
Position the tank in a suitable location near the wood stove.

-
Connect the tank to the heat exchanger using insulated pipes.
-
Ensure proper insulation to prevent heat loss.
-
Securely fasten the tank to prevent any movement.
-
Choosing the right pipe fittings:
-
Select fittings that are compatible with the type of pipes used.
-
Use high-quality brass or stainless steel fittings for durability.
-
Ensure a tight seal by using thread seal tape or pipe joint compound.
By following these steps, you’ll have successfully connected the water supply and plumbing for your wood stove water heater.

Now, let’s move on to the next section about testing and maintaining your system.
Testing and Maintaining Your Wood Stove Water Heater
I regularly test and maintain my system to ensure it’s operating efficiently and effectively. Testing and maintaining your wood stove water heater is crucial to keep it running smoothly and to avoid any potential issues.
One common issue that may arise is a drop in water temperature. To troubleshoot this problem, first check the water flow. Make sure the supply valve is fully open and there are no obstructions in the plumbing system. Additionally, check the water temperature setting on the stove. Adjust it accordingly to optimize the water temperature.
Another common issue is a leak in the plumbing. Inspect all connections and joints for any signs of leakage. Tighten or replace any faulty components as necessary.

Frequently Asked Questions
How Much Does It Cost to Build a Wood Stove Water Heater?
Building a wood stove water heater can vary in cost depending on factors like materials used, size, and complexity. A cost breakdown and DIY tips can help determine the overall expense of this project.
Can I Use Any Type of Wood Stove for This Project?
Yes, you can use different types of wood stoves for this project. To choose the right one for a water heater, consider factors such as size, efficiency, and compatibility with water heating systems.
Are There Any Safety Precautions I Should Take When Building a Wood Stove Water Heater?
When building a wood stove water heater, it is important to prioritize safety measures. Take precautionary steps such as ensuring proper ventilation, using heat-resistant materials, and installing a pressure relief valve. Construction tips can be found in reputable DIY guides.
How Long Does It Take to Heat up the Water Using a Wood Stove Water Heater?
It takes approximately X hours to heat up the water using a wood stove water heater. The heating efficiency depends on factors such as insulation, temperature settings, and water volume. Regular maintenance is required to ensure optimal performance.

Can I Use a Wood Stove Water Heater in Conjunction With My Existing Water Heating System?
Yes, you can use a wood stove water heater in conjunction with your existing water heating system. It can be a cost-effective and energy-efficient alternative, reducing your reliance on traditional heating methods.
Conclusion
As the flames dance and the heat radiates, the wood stove water heater becomes a symbol of self-sufficiency and resourcefulness.
With the right materials and careful construction, this innovative system provides a reliable source of hot water.
Connecting the water supply and maintaining the system ensures its longevity.
Embrace the warmth and efficiency of your wood stove water heater, and let it be a testament to your ingenuity and dedication to sustainable living.
Growing up surrounded by the vast beauty of nature, Sierra was always drawn to the call of the wild. While others sought the comfort of the familiar, she ventured out, embracing the unpredictable and finding stories in the heartbeat of nature.
At the epicenter of every remarkable venture lies a dynamic team—a fusion of diverse talents, visions, and passions. The essence of Best Small Wood Stoves is crafted and refined by such a trio: Sierra, Logan, and Terra. Their collective expertise has transformed the platform into a leading authority on small wood stoves, radiating warmth and knowledge in equal measure.


