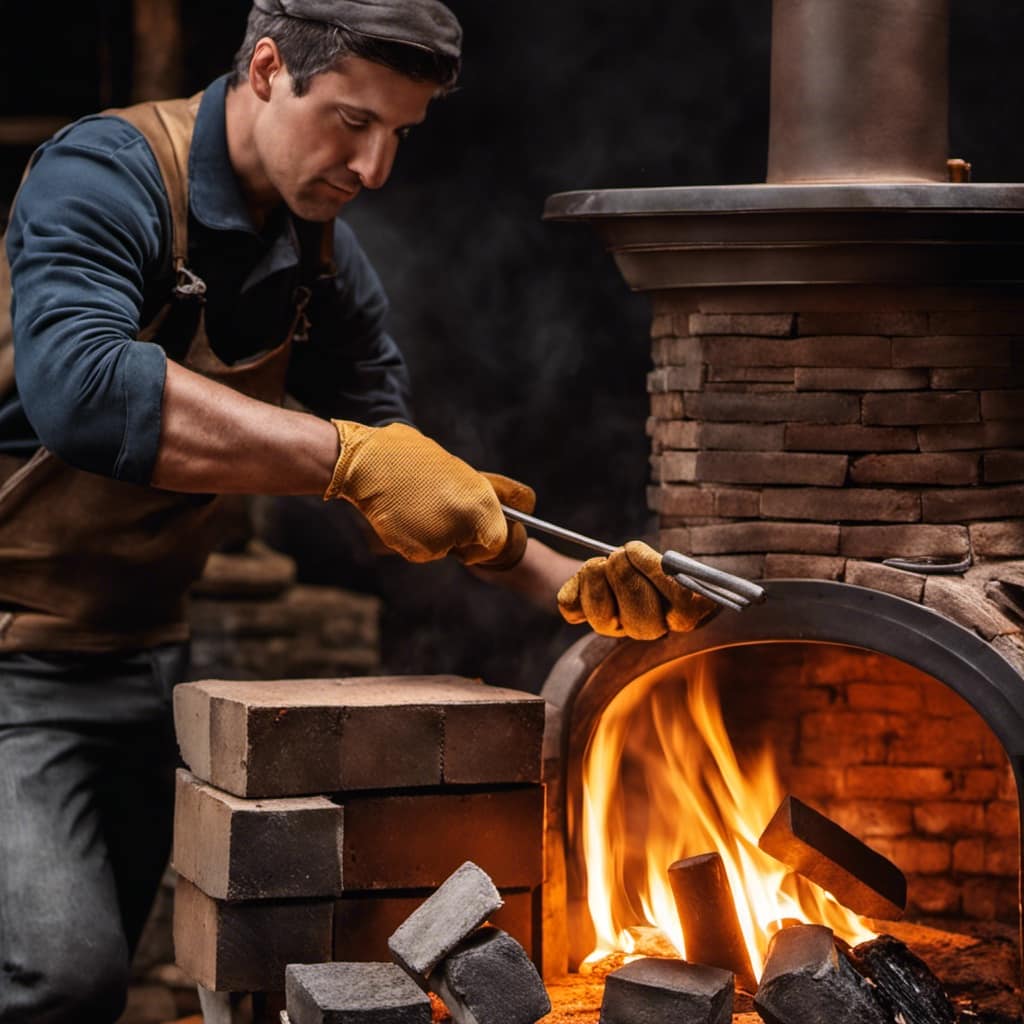
Were you aware that you can convert a 55-gallon drum into a functional wood-burning stove?
In this article, I will guide you through the process of creating your very own wood stove using a few simple steps.
From choosing the right drum to adding the finishing touches, I will provide detailed instructions on how to make a wood stove that will keep you warm and cozy during those chilly nights.
So let’s get started on this exciting DIY project!

Key Takeaways
- Choose a 55-gallon drum that is in good condition and free from chemical residues.
- Prepare the drum by removing rust and debris and applying high temperature paint for protection.
- Insulate the drum with fireproof insulation material to improve heat retention.
- Cut and vent the drum to ensure proper airflow for efficient operation.

Stove Bright Fireplace Satin Black Paint – High Temp Satin Black Spray Paint, Withstands up to 1200° F, Quick Drying, Retains Color, Easy Application
- High Temp Resistance: Withstands up to 1200°F
- Satin Black Finish: Easy to apply, quick drying
- Color Retention: Maintains color in extreme heat
As an affiliate, we earn on qualifying purchases.
As an affiliate, we earn on qualifying purchases.
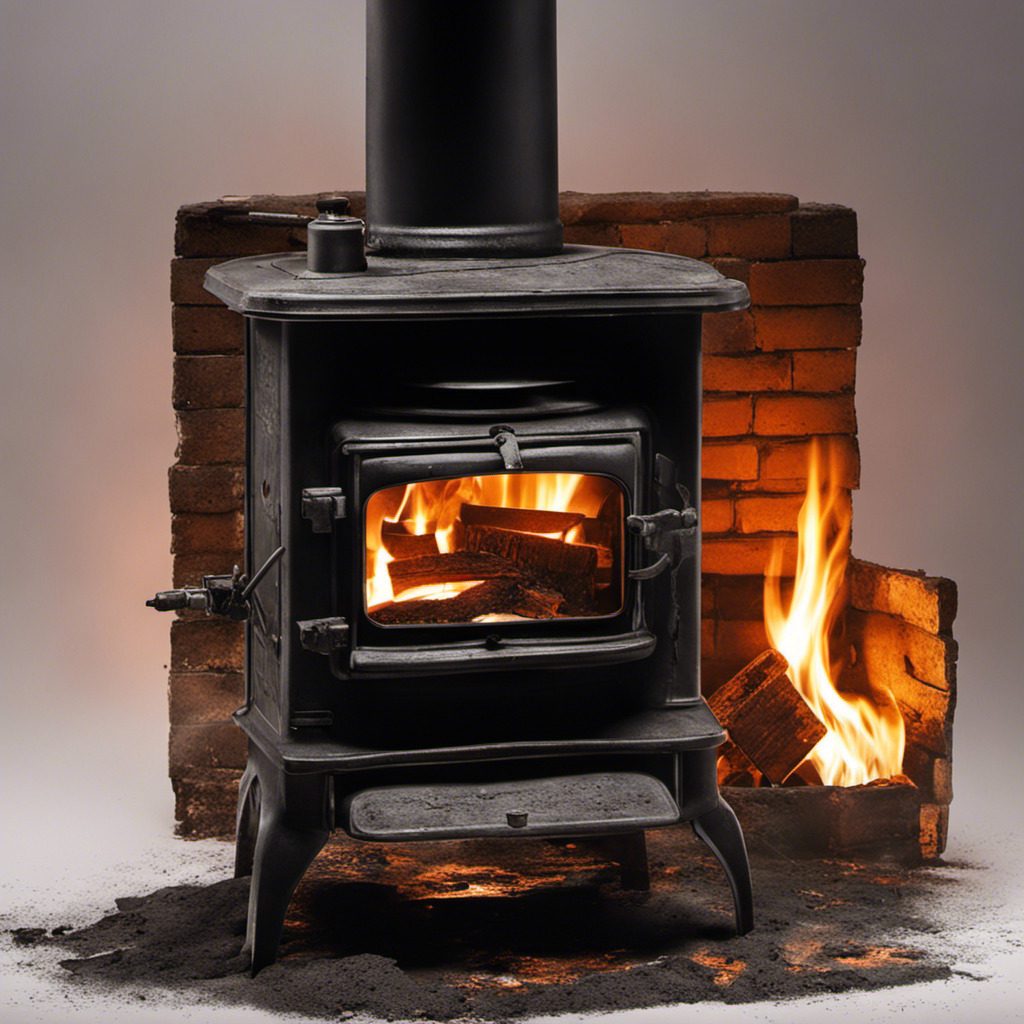
Choosing the Right Drum for Your Wood Stove
I found the perfect drum for my wood stove at a local scrap yard. When choosing the right size drum for your wood stove, it’s important to consider the dimensions of your stove and the space available in your home.
A 55-gallon drum is a popular choice due to its ample capacity and availability. However, it’s essential to ensure that the drum is in good condition and free from any chemical residues.
Insulating the drum is crucial for better heat retention. This can be achieved by lining the inside of the drum with a layer of fireproof insulation material, such as ceramic fiber blanket or refractory cement. The insulation helps to prevent heat loss and increases the efficiency of your wood stove.
Preparing and Cleaning the Drum
Before starting, it’s important to ensure that the drum is properly cleaned and prepared for the wood stove project. Here’s a step-by-step guide on how to do it:

-
Removing rust: Begin by scrubbing the drum’s interior and exterior surfaces with a wire brush or sandpaper to remove any rust or debris. This will ensure a clean surface for the next steps.
-
Applying high temperature paint: Once the drum is rust-free, apply a high temperature paint specifically designed for wood stoves. This will provide a protective coating that can withstand the intense heat generated by the stove.
-
Letting the paint cure: After applying the paint, allow it to cure for the recommended time stated on the paint can. This will ensure the paint fully adheres to the drum’s surface and provides maximum durability.
-
Inspecting for any missed spots: After the paint has cured, inspect the drum for any missed spots or areas that need touch-ups. Apply additional paint as needed to ensure complete coverage and protection.

With the drum properly cleaned and painted, you’re now ready to move on to the next step: cutting and venting the drum for proper airflow.
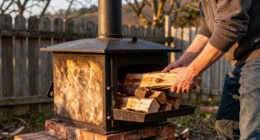
Cutting and Venting the Drum for Proper Airflow
To ensure proper airflow, I’ll carefully cut and create vents in the drum. Venting techniques are critical for the efficient operation of a wood stove. Safety precautions must be taken during this process to avoid accidents.
I’ll first mark the spots where the vents will be located, ensuring they’re evenly distributed around the drum. Using a drill with a metal-cutting bit, I’ll create holes at these marked spots. The size and number of vents will depend on the specific design of the wood stove.
I’ll then use a reciprocating saw to carefully cut between the holes, creating the vents. It’s crucial to wear safety goggles and gloves while performing these tasks to protect against flying debris and sharp edges.

With the vents in place, the drum is now ready for the next step of building the firebox and ash pan.
Building the Firebox and Ash Pan
Now that the vents are in place, I can focus on constructing the firebox and ash pan for efficient wood burning.
The firebox is a crucial component of a wood stove as it houses the fire and provides a controlled environment for combustion. Here are some key points to consider for building the firebox and ash pan:
-
Size: The firebox should be appropriately sized to accommodate the wood and allow for sufficient airflow. A larger firebox can hold more wood, but be mindful of the stove’s overall dimensions.

-
Insulation: Insulating the firebox with firebricks or refractory cement improves heat retention and prevents excessive heat transfer to the surrounding areas.
-
Ash Pan: The ash pan collects the ash and allows for easy removal. It should be positioned beneath the firebox, with a removable tray or door for convenient cleaning.
-
Fire Safety Precautions: Ensure proper clearances from combustible materials and install heat shields as necessary to prevent fire hazards.
By following these guidelines, you can optimize the efficiency of your wood stove while ensuring fire safety.
Now, let’s move on to adding the finishing touches: handles, grates, and sealing.
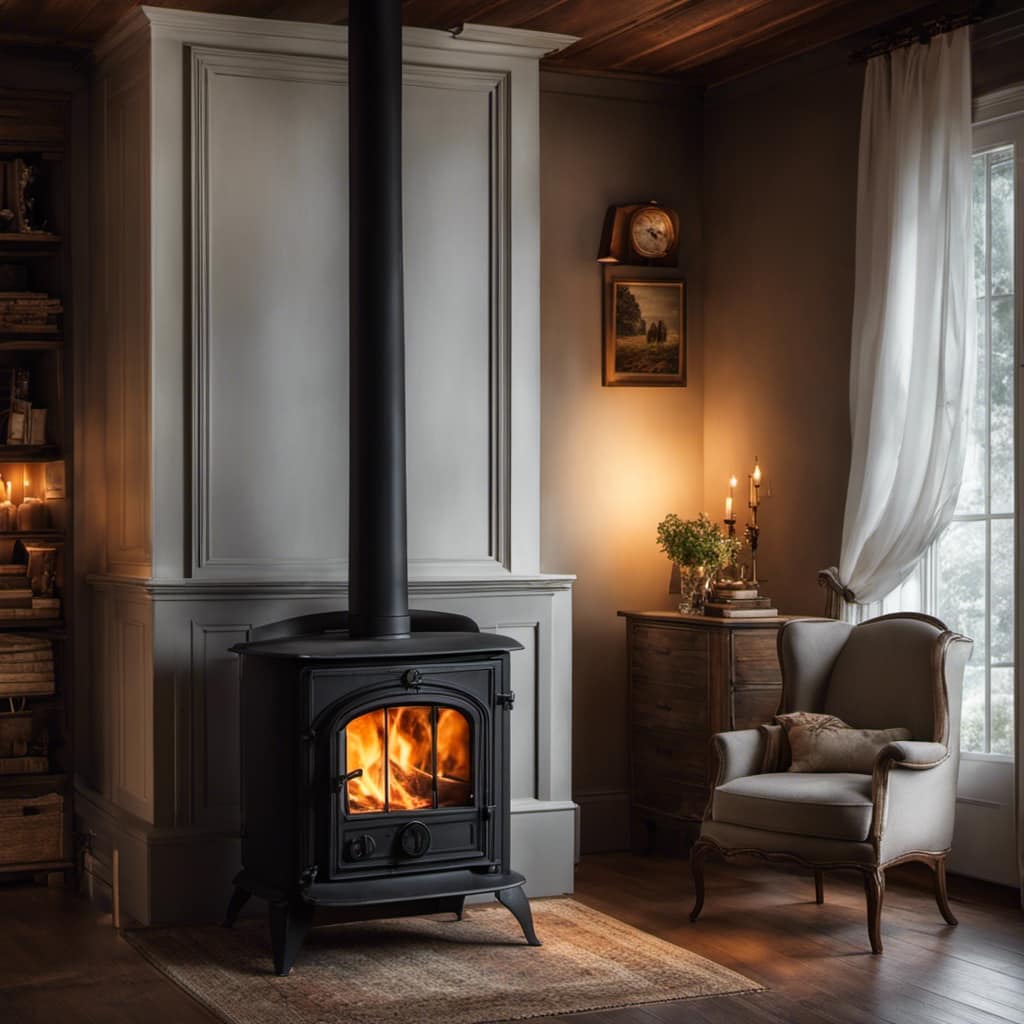
Adding the Finishing Touches: Handles, Grates, and Sealing
I’m excited to add the finishing touches to my wood stove, such as handles, grates, and sealing, which will enhance its functionality and aesthetics.
Adding insulation is an important step to ensure that the stove retains heat efficiently. I’ll use high-temperature insulation materials, like ceramic fiber blanket or refractory concrete, to line the interior of the stove. This will prevent heat from escaping and maximize the stove’s heating potential.
As for painting the wood stove, it’s crucial to use heat-resistant paint that can withstand the high temperatures generated by the fire. I’ll choose a paint specifically designed for wood stoves, which won’t only protect the metal surface from rust but also give it a sleek and polished appearance.

With these finishing touches, my wood stove won’t only perform better but also look great in my home.
Frequently Asked Questions
How Much Heat Can a Wood Stove Made From a 55-Gallon Drum Produce?
A wood stove made from a 55-gallon drum can produce a significant amount of heat due to its efficient design and the advantages of using a wood stove.
Can I Use Any Type of Wood for My Wood Stove?
I can use different types of wood for my wood stove. Each type has its pros and cons. Hardwoods like oak and maple burn longer and produce more heat, while softwoods like pine ignite quickly but burn faster.
How Often Do I Need to Clean the Chimney of My Wood Stove?
I clean my wood stove chimney every 3 months using a chimney brush and rods. It’s important to remove creosote buildup to prevent chimney fires. Regular cleaning ensures efficient and safe operation of the stove.

Is It Safe to Leave a Wood Stove Unattended?
Leaving a wood stove unattended can be risky. The main dangers include the potential for a fire to spread, carbon monoxide poisoning, and overheating. Always ensure proper ventilation and follow safety guidelines to mitigate these risks.
Can I Use a Wood Stove Made From a 55-Gallon Drum Indoors?
Using a wood stove made from a 55-gallon drum indoors is not recommended due to safety concerns. Proper ventilation requirements are crucial to prevent carbon monoxide buildup and the risk of fire.
Conclusion
In conclusion, creating a wood stove out of a 55-gallon drum is a rewarding project that can provide warmth and comfort.
By carefully choosing the right drum, preparing and cleaning it, and properly venting it for airflow, you can build a functional and efficient wood stove.
Adding the finishing touches such as handles, grates, and sealing will ensure a safe and effective wood-burning experience.
Get ready to enjoy the cozy atmosphere and embrace the simplicity of heating your space with a homemade wood stove.