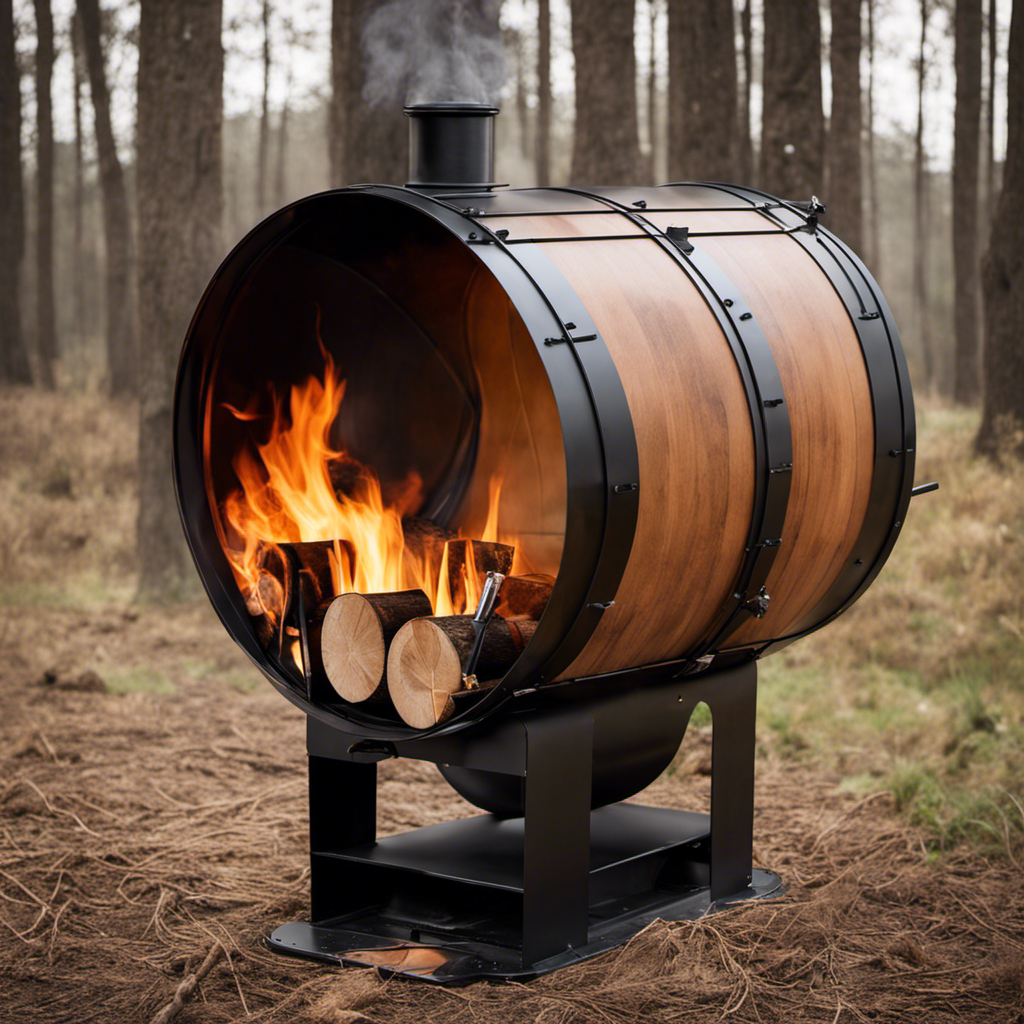
Curious about how to convert a regular 55-gallon drum into a practical wood-burning stove? Your search ends here! This article will walk you through the detailed process of transforming a drum into a successful wood stove, covering all the steps from beginning to end.
From choosing the right drum to adding safety features, I’ll provide all the detailed instructions you need.
So, are you ready to turn that ordinary drum into an efficient heating solution for your home? Let’s get started!
Key Takeaways
- Consider the desired sound and available space when selecting drum size
- Wooden drums produce warm tones, while metal drums deliver a brighter sound
- Thorough cleaning is important to ensure the wood stove functions properly
- Proper air intake and chimney insulation are essential for optimal performance

US Stove Company BSK2000 Heavy Duty Camp Stove Kit, Black, Medium
Heavy duty kit for creation of a barrel camp stove
As an affiliate, we earn on qualifying purchases.
As an affiliate, we earn on qualifying purchases.
Choosing the Right Drum
I always find it challenging to choose the right drum for my needs. When it comes to drum size, I consider the sound I want to produce and the space I’ve available. Smaller drums are great for tight spaces and produce a higher pitch, while larger drums create a deeper, more resonant sound.
It’s important to consider the material options as well. Wooden drums produce warm tones and are perfect for acoustic settings. Metal drums, on the other hand, deliver a brighter sound and are great for amplified performances. Additionally, there are synthetic options available, which offer durability and consistency.
Ultimately, finding the right drum size and material ensures that I can achieve the desired sound and meet the demands of my musical environment.
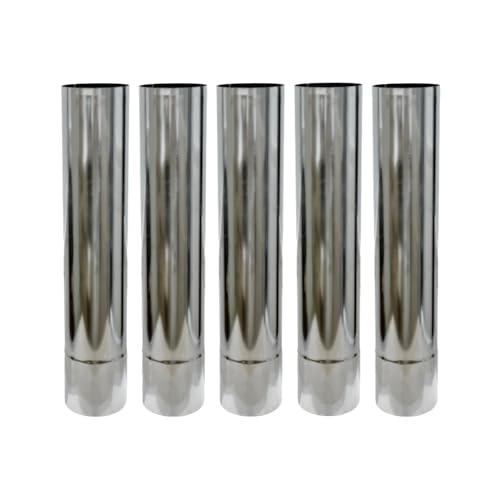
Wood Stove Pipe 2.36" Stainless Steel Chimney Flue 5 pcs Extension Stovepipe for Outdoor Camping
Specification: A set of 5 pcs straight stove pipe with a diameter of 2.36 inches, each with a…
As an affiliate, we earn on qualifying purchases.
As an affiliate, we earn on qualifying purchases.
Preparing the Drum for Conversion
To prepare the drum for conversion, I remove any existing hardware and clean the surface thoroughly.
The first step is to take off any handles, bolts, or screws that are attached to the drum. This ensures that the surface is smooth and free of any obstructions.
Next, I focus on the cleaning process. I use a mixture of warm water and mild detergent to scrub away any dirt, grease, or rust that may have accumulated on the drum. It’s important to be thorough in this step to ensure that the wood stove will function properly.

Lyrufexon Ceramic Fiber Insulation, 24"x15.7"x1" Thick, 2600F Fireproof Insulation Blanket for Wood Stove Baffle, Fireplace, Pellet Stove, Chimney, Furnace, Boiler, Pizza Ovens and Forge
MORE APPLICATIOONS:Wood Stove Baffle, Fireplace, Pellet Stove, Chimney, Furnace, Boiler, Pizza Ovens, Forge & Many More
As an affiliate, we earn on qualifying purchases.
As an affiliate, we earn on qualifying purchases.
Building the Air Intake and Chimney
Usually, I connect the air intake and chimney together using a pipe and a clamp. This ensures that the smoke is properly directed out of the stove and up the chimney.
Before connecting the pipe, I make sure to install the damper. The damper helps control the airflow and allows for better regulation of the fire. Once the damper is in place, I secure the pipe to the stove and chimney using a clamp.
Next, I focus on insulating the chimney. This is important to prevent heat loss and increase the stove’s efficiency. I use insulation material, such as ceramic fiber blanket or rock wool, to wrap around the chimney pipe. This creates a barrier that helps retain heat and directs it towards the living space.
With the air intake, chimney, and insulation in place, I’m ready to move on to creating the firebox and grate, which will be discussed in the next section.

Protalwell Wood Stove Gasket, 1/2" Wood Stove Door Gasket Kit, High Temperture Resistant Gasket Rope Replacement for Stove or Fireplace Doors, Grey Color Fiberglass Gasket
High Temperature Resistance Gasket Rope – Made by Graphite Impregnated Fiberglass, will not burn and withstand to temperatures…
As an affiliate, we earn on qualifying purchases.
As an affiliate, we earn on qualifying purchases.
Creating the Firebox and Grate
After carefully measuring and cutting the metal sheet, I attach the firebox and grate using bolts and a wrench. The firebox is an essential component of the wood stove as it houses the firewood and allows for efficient combustion. By having a properly designed firebox, the heat generated can be maximized while minimizing the amount of smoke produced. The grate, on the other hand, provides support for the firewood and allows for proper airflow. This ensures that the fire burns evenly and efficiently.
To make the wood stove even more functional, I also incorporate a firewood storage compartment underneath the firebox. This allows for easy access to the firewood and eliminates the need for separate firewood storage. By combining the firebox, grate, and firewood storage, I’ve created a versatile wood stove that offers alternative heating options for any space.
To add the finishing touches and ensure safety, I’ll now focus on incorporating safety features such as a heat shield and a chimney.
Adding the Finishing Touches and Safety Features
I’m currently working on the wood stove, making sure to include the finishing touches and safety features for optimal performance and protection. As I put the final touches on the wood stove, there are a few important safety precautions to keep in mind.
-
Insulation: I’m making sure to insulate the stove properly to prevent any heat transfer to surrounding surfaces. This will help minimize the risk of accidental burns.
-
Ventilation: Adequate ventilation is crucial to ensure proper airflow and prevent the accumulation of harmful gases. I’m installing a chimney to safely vent the smoke and gases produced by the stove.
When it comes to painting the wood stove, I’m using high-temperature paint that’s specifically designed for this purpose. This type of paint can withstand the intense heat generated by the stove without peeling or flaking. By following these safety precautions and properly painting the wood stove, I can ensure its longevity and safe operation.
Conclusion
In conclusion, transforming a 55-gallon drum into a wood stove is a practical and cost-effective solution for heating your space. By following the outlined steps, you can create a functional and efficient wood stove that will keep you warm during the colder months.
So, why not turn your old drum into a cozy source of heat and embrace the saying, ‘Turning trash into treasure’?