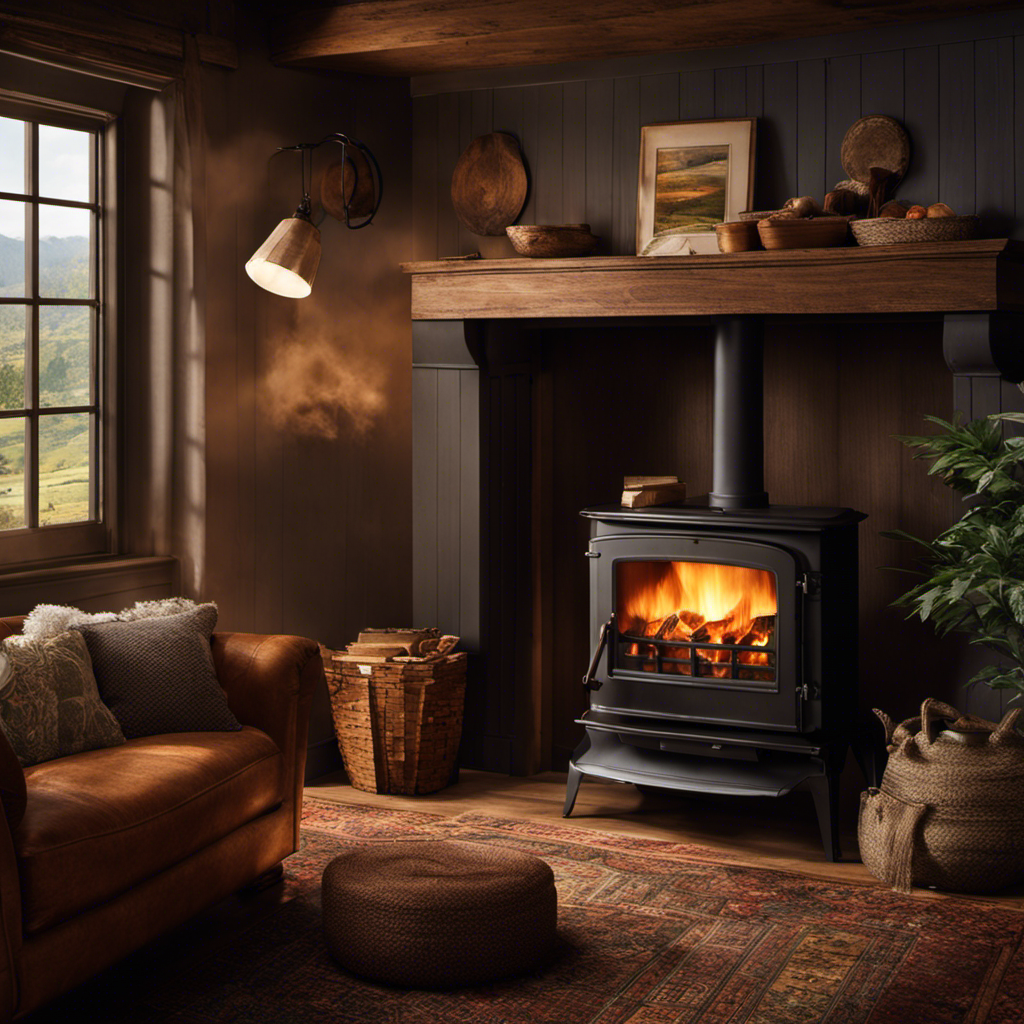
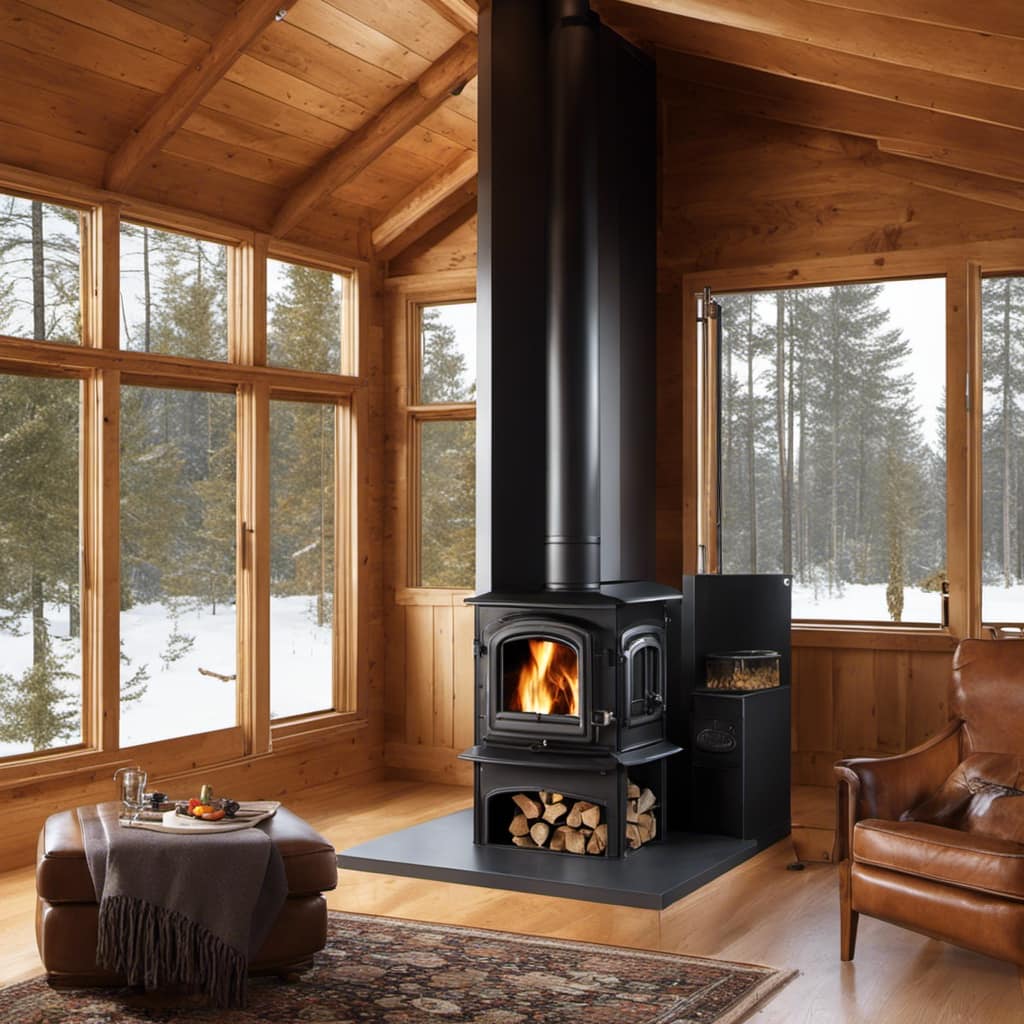
Connect with us

Wood Stove

How To Make A Wood Stove Cover

Published

on

I’ll show you how to make a wood stove cover that will make all your friends envious. Picture this situation: a cozy winter night, the stove’s fire burning brightly, enhanced by a beautiful cover that adds an extra touch of sophistication and functionality.

With just a few simple steps, you’ll have a cover that fits perfectly and looks amazing. So grab your tools and let’s get started on this fun and rewarding project.

Key Takeaways

  • Materials for a wood stove cover can include stainless steel, cast iron, ceramic tiles, tempered glass, and stone or granite.
  • Accurate measuring and cutting of the wood is crucial for a precise fit. Use a tape measure, avoid common measuring mistakes, double-check measurements, and use a reliable saw for precise cuts.
  • Proper measuring techniques involve using a tape measure, reading tape measure markings correctly, subtracting the width of the tape measure, double-checking measurements, and avoiding guessing or eyeballing measurements.
  • Accurate wood cutting requires measuring wood dimensions accurately, marking measurements on wood with a pencil and ruler, using a miter saw for precise cuts, securing the wood piece with clamps to prevent imprecise cuts, and taking time to measure and cut with precision.

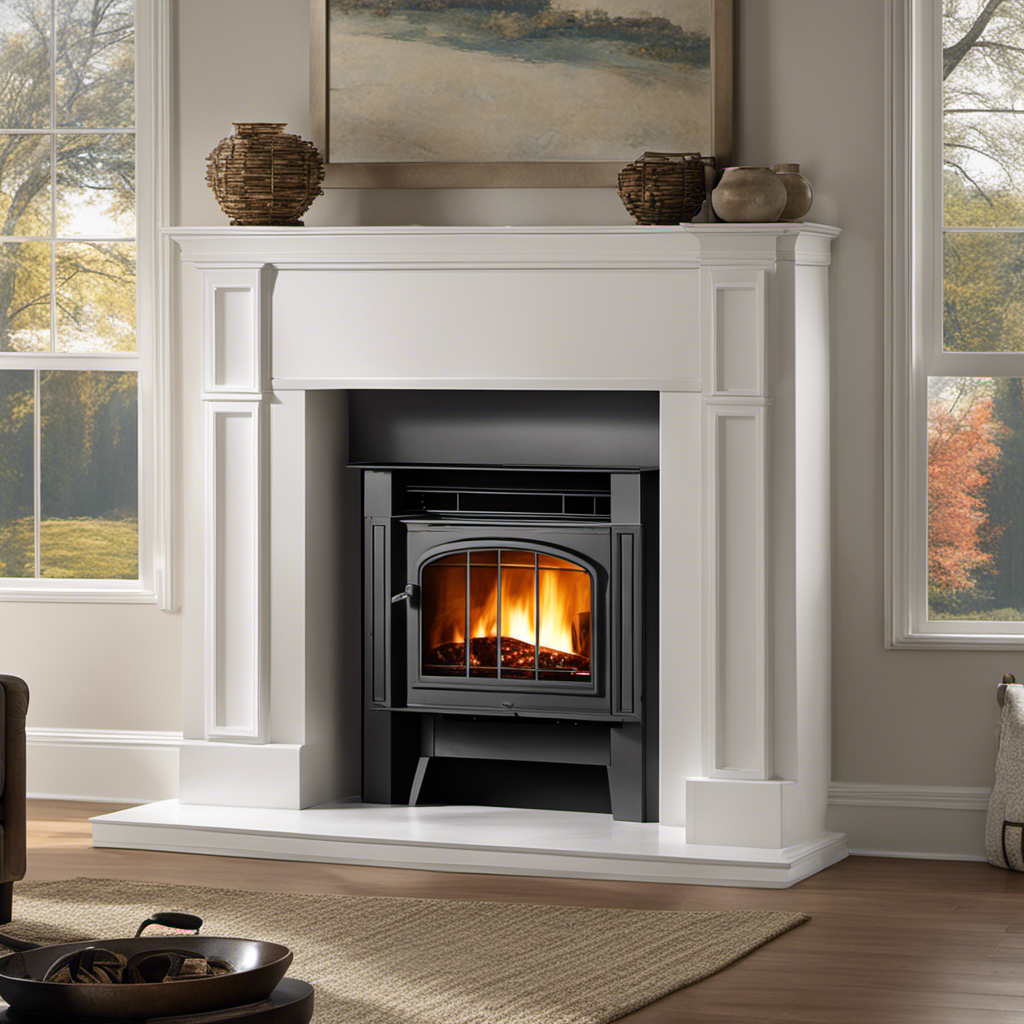
Choosing the Right Materials

I’m considering which materials would be best for my wood stove cover. When it comes to wood stove maintenance, choosing the right materials is crucial. Traditional covers are often made of metal, such as stainless steel or cast iron. While these materials are durable and heat resistant, they can be quite heavy and may require additional support.

However, there are alternative materials that can be used for a wood stove cover. One option is to use heat-resistant ceramic tiles. These tiles aren’t only aesthetically pleasing, but they also provide excellent heat insulation. Another alternative material is tempered glass. This material is strong, heat resistant, and allows you to see the fire inside the stove.

wood stove fireplace for sale

If you prefer a more natural look, you can consider using stone or granite. These materials aren’t only visually appealing but also highly resistant to heat. They can withstand high temperatures without cracking or warping. Additionally, stone and granite are easy to clean and maintain.

Advertisement

Measuring and Cutting the Wood

Measuring and cutting the wood is a crucial step in creating a wood stove cover. To ensure a precise fit, I carefully measure the dimensions of the stove and transfer them onto the wood.

Using a reliable saw, I make accurate cuts along the marked lines, paying attention to detail and maintaining a steady hand.

Proper Measuring Techniques

To ensure accuracy, I’ll need to use a tape measure when determining the dimensions for the wood stove cover. Measuring tools are essential for any DIY project, and using the right ones can make a significant difference in the outcome.

wood stove pipe cleaning kit

Here are a few common measuring mistakes to avoid:

  • Not using a tape measure: Guessing or eyeballing measurements may lead to inaccurate dimensions and a poorly fitting wood stove cover.

  • Ignoring the measuring tape’s markings: Each inch and fraction on the tape measure has a purpose, so it’s important to read them correctly to get precise measurements.

  • Forgetting to account for the width of the tape measure: When measuring, remember to subtract the width of the tape measure from your final dimensions to get an accurate result.

    wood stove fan repair

  • Failing to double-check measurements: Always double-check your measurements to ensure accuracy before cutting the wood for the stove cover.

Accurate Wood Cutting

By using precise measurements, I can ensure that the wood pieces are cut accurately for a perfect fit. Woodworking techniques require precision cuts to achieve the desired outcome.

Advertisement

To begin, I carefully measure the dimensions of the wood stove cover, taking into account any protruding elements. Next, I mark the measurements on the wood, using a pencil and a ruler to create straight lines.

With a miter saw, I make precise cuts along the marked lines, ensuring clean and accurate edges. To further enhance accuracy, I use clamps to secure the wood piece before cutting. This prevents any movement or shifting that could result in an imprecise cut.

wood stove pipe installers near me

Taking the time to measure and cut with precision is crucial for a professional-looking wood stove cover.

Assembling the Frame

Now that I’ve measured and cut the wood, it’s time to move on to assembling the frame.

To do this, I’ll need the materials mentioned earlier, including the cut pieces of wood, screws, and a drill.

Advertisement

In the following points, I’ll provide step-by-step instructions on how to assemble the frame and offer some tips for ensuring accurate measurements throughout the process.

wood stove insert cleaning

Materials Needed

I’ll need plywood, measuring tape, a saw, and sandpaper to make the wood stove cover.

For the design, it’s important to choose one that complements the overall aesthetic of your living space. Consider the style and colors of your room and select a design that harmonizes with them.

When it comes to painting and staining options, you’ve a few choices. You can paint the cover with a color that matches your room or opt for a stain that enhances the natural beauty of the wood. Another option is to distress the wood for a rustic look. Whichever route you choose, make sure to properly prepare and prime the wood before applying any paint or stain for a long-lasting finish.

Step-By-Step Instructions

To begin, I measure and mark the dimensions of the plywood according to the desired size of the cover. Proper wood preparation is crucial for a durable and long-lasting wood stove cover. I ensure that the plywood is smooth and free from any imperfections by sanding it thoroughly.

Advertisement

vermont castings defiant

Next, I consider alternative cover designs that can add a touch of creativity to the overall look. This could include adding decorative trim or painting the cover in a unique color. It’s important to choose a design that complements the style of the room and enhances the aesthetic appeal of the wood stove.

Tips for Measuring Accurately

When measuring for accuracy, I ensure that I double-check my dimensions to avoid any errors in the final product. It’s crucial to use the right measuring tools to obtain precise measurements.

Here are some tips to help you measure accurately:

  • Use a tape measure: This versatile tool allows you to measure both length and width accurately.
  • Check for level: Ensure that your measuring surface is level to get accurate measurements.
  • Avoid common measuring mistakes: Watch out for these common errors, such as measuring from the wrong end of the ruler or not accounting for the thickness of the measuring tool.
  • Measure twice: To minimize errors, measure twice and compare your measurements to ensure consistency.

Adding a Decorative Touch

I’m thinking of using a stencil to add a decorative touch to my wood stove cover. Adding decorative details can really enhance the overall look of the cover and make it stand out. One option is to use a stencil to create a pattern or design on the surface. Stencils come in a variety of shapes and sizes, allowing you to choose the one that best fits your style and preferences.

jotul wood stoves

To give you an idea of the different decorative details you can achieve with stencils, here is a table showcasing some popular stencil designs and color options:

Stencil Design Color Options
Floral Red, Blue, Green
Geometric Black, White, Gray
Nautical Navy Blue, Seafoam Green, Coral
Moroccan Gold, Silver, Bronze

Attaching the Cover to the Stove

Attaching the cover securely is important to ensure safety and stability. When it comes to securing the cover in place, there are a few key steps to follow:

Advertisement
  • Measure and mark the placement of the cover on the stove. This will ensure that it fits properly and covers the necessary areas.
  • Use screws or brackets to attach the cover to the stove. Make sure to choose hardware that’s suitable for the material of your stove and can withstand the heat generated by the stove.
  • Double-check that the cover is aligned properly before tightening the screws or brackets. This will prevent any slippage or misalignment.
  • Test the stability of the cover by gently pushing on it. If it feels secure and doesn’t move or wobble, then you’ve successfully attached it.

In addition to securing the cover, it’s also important to ensure proper ventilation. This can be achieved by leaving gaps or installing vents in the cover. Proper ventilation will allow for the efficient flow of air and prevent overheating of the stove and surrounding area.

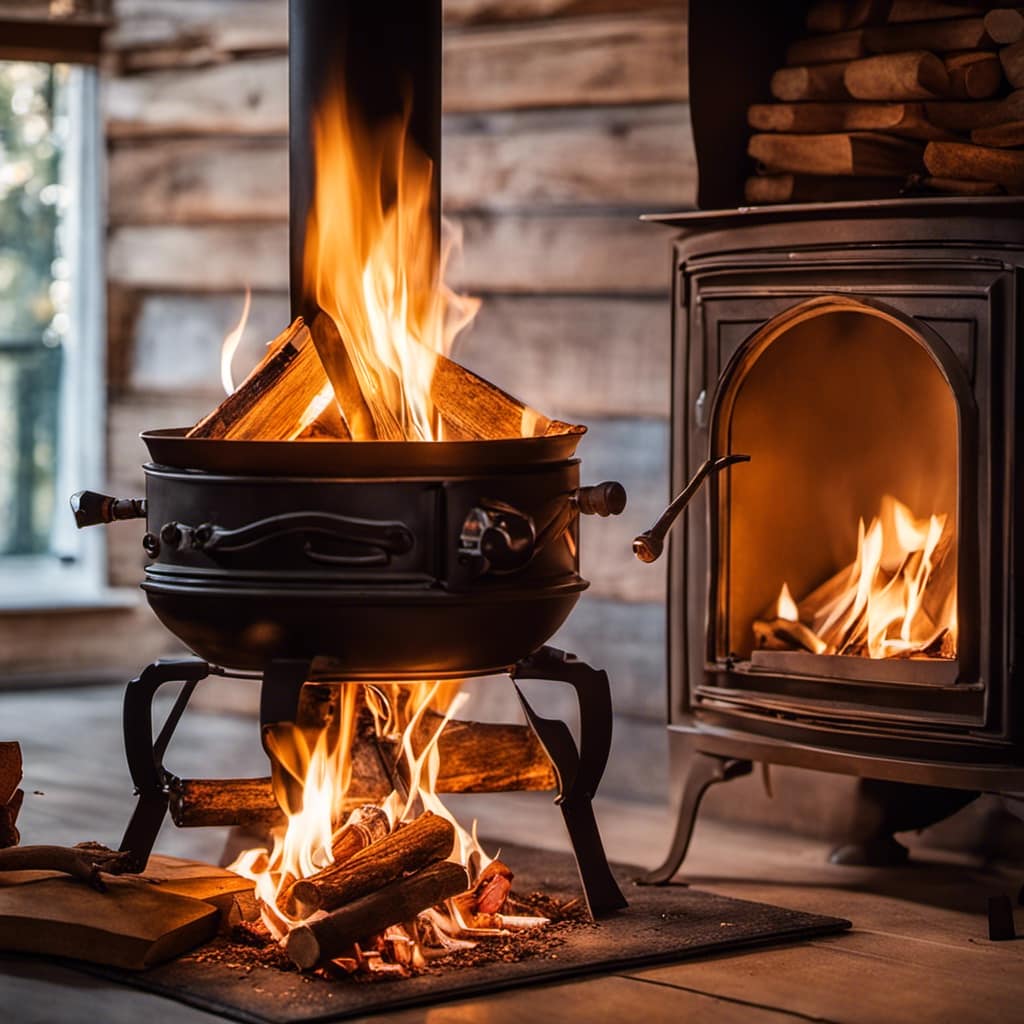
Finishing and Sealing the Wood

To achieve a polished and protected finish, I’ll apply a coat of sealant to the wooden surface. Wood staining and sealing techniques are crucial in preserving the beauty and longevity of any wooden project. When it comes to sealing wood, there are various options to choose from, including polyurethane, lacquer, and varnish. Each has its own advantages and can provide different levels of protection.

wood burner stove

To help you understand the differences, I’ve created a table comparing these three common sealants:

Sealant Advantages Level of Protection
Polyurethane Durable and resistant to scratches Provides a strong barrier against moisture
Lacquer Quick-drying and provides a smooth finish Offers excellent heat resistance
Varnish Enhances the natural beauty of wood Provides superior UV protection

Before applying the sealant, it’s important to properly prepare the wood surface by sanding it smooth and removing any dust or debris. You can then apply the sealant using a brush or a foam applicator pad, making sure to follow the manufacturer’s instructions for drying time and number of coats.

Frequently Asked Questions

How Do I Make Sure the Wood Stove Cover Is Safe for Use?

To ensure the wood stove cover is safe for use, it’s important to take proper safety measures.

First, choose fireproof materials that can withstand high temperatures. Look for materials like metal or ceramic that have been specifically designed for heat resistance.

Advertisement

wood stove fans non electric

Additionally, make sure the cover is securely attached to the stove to prevent any accidents.

Regularly inspect the cover for any signs of wear or damage, and replace it if necessary.

Safety should always be the top priority when making a wood stove cover.

Can I Use Any Type of Wood for Making the Stove Cover?

When considering the type of wood to use for a wood stove cover, it’s important to take a few factors into account.

wood pellet stove

Different types of wood can vary in their suitability for this purpose. Factors to consider include the wood’s durability, heat resistance, and ability to withstand moisture. These factors will determine whether the wood will hold up well over time and provide adequate protection for the stove.

Advertisement

It’s best to choose a wood that’s specifically recommended for use in stove covers to ensure safety and longevity.

How Do I Clean and Maintain the Wood Stove Cover?

To keep my wood stove cover in great shape, I follow some simple cleaning methods and maintenance tips.

First, I gently wipe down the surface with a damp cloth to remove any dust or debris.

wood stove accessories

Next, I use a mild wood cleaner to give it a thorough clean.

To maintain its shine, I apply a wood polish regularly.

Advertisement

Lastly, I make sure to inspect for any cracks or damage and address it promptly.

Is It Necessary to Remove the Cover While the Stove Is in Use?

No, it isn’t necessary to remove the cover while the stove is in use. However, it’s important to take safety precautions and use a fire resistant material for the wood stove cover. This will help prevent any accidents or damage caused by heat.

hampton wood stove

Alternatively, you can explore using other materials that don’t require removal during use, such as heat-resistant glass or metal.

Can I Customize the Design of the Wood Stove Cover to Match My Home Decor?

Yes, you can definitely customize the design of the wood stove cover to match your home decor.

There are various customization options available that allow you to personalize your wood stove cover.

Advertisement

From choosing the type of wood to selecting the stain or paint color, you’ve the freedom to create a cover that perfectly matches your style.

wood stoves reviews

Conclusion

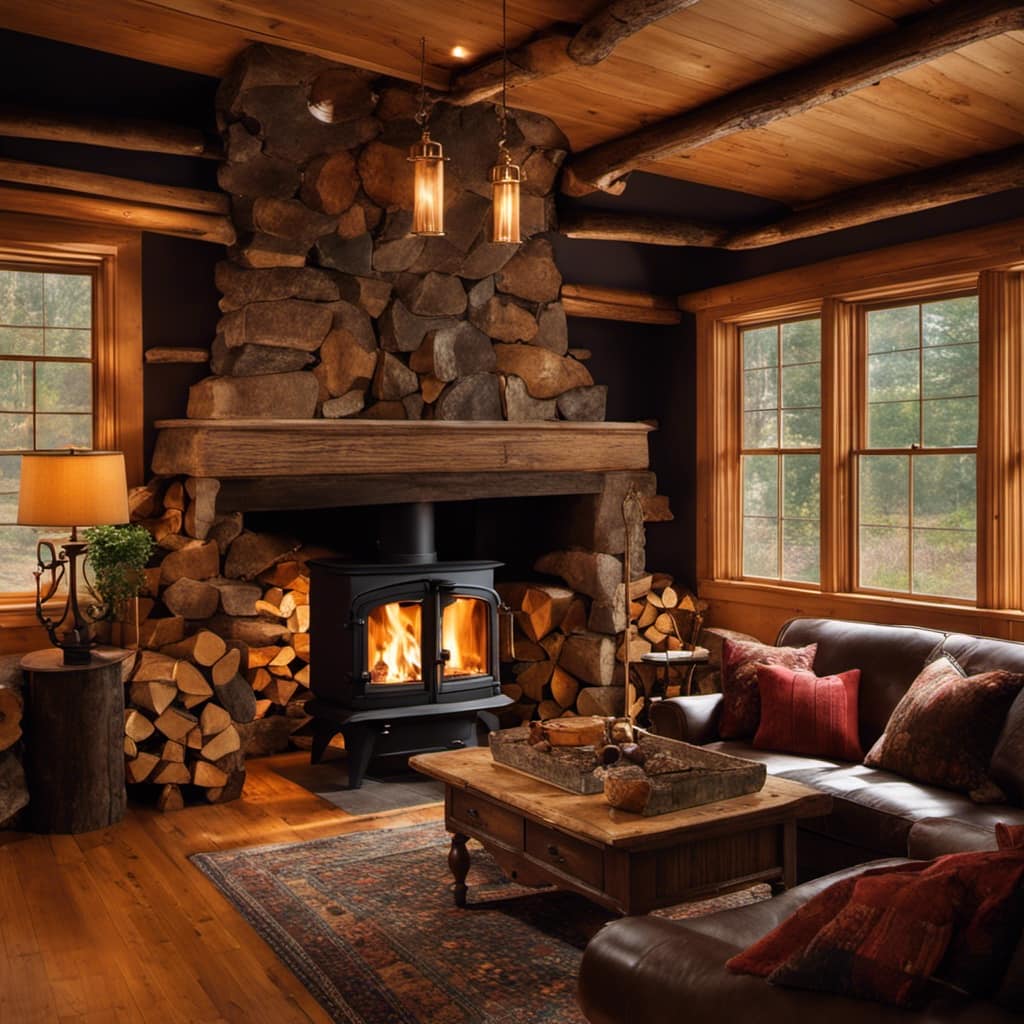
In conclusion, creating a wood stove cover is a simple and rewarding project that will add both functionality and beauty to your home. By carefully choosing the right materials, measuring and cutting the wood accurately, assembling the frame with precision, and adding a decorative touch, you can create a cover that perfectly fits your stove.

Attaching the cover securely and finishing and sealing the wood will ensure its longevity. So go ahead, unleash your creativity and enjoy the warmth and charm of your new wood stove cover.

It’s like a masterpiece that completes the picture-perfect ambiance of your home.

Advertisement

Growing up surrounded by the vast beauty of nature, Sierra was always drawn to the call of the wild. While others sought the comfort of the familiar, she ventured out, embracing the unpredictable and finding stories in the heartbeat of nature.   At the epicenter of every remarkable venture lies a dynamic team—a fusion of diverse talents, visions, and passions. The essence of Best Small Wood Stoves is crafted and refined by such a trio: Sierra, Logan, and Terra. Their collective expertise has transformed the platform into a leading authority on small wood stoves, radiating warmth and knowledge in equal measure.

Continue Reading
Advertisement

Wood Stove

How Long Does It Take Wood To Ignite Aftee Being Put In A Wood Stove

Published

on

By

An image capturing the mesmerizing scene of a wood stove, with a bed of glowing embers beneath carefully stacked logs, as tendrils of thin smoke gracefully curl upwards, depicting the anticipation of wood slowly igniting

I must admit, the wait for wood to catch fire in a wood stove can seem never-ending. However, do not worry, as in this article, I will share some strategies and tips to speed up the process.

From understanding the temperature and moisture content of the wood to choosing the right type and preparing it efficiently, we’ll explore all the factors that affect wood ignition time.

So let’s dive in and get that fire blazing in no time!

Key Takeaways

  • Weather conditions and moisture content of the wood can affect the ignition time.
  • Properly seasoned wood with around 20% moisture content ignites more easily.
  • Smaller wood logs and softer woods tend to ignite faster than larger and harder woods.
  • Proper wood storage and preparation, such as keeping it off the ground, using fire starters, and maintaining airflow, can help ensure faster ignition in a wood stove.

Factors Affecting Wood Ignition Time

I’m curious about the factors that can affect the time it takes for wood to ignite in a wood stove.

One of the key factors is the weather conditions. Cold and damp weather can make it harder for the wood to catch fire, as moisture content in the wood can be high. It’s important to ensure that the wood is properly seasoned and has a moisture content of around 20% for optimal ignition.

Another factor to consider is the size of the wood logs. Smaller logs tend to ignite more quickly as they’ve a larger surface area exposed to the heat source.

Advertisement

Additionally, the type of wood being used can also affect ignition time, with softer woods igniting faster than harder woods.

Temperature and Moisture Content of Wood

The optimal moisture content for wood is around 20%, which ensures efficient ignition in a wood stove. The wood ignition process is influenced by various factors, and the moisture content plays a critical role in determining how quickly the wood will ignite.

When wood is too wet, it requires more energy to burn off the excess moisture before it can reach its ignition point. On the other hand, if the wood is too dry, it may ignite too quickly and burn too rapidly, leading to inefficient combustion and wasted energy.

Therefore, it’s essential to properly store wood to maintain its moisture content within the optimal range. Proper wood storage involves keeping the wood off the ground, covering it to protect it from rain or snow, and allowing for proper airflow to prevent excessive moisture buildup.

Type of Wood and Its Density

I prefer using hardwoods like oak or maple due to their density and their ability to burn longer and provide more heat. When it comes to wood species selection, it’s important to consider the impact of wood moisture content. Here are three key points to keep in mind:

Advertisement
  1. Moisture content affects combustion efficiency: Wet wood contains a higher moisture content, which leads to incomplete combustion and the production of more smoke and pollutants. Dry hardwoods, on the other hand, burn more efficiently and produce less smoke.

  2. Heat output is influenced by wood density: Hardwoods have a higher density compared to softwoods, resulting in a higher heat output. This means that hardwoods like oak and maple can provide more warmth and keep your space cozy for a longer period of time.

  3. Longer burn time with hardwoods: Due to their density, hardwoods burn at a slower rate, allowing for a longer burn time per log. This means less frequent refueling and a more consistent heat source.

Preparing Wood for Efficient Ignition

To ensure efficient ignition, I always make sure to properly split and dry my firewood. Proper wood storage is essential for achieving this. It’s important to store the firewood in a well-ventilated area, off the ground and protected from moisture. This allows the wood to dry properly and reduces the risk of it being damp or rotting.

When it comes to igniting the wood in a wood stove, using fire starters or kindling can greatly speed up the process. These small pieces of flammable material help create a hot and sustained flame, which in turn ignites the larger pieces of wood.

By incorporating these techniques, you can ensure a faster and more efficient ignition in your wood stove.

Now, let’s move on to some tips for faster wood ignition in a wood stove.

Tips for Faster Wood Ignition in a Wood Stove

Using kindling and ensuring proper airflow are key to achieving faster wood ignition in a wood stove. When it comes to stubborn wood that’s difficult to ignite, there are several ignition techniques that can be employed:

Advertisement
  1. Preparation: Properly seasoned wood with a moisture content below 20% is essential for efficient ignition. This ensures that the wood is dry enough to catch fire quickly.

  2. Kindling: Creating a bed of small, dry kindling underneath the larger logs helps to ignite the fire faster. Kindling acts as a fuel source that ignites easily and produces enough heat to catch the larger logs on fire.

  3. Airflow: Adequate airflow is crucial for wood ignition. By opening the damper or adjusting the air vents, you can ensure that enough oxygen is getting to the fire, promoting faster ignition.

While some may consider using accelerants to speed up wood ignition, it’s important to note that this can be dangerous and may result in uncontrollable fires or the release of harmful chemicals. It’s recommended to rely on proper ignition techniques and patience for a safe and efficient wood ignition process.

Frequently Asked Questions

Can I Use Treated Wood in My Wood Stove?

Using pressure treated wood in a wood stove is not recommended due to the chemicals it releases when burned. It is safer to use untreated wood or other alternatives for faster ignition.

What Is the Best Type of Wood to Use for Faster Ignition in a Wood Stove?

Fast burning woods like pine or fir can ignite in a wood stove within minutes. To ensure efficient wood stove usage, it’s important to choose dry, seasoned firewood and properly maintain the stove.

Are There Any Safety Precautions I Should Take When Igniting Wood in a Wood Stove?

When igniting wood in a wood stove, it is important to take safety precautions. Keep a fire extinguisher nearby and ensure proper ventilation. Additionally, the moisture content of the wood can affect its ignition time.

Can I Use Wood Chips or Sawdust for Ignition in a Wood Stove?

I can use wood chips or sawdust for ignition in a wood stove. They are effective fire starters for faster ignition. The small size and high surface area make them ignite quickly, reducing the time needed for the wood to catch fire.

Advertisement

How Does the Size of the Wood Affect Its Ignition Time in a Wood Stove?

Moisture content significantly affects wood ignition in a wood stove. Smaller pieces of wood ignite faster due to increased surface area. However, larger pieces provide longer burn times. Consider the advantages and disadvantages of each for efficient use in a wood stove.

Conclusion

After careful analysis of the factors affecting wood ignition time, it’s safe to say that wood doesn’t ignite instantly in a wood stove. Contrary to popular belief, wood requires time to reach its ignition point, which is influenced by factors such as temperature, moisture content, and wood density.

To expedite the process, it’s crucial to choose the right type of wood and ensure it’s properly prepared. So, if you were expecting an immediate burst of flames, you might’ve to wait a little longer.

Continue Reading

Wood Stove

Why Does Your Wood Stove Smoke

Published

on

By

An image capturing a rustic, cozy living room

Dealing with the smoke from your wood stove can be a real nuisance. But don’t worry, I’m here to provide some tips on how to manage it.

Understanding the root causes of this predicament is crucial. Insufficient airflow, improper wood selection, damaged chimney, inadequate maintenance, and incorrect installation are the major culprits.

Let’s delve into each of these factors to uncover the secrets behind why your wood stove may be producing that bothersome smoke.

Key Takeaways

  • Blocked vents disrupt combustion process and lead to incomplete burning and smoke generation.
  • Burning wet or high-moisture wood results in inefficient burning and increased creosote buildup.
  • Cracked or deteriorating chimney can cause leaks and smoke entry.
  • Inadequate stove maintenance, including dirty burners and clogged flue, can lead to smoke issues.

Insufficient Airflow

I’m having trouble with my wood stove smoking because there’s not enough airflow. A common cause of insufficient airflow is blocked vents. When the vents are blocked, the combustion process is disrupted, leading to incomplete burning of the wood and the generation of smoke.

To ensure efficient combustion and minimize smoke, it’s crucial to maintain clear and unobstructed vents. Blocked vents can result from a buildup of creosote or debris, so regular cleaning is essential.

Additionally, proper placement of the stove is crucial to ensure adequate airflow. Make sure that the stove is positioned away from any obstructions, such as furniture or curtains, that might impede the flow of air.

Advertisement

Improper Wood Selection

To prevent excessive smoke and poor combustion, it’s important to avoid burning wet wood or wood with high moisture content, as it can result in inefficient burning and increased creosote buildup. When burning seasoned firewood, which has a moisture content of around 20% or less, the wood burns more efficiently, producing less smoke and providing more heat output. Seasoned firewood has been properly dried for at least six months, allowing the moisture content to decrease significantly. This ensures that the wood burns cleanly and effectively in your wood stove. However, if you burn wood with high moisture content, it will create more smoke and reduce the overall efficiency of your stove. This can also lead to a higher risk of creosote buildup in your chimney, which can be dangerous and increase the chance of a chimney fire. Therefore, it’s crucial to always use dry, seasoned firewood to prevent excessive smoke and maintain proper combustion in your wood stove.

Now, let’s discuss another potential reason for excessive smoke: a damaged or leaky chimney.

Damaged or Leaky Chimney

A damaged or leaky chimney can cause smoke to enter your home, which can be hazardous to your health and safety. It’s important to address any issues with your chimney promptly to ensure the proper functioning of your wood stove.

Here are three signs of a damaged chimney that you should be aware of:

  1. Cracked or crumbling mortar: If you notice any cracks or crumbling in the mortar joints of your chimney, it could indicate water damage or structural issues. This can lead to leaks and smoke entering your home.

  2. Rusty or deteriorating chimney cap: The chimney cap plays a crucial role in keeping out rain, snow, debris, and animals. If it’s rusty or deteriorating, it may not be able to perform its function effectively, allowing smoke to escape into your living space.

  3. Smoke stains or odors: If you notice smoke stains on the walls or ceilings near your chimney or detect a persistent smoky odor in your home, it could be a sign of a leaky chimney. This should be addressed promptly to prevent further damage and potential health risks.

When faced with a damaged chimney, there are various repair options available, such as chimney relining, chimney crown repair, and chimney flashing repair. It’s important to consult with a professional chimney technician to determine the best course of action for your specific situation.

Advertisement

Inadequate Stove Maintenance

One of the main causes of smoke in your home can be the result of inadequate stove maintenance. A dirty stove and a clogged flue are two common culprits that can lead to smoke issues. When the stove isn’t properly cleaned, a buildup of soot and debris can occur on the burners, causing incomplete combustion and the production of smoke.

Additionally, a clogged flue prevents the proper ventilation of smoke, leading to its accumulation inside your home. Regular cleaning and maintenance of your stove, including cleaning the burners and ensuring the flue is clear, is crucial in preventing smoke issues.

It’s recommended to schedule annual professional maintenance to ensure your stove is in optimal condition and to avoid the inconvenience and potential health hazards associated with smoke in your home.

Incorrect Stove Installation

I regret not hiring a professional for my stove installation, as it has caused numerous issues and potential hazards. When it comes to installing a wood stove, proper positioning and sizing are crucial factors that shouldn’t be taken lightly.

Here are three key reasons why improper stove positioning and incorrect flue size can lead to problems:

Advertisement
  1. Inadequate clearance: Placing the stove too close to combustible materials can increase the risk of fire. It’s essential to follow the manufacturer’s guidelines for proper clearances to ensure the safe operation of the stove.

  2. Inefficient heating: Incorrect positioning can hinder the stove’s ability to distribute heat effectively throughout the room. This can result in uneven temperatures and wasted energy, leading to discomfort and higher heating costs.

  3. Insufficient draft: Using an incorrect flue size can impede the stove’s ability to expel smoke and gases properly. This can lead to backdrafting, where smoke enters the room instead of being directed outside. Aside from the health hazards, backdrafting can damage the stove and cause indoor air quality issues.

To avoid these problems, it’s essential to consult a professional for the proper installation of your wood stove. They’ll ensure that the stove is positioned correctly and the flue size is appropriate for efficient and safe operation.

Frequently Asked Questions

Can Smoking Occur if There Is Sufficient Airflow in the Wood Stove?

Yes, smoking can still occur in a wood stove even with sufficient airflow. Factors like improper wood placement, damp or unseasoned wood, or a clogged chimney can all contribute to smoking issues. Proper troubleshooting can resolve these problems and improve wood stove performance.

What Are Some Common Wood Types That Should Be Avoided to Prevent Smoking in a Wood Stove?

To prevent smoking in a wood stove, it is important to avoid using wood types like pine, as they contain high levels of resin. Additionally, properly seasoning firewood is crucial to reduce smoke production.

How Can I Identify if My Chimney Is Damaged or Leaking?

To identify chimney damage or leaks, conduct a thorough chimney inspection. Look for cracks, loose bricks, or crumbling mortar. Additionally, consider installing a smoke detector near the stove to quickly detect any smoke issues.

Besides Regular Cleaning, What Other Maintenance Practices Can Help Prevent Smoking in a Wood Stove?

Other maintenance practices, such as ensuring proper airflow and avoiding certain wood types, can help prevent smoking in a wood stove. Identifying chimney damage or leaks and checking for correct stove installation are also crucial.

Advertisement

What Are Some Signs of Incorrect Stove Installation That May Lead to Smoking?

Installing a wood stove improperly can lead to frustrating smoke issues. One key sign is if the chimney height is too short. Another is using unseasoned wood, which can cause excessive smoke.

What Are Some Wood Stove Brands That Have Smoke-Reducing Features?

Looking for the best wood stove brands with smoke-reducing features? Look no further. With increasing concerns about air pollution, several brands are innovating their wood stoves to minimize smoke emissions. Some notable options include Vermont Castings, Jøtul, and Blaze King. These brands prioritize efficiency and clean burning, ensuring you can enjoy the warmth of a wood stove while minimizing environmental impact.

Conclusion

In conclusion, when your wood stove smokes, it’s often due to factors such as:

  • Insufficient airflow
  • Improper wood selection
  • A damaged or leaky chimney
  • Inadequate stove maintenance
  • Incorrect installation

To prevent this, you should:

  • Ensure proper ventilation
  • Use seasoned and dry wood
  • Inspect and repair your chimney regularly
  • Maintain your stove diligently
  • Ensure professional installation

By addressing these issues, you can enjoy a smoke-free and efficient wood stove experience, creating a cozy and inviting atmosphere in your home.

Continue Reading

Wood Stove

How To Build A Wood Stove From A Jerry Can

Published

on

By

An image showcasing the step-by-step process of transforming a jerry can into a wood stove

I have always been fascinated by the concept of transforming ordinary objects into useful tools.

So when I came across an old jerry can in my garage, I knew I had the perfect opportunity to create my own wood stove.

In this article, I’ll guide you through the process of transforming a jerry can into a functional and efficient wood stove, complete with ventilation, legs, and a base.

Get ready to unleash your inner DIY enthusiast and start enjoying the warmth of your homemade wood stove.

Key Takeaways

  • Consider the capacity and dimensions of the jerry can
  • Compare different materials for jerry cans
  • Prepare and clean the jerry can properly
  • Take safety precautions and use the right tools when modifying the jerry can

Selecting the Right Jerry Can for Your Wood Stove

I’m trying to figure out which jerry can is the best option for my wood stove.

When it comes to choosing the right size jerry can for your wood stove, it’s important to consider the capacity and dimensions. A larger can will hold more fuel, but it may be too bulky for your space. On the other hand, a smaller can may require more frequent refills.

Advertisement

Additionally, it’s crucial to compare different materials for jerry cans to ensure optimal wood stove performance. Metal cans are durable and resistant to heat, but they can also be heavy. Plastic cans, on the other hand, are lightweight and easier to handle, but may not withstand high temperatures as well.

Ultimately, finding the perfect jerry can for your wood stove is about balancing capacity, dimensions, and material for efficient and safe operation.

Preparing and Cleaning the Jerry Can

Before starting to use the jerry can, it’s crucial to properly clean and prepare it by removing any dirt or residue, and then ensuring it’s completely dry. Here is the cleaning process and safety precautions to follow:

  1. Rinse the jerry can with warm water and a mild detergent to remove any dirt or debris. Use a sponge or brush to scrub the inside and outside of the can thoroughly.

  2. Rinse the can again with clean water to remove any soap residue. Make sure to rinse it multiple times to ensure all the soap is gone.

  3. After rinsing, allow the jerry can to air dry completely. This is important to prevent any moisture from causing rust or corrosion.

By following these cleaning steps, you can ensure that your jerry can is ready for modification.

Now, let’s discuss cutting open and modifying the jerry can for ventilation.

Advertisement

Cutting Open and Modifying the Jerry Can for Ventilation

I’ll explain how to use a few small holes in the jerry can to provide adequate ventilation for the wood stove. When modifying the jerry can for ventilation, it is important to take safety precautions and use the right tools. Here is a table outlining the necessary steps:

Step Safety Precautions Tools Needed
1 Wear protective gloves and goggles Drill
2 Work in a well-ventilated area Marker
3 Ensure the jerry can is empty and clean Metal file
4 Mark the desired ventilation holes on the can Safety glasses
5 Use the drill to create the holes Protective gloves
6 Smooth the edges of the holes with the metal file Goggles
7 Clean any metal shavings from the can Clean cloth

Adding Legs and a Base to the Wood Stove

I can attach some sturdy legs and a stable base to the wood stove to ensure it stands securely on any surface. Achieving stove stability is crucial to prevent accidents and maintain proper functioning.

When choosing materials for the legs and base, it’s important to consider their strength, durability, and heat resistance. Here are three essential elements to consider:

  1. Material Selection: Opt for materials that can withstand high temperatures, such as stainless steel or cast iron. These materials are known for their strength and ability to withstand the intense heat generated by the wood stove.

  2. Design and Construction: The design of the legs should provide sufficient support and stability. Consider a tripod or four-leg design for optimal balance. Additionally, ensure the legs are securely attached to the stove body to prevent any wobbling or instability.

  3. Base Size and Shape: The base of the wood stove should be wide and flat enough to distribute the weight evenly, ensuring stability on various surfaces. A larger base will provide better stability, especially when using the stove on uneven or soft ground.

Testing and Using Your DIY Wood Stove

I’ve successfully tested and now use my DIY wood stove to cook meals while camping. It’s a simple yet effective solution for outdoor cooking. However, before using it, I took several testing techniques and safety precautions to ensure its efficiency and my own well-being.

Firstly, I conducted a leak test to ensure there were no air or gas leaks that could potentially cause a fire hazard. This involved pressurizing the stove and checking for any signs of leakage. I also tested its heat distribution by placing a pot of water on the stove and monitoring how evenly the heat was dispersed.

Advertisement

To further ensure safety, I implemented safety precautions such as maintaining a safe distance between the stove and any flammable objects, using heat-resistant gloves when handling the stove, and having a fire extinguisher nearby.

Using my DIY wood stove has been a game-changer for my camping trips. Not only does it provide a reliable cooking source, but it also allows me to enjoy the natural surroundings without relying on traditional campfire cooking methods. By following proper testing techniques and safety precautions, I can confidently cook my meals and enjoy the great outdoors.

Frequently Asked Questions

How Long Does It Take to Build a Wood Stove From a Jerry Can?

It takes about 2 hours to build a wood stove from a jerry can. The benefits of using a wood stove include cost-effective heating and a sustainable fuel source. Regular cleaning and maintenance ensure optimal performance.

Can I Use Any Type of Wood for the Base of the Wood Stove?

I can use different types of wood for the base of the wood stove, but it’s important to consider safety precautions when using it indoors. Proper ventilation and non-flammable materials are crucial.

Is It Safe to Use the Wood Stove Indoors?

Oh, using a wood stove indoors, what a brilliant idea! Let me enlighten you on the potential health hazards and share some precise tips for safely using one. Shall we begin?

Advertisement

Can I Paint the Jerry Can After Modifying It?

Yes, you can paint the modified jerry can using various painting techniques. It is important to choose a paint that can withstand high temperatures and adhere well to metal surfaces. Make sure to consider alternative fuel sources when painting for safety.

What Tools Do I Need to Build a Wood Stove From a Jerry Can?

To build a wood stove from a jerry can, I need a few tools like a jigsaw, drill, and metal file. Safety precautions are crucial, and alternative materials can be used if necessary.

Can I Use a Wood Stove Insert in a DIY Jerry Can Wood Stove?

When considering building a wood stove fireplace, it’s crucial to factor in the cost of materials and construction. However, if you’re planning to use a wood stove insert in a DIY Jerry Can Wood Stove, the cost of building a wood stove fireplace may decrease significantly. This alternative method combines affordability and practicality, making it an excellent choice for those seeking an alternative heating solution.

Can Duraflame Logs Be Used in a Wood Stove Made from a Jerry Can?

Can Duraflame logs be used in a wood stove made from a jerry can? Many DIY enthusiasts wonder about using Duraflame logs in a wood stove. While Duraflame logs are commonly used in traditional fireplaces, their use in a jerry can wood stove may not be ideal. It’s important to consider the safety and compatibility aspects of using duraflame logs in wood stoves specifically designed for them.

Conclusion

After carefully selecting the right jerry can, preparing and modifying it for ventilation, and adding sturdy legs and a stable base, your DIY wood stove is ready for testing and use.

Advertisement

With its compact design and efficient functionality, this wood stove provides a practical and cost-effective heating solution for outdoor activities or emergency situations.

Embrace the warmth and convenience of this homemade creation, bringing comfort and coziness wherever you go.

Continue Reading

Trending