Hello there!
Ever wondered how to make a wood stove chimney wall pass thru? Well, look no further! I’m here to guide you through the process step by step.
From choosing the perfect location to sealing and insulating the wall pass thru, I’ve got you covered.
So grab your tools, roll up your sleeves, and let’s get to work creating a safe and efficient wood stove chimney wall pass thru. It’s easier than you think!
Key Takeaways
- Consider the dimensions of the wood stove chimney and available wall space
- Prioritize safety by following local building codes and wearing protective gear
- Prepare the wall by clearing the area, checking for hidden wires or plumbing, and applying primer
- Install and secure the chimney pipe using durable brackets and regularly maintain it for safety and efficiency
Choosing the Right Location for the Wall Pass Thru
I think I’ll choose the location for the wall pass thru based on the most convenient and accessible spot in my home.
When choosing the right size for the wall pass thru, it’s important to consider the dimensions of the wood stove chimney and the available space on the wall. Measure the diameter of the chimney and ensure that the wall pass thru is large enough to accommodate it.
Additionally, take into account the safety precautions when selecting the location. Avoid placing the wall pass thru near flammable materials or in high-traffic areas where it could pose a risk.
It’s also essential to follow local building codes and regulations to ensure proper installation and safety.
Gathering the Necessary Tools and Materials
To successfully make a wood stove chimney wall pass thru, I need to gather all the necessary tools and materials. These include a drill, screws, wall pass thru kit, and a stud finder.
-
Safety precautions: Before starting the project, it’s crucial to prioritize safety. This includes wearing protective gear such as gloves and goggles, as well as ensuring that the area is well-ventilated to prevent any potential hazards.
-
Alternative materials: While a wall pass thru kit is commonly used, there are alternative materials that can be considered. For example, some individuals may choose to use heat-resistant insulation or fireproof bricks to create a barrier around the chimney wall pass thru.
-
Drill: A drill is essential for creating holes in the wall to accommodate the pass thru. It’s important to use the right drill bit size and follow the manufacturer’s instructions to ensure a secure and proper installation.
-
Stud finder: Using a stud finder is important to locate the studs in the wall. This ensures that the pass thru is anchored securely and provides stability for the wood stove chimney.
Preparing the Wall for the Chimney Pass Thru
Before beginning the installation process, it’s important to properly prepare the wall for the chimney pass thru by removing any obstacles and ensuring a smooth surface. This step is crucial to ensure a secure and efficient installation of the wood stove chimney. Here is a detailed guide on how to prepare the wall for the chimney pass thru:
-
Clear the area: Remove any furniture, decorations, or other obstacles from the wall where the pass thru will be located.
-
Check for electrical wires or plumbing: Before cutting into the wall, carefully inspect for any electrical wires or plumbing that may be hidden behind. It’s crucial to avoid damaging these systems.
-
Mark the pass thru location: Use a tape measure and level to mark the exact location of the chimney pass thru on the wall.
-
Create a smooth surface: Remove any wallpaper, paint, or other wall coverings from the marked area. Sand the surface to ensure it’s smooth and free from any bumps or imperfections.
-
Seal the wall: Apply a layer of primer to the prepared area to seal the wall and provide a suitable surface for the chimney installation.
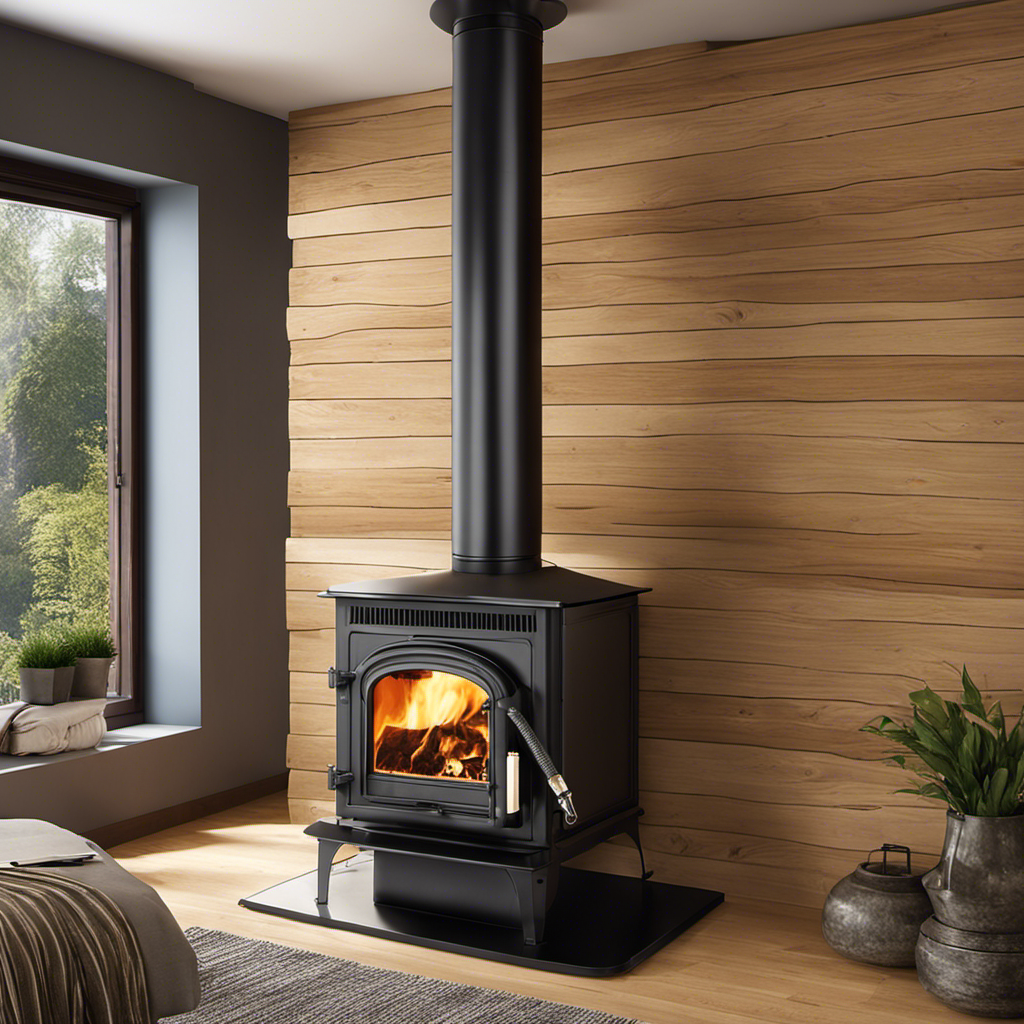
Installing and Securing the Chimney Pipe
After positioning the chimney pipe, I’ll secure it to the wall using brackets and screws. This step is crucial in ensuring the stability and safety of the chimney system. Here’s a step-by-step guide on how to properly secure the chimney pipe:
-
Choose the appropriate brackets: Select brackets that are designed specifically for securing chimney pipes to walls. These brackets are often made of durable materials such as stainless steel or galvanized steel.
-
Attach the brackets to the wall: Use a level to ensure that the brackets are perfectly vertical. Mark the screw hole locations on the wall and drill pilot holes. Secure the brackets to the wall using screws.
-
Slide the chimney pipe into the brackets: Carefully insert the chimney pipe into the brackets, making sure it’s centered and level.
-
Tighten the brackets: Use a screwdriver to tighten the screws on the brackets, ensuring a secure fit.
By following these steps, you can confidently install and secure the chimney pipe, allowing for proper ventilation and efficient operation of your wood stove.
Remember to regularly maintain the chimney pipe and install a chimney cap to prevent debris and animals from entering the system.
Sealing and Insulating the Wall Pass Thru
I am currently working on sealing and insulating the wall pass thru to ensure maximum energy efficiency.
When it comes to sealing techniques, I’m using a combination of caulk and foam to create an airtight seal around the pass thru. The caulk is applied along the edges of the pass thru, filling any gaps or cracks that may exist. This helps to prevent air leakage and heat loss.
Additionally, I’m using insulation methods to further enhance energy efficiency. I’m installing insulation batts around the pass thru, ensuring that there’s a snug fit to minimize any thermal bridging. This will help to keep the heat inside and prevent cold air infiltration.
Overall, these sealing and insulation techniques will greatly improve the energy efficiency of the wall pass thru.
Conclusion
After carefully choosing the optimal location for the wood stove chimney wall pass thru and gathering the necessary tools and materials, it’s crucial to properly prepare the wall for installation.
By following detailed instructions and securely installing and sealing the chimney pipe, the wood stove chimney wall pass thru will provide efficient and safe operation.
With proper insulation, this pass thru will ensure that your wood stove functions optimally while maintaining the integrity and visual appeal of your home.