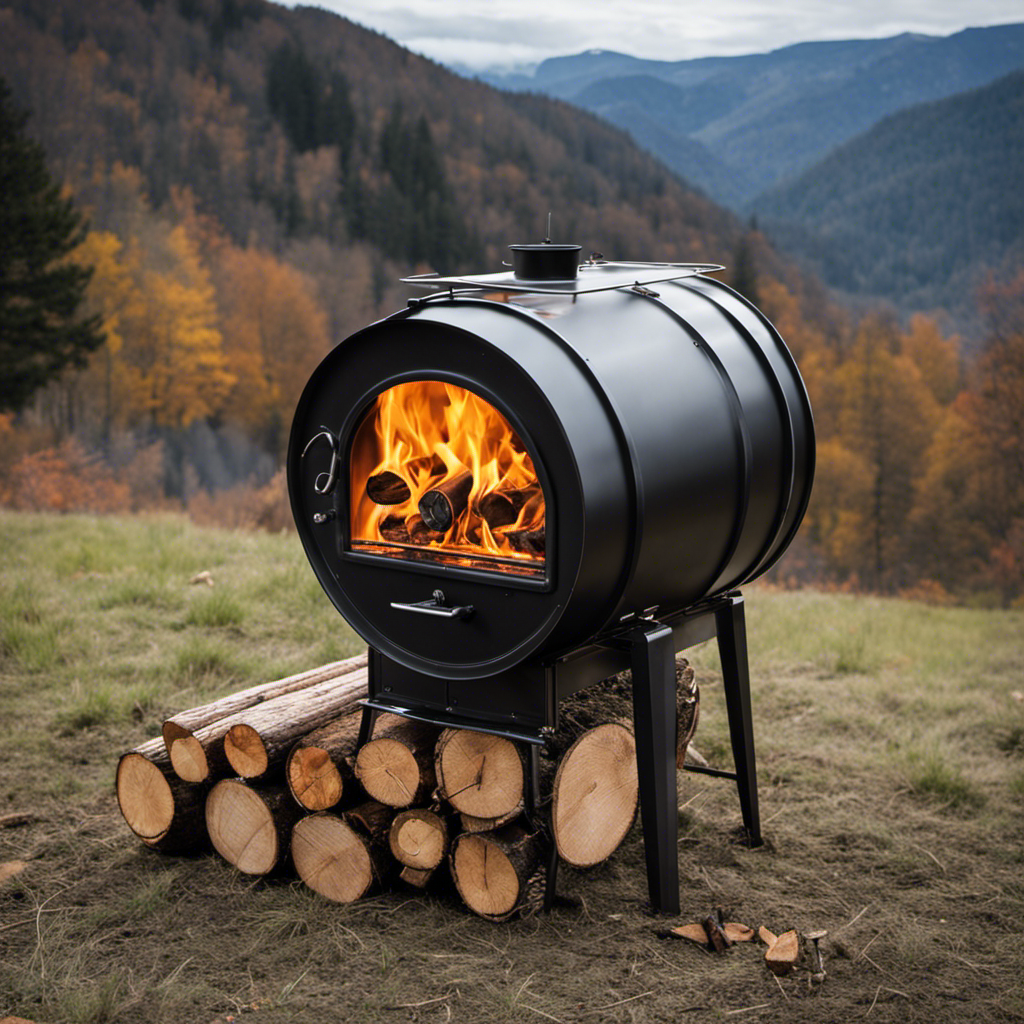
Hey there! Have you ever found yourself feeling cold while camping or during a blackout, wishing for some extra warmth? I have the perfect solution for you. In this article, I will guide you on how to make your own DIY wood stove, giving you the heat you need.
Don’t worry, it’s easier than you think! With some basic materials and tools, you’ll be cozy and toasty in no time.
So, let’s get started and bring some warmth into your life!
Key Takeaways
- Choose the right materials and tools, such as wood, a sturdy metal container, bricks or cinder blocks, heat-resistant bricks, and fire-safe insulation material.
- Follow proper construction guidelines, including securely positioning the base, considering the size and shape of the area, arranging bricks or cinder blocks stably, and insulating the firebox with firebricks or refractory cement.
- Adhere to safety regulations and building codes when constructing the chimney, ensuring proper height, using stainless steel chimney for durability, and insulating and sealing to prevent heat loss.
- Install ventilation and safety features like carbon monoxide detectors, ensuring air quality remains safe, using dry, seasoned wood for efficient burning, and maintaining the fire through regular wood addition, good airflow, and ash removal.

Selkirk 6" SureTemp 48” Long Chimney Pipe, Double Wall Stainless Steel Insulated Vent, Locking Band for Wood Stove, Fireplace, Furnace, Silver, 206148
Reliable Chimney Pipe: Selkirk SureTemp double-wall chimney pipe supports safe venting for wood, coal, oil, or gas heating…
As an affiliate, we earn on qualifying purchases.
As an affiliate, we earn on qualifying purchases.
Gathering Materials and Tools
I usually gather all the necessary materials and tools before starting any DIY project. When it comes to making a temporary wood stove, it’s important to choose the right wood and take precautions for indoor use.
For the base and firebox, I gather a few key items. First, I find a sturdy metal container that will serve as the firebox. Next, I gather bricks or cinder blocks to build the base. It’s crucial to ensure that the bricks are heat-resistant and won’t crack under high temperatures. Additionally, I gather fire-safe insulation material to line the inside of the firebox. This helps to contain the heat and prevent any potential fire hazards.
With all the necessary materials and tools gathered, it’s time to start building the base and firebox.

Fire Bricks, FireBrick, High Temperature Insulated Firebricks for Wood Stoves, Fireplaces, Size 9" X 4-1/2" X 1-1/4", Pack of 12, Wood Stove Bricks, Fireplace Brick
PERFECT FOR WOOD STOVES AND FIREPLACES: Our fire bricks are made from high-quality clay and are designed to…
As an affiliate, we earn on qualifying purchases.
As an affiliate, we earn on qualifying purchases.
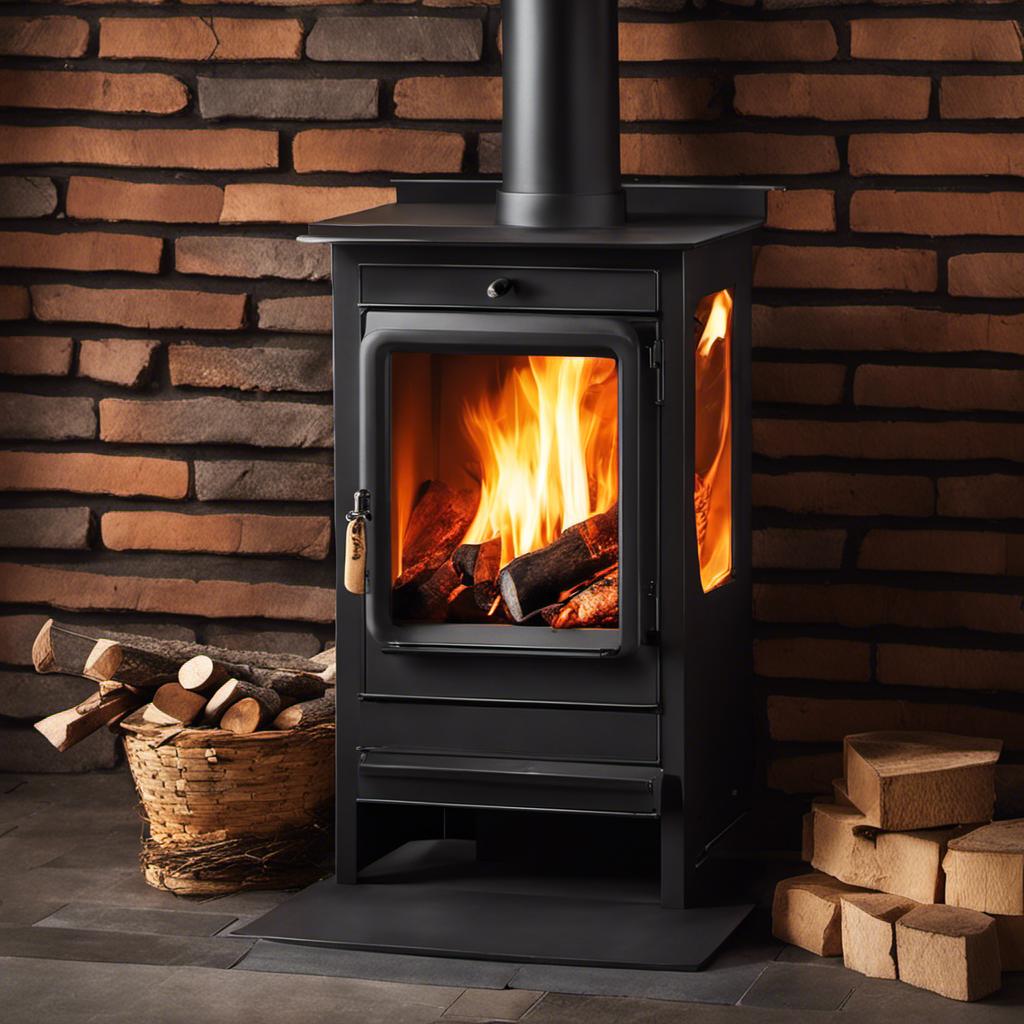
Building the Base and Firebox
The first step in building the base and firebox is to carefully position the bricks or cinder blocks. When designing the layout, it’s important to consider the size and shape of the area where the wood stove will be placed. The bricks or cinder blocks should be arranged in a sturdy and stable manner, ensuring that the base can support the weight of the stove.
Once the base is secure, the next step is to insulate the firebox. This can be done by lining the inside of the firebox with firebricks or refractory cement. Insulating the firebox helps to retain heat and prevent damage to the surrounding structure.
It’s crucial to follow proper safety guidelines and consult with professionals when building a wood stove to ensure a safe and efficient heating solution.

Fire Beauty Fire Starters Storage Box,Firelighter Storage Box,Metal Firelighters Container with Flip Top Lid
Safety: Metal firelighters container with flip top lid ideal for storing matches and firelighters at the side of…
As an affiliate, we earn on qualifying purchases.
As an affiliate, we earn on qualifying purchases.
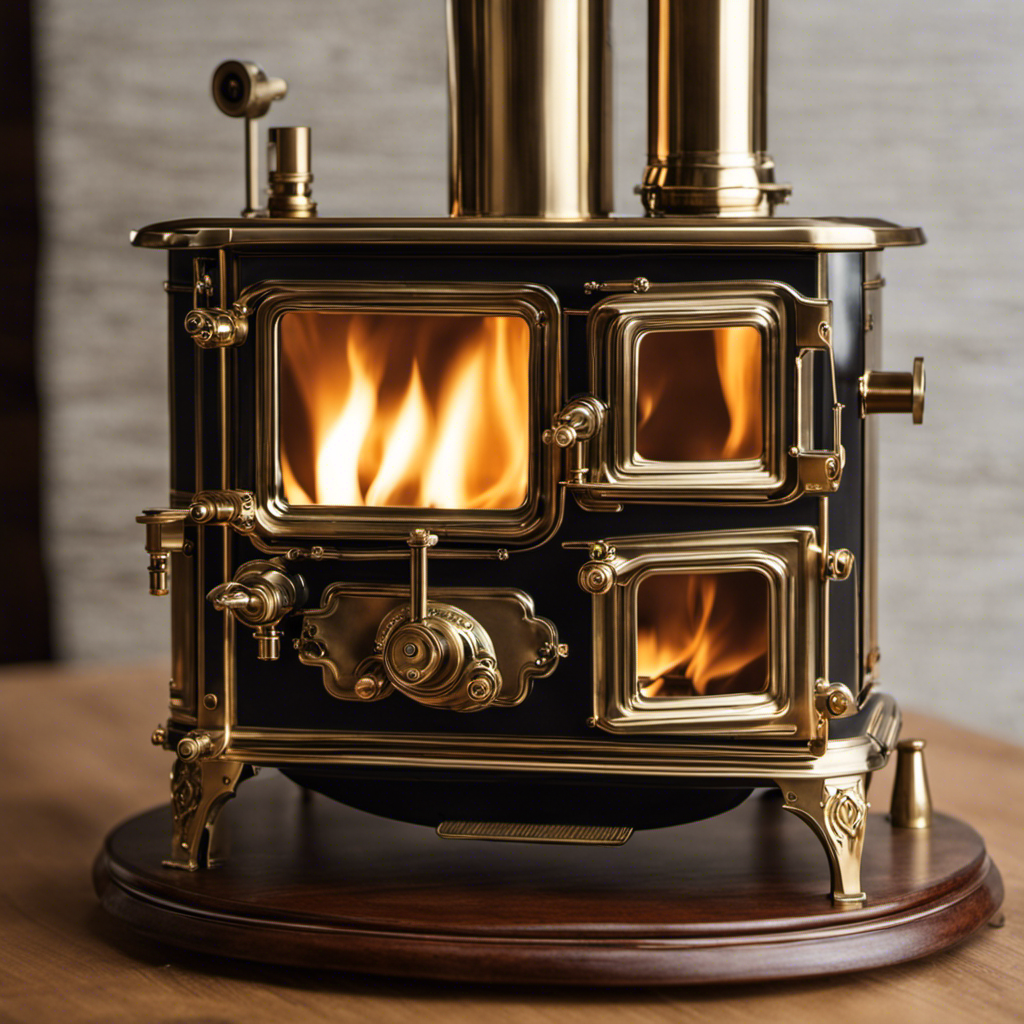
Constructing the Chimney
I’m currently working on installing the chimney for the wood stove, so I need to figure out the best way to attach the metal flue to the top of the firebox.
When it comes to chimney height, it’s crucial to follow safety regulations and local building codes. Generally, the chimney should extend at least three feet above the highest point where it passes through the roof. This ensures proper draft and prevents smoke from entering the living space.
As for chimney materials, stainless steel is a popular choice due to its durability and resistance to corrosion. It’s important to use the appropriate size and type of chimney pipe, following the manufacturer’s guidelines for installation.
Additionally, proper insulation and sealing are essential to prevent heat loss and maintain efficiency.

24" x12"x1" (Thick) Ceramic Fiber Blanket Fireproof Insulation Baffle Rated to 2400F, High-Temperature Resistance for Oven Stoves, Kilns, Forges
Ceramic Fiber Insulation is high-temperature resistance, insulated, and fireproof. It is rated to 2400F so that it can…
As an affiliate, we earn on qualifying purchases.
As an affiliate, we earn on qualifying purchases.
Adding Ventilation and Safety Features
One important safety feature to consider when adding ventilation to the wood stove is installing a carbon monoxide detector near the stove to ensure the air quality remains safe. Carbon monoxide is a colorless and odorless gas that can be produced by the incomplete combustion of wood. It can be extremely dangerous, leading to symptoms like headaches, dizziness, and even death.
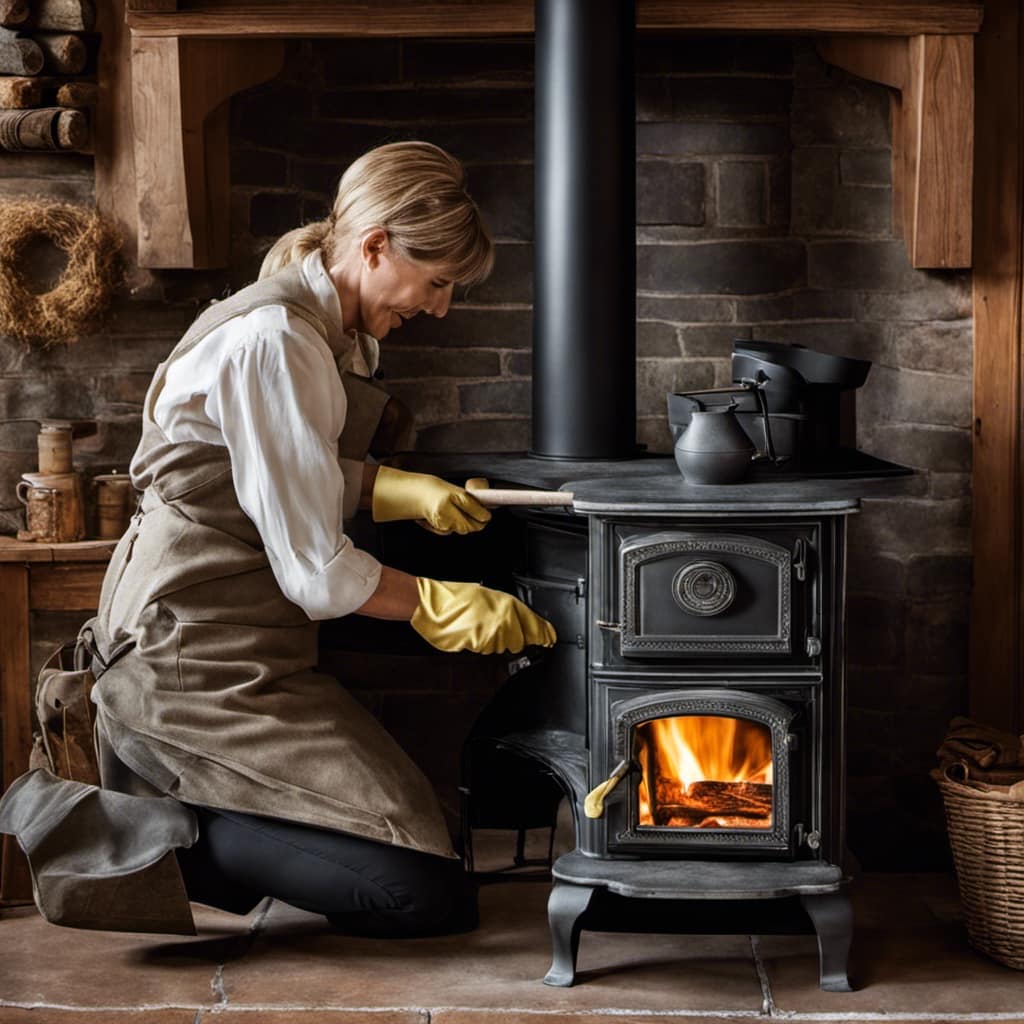
Lighting and Maintaining the Fire
After adding kindling to the wood stove, I’ll carefully light the fire with a match and ensure it continues to burn by regularly adding more wood.
When it comes to firewood selection, it’s important to choose dry, seasoned wood. Green or wet wood can produce excessive smoke and reduce the efficiency of the fire. Hardwood like oak or maple burns longer and produces more heat compared to softwood like pine.
Proper fire maintenance is essential for a safe and efficient fire. I’ll make sure to keep the firewood stacked nearby, so it’s easily accessible. It’s crucial to maintain a good airflow by not overcrowding the firebox and regularly removing ash buildup.
Additionally, I’ll use a fireplace screen to prevent sparks from flying out and keep a fire extinguisher nearby for any emergencies.
Can a Temporary Wood Stove Have Enough Draft?
Wood stove draft levels can be sufficient in a temporary setup. Ensuring proper ventilation and chimney height is crucial. Adequate draft guarantees efficient combustion and reduces smoke or carbon monoxide buildup indoors. It’s important to monitor and maintain the ideal wood stove draft levels for optimal performance and safety.
Conclusion
In the flickering glow of the homemade wood stove, I found solace in the warmth it provided. Symbolizing resilience and resourcefulness, this temporary creation proved that with the right tools and materials, anything is possible.
As the smoke swirled up the chimney, it reminded me of the power of human ingenuity. With careful construction and proper maintenance, this humble stove can be a reliable source of heat and comfort in times of need.