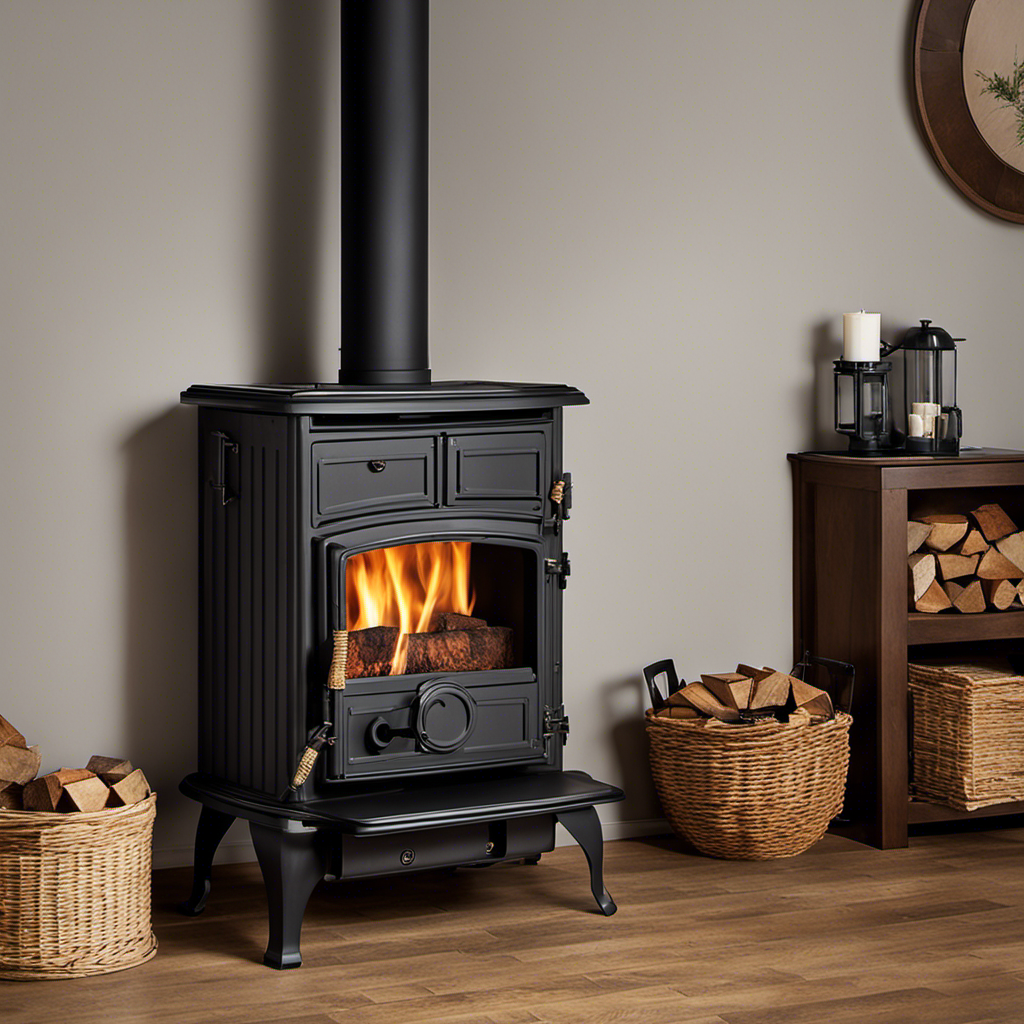
I have exciting news for all the wood stove fans. Were you aware that you could save a significant amount of money by constructing a chimney for your freestanding wood stove yourself? It’s true! Following a few basic instructions, you can create a chimney that is both safe and effective, ensuring your home stays warm and cozy throughout the winter.
In this article, I’ll guide you through the process of choosing the right materials, determining the proper height, installing the chimney pipe, sealing and insulating, and maintaining your chimney for optimal safety.
Let’s get started!
Key Takeaways
- Choose the right chimney materials and size based on the wood stove’s BTU output.
- Determine the proper chimney height considering the size and type of wood stove, roof slope, and clearance distance.
- Install the chimney pipe correctly, ensuring proper airflow and a secure connection.
- Seal and insulate the chimney to improve energy efficiency, prevent moisture damage, and reduce the risk of carbon monoxide leaks and animal entry.

DuraVent Single Wall Steel Wood Burning Adjustable Pipe, 48×6 Inch DuraBlack Chimney Stove Connector to Vent Smoke and Exhaust, Black, 6DBK-48SS
Efficient Smoke Venting: Keep your home clean and smoke-free while enjoying your wood-burning stove. This single-wall pipe vents…
As an affiliate, we earn on qualifying purchases.
As an affiliate, we earn on qualifying purchases.
Choosing the Right Chimney Materials
I need to research which chimney materials will be the best choice for my stand alone wood stove.
When choosing the right chimney materials, it’s important to consider the size of the chimney and the installation process.
The size of the chimney should be determined based on the BTU output of the wood stove. A general rule is that for every 10,000 BTUs, the chimney should have a diameter of 6 inches. However, it’s always recommended to consult a professional to ensure the correct sizing.
As for the installation process, it’s crucial to choose materials that are suitable for high temperatures, such as stainless steel or double-wall insulated pipe. These materials will provide proper ventilation and prevent any potential fire hazards.
Overall, thorough research and professional advice are essential when choosing the right chimney materials for your stand alone wood stove.
double wall insulated chimney pipe
As an affiliate, we earn on qualifying purchases.
As an affiliate, we earn on qualifying purchases.
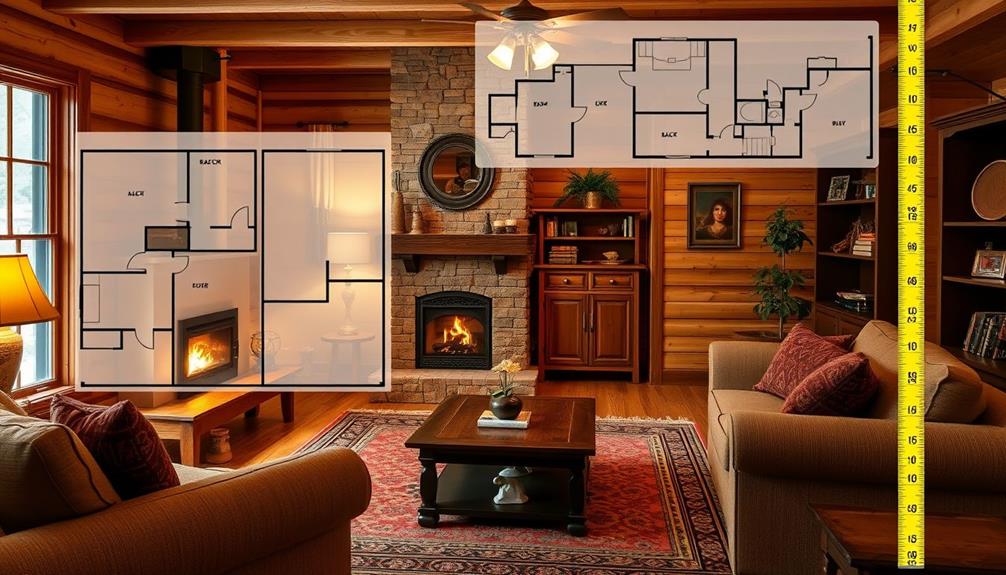
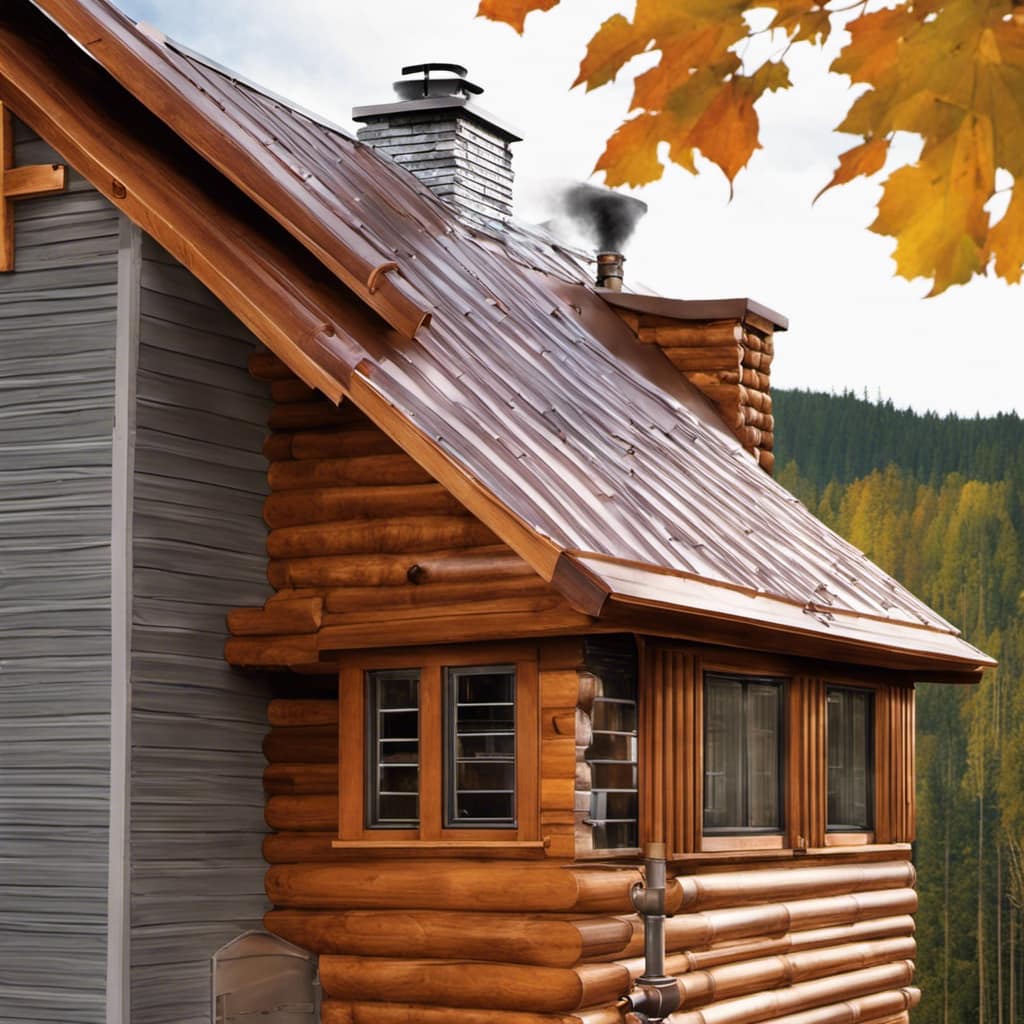
Determining the Proper Chimney Height
One must consider their specific needs and consult an expert to determine the proper chimney height for their stand alone wood stove. Calculating the chimney draft and measuring clearance distance are crucial steps in this process. Here are some key points to help you understand the importance of determining the proper chimney height:
Calculating Chimney Draft:
Consider the size and type of wood stove you have.
Take into account the height and slope of your roof.
Calculate the draft requirements based on the stove’s BTU output.
Measuring Clearance Distance:
Ensure proper clearance from combustible materials.
Follow manufacturer guidelines for minimum clearance distances.
Consider local building codes and regulations for chimney height requirements.
Determining the proper chimney height is essential for the safe and efficient operation of your wood stove. Once you have this information, you can proceed with confidence to the next step – installing the chimney pipe.
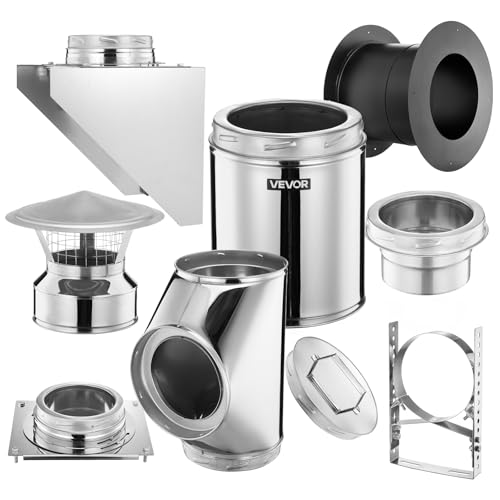
VEVOR Through the Wall Kit for 6-Inch Chimney Pipe, 304 Stainless Steel External Through Wall Chimney Kit with Cone-Top Rain Cap,Adjustable Mounting Bracket,Base Support for Outdoor Roof,Silver
Complete Kit: Includes 1 straight pipe, 1 fixed wall bracket, 1 adjustable wall bracket, 1 tee with cap,…
As an affiliate, we earn on qualifying purchases.
As an affiliate, we earn on qualifying purchases.
Installing the Chimney Pipe
To properly install the chimney pipe, I’ll need to secure it with both screws and clamps.
The first step is choosing the right pipe diameter. This is crucial to ensure proper airflow and efficiency. Measure the diameter of the stove collar and select a chimney pipe with the same size.
Next, I’ll connect the chimney to the stove. Start by attaching the chimney pipe to the stove collar using screws. Make sure to tighten them securely to prevent any leaks. Additionally, use clamps to reinforce the connection and provide added stability.
It’s important to follow the manufacturer’s instructions and guidelines for both the screws and clamps to ensure a safe and effective installation.
chimney pipe installation accessories
As an affiliate, we earn on qualifying purchases.
As an affiliate, we earn on qualifying purchases.
Sealing and Insulating the Chimney
Sealing and insulating the chimney ensures maximum efficiency and prevents any heat loss. It’s important to address common chimney problems to maintain the functionality of the chimney system. Here are some benefits of professional chimney sealing:
Improved Energy Efficiency:
Sealing the chimney prevents air leaks and drafts, ensuring that the heat generated by the fireplace or wood stove stays inside the home.
This helps reduce energy consumption and lowers heating costs.
Protection Against Moisture:
Professional chimney sealing helps prevent moisture from entering the chimney system, which can cause damage such as rusting, deterioration of masonry, and chimney leaks.
Moisture can also lead to the growth of mold and mildew, which can be harmful to health.
Increased Safety:
A properly sealed chimney reduces the risk of carbon monoxide leaks into the home.
It also prevents the entry of animals and birds, which can build nests and block the chimney, posing a fire hazard.
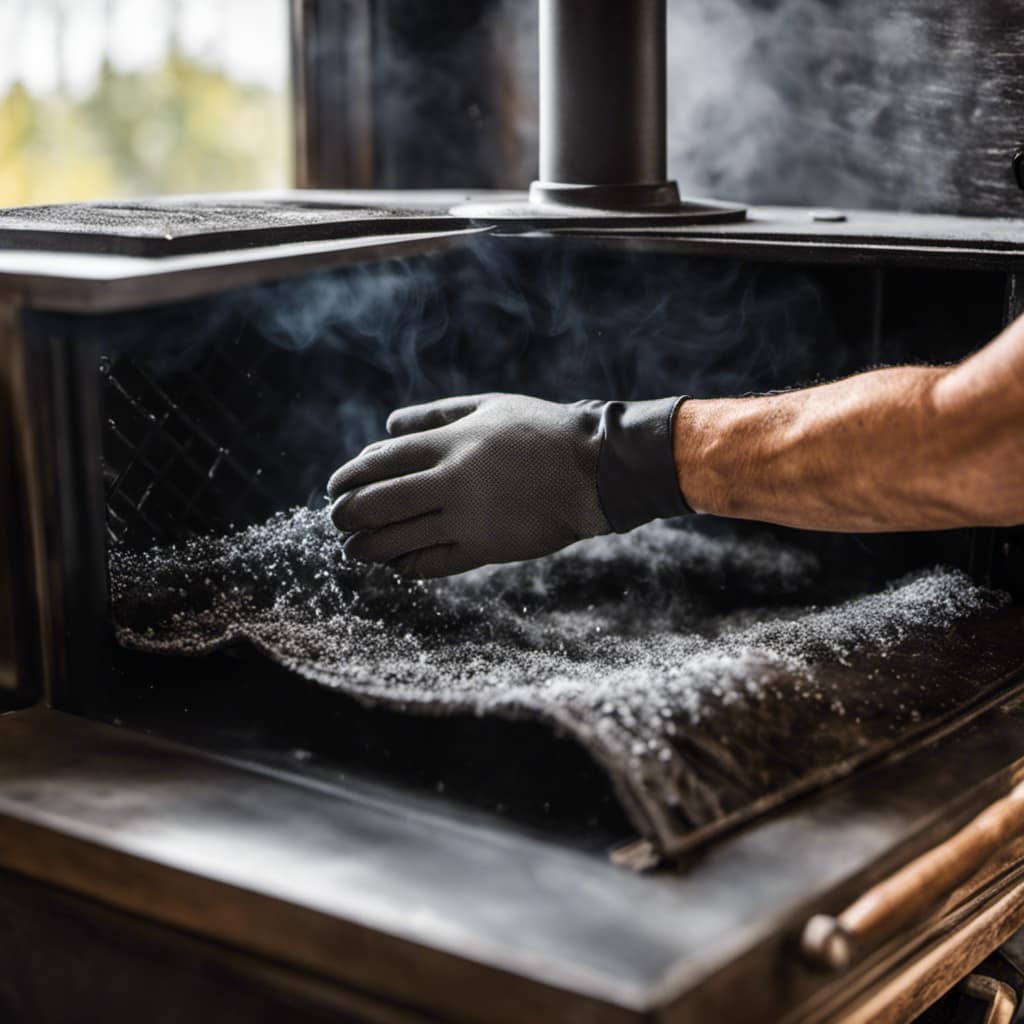
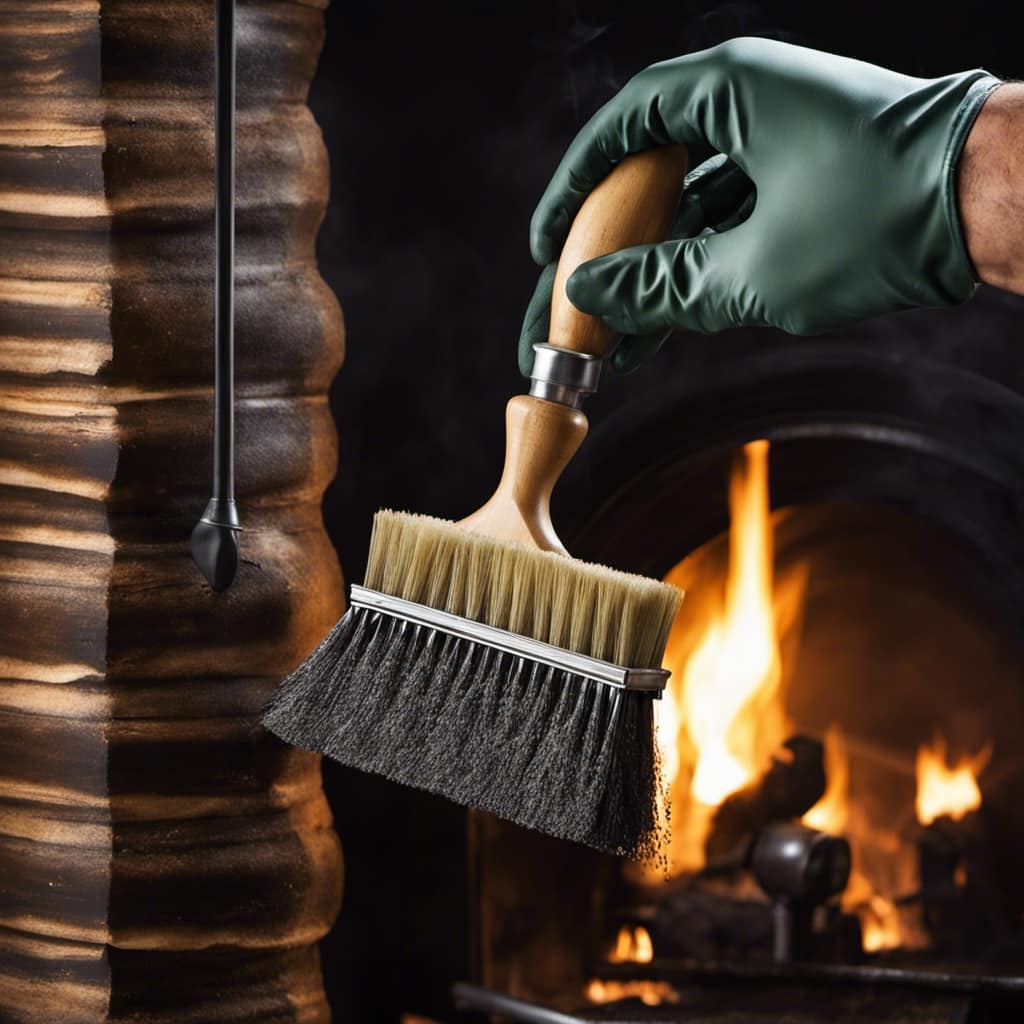
Properly Maintaining Your Chimney for Safety
I always make sure to regularly clean and inspect my chimney for safety purposes. The importance of regular chimney inspections cannot be overstated. Neglecting proper maintenance can lead to serious issues such as chimney fires, carbon monoxide leaks, and structural damage. To emphasize this point, let’s take a look at some common chimney maintenance mistakes to avoid:
| Mistake | Explanation | Solution |
|---|---|---|
| Neglecting regular cleaning | Creosote buildup can lead to chimney fires | Schedule professional chimney cleaning annually |
| Ignoring cracks and leaks | Water damage can weaken the chimney structure | Repair cracks and leaks promptly |
| Failing to install a chimney cap | Allows animals and debris to enter the chimney | Install a chimney cap to prevent blockages |
| Skipping annual inspections | Hidden issues can go unnoticed | Have your chimney inspected annually by a professional |
| Using improper fuel | Burning the wrong type of wood can cause excessive soot and creosote buildup | Only burn dry, seasoned wood in your fireplace or stove |
Frequently Asked Questions
How Much Does It Cost to Install a Chimney for a Stand-Alone Wood Stove?
Installing a chimney for a stand-alone wood stove can vary in cost depending on factors like materials, labor, and location. A cost breakdown and comparison of DIY versus professional installation can help determine the most cost-effective option.
Can I Use a Chimney Liner for My Stand-Alone Wood Stove?
Using a chimney liner for a stand-alone wood stove is a smart choice. It provides numerous benefits such as improved draft, increased efficiency, and reduced creosote buildup. Plus, it’s a cost-effective alternative to building a chimney from scratch.
What Are the Common Causes of Chimney Fires and How Can They Be Prevented?
Common causes of chimney fires include creosote buildup, improper installation, and burning unseasoned wood. To prevent chimney fires, regular chimney cleanings, using properly seasoned wood, and ensuring proper installation are essential.
Is It Necessary to Have a Chimney Cap for a Stand-Alone Wood Stove?
No, it is not necessary to insulate a chimney for a stand-alone wood stove. However, it is important to have a chimney cap to prevent debris and animals from entering. It is also possible to connect a stand-alone wood stove to an existing chimney.
Are There Any Specific Building Codes or Regulations That Need to Be Followed When Installing a Chimney for a Stand-Alone Wood Stove?
When installing a chimney for a stand-alone wood stove, it is important to adhere to specific building code requirements and safety regulations. These guidelines ensure proper installation and minimize the risk of fire hazards.
Can Putting Out a Wood Stove Fire Affect the Chimney for a Stand Alone Wood Stove?
Yes, putting out a wood stove fire can affect the chimney for a stand alone wood stove. When the fire is extinguished, the chimney can cool down rapidly, causing a draft reversal and potentially drawing smoke and soot back into the house. It’s important to let the fire burn itself out naturally to avoid this issue.
Conclusion
In conclusion, building a chimney for a stand-alone wood stove requires careful consideration of materials, height, installation, sealing, insulation, and maintenance. Like a sturdy backbone, the chimney provides the vital pathway for smoke to escape, ensuring the safety and efficiency of your wood stove.
By choosing the right materials, following proper installation techniques, and regularly maintaining your chimney, you can create a warm and inviting atmosphere while keeping your home safe from potential hazards.