Did you know that by upgrading the blower on your wood stove, you could increase its efficiency by up to 30%?
If you’re ready to start saving on energy costs and enjoying a warmer home, you’ve come to the right place.
In this article, I’ll guide you through the step-by-step process of installing a wood stove replacement blower.
With the right tools and a little know-how, you’ll have your blower up and running in no time.
Let’s get started!
Key Takeaways
- Determine the size and capacity based on stove specifications
- Use provided mounting brackets for secure attachment
- Follow manufacturer’s instructions for safe installation
- Adjust speed settings for efficient air circulation

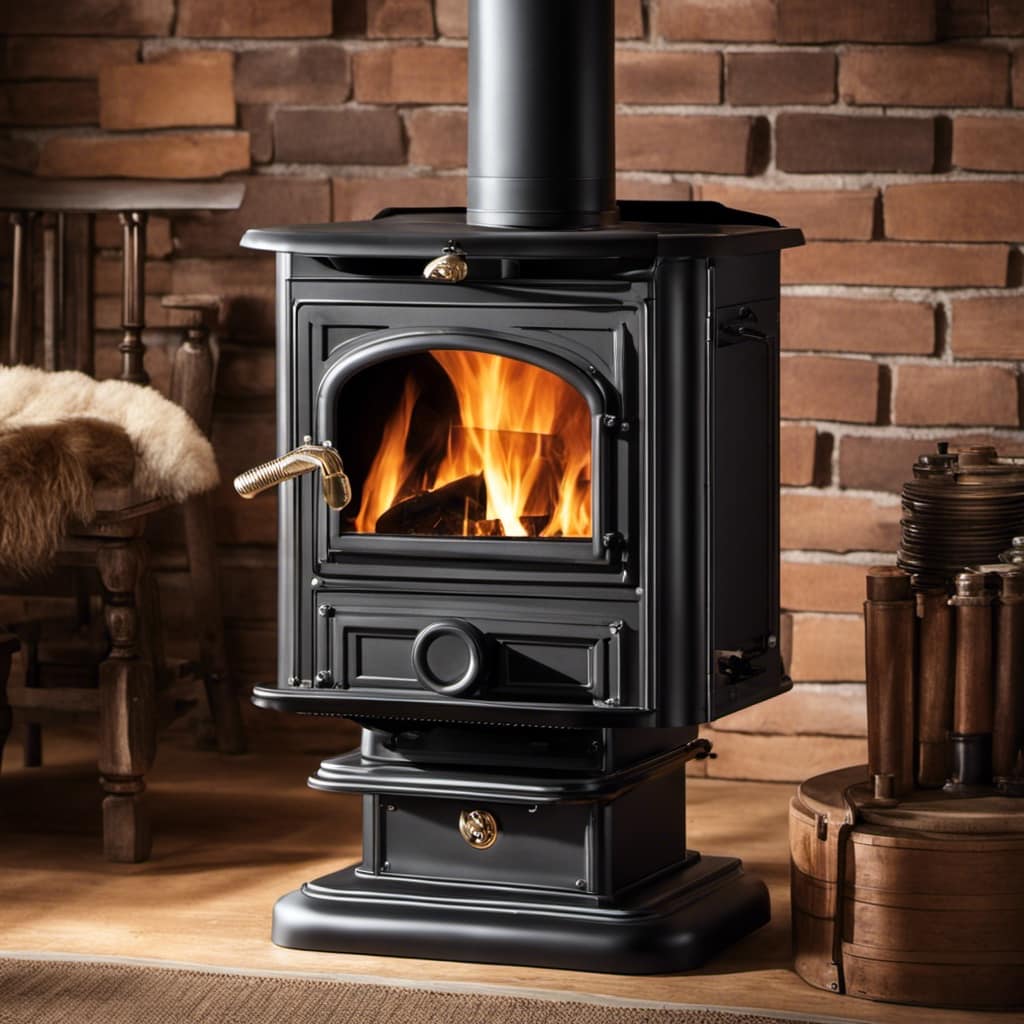
S31105 Speed Variable Fireplace Blower Fan for GHP Group,Monessen, Majestic (MHSC Brands), Majestic Dutchwest Windsor, CFM US Century Plate Steel Freestanding Wood Stove Fireplace, Wood Stove Blower
【Package Included】The Fireplace Blower Fan includes replacement blower, 4 Mounting Hardware Screws and 1 Heat Gasket. Perfect for…
As an affiliate, we earn on qualifying purchases.
As an affiliate, we earn on qualifying purchases.
Choosing the Right Wood Stove Replacement Blower
I’m currently researching which wood stove replacement blower would be the best option for my home. When selecting the appropriate blower, there are a few key factors to consider.
First, you need to determine the size and capacity of the blower that will suit your wood stove. This can be done by checking the specifications of your stove and matching it with a blower that has the appropriate airflow rating.
Additionally, it’s crucial to ensure that the blower is compatible with your specific stove model. Proper installation techniques are also of utmost importance. The blower should be securely attached to the stove using the provided mounting brackets.
It’s essential to follow the manufacturer’s instructions carefully to guarantee a safe and efficient installation.
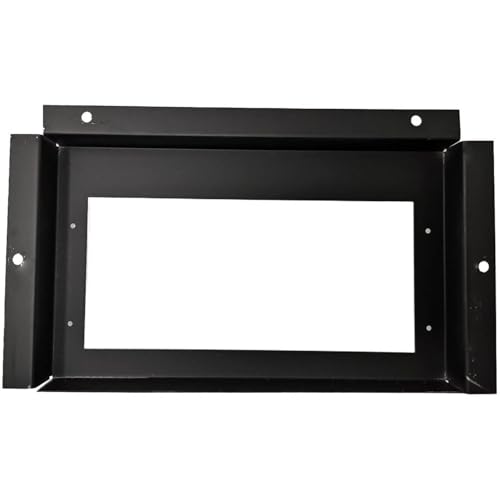
Blower Mounting Frame: 25598B Compatible with US Stove
Compatible Replacement for Part # 25598 and 25598B
As an affiliate, we earn on qualifying purchases.
As an affiliate, we earn on qualifying purchases.
Gathering the Necessary Tools and Materials
I’ve made a list of all the tools and materials needed to install the wood stove replacement blower. Here are the essential items you’ll need:
- Screwdriver: A screwdriver is crucial for removing and attaching screws during the installation process.
- Wire cutters: You’ll need wire cutters to trim any excess wires and ensure a clean and secure connection.
- Electrical tape: Electrical tape is necessary for insulating and protecting the electrical connections.
Proper maintenance for wood stove blowers is vital to ensure their optimal performance. Regularly cleaning the blower and lubricating its moving parts will help prevent issues such as motor failure or noisy operation.
If you encounter common issues with wood stove blowers, troubleshooting them can save you time and money. Some common problems include a blower not turning on, weak airflow, or unusual noises. Troubleshooting involves checking the power supply, inspecting the blower wheel, and cleaning or replacing the blower motor if necessary.


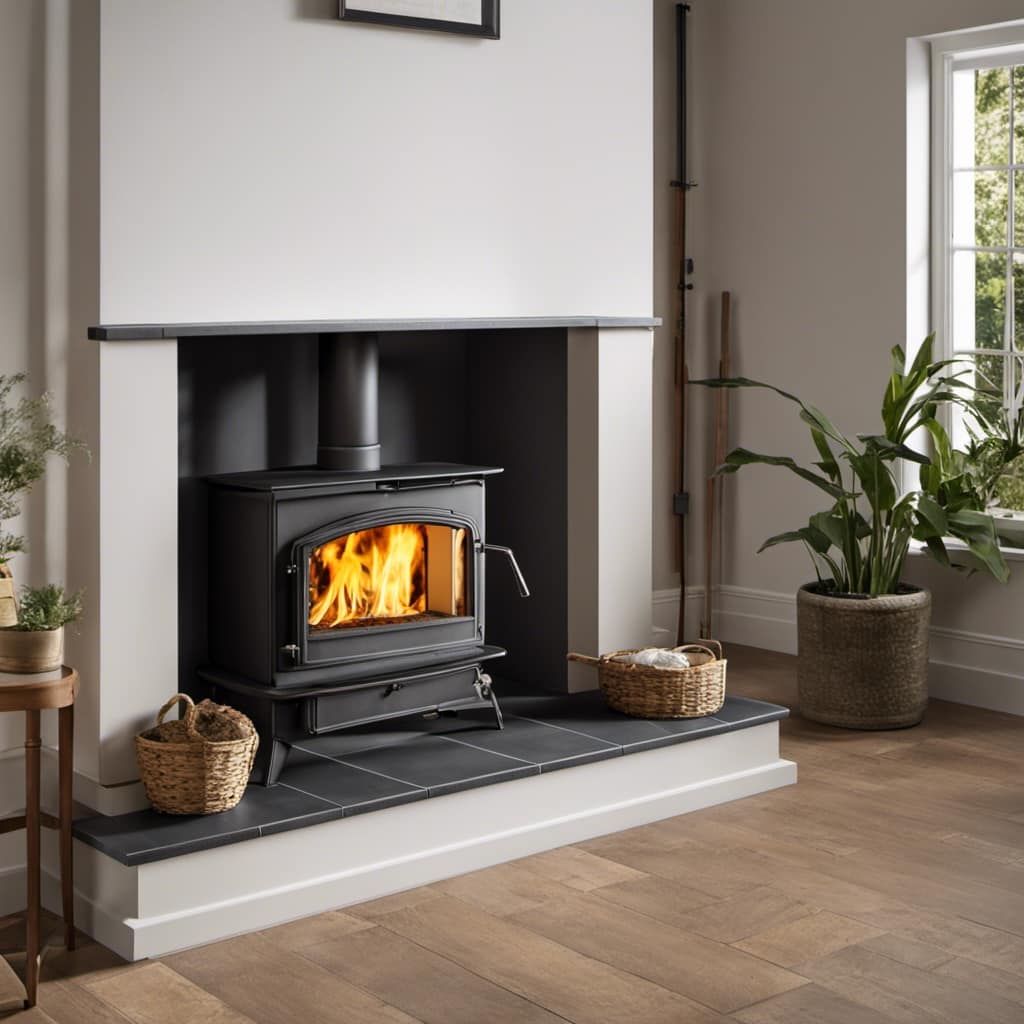
JossaColar Wood Stove Fan Heat Powered Fireplace Fan Non Electric, Thermal Fan for Wood Burning Stove/Log Burner, w/Stove Accessories Thermometer
【Heat Powered Stove Fan】JossaColar heat activated is poered by heat and no need batteries, can be used for…
As an affiliate, we earn on qualifying purchases.
As an affiliate, we earn on qualifying purchases.
Removing the Old Blower Assembly
To remove the old blower assembly, I’ll need to disconnect the wires and unscrew the mounting bolts. The disassembling process requires careful attention to detail to ensure a successful removal.
First, I’ll identify the wires connected to the blower and safely detach them, taking note of their positions for reassembly later. Once the wires are disconnected, I can proceed to unscrew the mounting bolts that secure the blower assembly in place. It’s important to keep track of the bolts and any accompanying washers or nuts to avoid misplacement.
During this process, it’s common to encounter rusted or stuck bolts. Applying penetrating oil and using the appropriate tools can help overcome this challenge.
Troubleshooting tips include inspecting the blower for any signs of damage or wear, and checking the motor for excessive heat or abnormal noises.

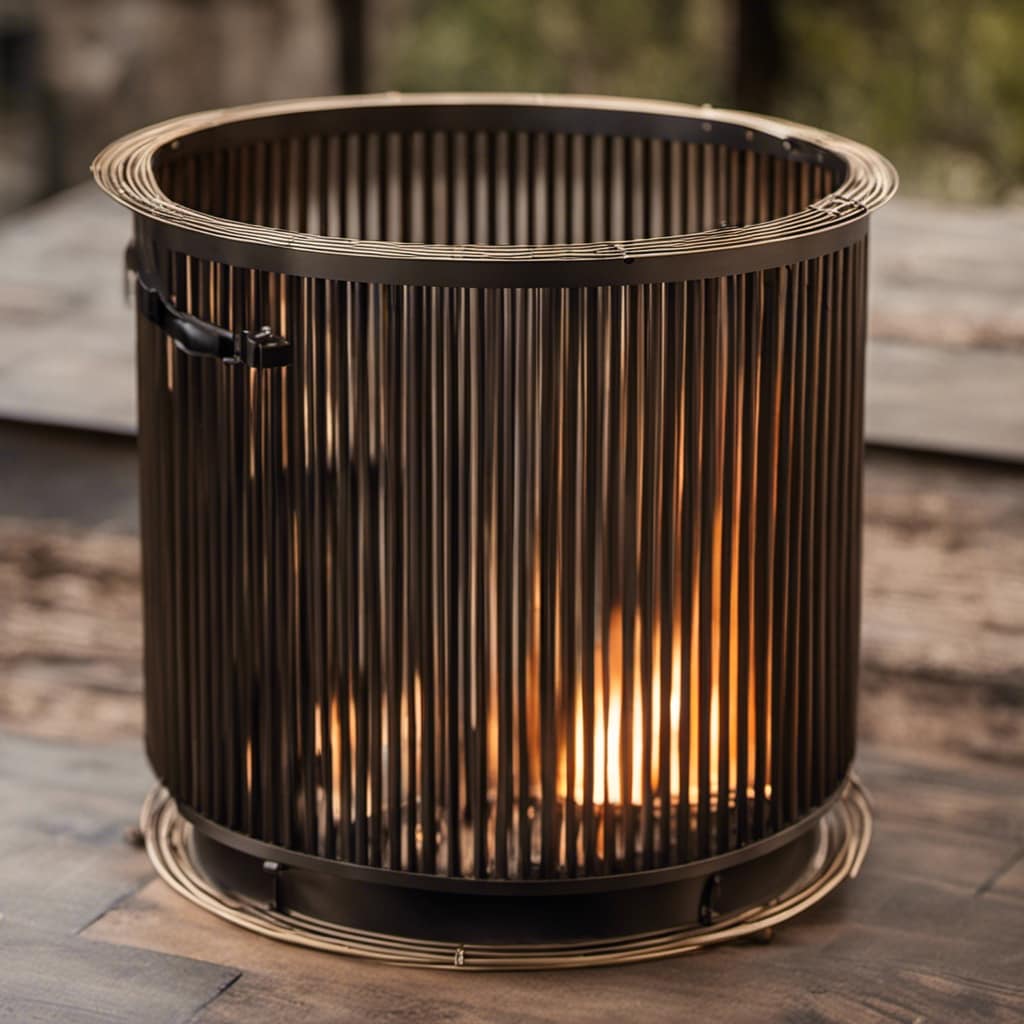
Criditpid Magnetic Thermostat Switch with High Temperature Resistant Wire for Fireplace Blower Fan Kit, Variable Speed Fan Speed Control Rheostat Switch for Stove Blower
【Designed for Fireplace Stove Blower Fan】: Magnetic Thermostat Switch with High Temperature Resistant Wire, ideal to use for…
As an affiliate, we earn on qualifying purchases.
As an affiliate, we earn on qualifying purchases.
Installing the New Wood Stove Replacement Blower
After successfully removing the old blower assembly, I’ll now begin installing the new wood stove replacement blower.
First, I will carefully connect the wires and make sure they are properly secured. This step is crucial for the blower motor to function correctly and avoid any electrical accidents.
Next, I will secure the blower with the mounting bolts. It is important to double-check the alignment of the blower motor with the bolts to ensure a secure fit. If the blower is loose, it can cause noise and vibrations, affecting its performance.
Installing a blower motor can greatly improve the efficiency and performance of your wood stove. It helps distribute heat more evenly throughout your space, providing better warmth and comfort.
To ensure a successful installation, it is essential to carefully read the manufacturer’s instructions. This will help you understand the specific requirements and prevent any potential damage to the blower motor.
Before starting the installation, always make sure to turn off the power to the stove. This will ensure your safety and prevent any electrical accidents during the process.
Testing and Adjusting the Blower for Optimal Performance
While testing the blower for optimal performance, I’ll adjust the speed settings to ensure efficient air circulation throughout the space. Adjusting the blower speed is crucial in troubleshooting common blower issues and maximizing its effectiveness. By fine-tuning the speed settings, I can address problems such as inadequate air movement or excessive noise.
If the blower isn’t providing sufficient airflow, increasing the speed can help enhance the circulation and distribute heat evenly. On the other hand, if the blower is generating excessive noise, reducing the speed can mitigate this issue. It’s important to find the right balance between air circulation and noise level to achieve optimal performance.
Frequently Asked Questions
How Much Does a Wood Stove Replacement Blower Typically Cost?
Typically, the cost of a wood stove replacement blower varies depending on the brand and features. To get the best value, it’s important to do a cost comparison and consider reputable brands.
Can I Install a Wood Stove Replacement Blower on My Own, or Should I Hire a Professional?
Installing a wood stove replacement blower is a task that can be done DIY, but it’s wise to consider the benefits of hiring a professional. Their expertise ensures a precise and technical installation, giving you peace of mind.
What Are the Signs That Indicate My Wood Stove Blower Needs to Be Replaced?
If your wood stove blower is failing, there are signs to look out for. Troubleshoot the issue by checking for weak airflow, strange noises, or a blower that won’t turn on. It may be time for a replacement.
Are There Any Safety Precautions I Should Take When Installing a Wood Stove Replacement Blower?
When installing a wood stove replacement blower, it’s crucial to prioritize safety precautions. Follow manufacturer instructions, ensure proper ventilation, and use protective gear. Additionally, consider hiring a professional for assistance to ensure a secure and efficient installation.

Can I Use a Wood Stove Replacement Blower From a Different Brand or Model?
Yes, you can use a wood stove replacement blower from a different brand or model. However, it is important to ensure compatibility to prevent any damage or malfunctions. Upgrading your blower can provide improved efficiency and heat distribution.
Conclusion
In the quest for warmth and efficiency, installing a wood stove replacement blower is an essential step. By choosing the right blower and following the correct installation process, you can ensure optimal performance and a cozy atmosphere in your home.
Remember, just as the blower breathes new life into your wood stove, so too can small changes in our lives bring about transformative results. Embrace the power of change and let the warmth of the wood stove guide you towards a brighter future.