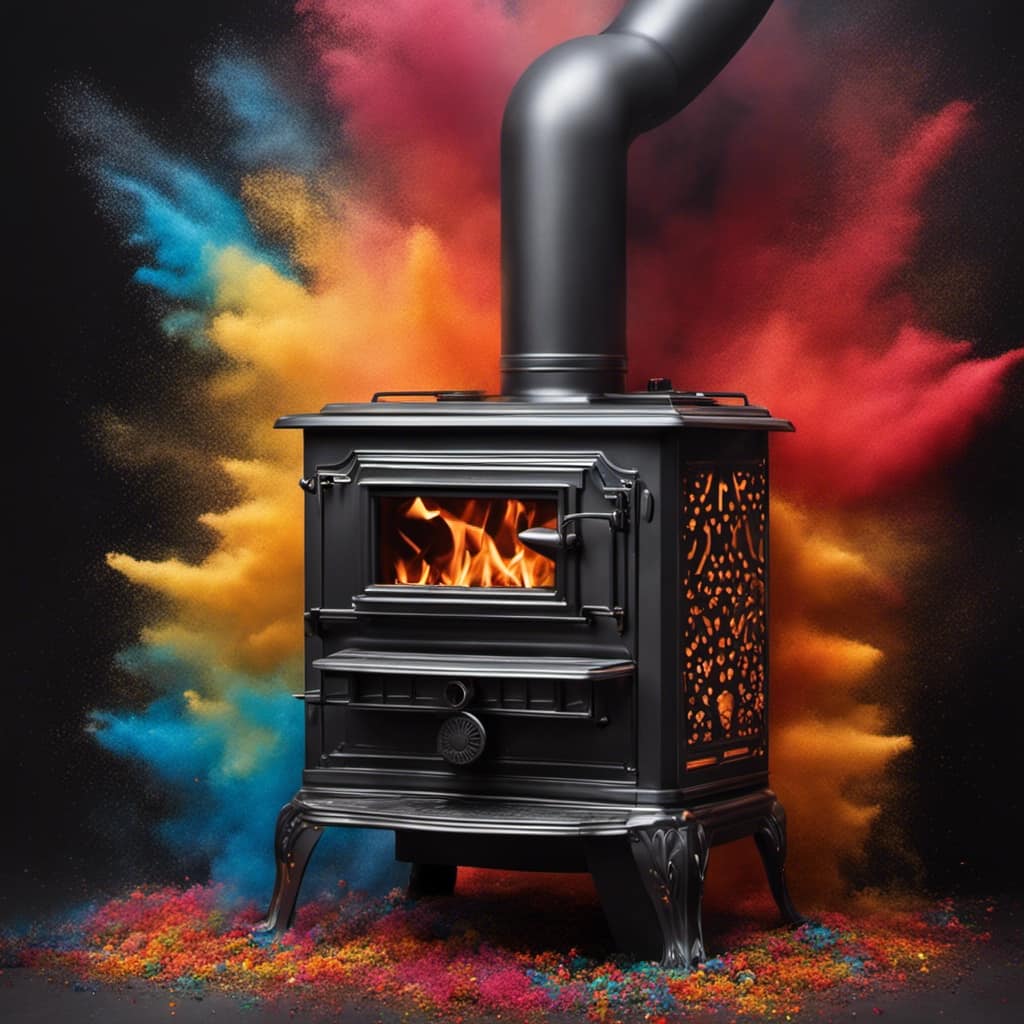
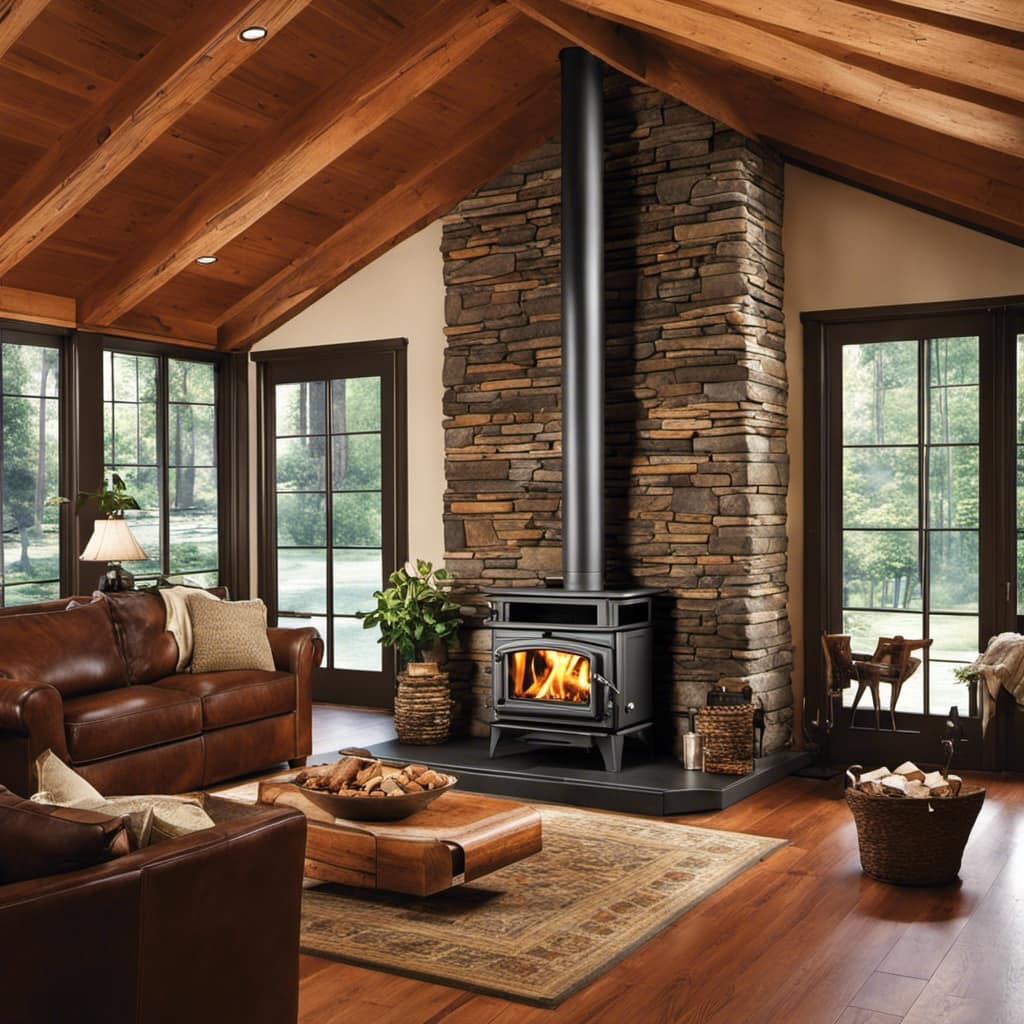
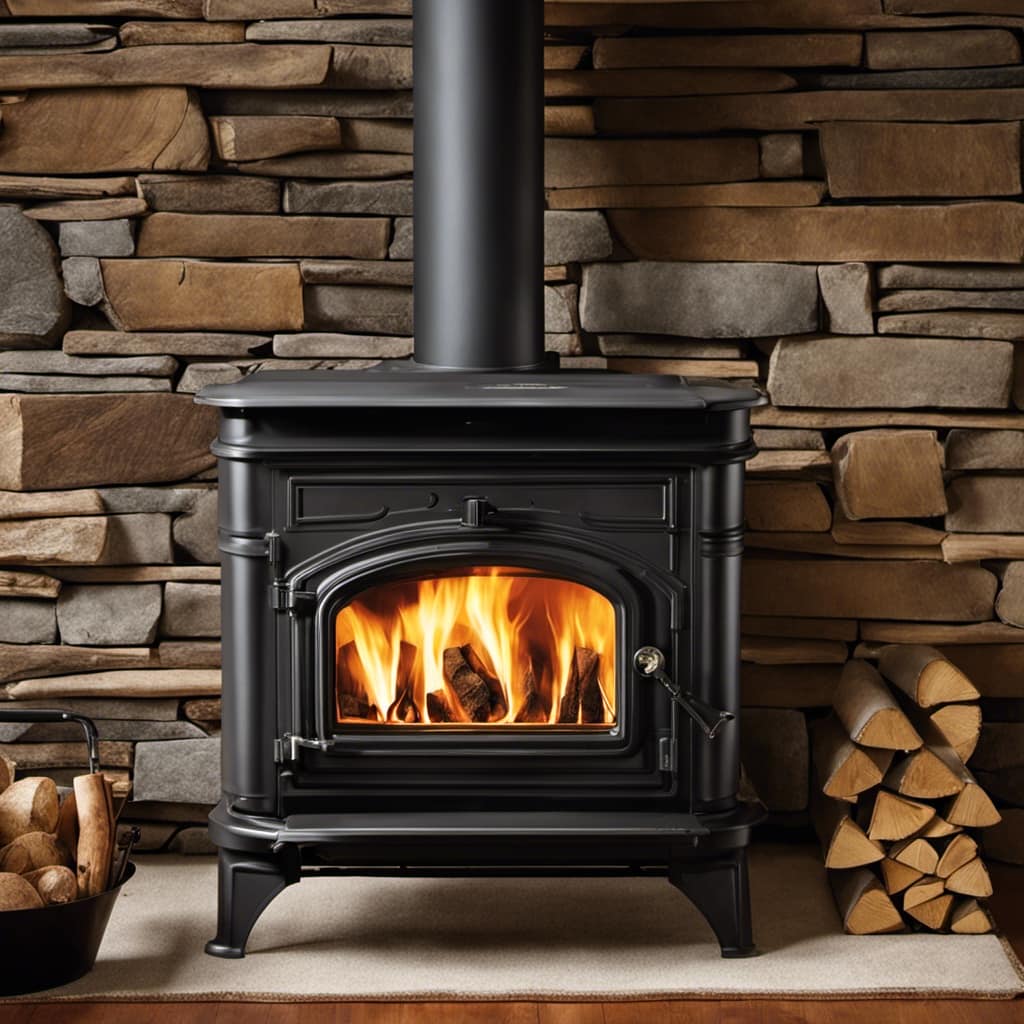
Connect with us

Wood Stove

How To Install Wood Stove Insert

Published

on


The cozy crackling of a wood fire has long been a treasured sound to me, prompting my decision to go for the installation of a wood stove insert in my home. At first, the project appeared daunting, but armed with the right tools and careful planning, I was able to complete the installation by myself.

In this guide, I’ll take you through the step-by-step process of assessing your space, choosing the perfect insert, and safely installing it.

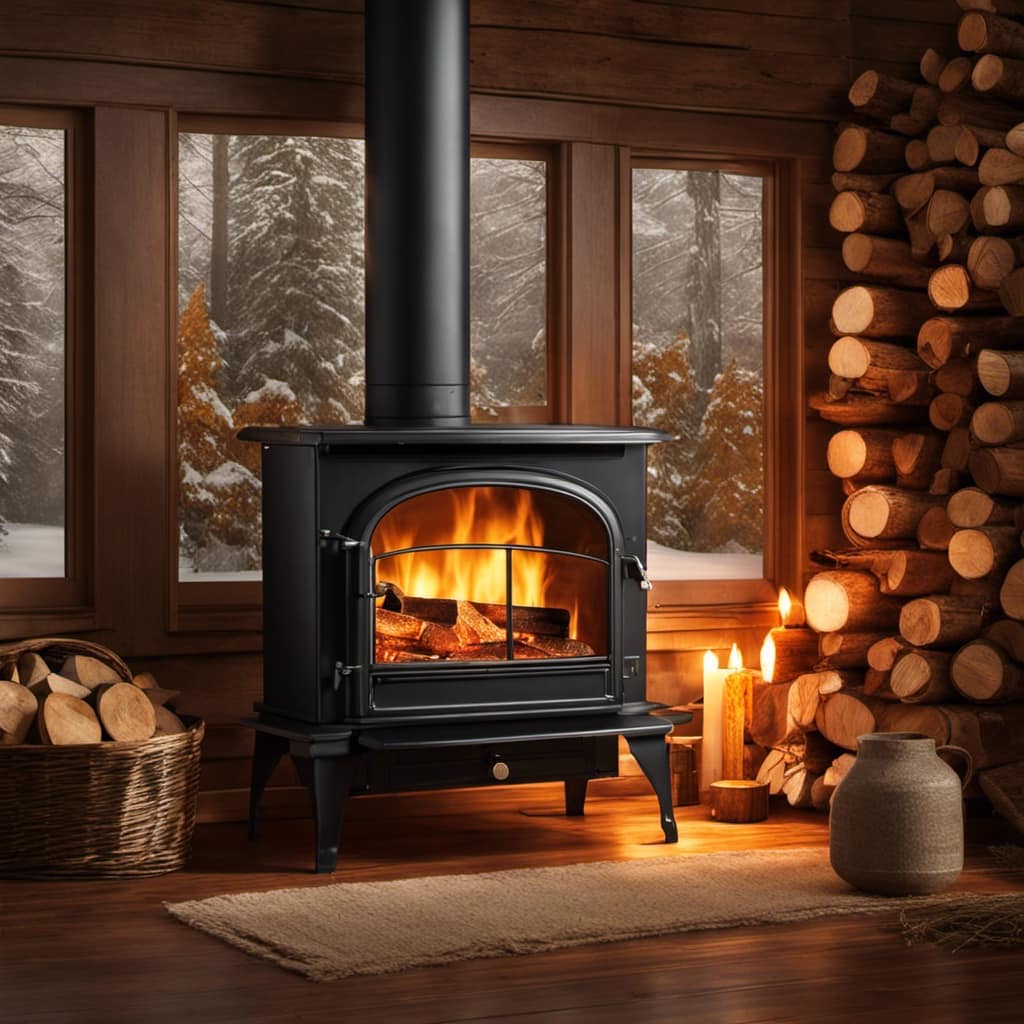
Get ready to enjoy the warmth and ambiance of a wood stove insert in your own home!

Key Takeaways

  • Properly assess and prepare the space, including measuring the area and evaluating ventilation and chimney conditions.
  • Prioritize safety throughout the installation process, wearing protective gear and following ladder safety procedures.
  • Choose the right wood stove insert based on heating needs, home characteristics, and heating efficiency.
  • Ensure proper sizing and installation by measuring the space, checking clearances and ventilation, and consulting with a professional if unsure.

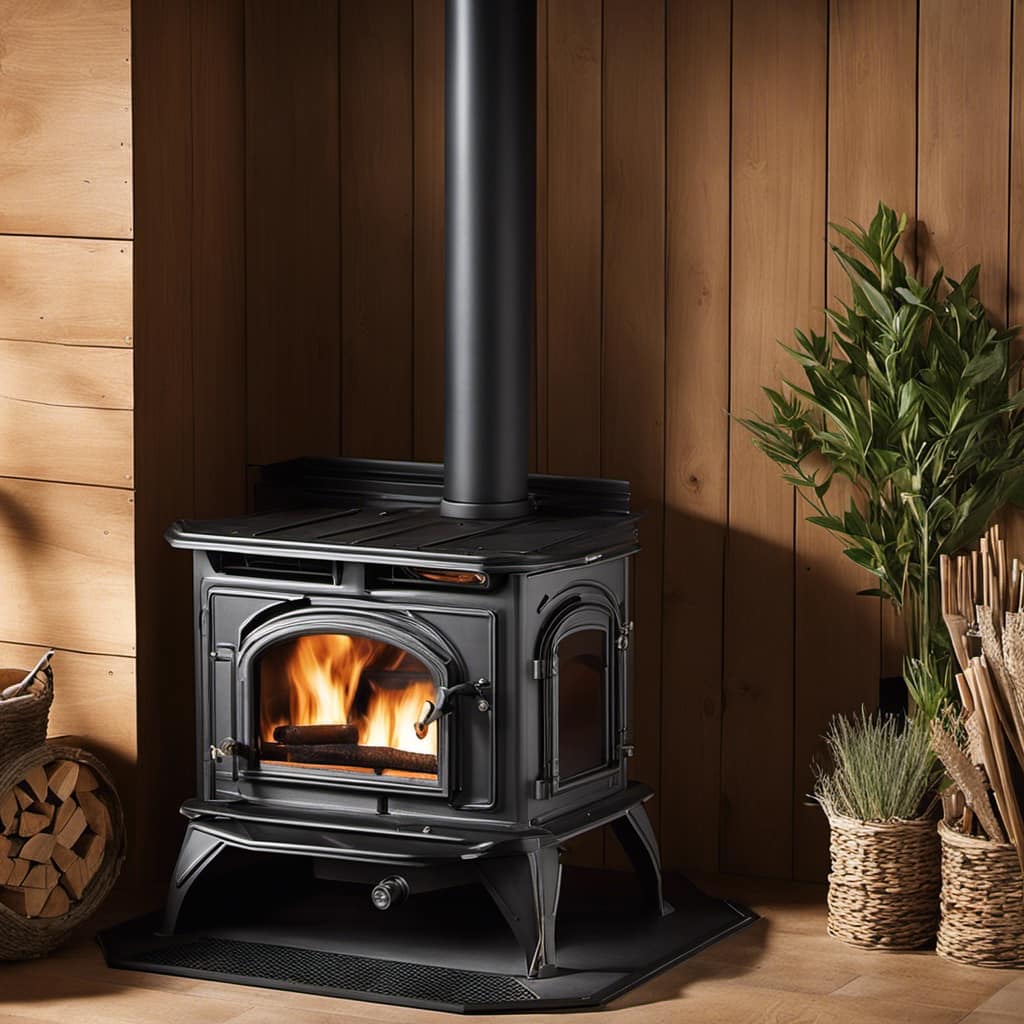
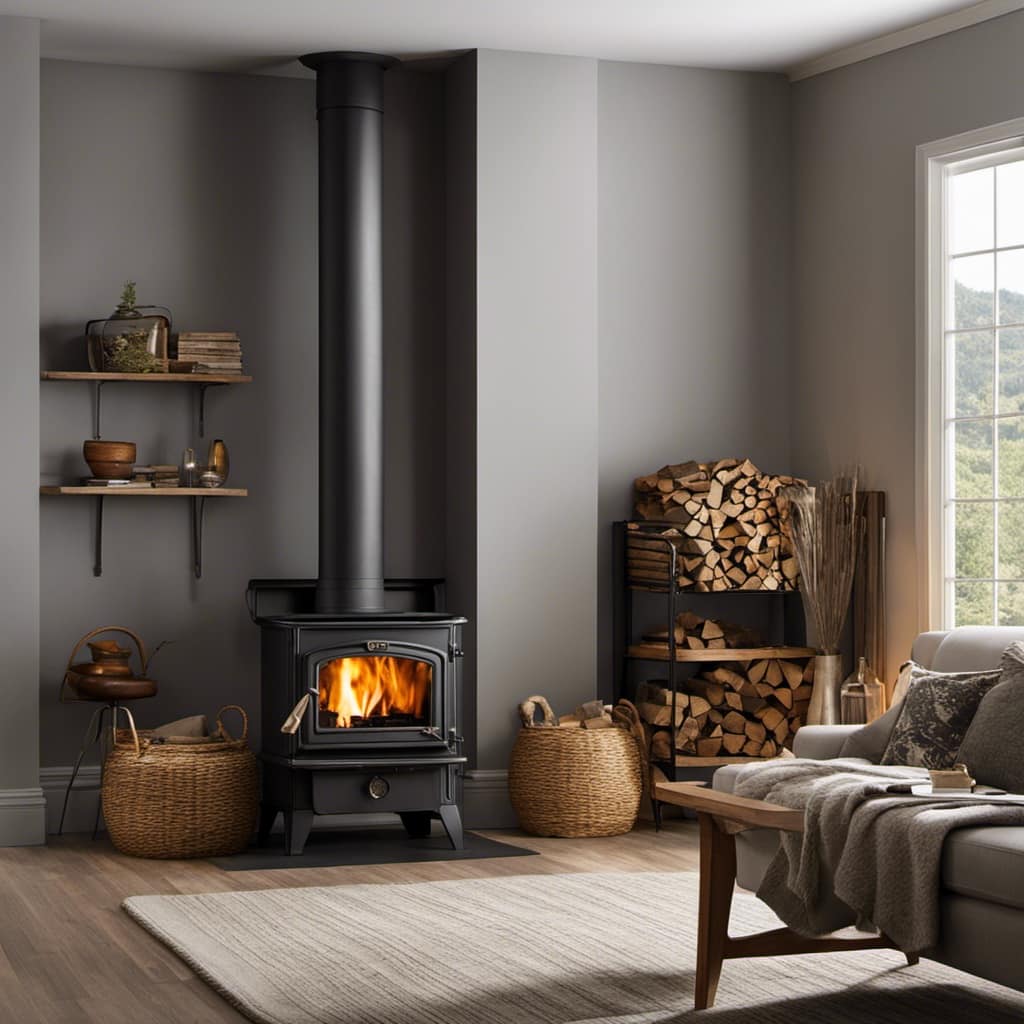
Assessing Your Space and Preparing for Installation

I’m evaluating my space to determine the best location for installing a wood stove insert. Before diving into the installation process, it’s crucial to carefully assess the available space and make necessary preparations. Follow this pre-installation checklist to ensure a smooth and safe installation.wood stove hand tools

  1. Measure the area: Begin by measuring the space where you plan to install the wood stove insert. Consider the dimensions of the insert and clearance requirements specified by the manufacturer.

  2. Check for proper ventilation: Verify that your space meets the necessary ventilation requirements. Ensure that there’s adequate clearance from combustible materials such as walls and furniture.

  3. Evaluate the chimney: Assess the condition of your existing chimney. Verify if it’s compatible with a wood stove insert. If needed, hire a professional to clean and inspect the chimney for any potential issues.

  4. Clear the area: Remove any objects or obstructions near the installation site. This includes furniture, curtains, and any flammable items that may pose a safety hazard.wood burning oven

  5. Install a non-combustible hearth: Place a non-combustible hearth pad beneath the wood stove insert to protect the surrounding flooring.

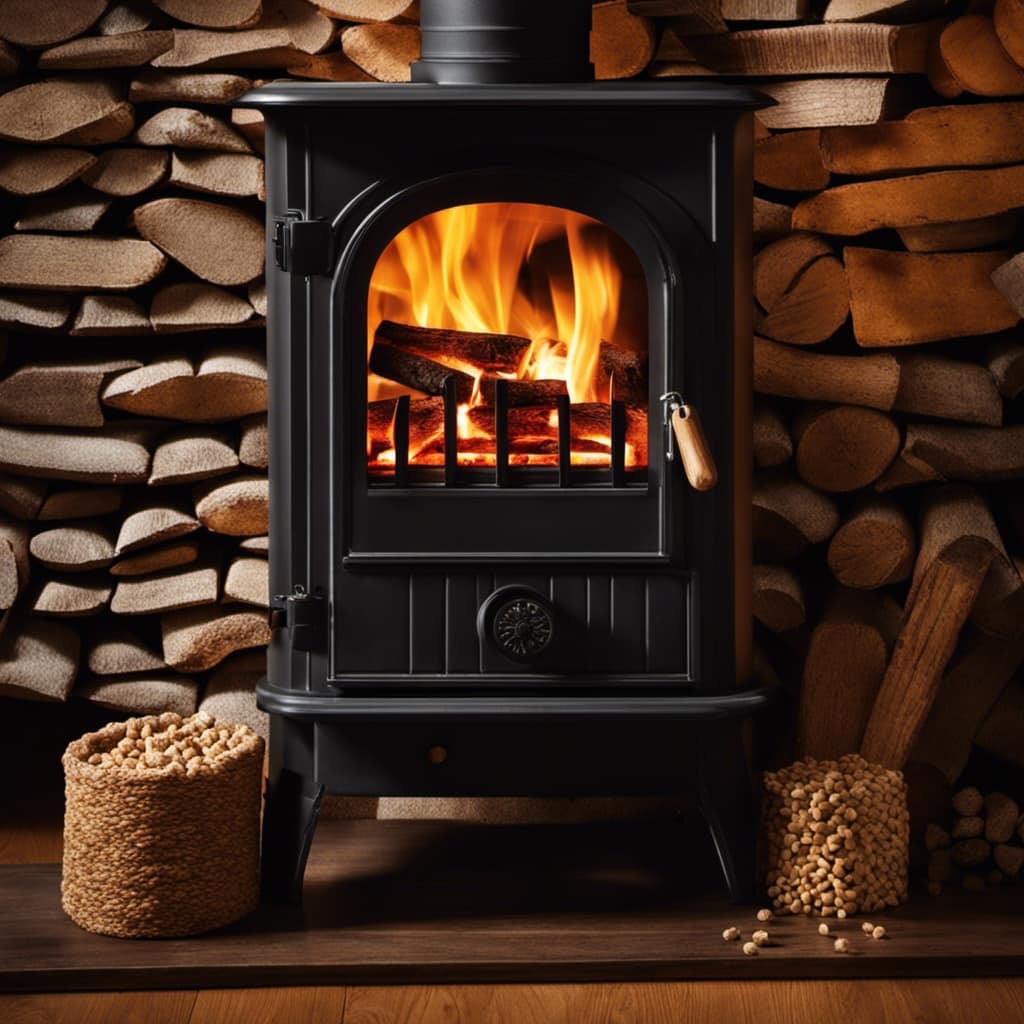
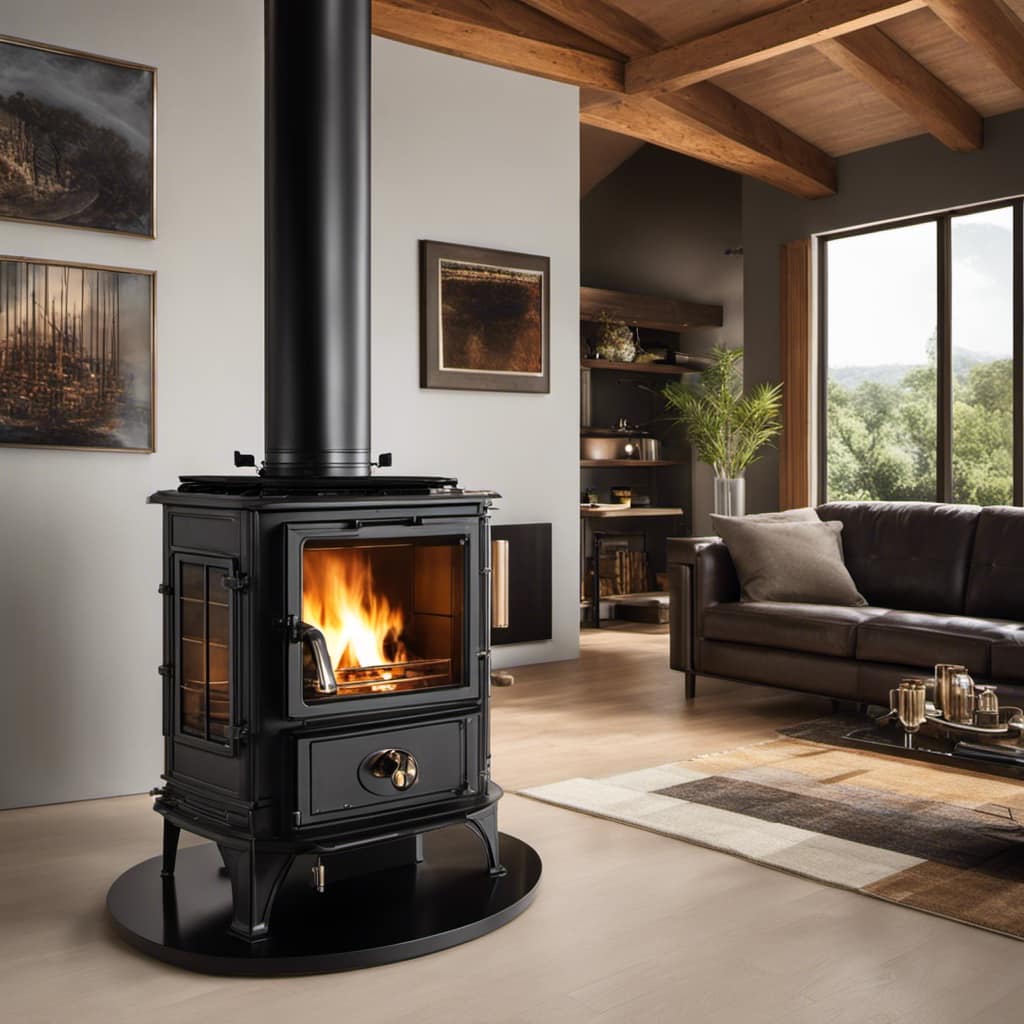
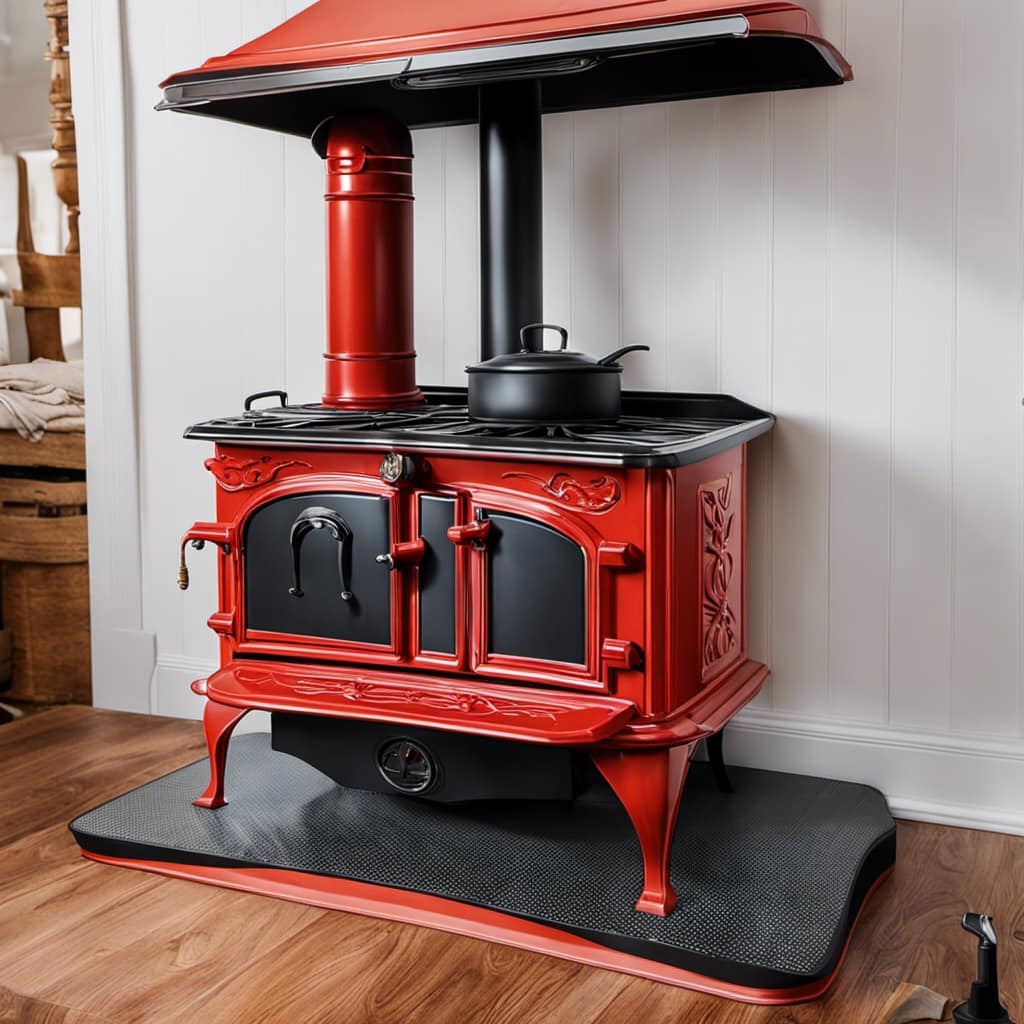
Choosing the Right Wood Stove Insert for Your Home

When choosing the right wood stove insert for your home, it’s important to consider a few key factors.

First, assess the heating needs of your space and determine the most efficient option for your heating requirements.

Advertisement

Next, ensure that the wood stove insert is properly sized and installed according to the manufacturer’s specifications to maximize its performance and safety.wood stove amazon

Lastly, consider the specific characteristics of your home, such as the layout and insulation, to ensure that the wood stove insert is compatible with your space and will provide optimal heating efficiency.

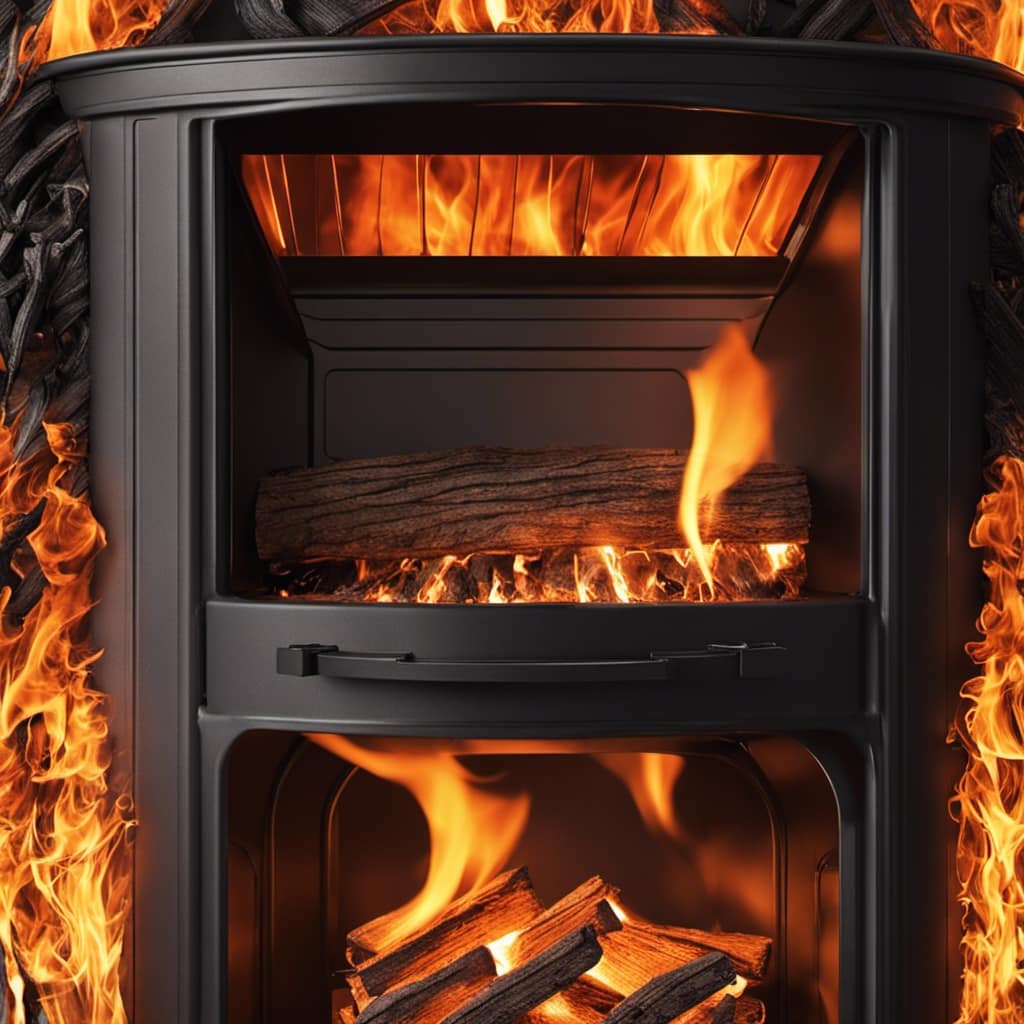
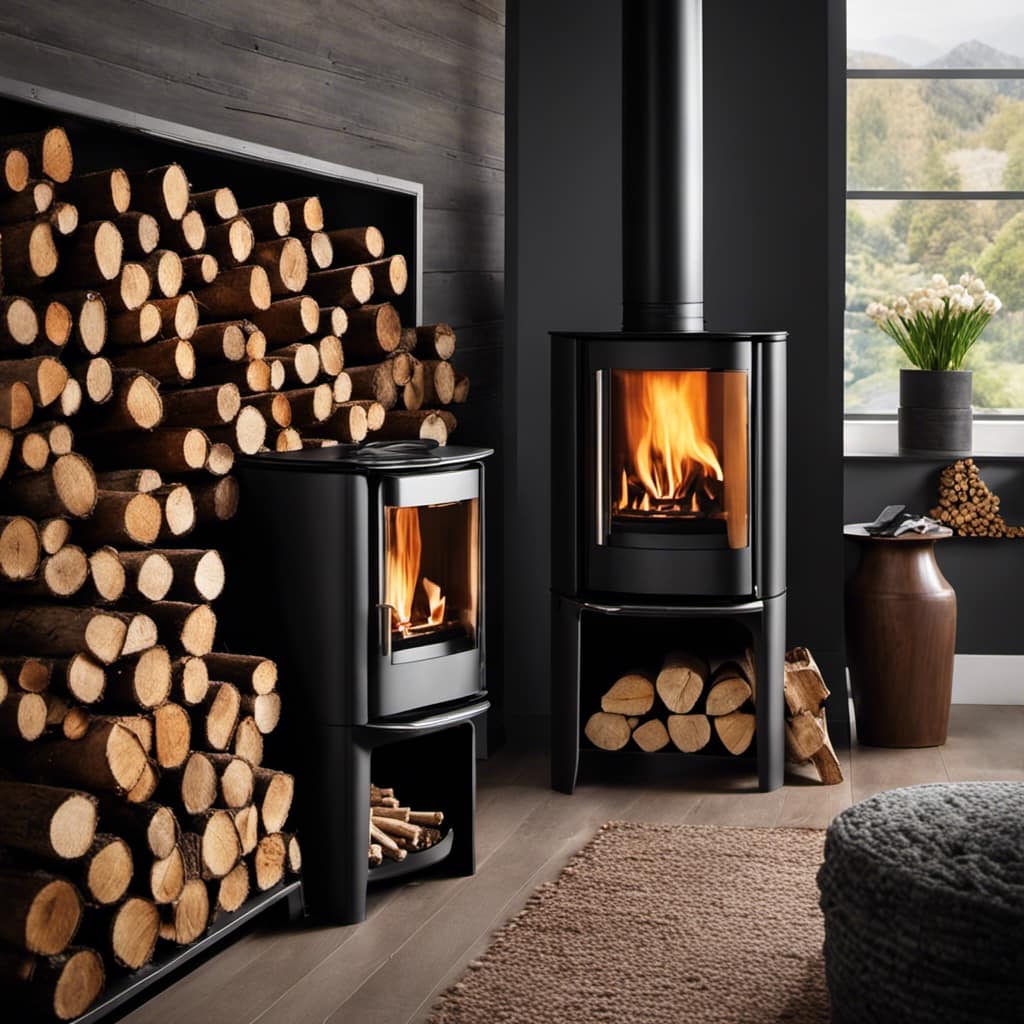
Efficient Heating Options

I’ve found that using an efficient heating option like a wood stove insert can greatly reduce energy costs. Not only does it provide warmth and comfort, but it also maximizes heating efficiency and is a cost-effective solution for heating your home. Here is a step-by-step guide on how to install a wood stove insert:

  1. Measure the fireplace opening to ensure the wood stove insert fits properly.
  2. Clear the area around the fireplace and lay down a non-combustible floor pad for safety.
  3. Install a chimney liner to improve the efficiency and safety of the wood stove insert.
  4. Position the wood stove insert in the fireplace opening and secure it according to the manufacturer’s instructions.
  5. Connect the stovepipe to the wood stove insert and the chimney liner.
  6. Install a chimney cap to prevent debris and animals from entering the chimney.
  7. Test the wood stove insert to ensure it is working properly and efficiently.

By following these steps, you can enjoy the benefits of a wood stove insert while saving on energy costs.

Pros Cons
High heating efficiency Requires regular maintenance
Cost-effective heating Initial installation cost
Provides a cozy ambiance Requires a good supply of firewood

Proper Sizing and Installation

Proper sizing and installation are essential for maximizing the efficiency and effectiveness of a wood stove. When it comes to installing a wood stove, there are a few crucial steps to follow to ensure a safe and efficient operation.wood stove pipe kits

Here are three important considerations:

  • Measure the space: Determine the square footage of the area you want to heat. This will help you choose the right size stove for your needs.

  • Clearances and ventilation: Check local codes and manufacturer guidelines for the required clearances from combustible materials. Ensure proper ventilation requirements are met to prevent the buildup of harmful gases.

  • Chimney installation: If you don’t already have a chimney, you’ll need to install one. Make sure it’s correctly sized and installed to provide a safe and efficient draft for your wood stove.wood stove installation near me

Remember to always follow safety precautions and consult with a professional if you’re unsure about any aspect of the installation process.

Considerations for Your Home

In my opinion, the size and layout of my home are important factors to consider when choosing a wood stove. Not only do I want a stove that will effectively heat my space, but I also want it to be energy efficient. To determine the right size stove for my home, I considered the square footage of the space I wanted to heat, as well as the layout of the rooms. I also took into account any insulation or draft issues that may affect the stove’s performance. Additionally, I wanted a stove that would be compatible with other heating alternatives in my home, such as a central heating system. By considering these factors, I was able to find a wood stove that was both suitable for my home’s layout and energy efficient.

Considerations Size of Home Layout of Rooms Energy Efficiency
Importance Important Important Important
Factors Square footage Open or closed floor plan Insulation and draft issues
Compatibility with other
heating alternatives

Gathering the Necessary Tools and Materials

Before starting the installation process, it’s crucial to gather all the necessary tools and materials to ensure a smooth and efficient workflow.

Advertisement

Begin by assembling the essential tools such as a drill, screwdriver, level, and tape measure.wood stoves for heating with blower

Additionally, gather the required materials including screws, brackets, insulation, and sealant for a secure and airtight installation.

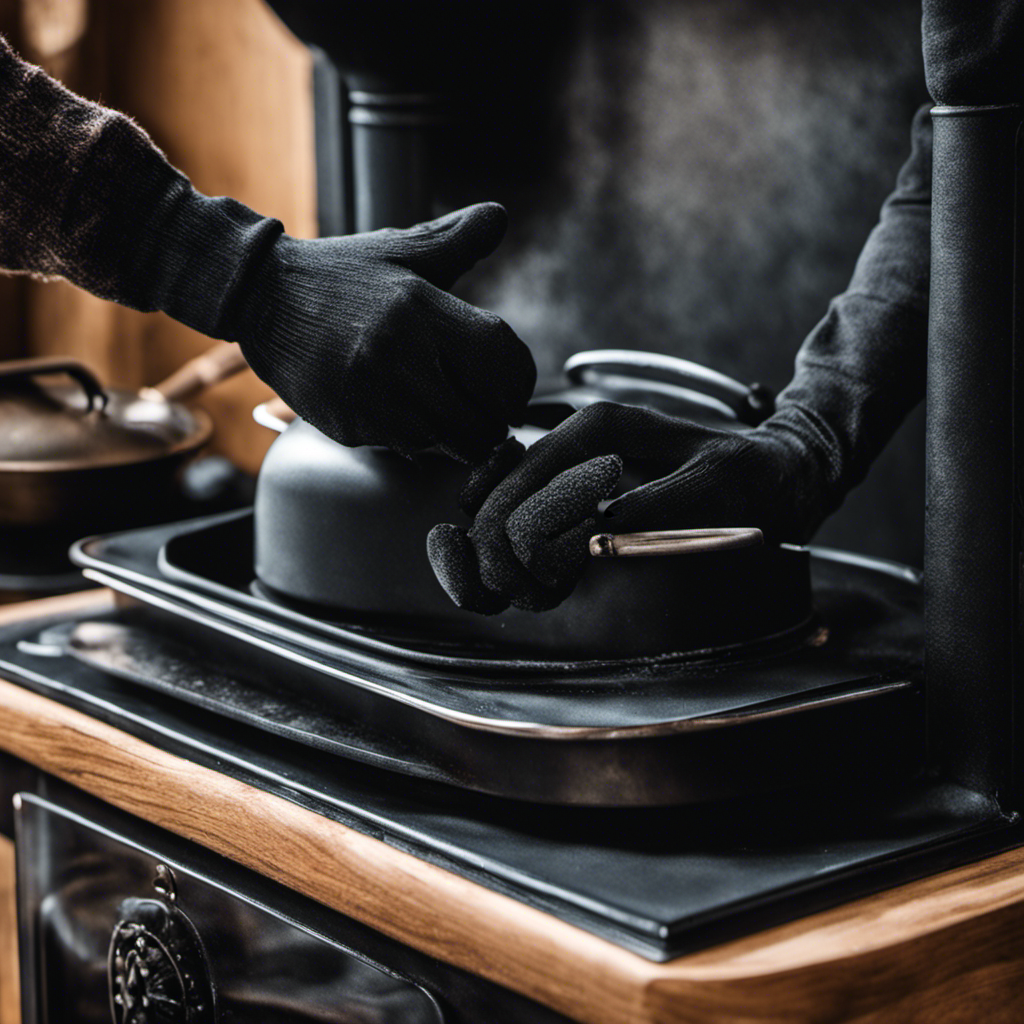
Remember to prioritize safety by wearing protective gear such as gloves and goggles throughout the process.

Essential Tools for Installation

I’ll need a few essential tools for the installation of the wood stove insert. Here are the tools you’ll need to ensure a successful installation:

  • Chimney brush: This tool is crucial for cleaning the chimney before installing the wood stove insert. It helps remove creosote buildup and ensures proper airflow.wood stoves for heating and cooking

  • Fireproof gloves: Safety should always be a priority when working with a wood stove insert. Fireproof gloves protect your hands from burns and allow you to handle hot materials safely.

  • Level: It’s important to ensure that the wood stove insert is level during installation. A level tool helps you achieve this, ensuring proper functionality and preventing any potential issues down the line.

Before beginning the installation process, make sure you’ve these essential tools on hand. They’ll make the installation process easier and safer, allowing you to enjoy your wood stove insert for years to come.

Required Materials for Assembly

To assemble the unit, I’ll need the following materials: fireproof insulation, high-temperature adhesive, and a chimney liner. Here is a detailed materials list for the assembly of a wood stove insert:

Advertisement
hearthstone wood stove
Materials Quantity
Fireproof Insulation 1 roll
High-Temperature Adhesive 1 tube
Chimney Liner 1 piece
Vent Pipe 1 length
Trim Kit 1 set

Now that I have gathered all the necessary materials, I can proceed with the assembly steps. First, I will apply the fireproof insulation to the interior of the firebox, ensuring a tight seal. Next, I will attach the chimney liner to the stove, using the high-temperature adhesive to secure it in place. Once the liner is in position, I will connect the vent pipe to the liner, making sure to align it properly. Finally, I will install the trim kit to give the wood stove insert a finished look.

With the assembly complete, I can now move on to preparing the fireplace and chimney for installation.

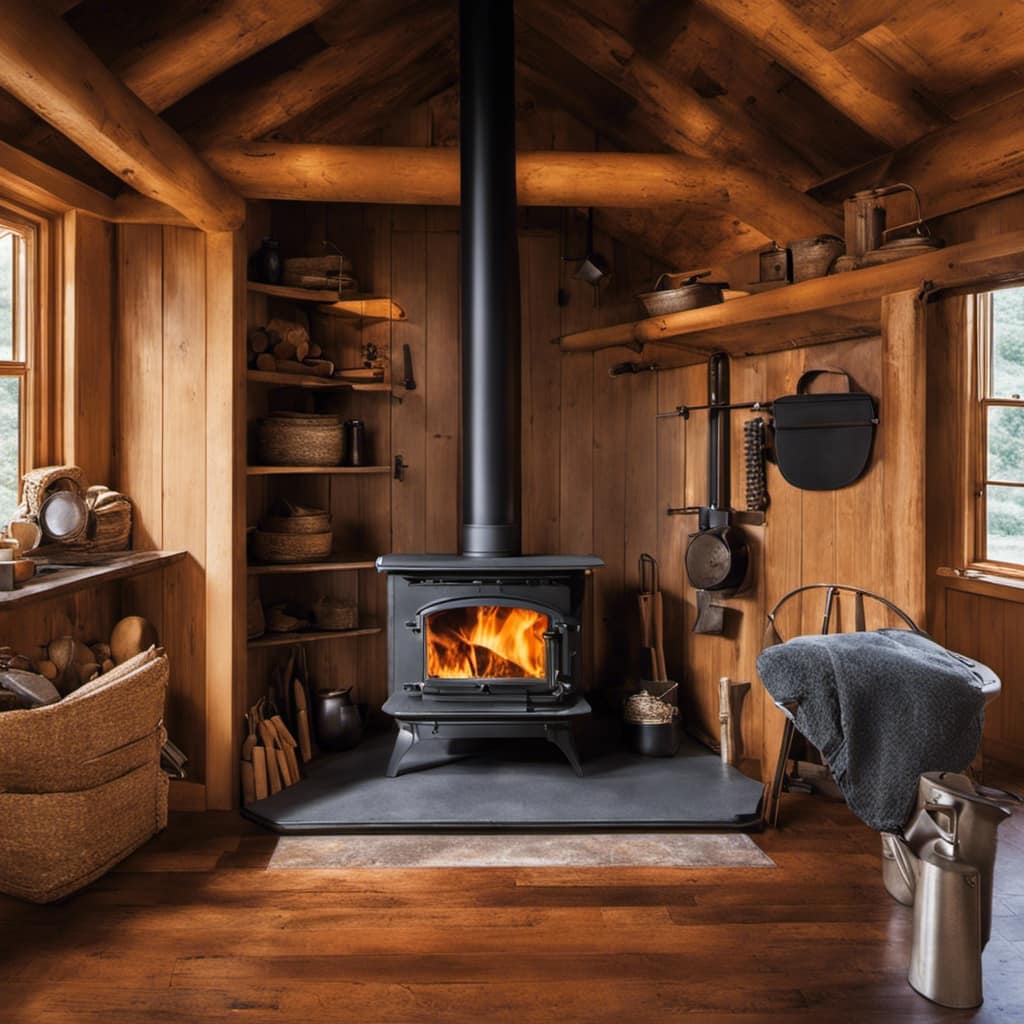
Preparing the fireplace and chimney for installation requires thorough cleaning and inspection to ensure the safety and efficiency of the wood stove insert.

Preparing the Fireplace and Chimney for Installation

I’m checking the fireplace and chimney for any potential issues before installing the wood stove insert. It’s essential to prepare the fireplace and chimney properly to ensure the safe and efficient operation of the wood stove insert.wood stove installation near me

Here are the preparation steps and safety precautions to follow:

  • Inspect the Fireplace: Start by examining the interior and exterior of the fireplace for any signs of damage, such as cracks or loose bricks. Ensure that the fireplace is structurally sound before proceeding with the installation.

  • Clean the Chimney: Clean the chimney thoroughly to remove any creosote buildup or debris that could potentially ignite and cause a chimney fire. Hire a professional chimney sweep if necessary, as they have the expertise and tools to perform a thorough cleaning.

  • Check the Chimney Liner: Inspect the chimney liner for any damage or deterioration. The liner is crucial for proper ventilation and preventing the buildup of dangerous gases. Replace or repair the liner if needed.wood stove insert newington ct

Safety Precautions:

  • Wear protective gear, including gloves and safety goggles, when inspecting and cleaning the fireplace and chimney.
  • Use a sturdy ladder and have someone assist you when accessing the roof to inspect and clean the chimney.
  • If you notice any significant issues or are unsure about the preparation steps, consult a professional before proceeding with the installation.

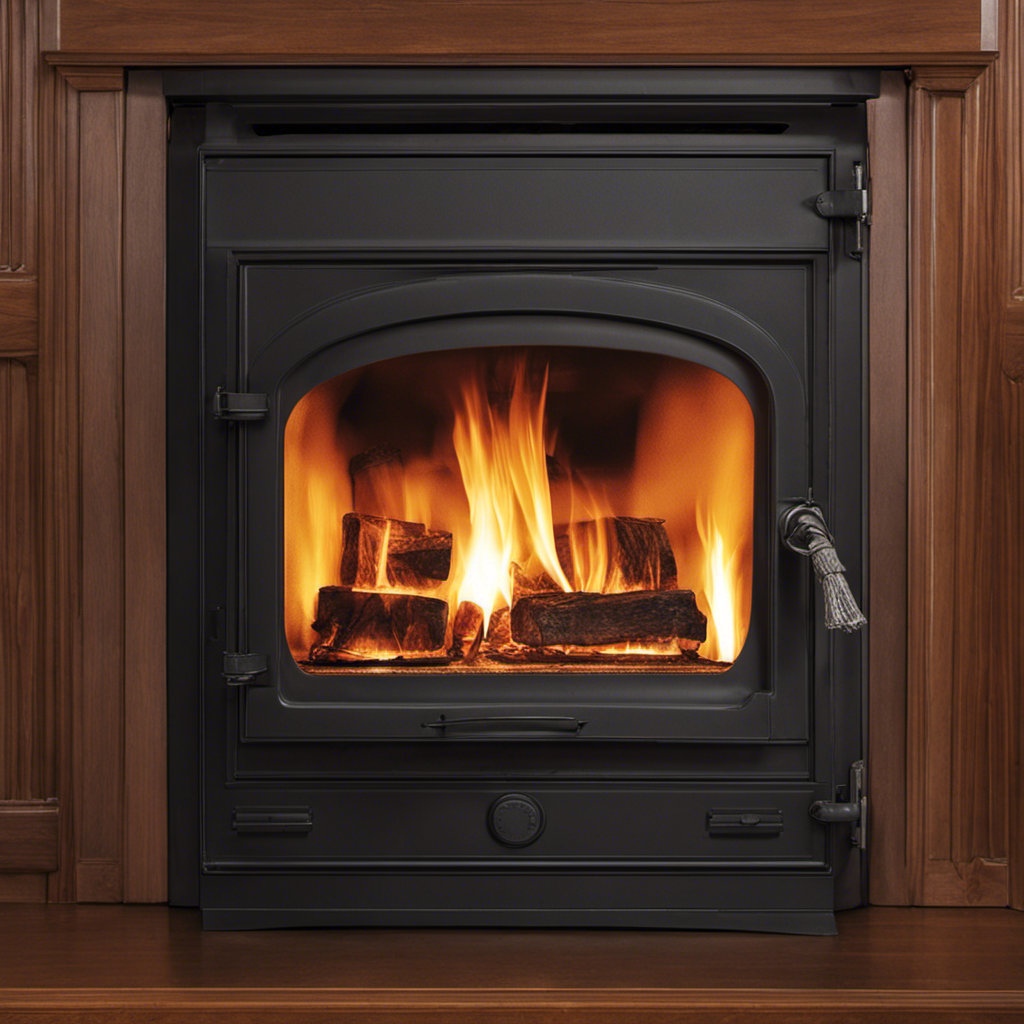
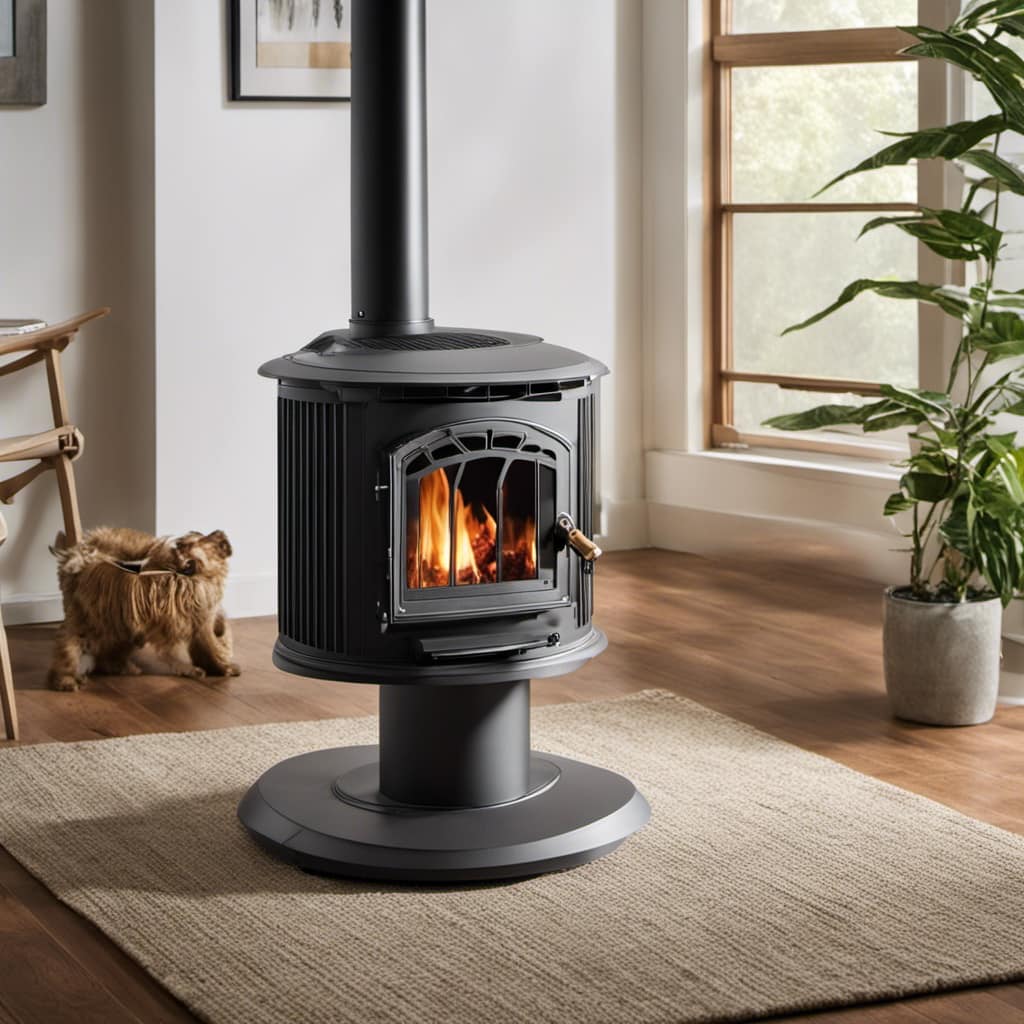
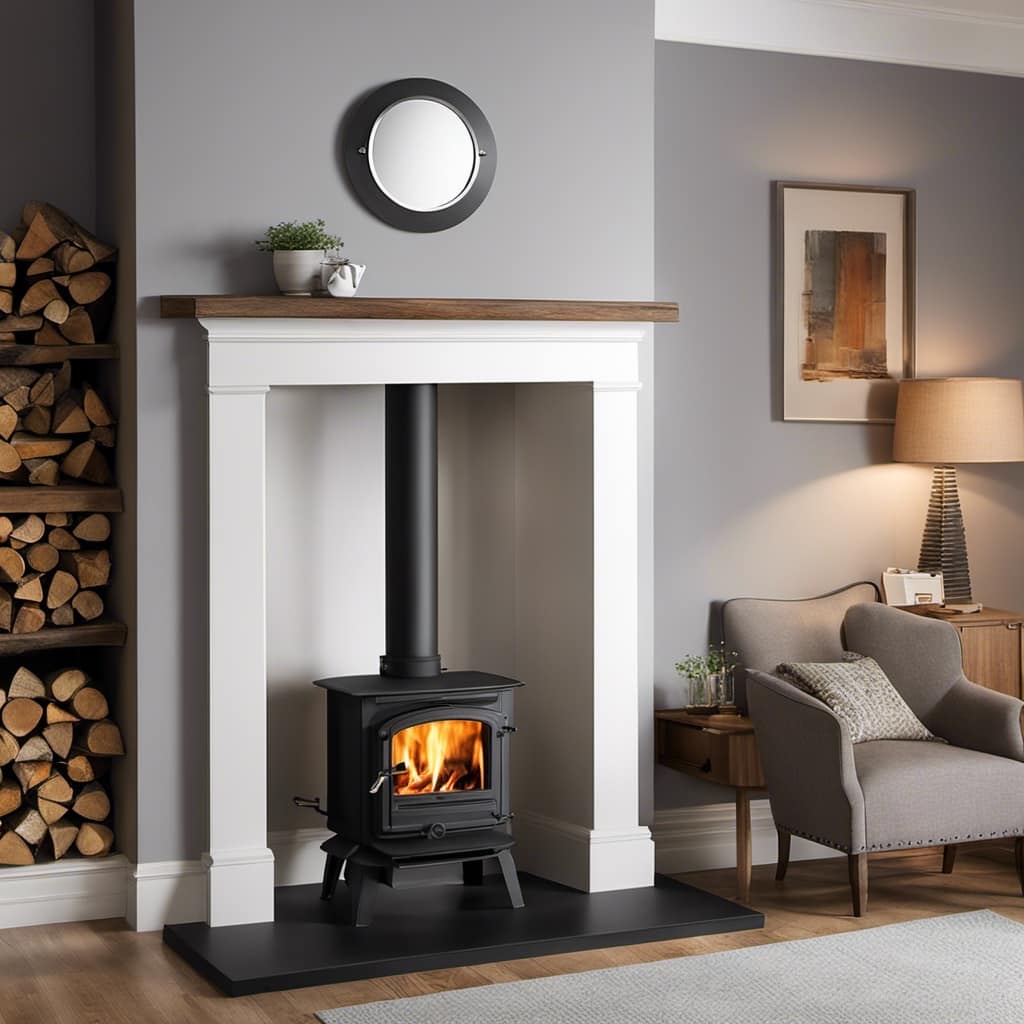
Installing the Wood Stove Insert Safely and Properly

Before proceeding with the installation, it’s crucial to ensure that all necessary safety measures are in place to install the wood stove insert properly.

Installing a wood stove insert can be a rewarding project, but it’s important to prioritize safety throughout the process. Here is a step-by-step guide to help you install your wood stove insert safely and properly.

  1. Clear the area around the fireplace and remove any flammable materials.wood cook stove

  2. Put on protective gloves and goggles to prevent any injuries.

  3. Check the manufacturer’s instructions for specific installation guidelines.

  4. Make sure the chimney is clean and free from any debris or obstructions.

  5. Install the hearth pad or floor protector to protect your flooring from heat and sparks.pacific energy wood stove

  6. Carefully position the wood stove insert into the fireplace opening, ensuring it’s level and centered.

  7. Connect the stovepipe to the insert and secure it with screws or clamps.

  8. Install a chimney liner to improve draft and prevent the buildup of creosote.

  9. Connect the stovepipe to the chimney liner using a connector pipe and secure it tightly.wood stove amazon

  10. Test the wood stove insert for proper operation and check for any leaks or issues.

Remember to follow all safety precautions, such as keeping flammable materials away from the stove and having a fire extinguisher nearby. If you’re unsure about any step of the installation process, consult a professional to ensure a safe and proper installation.

Advertisement

Testing and Maintaining Your Wood Stove Insert for Optimal Performance

Maintaining optimal performance of my wood stove insert requires regular testing and inspection.

To ensure that my wood stove insert is functioning safely and efficiently, I follow these steps:quadra fire wood stove

  • Check for air leaks: I inspect the gaskets and seals around the stove door and flue pipe for any signs of wear or damage. If I notice any leaks, I replace the gaskets or seals to maintain a proper seal.

  • Test the draft: I use a smoke pencil or incense stick to check the draft of the stove. By holding the smoke pencil or incense stick near the stove door and flue pipe, I can observe the direction and strength of the draft. If the draft is weak or inconsistent, I may need to clean or adjust the flue pipe or damper.

  • Monitor the temperature: I regularly check the temperature inside the stove using a stove thermometer. This helps me ensure that the stove is operating at the optimal temperature range for efficient and clean burning. If the temperature is too low, I may need to adjust the air intake or clean the burn pot.

By regularly testing and inspecting my wood stove insert using these methods, I can troubleshoot any issues and ensure that it’s operating at its best.wood stove pizza truck

Remember to always follow safety precautions and consult a professional if you’re unsure or encounter any problems.

Frequently Asked Questions

How Long Does It Typically Take to Install a Wood Stove Insert?

Typically, the installation time for a wood stove insert depends on the size of the insert. Larger inserts may require more time and effort to properly install.

It’s important to carefully measure the dimensions of the fireplace opening and the insert to ensure a proper fit. Before starting the installation process, make sure to gather all the necessary tools and materials.

Advertisement

Safety precautions, such as wearing gloves and eye protection, should be followed throughout the installation process.wood cook stove for sale

Can a Wood Stove Insert Be Installed in a Fireplace That Is Already in Use?

Installing a wood stove insert in a fireplace that’s already in use can present potential safety concerns. It’s important to ensure proper clearance between the insert and the existing fireplace, as well as to address any ventilation issues. Additionally, it’s crucial to follow all manufacturer’s instructions and safety precautions.

However, using a wood stove insert in a fireplace offers several benefits. Firstly, it increases efficiency by allowing for better combustion and heat distribution. This means that less energy is wasted, resulting in lower heating costs. Secondly, a wood stove insert reduces heat loss by creating a sealed system that prevents warm air from escaping up the chimney. This can make a significant difference in maintaining a comfortable temperature in your home.

Lastly, using a wood stove insert can improve air quality. Traditional fireplaces can produce a lot of smoke and particulate matter, which can be harmful to respiratory health. Wood stove inserts, on the other hand, have built-in mechanisms to control the combustion process and reduce emissions. This means that you can enjoy the warmth and ambiance of a fire without compromising the air quality in your home.

Are There Any Special Requirements for the Type of Wood That Can Be Burned in a Wood Stove Insert?

When it comes to the type of wood that can be burned in a wood stove insert, there are definitely some requirements to consider.wood stove definition

First and foremost, it’s important to use dry, seasoned wood that has been properly stored. Green or wet wood can lead to excessive smoke and creosote buildup, which is a fire hazard.

Additionally, avoid burning treated or painted wood, as it can release toxic chemicals.

Advertisement

Always prioritize safety and choose the right type of wood for your wood stove insert.

Do I Need to Hire a Professional for the Installation, or Is It Something I Can Do Myself?

I can definitely install a wood stove insert myself, but it’s important to consider the advantages of hiring a professional. They have the expertise and experience to ensure a safe and proper installation.wood burning stove indoor

However, if you decide to go the DIY route, here are some tips:

  • Make sure to read and follow the manufacturer’s instructions carefully.
  • Gather all the necessary tools.
  • Take safety precautions such as wearing protective gear and ensuring proper ventilation.

Are There Any Government Regulations or Permits Required for Installing a Wood Stove Insert?

Government regulations and installation permits are crucial when installing a wood stove insert. It’s important to ensure compliance with local building codes and fire safety regulations.

Permits may be required to ensure that the installation meets safety standards and is properly inspected. Failure to obtain the necessary permits can result in fines or even the removal of the stove.

It’s recommended to consult with local authorities or a professional to navigate the regulations and obtain the required permits for a safe and legal installation.wood burning stove installation

Can I Use the Same Steps for Installing a Wood Stove Insert in a Corner?

Yes, you can use the same steps for installing a wood stove insert in a corner. However, you may need to consider the specific dimensions and space requirements for a corner installation. It’s important to follow the manufacturer’s instructions and seek professional guidance for safe and efficient installation wood stove corner.

Conclusion

In conclusion, installing a wood stove insert can be a rewarding project that adds warmth and efficiency to your home. By carefully assessing your space, choosing the right insert, and following the proper installation steps, you can enjoy the benefits of a cozy and cost-effective heating solution.

Advertisement

For example, John and Sarah decided to install a wood stove insert in their living room, and they were thrilled with the increased heat output and reduced energy bills.

Remember to always prioritize safety and regularly maintain your wood stove insert for optimal performance.

Growing up surrounded by the vast beauty of nature, Sierra was always drawn to the call of the wild. While others sought the comfort of the familiar, she ventured out, embracing the unpredictable and finding stories in the heartbeat of nature.   At the epicenter of every remarkable venture lies a dynamic team—a fusion of diverse talents, visions, and passions. The essence of Best Small Wood Stoves is crafted and refined by such a trio: Sierra, Logan, and Terra. Their collective expertise has transformed the platform into a leading authority on small wood stoves, radiating warmth and knowledge in equal measure.

Continue Reading
Advertisement

Wood Stove

How Do You Move A 500 Lb Wood Stove

Published

on

By

An image showcasing two strong individuals, sweating and straining, as they carefully navigate a narrow staircase, one step at a time, with their hands gripping a massive 500 lb wood stove, its rustic charm contrasting against the modern surroundings

Have you ever considered the formidable challenge of relocating a 500-pound wood-burning stove? Well, I’m here to inform you that it’s no small feat! However, don’t worry. I have compiled a comprehensive guide, detailing every step, to help you with this task.

From assessing the weight and size of the stove to gathering the necessary equipment and tools, I’ll walk you through the whole process.

So, grab your gloves and get ready to flex those muscles – we’re about to make moving a wood stove a breeze!

Key Takeaways

  • Assess the structural integrity of the wood stove before moving it
  • Use appropriate lifting equipment and tools to safely transport the stove
  • Prepare the area and ensure safety by clearing obstacles and securing the surroundings
  • Follow proper lifting techniques and take breaks to prevent injuries and fatigue

Assessing the Weight and Size of the Wood Stove

I just measured the weight and size of the wood stove, and it’s definitely heavier than I expected. Evaluating the structural integrity of the stove is essential before attempting to move it. This involves checking for any cracks, loose parts, or weakened areas that could compromise its stability during the move.

Once the stove’s condition has been assessed, it’s important to determine the appropriate moving technique. For a heavy stove like this, it’s crucial to have a plan in place to ensure a safe and successful move. This could involve using furniture sliders, a dolly, or enlisting the help of additional people.

Gathering the Necessary Equipment and Tools

To safely transport the wood stove, it’s important to gather both the proper equipment and tools. Here are four essential items you’ll need:

Advertisement

  • Choosing the right lifting straps: Make sure to select lifting straps that are strong and durable enough to support the weight of the wood stove. Look for straps with a high weight capacity and secure fastening mechanisms.

  • Using a furniture dolly: A furniture dolly is an excellent tool for moving heavy objects like a wood stove. Make sure the dolly is sturdy and has a weight capacity that can handle the stove’s weight. Secure the stove onto the dolly using straps or ropes for added stability.

  • Moving blankets or padding: Protecting the wood stove during transport is crucial to avoid any damages. Wrap the stove with moving blankets or padding to prevent scratches or dents.

  • Gloves and safety goggles: It’s essential to protect yourself during the moving process. Wear gloves to provide a better grip and protect your hands from any sharp edges. Safety goggles will protect your eyes from any debris or dust.

By gathering these necessary equipment and tools, you’ll be well-prepared to safely transport your wood stove.

Now, let’s move on to preparing the area and ensuring safety for the next steps.

Preparing the Area and Ensuring Safety

Before starting the process, make sure to clear out any obstacles and secure the area to ensure safety.

Ensuring stability and protecting the surrounding area are crucial steps when moving a 500 lb wood stove.

Begin by removing any furniture or objects that may hinder your path.

Advertisement

Make sure the floor is clean and free of debris to avoid slips or falls.

Next, secure the surrounding area by using furniture sliders or plywood sheets to protect the flooring from scratches or damage.

It’s also essential to have a clear path and ample space for maneuvering the stove.

Once the area is prepared, you can proceed with lifting and moving the wood stove, which we’ll discuss in the next section.

Lifting and Moving the Wood Stove

Moving the heavy wood stove requires proper lifting technique and a sturdy dolly. When attempting to lift the stove, it’s important to follow these lifting techniques to minimize potential risks:

Advertisement

  • Bend your knees and keep your back straight to avoid straining your back muscles.
  • Use your leg muscles to lift the stove, rather than relying on your back.
  • Lift with a partner to evenly distribute the weight and prevent accidents.
  • Take breaks and avoid overexertion to prevent fatigue and reduce the risk of injury.

By following these lifting techniques, you can ensure a safe and successful move of the wood stove.

Now, let’s discuss how to secure and position the wood stove in its new location.

Securing and Positioning the Wood Stove in Its New Location

I’ll make sure to anchor the wood stove securely in its new location to prevent any accidents. Securing the wood stove is crucial to ensure that it stays in place and doesn’t pose any risks.

One of the most effective securing techniques is to use anchor bolts. These bolts are drilled into the floor or the wall behind the stove and provide a strong hold. It’s important to choose the right size and type of anchor bolts suitable for the weight and dimensions of your wood stove.

Additionally, proper positioning is essential for the stove’s performance and safety. Make sure to leave enough space around the stove for ventilation and easy access for maintenance. Also, consider placing it on a non-combustible surface to minimize fire hazards.

Frequently Asked Questions

How Much Does a Typical 500 Lb Wood Stove Cost?

Typically, the cost of a 500 lb wood stove ranges from $1000 to $3000, depending on the brand and features. Some of the best brands known for quality wood stoves include Vermont Castings, Jotul, and Hearthstone.

Advertisement

Can I Move a 500 Lb Wood Stove by Myself?

I can move a 500 lb wood stove by myself, but it’s not recommended. It’s safer to use moving equipment like dollies or hire professionals who specialize in moving heavy items.

What Are the Common Mistakes to Avoid When Moving a Wood Stove?

When moving a wood stove, it’s important to avoid common mistakes. Use moving equipment like dollies or sliders to ease the process. Remember to employ proper lifting techniques to prevent injury.

Are There Any Special Considerations for Moving a Wood Stove up or Down a Flight of Stairs?

Moving a wood stove upstairs requires careful planning and safety precautions. Protecting the stove and preventing damage is crucial. Start by assessing the weight and dimensions of the stove, and use proper lifting techniques to avoid injury.

How Often Should a Wood Stove Be Professionally Inspected and Serviced?

I recommend having a professional inspect and service your wood stove annually. Regular maintenance ensures optimal performance, reduces the risk of chimney fires, and prolongs the lifespan of the stove. DIY inspections may miss potential issues.

Conclusion

Moving a 500 lb wood stove may seem like a daunting task, but with the right equipment and precautions, it can be accomplished safely. By assessing the weight and size of the stove, gathering the necessary tools, and preparing the area, you can ensure a smooth and successful move.

Advertisement

Remember to lift with your legs and not your back, and use straps or dollies to assist in the process. With careful planning and execution, you’ll have your wood stove in its new location in no time, ready to provide warmth and comfort.

Continue Reading

Wood Stove

How To Wire Up A Brunco 190 Wood Stove

Published

on

By

An image depicting a step-by-step guide for wiring a Brunco 190 Wood Stove

The cozy embrace of a wood stove on cold evenings has long been dear to me. However, when it came to installing my Brunco 190, the task seemed somewhat overwhelming.

That’s why I created this guide to help others navigate the electrical requirements and successfully wire their own wood stove.

In just a few simple steps, you’ll be able to enjoy the comforting heat of your Brunco 190 with confidence.

Let’s get started!

Key Takeaways

  • Consult the owner’s manual or contact the manufacturer for specific electrical requirements.
  • Gather the necessary tools and materials, including wire cutters, connectors, and the appropriate wire gauge.
  • Ensure proper grounding to prevent electrical shocks and fire hazards.
  • Perform testing and troubleshooting to ensure proper wiring connection and electrical supply.

Understanding the Electrical Requirements

I need to understand the electrical requirements in order to properly wire up my Brunco 190 wood stove. When it comes to electrical safety precautions, it’s crucial to have a clear understanding of what’s required.

The first step is to consult the owner’s manual or contact the manufacturer to gather information about the specific electrical requirements for the stove. This will include details about the voltage, amperage, and wiring configuration needed. It’s important to ensure that the electrical circuit can handle the load of the stove without overloading or causing any safety hazards.

Advertisement

In order to ensure the proper installation and compliance with local electrical codes, it’s recommended to hire a certified electrician who specializes in wood stove installations. They’ll have the knowledge and expertise to safely wire up the stove and ensure it meets all necessary electrical requirements.

Gathering the Necessary Tools and Materials

To properly wire up my Brunco 190 wood stove, I’ll need to gather all of the necessary tools and materials, such as wire cutters and connectors. Before starting the wiring process, it’s essential to select the appropriate wire gauge. This depends on the stove’s electrical requirements and the distance from the power source. Choosing the correct wire gauge ensures the safe and efficient operation of the wood stove.

Additionally, ensuring proper grounding is crucial for preventing electrical shocks and fire hazards. Grounding the stove involves connecting it to a grounding rod or an existing grounding system in the house.

Once I’ve gathered all the tools and materials and have selected the appropriate wire gauge, I can proceed to the next step of preparing the wood stove for wiring.

Preparing the Wood Stove for Wiring

Before starting the wiring process, I’ll first need to carefully inspect and clean the wood stove, ensuring that it’s free from any debris or obstructions. This is an important step to ensure the safety and efficiency of the wiring. Here are four key things to keep in mind while preparing the wood stove for wiring:

Advertisement

  1. Inspect the stove for any signs of damage or wear. Look for loose or frayed wires, cracks, or any other issues that could affect the wiring process.

  2. Remove any ashes or leftover wood from the stove. This will help prevent any potential fire hazards and make it easier to access the areas where the cables will be installed.

  3. Clean the stove thoroughly, both inside and outside. Use a soft brush or cloth to remove dust, dirt, and grease. This will provide a clean surface for the cables to be insulated and connected.

  4. Ensure that the area around the wood stove is clear of any flammable materials. Keep a safe distance from curtains, furniture, and other combustible objects to prevent accidents.

Wiring the Brunco 190 Wood Stove

After carefully inspecting and preparing the wood stove, I can now begin wiring it up. Before connecting the power, it’s important to take safety precautions to avoid any accidents or electrical issues. Here is a step-by-step guide on how to wire up the Brunco 190 Wood Stove:

Step Procedure
1 Turn off the power supply to the stove to ensure your safety during the wiring process.
2 Connect the power cord to the designated terminals on the back of the stove. Make sure to follow the manufacturer’s instructions for proper wiring.
3 Run the power cord through a conduit to protect it from damage and secure it to the wall.
4 Finally, double-check all connections to ensure they are secure and properly insulated before restoring power to the stove.

Testing and Troubleshooting the Wiring Connection

I am currently in the process of testing and troubleshooting the wiring connection for the Brunco 190 Wood Stove. It’s crucial to ensure that the wiring is correctly installed and functioning properly for the stove to work efficiently and safely.

Here are four important steps I’m following to resolve any connection issues:

  1. Visual Inspection: I thoroughly examine the wiring for any visible signs of damage, such as frayed or exposed wires.

  2. Continuity Testing: Using a multimeter, I check for continuity to verify if the wires are connected and conducting electricity as intended.

  3. Voltage Testing: I measure the voltage across the wires to confirm if the electrical supply is reaching the stove.

  4. Grounding Test: I assess the grounding connection to ensure proper electrical safety.

Frequently Asked Questions

How Much Does the Brunco 190 Wood Stove Weigh and How Do I Safely Transport It?

The weight of the Brunco 190 wood stove is crucial to consider for safe transportation. To transport it safely, make sure to have a sturdy dolly or cart and secure it properly to prevent any accidents.

Are There Any Specific Building Codes or Regulations That I Need to Consider When Wiring the Wood Stove?

When it comes to wiring a wood stove, building code considerations and safety regulations are crucial. I remember learning this the hard way when I didn’t follow the rules and ended up with a dangerous electrical situation.

Advertisement

Can I Install a Thermostat to Control the Temperature of the Wood Stove?

Yes, you can install a thermostat to control the temperature of the wood stove. It’s a great way to ensure that the stove maintains a comfortable temperature and prevents overheating.

What Are the Recommended Maintenance and Cleaning Procedures for the Wood Stove’s Electrical Components?

Recommended maintenance procedures for the wood stove’s electrical components include regularly inspecting for any loose connections or damaged wires, cleaning off dust and debris, and ensuring proper ventilation. Cleaning procedures involve using a soft cloth to wipe down the components and avoiding the use of harsh chemicals.

Can I Connect the Wood Stove to a Generator or Solar Power System for Backup Power?

Yes, you can connect the wood stove to a generator or solar power system for backup power. It’s important to follow the manufacturer’s instructions and consult a professional electrician to ensure proper installation and safety.

Conclusion

In the dance of electrical connections, wiring up a Brunco 190 wood stove becomes a symphony of precision and understanding. Like a maestro, we gather the tools and materials, prepare the stove for its electrical journey, and carefully wire it up.

With each connection, we bring warmth and life to the stove, creating a harmonious bond between electricity and fire. Through testing and troubleshooting, we ensure a flawless performance, allowing the wood stove to shine brightly in its purpose.

Advertisement

Continue Reading

Wood Stove

How To Unbolt A Blaze King Wood Stove Door

Published

on

By

An image capturing the intricate process of removing a Blaze King wood stove door

I’ve come to understand the importance of effectively managing a wood stove to maintain a warm and welcoming environment at home. In the guide that follows, I’ll be sharing my knowledge on how to master this undertaking successfully.

Did you know that the door of a Blaze King wood stove may need to be unbolted for maintenance or repairs? With the right tools and a little know-how, you’ll be able to remove and reassemble the door with ease, ensuring your wood stove remains in top condition.

Let’s get started!

Key Takeaways

  • Use a wrench to loosen the bolts on the door hinges and remove them carefully.
  • Ensure the wood stove is cool and clean before removing the door.
  • Inspect the bolts, hinges, and hinge pins for any damage or rust.
  • Gently detach the door from the stove body and set it aside in a safe place.

Tools and Materials Needed

I’ll need a wrench to loosen the bolts on the Blaze King wood stove door.

Before starting, make sure you have all the necessary tools and materials. Here’s a list of what you’ll need:

  • A wrench, preferably a socket wrench, to fit the bolt size
  • A small container to hold the bolts and nuts
  • A soft cloth or towel to protect the stove’s surface.

Step by step, here’s how to unbolt the door:

  1. First, locate the bolts on the door hinges.
  2. Then, use the wrench to loosen the bolts by turning them counterclockwise.
  3. Once all the bolts are loose, carefully remove them and place them in the container.
  4. Finally, gently lift the door off its hinges.

With the door unbolted, you can now proceed to prepare the wood stove for door removal.

Preparing the Wood Stove for Door Removal

I can begin preparing the wood stove for door removal by carefully cleaning the stove’s surface and removing any debris. Before I start, I ensure that the stove is cool and not in use.

Advertisement

Using a soft cloth, I gently wipe the stove’s surface to remove any dirt or dust. This step is essential to prevent any particles from getting inside the stove during the door removal process.

Next, I inspect the stove for any damage or wear. I check for any cracks or signs of deterioration that may affect the door’s removal. If I notice any issues, I address them before proceeding further.

Once I’m satisfied with the surface cleaning and inspection, I’m ready to move on to removing the bolts and hinges, which will allow me to detach the door from the wood stove.

Removing the Bolts and Hinges

To remove the bolts and hinges, I carefully unscrew the four bolts
and use a screwdriver to detach the hinges from the wood stove door.

This process is crucial for troubleshooting issues with a Blaze King wood stove door,
especially if the hinges are rusty. Rusty hinges can cause the door
to become stiff or difficult to open and close.

Advertisement

By removing the bolts and hinges, I can inspect them for any signs of rust or damage.
If I notice rust, I can clean it off using a wire brush and apply a lubricant to prevent future rusting.

Troubleshooting issues with the door hinges is essential to ensure smooth operation
and prevent any potential safety hazards.

Detaching the Door From the Stove Body

Inspecting the stove body and examining any potential damage is crucial before detaching the door to ensure a smooth and safe process. Proper maintenance for a Blaze King wood stove door is essential to avoid common issues with wood stove door detachment.

Here are four steps to successfully detach the door:

  1. Begin by carefully removing any screws or bolts that secure the door to the stove body.

  2. Gently pull the door away from the stove body, being mindful of any resistance or stuck parts.

  3. Inspect the hinges and hinges pins for wear or damage, as these can cause difficulty in detaching the door.

  4. Once the door is detached, set it aside in a safe place to prevent any accidental damage or injury.

By following these steps and ensuring proper maintenance, you can safely detach the door from your Blaze King wood stove.

Advertisement

Now, let’s move on to reassembling the door and the final steps.

Reassembling the Door and Final Steps

After carefully inspecting the hinges and hinge pins, it’s time to reassemble the door and complete the final steps.

When reassembling the door of a Blaze King wood stove, it’s crucial to secure the hinges properly to ensure proper functionality and safety. Start by aligning the door with the stove body, making sure the hinge pins are inserted into their respective holes. Once in place, gently push the door towards the stove until it fully closes.

Next, tighten the hinge screws using a screwdriver, ensuring that they’re securely fastened. It’s important to check that the door opens and closes smoothly without any friction or resistance.

Finally, test the door by gently pulling and pushing on it to ensure that it’s securely attached and operating correctly.

Advertisement

Frequently Asked Questions

How Do I Know When It’s Time to Remove the Door of My Blaze King Wood Stove?

When signs of wear and tear start appearing on my Blaze King wood stove door, I know it’s time to remove it. I follow these steps to safely unbolt the door and ensure proper maintenance.

Can I Remove the Door of My Blaze King Wood Stove Without Any Assistance?

Certainly! Removing the door of a Blaze King wood stove without assistance is possible. However, if you encounter any issues such as bolt stripping, troubleshooting might be required to ensure a successful removal.

Are There Any Special Precautions I Should Take Before Removing the Door of My Blaze King Wood Stove?

Before removing the door of my Blaze King wood stove, I take some precautions. I ensure the stove is completely cool and use protective gloves. The only tool required is a wrench to unbolt the door.

What Should I Do if I Accidentally Strip the Bolts While Removing the Door of My Blaze King Wood Stove?

If I accidentally strip the bolts while removing the door of my Blaze King wood stove, I would first try using a rubber band or a hammer to grip the stripped bolt. If that fails, I may need to resort to drilling it out.

Can I Replace the Hinges on My Blaze King Wood Stove Door if They Become Damaged or Worn Out?

Yes, you can replace the hinges on a Blaze King wood stove door if they become damaged or worn out. There are alternative methods to remove the door, but replacing the hinges is a more permanent solution.

Advertisement

Conclusion

After following these steps, you’ll be amazed at how effortlessly you can unbolt a Blaze King wood stove door. The process may seem daunting at first, but with the right tools and a little know-how, it becomes a breeze.

Remember to take your time and be patient as you detach the bolts and hinges.

Once you’ve reassembled the door, you’ll feel like a seasoned pro, ready to enjoy the warmth and comfort of your wood stove.

Continue Reading

Trending