
Initially, I believed that installing a wood pellet stove would be a challenging endeavor, but to my pleasant surprise, the whole procedure turned out to be quite easy.
In this step-by-step guide, I’ll show you exactly how to install a wood pellet stove in your home.
From choosing the right location to connecting the venting system and testing the stove’s operation, I’ve got you covered.
So grab your tools and let’s get started on this rewarding DIY project!
Key Takeaways
- Choosing the right location for your wood pellet stove is important for safety and efficiency.
- Proper preparation of the space for installation is necessary before installing the stove.
- The selection and installation of the venting system is crucial for proper operation of the stove.
- Connecting the stove to the power source and testing its operation is essential before regular use.

Single Burn Rate Stove
Heats up to 900 sq. ft.
As an affiliate, we earn on qualifying purchases.
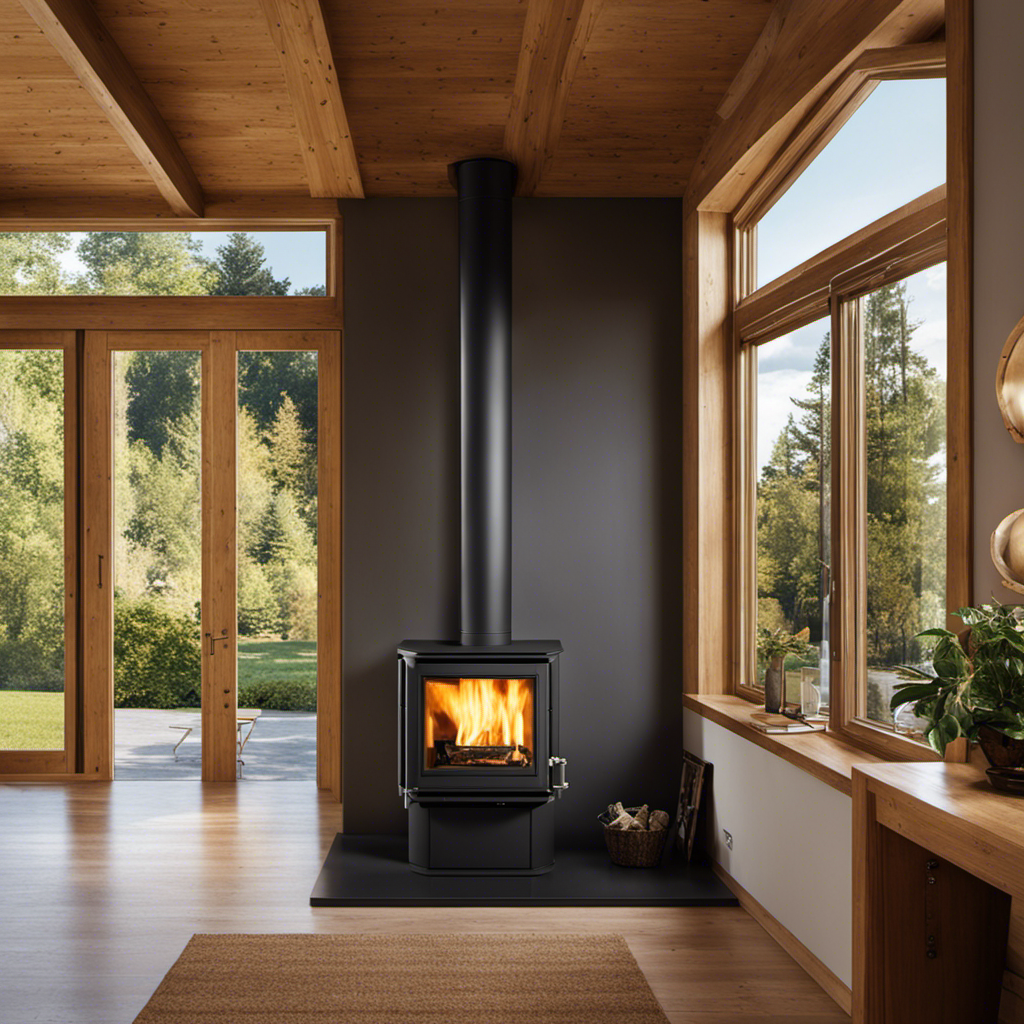
Choosing the Right Location for Your Wood Pellet Stove
When choosing the right location for your wood pellet stove, it’s important to consider factors such as proximity to an exterior wall and available ventilation.
The first step is to find the right size wood pellet stove for your space. Measure the area where you plan to install the stove and choose a model that fits within those dimensions.
Additionally, it’s crucial to consider clearance requirements. These are the minimum distances that must be maintained between the stove and combustible materials such as walls or furniture. Ensure that you have enough space around the stove to meet these requirements and allow for proper airflow.
Proper positioning of your wood pellet stove will not only ensure efficient heating but also reduce any potential fire hazards.
Now let’s move on to preparing the space for installation…

Guide Gear Outdoor Wood Burning Stove; Portable with Chimney Pipe for Cooking and Camping
OUTDOOR WOOD STOVE – We designed our camp stove for use outside. Perfect for use during camping trips...
As an affiliate, we earn on qualifying purchases.
Preparing the Space for Installation
Before starting the installation process for your wood pellet stove, make sure to prepare the space adequately.
First, remove any furniture or belongings from the area where you plan to install the stove. This will provide a clear and safe workspace.
Next, if you have carpeting or any other type of flooring in that space, consider installing wood flooring instead. Wood flooring is not only more heat-resistant but also easier to clean and maintain.
Additionally, measure the dimensions of the area to ensure that it can accommodate the stove properly. This step is crucial as it will help you determine if any modifications need to be made before proceeding with the installation process.
Now that you’ve prepared the space for your wood pellet stove, let’s move on to selecting and installing the venting system.

YRenZ Upgraded Portable Wood Stove for Camping, Compact Tent Stove with Large Firebox, High Airtightness for Outdoor Cooking & Heating
【Upgraded Tent Camping Wood Stove】: Compact yet powerful wood stove for tents and outdoor use, with high airtightness,...
As an affiliate, we earn on qualifying purchases.
Selecting and Installing the Venting System
When it comes to selecting and installing a venting system for your wood pellet stove, there are several options to consider. Proper installation techniques are crucial to ensure the safe and efficient operation of your stove.
In this discussion, we will explore the different venting system options available. We will provide step-by-step instructions on how to install them correctly. Additionally, we will highlight important safety considerations that should not be overlooked.
Venting System Options
To determine the best venting system option for your wood pellet stove, you should consider factors such as the layout of your home and local building codes. Here are three types of venting systems commonly used with wood pellet stoves:
-
Direct Vent: This type of system utilizes a pipe to bring in fresh air for combustion and another pipe to exhaust gases outside. It is considered the safest option as it eliminates any chance of backdraft or carbon monoxide buildup.
-
Power Vent: With a power venting system, a fan is used to force exhaust gases out through a vent pipe. This option is ideal when there are limitations on where the stove can be placed or if the layout of your home makes it difficult for natural draft systems.
-
Natural Draft: In this system, no fan is used, and instead, the warm air naturally rises and escapes through vertical pipes installed in your home’s walls or roof. It requires proper maintenance to ensure efficient operation.
Choosing the right venting system type and performing regular maintenance will help ensure safe and efficient operation of your wood pellet stove.
Now let’s dive into proper installation techniques…
Proper Installation Techniques
Properly installing a wood pellet stove requires following manufacturer guidelines and ensuring adequate clearance from combustible materials. Here are some installation tips to help you get started.
- Choose a suitable location for your pellet stove, considering factors such as proximity to an exterior wall or chimney access.
- Prepare the area by removing any flammable items and creating a non-combustible base for the stove.
- Assemble the venting system according to the manufacturer’s instructions, paying attention to proper sealing and support.
- Connect the stove to a power source and test its functionality before use.
Common mistakes during installation include neglecting clearance requirements, using improper venting materials or connections, and failing to properly secure the stove in place. It is crucial to avoid these errors as they can lead to safety hazards or inefficiency in heating.
When it comes to safety considerations for your wood pellet stove installation, there are several important aspects to keep in mind.
Safety Considerations
One important aspect to consider for your pellet stove’s safety is the adequate clearance from combustible materials. This is crucial for fire prevention and ensuring the proper functioning of your stove. To ensure a safe installation, follow these steps:
-
Check the manufacturer’s guidelines: Each pellet stove has specific clearance requirements that must be followed to prevent fires or damage.
-
Measure and mark the clearances: Use a measuring tape to determine the distance required between the stove and any nearby walls, furniture, or curtains.
-
Create a barrier: Install non-combustible materials such as tile or sheet metal around the stove to provide an extra layer of protection.
Table:
| Combustible Material | Minimum Clearance |
|---|---|
| Walls | 12 inches |
| Furniture | 36 inches |
| Curtains | 24 inches |

Trailblazer Cookstove – Wood Fired Stovetop with Oven for Off-Grid Living, Camping, RV, Hunting, Prepping, Emergency Heat & Cooking
Heirloom Steel, Built to Last – Solid-steel construction, folding legs, and gasket-free door design proven in remote village...
As an affiliate, we earn on qualifying purchases.
Connecting the Stove to the Venting System
Make sure you have the correct size adapter to connect your wood pellet stove to the venting system. Proper venting is essential for the safe and efficient operation of your stove.
Before starting the installation process, familiarize yourself with the venting requirements specified by the manufacturer.
Begin by attaching the adapter to the back of the stove, ensuring a secure fit.
Next, position and attach the vent pipe to the adapter, making sure it slopes slightly upward towards the outside.
Use high-temperature silicone sealant to seal all connections, preventing any leaks.
Finally, secure the pipe in place using appropriate brackets and supports as per manufacturer’s instructions.
With this step complete, we can now move on to preparing the hearth and floor protection for your wood pellet stove installation.
Preparing the Hearth and Floor Protection
To ensure the safety of your home, it’s important to properly prepare the hearth and floor protection for your stove installation.
Before you begin installing your wood pellet stove, it is essential to create a suitable surface for the stove to sit on. Start by placing a non-combustible material, such as a sheet of cement board or tile, on top of your existing flooring. This will act as a heat shield and protect against any potential fire hazards.
Additionally, make sure that there is enough space around the stove for proper ventilation and easy access for maintenance. By taking these steps, you can ensure that your stove installation is done safely and efficiently.
Now that we have prepared the hearth and floor protection, we can move on to installing the chimney and chimney cap.
Installing the Chimney and Chimney Cap
Now that we’ve prepared the hearth and floor protection, it’s time to move on and install the chimney and chimney cap. The chimney installation is a crucial step in ensuring proper ventilation for your wood pellet stove. Follow these steps to ensure a successful installation:
-
Determine the location: Choose a suitable spot for the chimney that allows for safe venting of exhaust gases.
-
Install the chimney pipe: Connect the sections of the chimney pipe according to manufacturer instructions, ensuring a secure fit.
-
Secure the chimney: Use brackets or straps to secure the chimney to an adjacent wall or ceiling joist for added stability.
-
Install the chimney cap: Place the chimney cap on top of the last section of pipe, securing it with screws or clamps.
| Chimney Installation | Chimney Cap Installation |
|---|---|
| Choose location | Place cap on top of last section |
| Connect sections according to manufacturer instructions | Secure with screws or clamps |
| Secure with brackets/straps |
Connecting the Stove to the Power Source
You’ll need to ensure the stove is properly connected to the power source for it to function correctly. Here’s how you can do that:
-
Check the electrical requirements: Before connecting the stove, make sure you have a dedicated circuit with the correct voltage and amperage capacity. Refer to the manufacturer’s instructions or consult an electrician if needed.
-
Install the power cord: Attach one end of the power cord to the back of the stove, ensuring a secure connection. Then, route the cord through a suitable conduit or protective covering towards the power outlet.
-
Connect to the power source: Plug in the other end of the power cord into a grounded outlet that matches your stove’s electrical requirements.
Now that your wood pellet stove is connected to the power source, you can proceed with testing and adjusting its operation for optimal performance.
Testing and Adjusting the Stove’s Operation
Once connected to the power source, ensure that all the stove’s controls are functioning properly. To test and adjust the stove’s operation, follow these steps:
- Turn on the stove by pressing the power button.
- Set the desired temperature using the thermostat control.
- Check if the auger is feeding pellets into the burn pot adequately.
- Adjust the air intake damper to achieve optimal combustion.
- Observe if there is a steady flame in the burn pot.
- Listen for any unusual noises or vibrations during operation.
If you encounter any issues during testing, here are some troubleshooting techniques:
- Check if there is sufficient fuel in the hopper.
- Clean out any blockages in the pellet delivery system or exhaust vent.
- Verify that all electrical connections are secure.
By following these testing procedures and troubleshooting techniques, you can ensure that your wood pellet stove operates efficiently and safely.
Moving forward into maintaining and troubleshooting your wood pellet stove, it is important to inspect and clean various components regularly to prevent malfunctions and maintain optimal performance.
Maintaining and Troubleshooting Your Wood Pellet Stove
Regularly inspecting and cleaning the various components of your wood pellet stove is essential for preventing malfunctions and ensuring optimal performance. Here are some maintaining tips to help you keep your wood pellet stove in top shape.
-
Clean the Burn Pot: Remove any ash or debris from the burn pot using a vacuum or brush. This will prevent clogs and promote efficient combustion.
-
Clean the Exhaust Vent: Regularly check and clean the exhaust vent to remove any buildup of soot or creosote. This will ensure proper airflow and reduce the risk of chimney fires.
-
Check the Igniter: Inspect the igniter for any signs of wear or damage. If necessary, replace it to ensure reliable ignition.
-
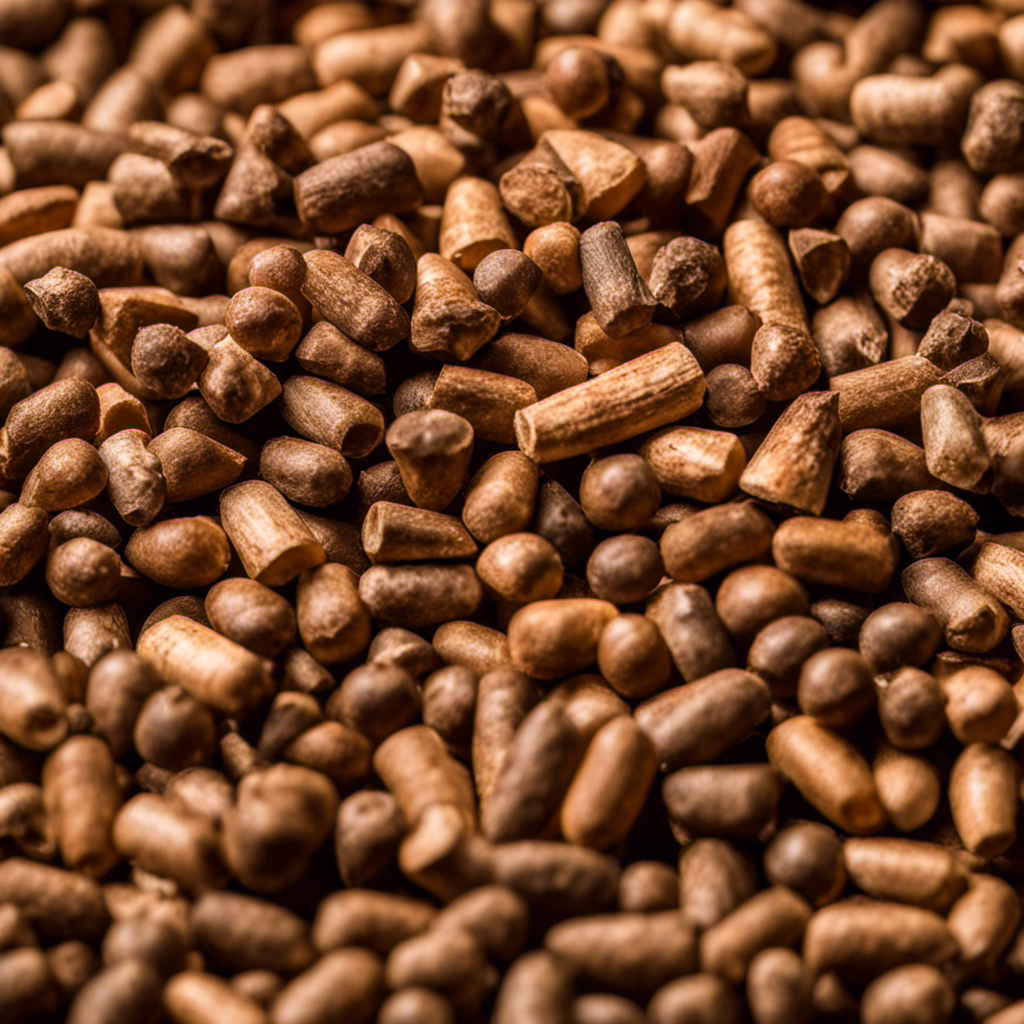
Monitor Pellet Quality: Use high-quality pellets that have low moisture content to prevent issues such as auger jams or poor combustion.
Frequently Asked Questions
How Much Does a Wood Pellet Stove Typically Cost?
Wood pellet stoves typically cost between $1,500 to $3,000. The price depends on factors like the brand, size, and features. When considering installation costs, it’s best to consult with a professional for an accurate estimate.
What Are the Benefits of Using a Wood Pellet Stove Over Other Types of Heating Systems?
Using a wood pellet stove has many advantages over other heating systems. It’s highly efficient and can help lower energy costs. Plus, it reduces carbon emissions by burning renewable fuel made from compressed sawdust.
Are Wood Pellet Stoves Environmentally Friendly?
Yes, wood pellet stoves are environmentally friendly. They have a lower carbon footprint compared to fossil fuel-based heating systems and use renewable energy sources. Installing one can help reduce your impact on the environment.
Can a Wood Pellet Stove Be Used as a Primary Heat Source for a Home?
Yes, a wood pellet stove can be used as a primary heat source for a home. It is efficient and provides warmth. To install one, follow these tips: choose the right location, install venting properly, and ensure proper clearance from combustibles.
How Often Do Wood Pellet Stoves Need to Be Cleaned and Maintained?
Wood pellet stoves need regular cleaning and maintenance to ensure optimal performance. Depending on usage, they should be cleaned every 1-2 weeks. This involves removing ash, cleaning the hopper, and inspecting the venting system for any blockages or damage.
Conclusion
In conclusion, installing a wood pellet stove can be a rewarding and efficient way to heat your home.
By following the step-by-step guide, you can successfully set up your stove and ensure its proper operation.
Remember to choose the right location, prepare the space adequately, install the venting system correctly, and connect it to the power source.
With proper maintenance and troubleshooting skills, you’ll have a cozy and warm environment in no time.
So go ahead and let your home embrace the warmth of a wood pellet stove like a comforting hug on a chilly day.