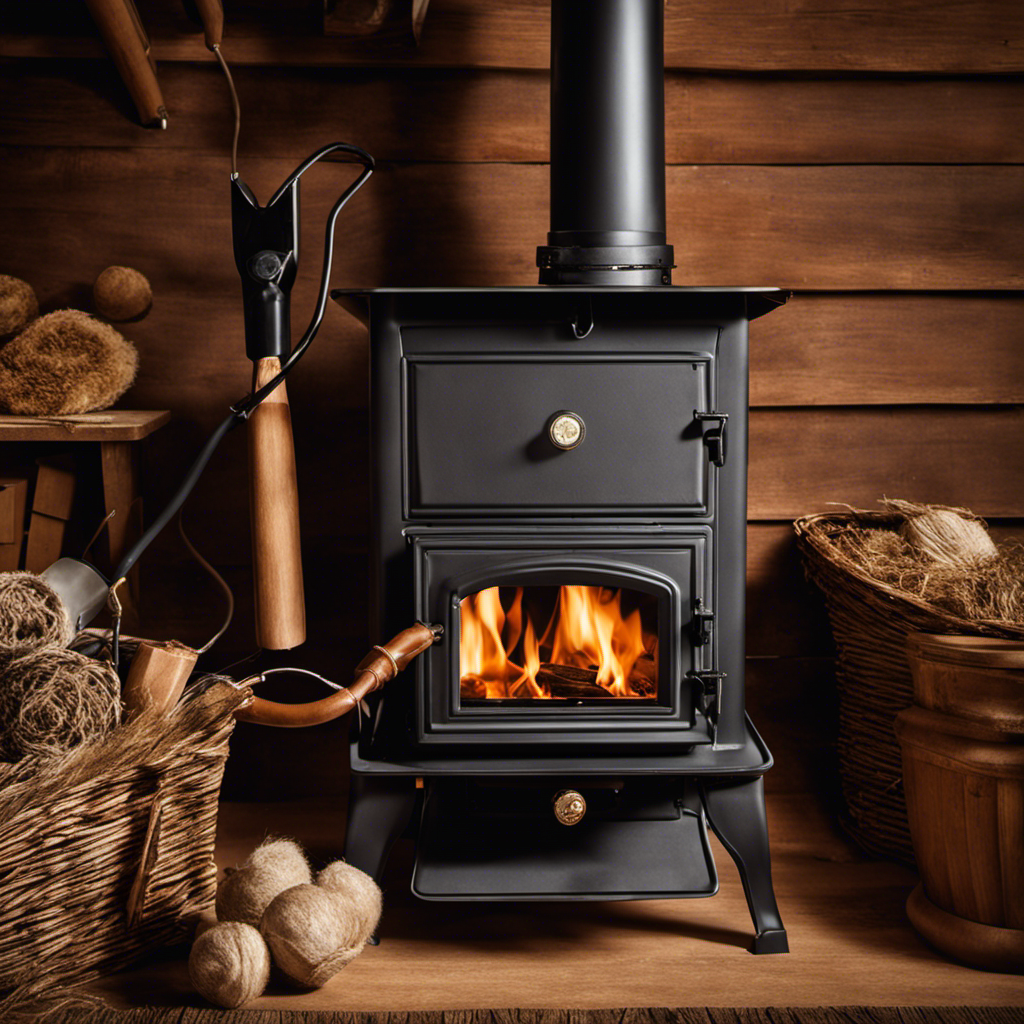
Setting up a single wall wood stove pipe may appear challenging, but don’t worry! By having the appropriate tools and understanding, you can tackle this project confidently. In this tutorial, I will guide you through the exact steps required to install a single wall wood stove pipe, providing helpful tips and information throughout the process.
Get ready to transform your space into a cozy haven with the comforting warmth of a wood stove.
Let’s dive in!
Key Takeaways
- Single wall wood stove pipe is more affordable compared to double wall pipe.
- Single wall pipe is easier to install due to its lightweight nature.
- Common mistakes to avoid when installing wood stove pipe include not providing enough clearance to combustible materials and not properly sealing the joints.
- Understanding these basics and avoiding these mistakes will ensure a safe and efficient installation.
Understanding the Basics of Single Wall Wood Stove Pipe
I really need to understand the basics of single wall wood stove pipe before I begin the installation process.
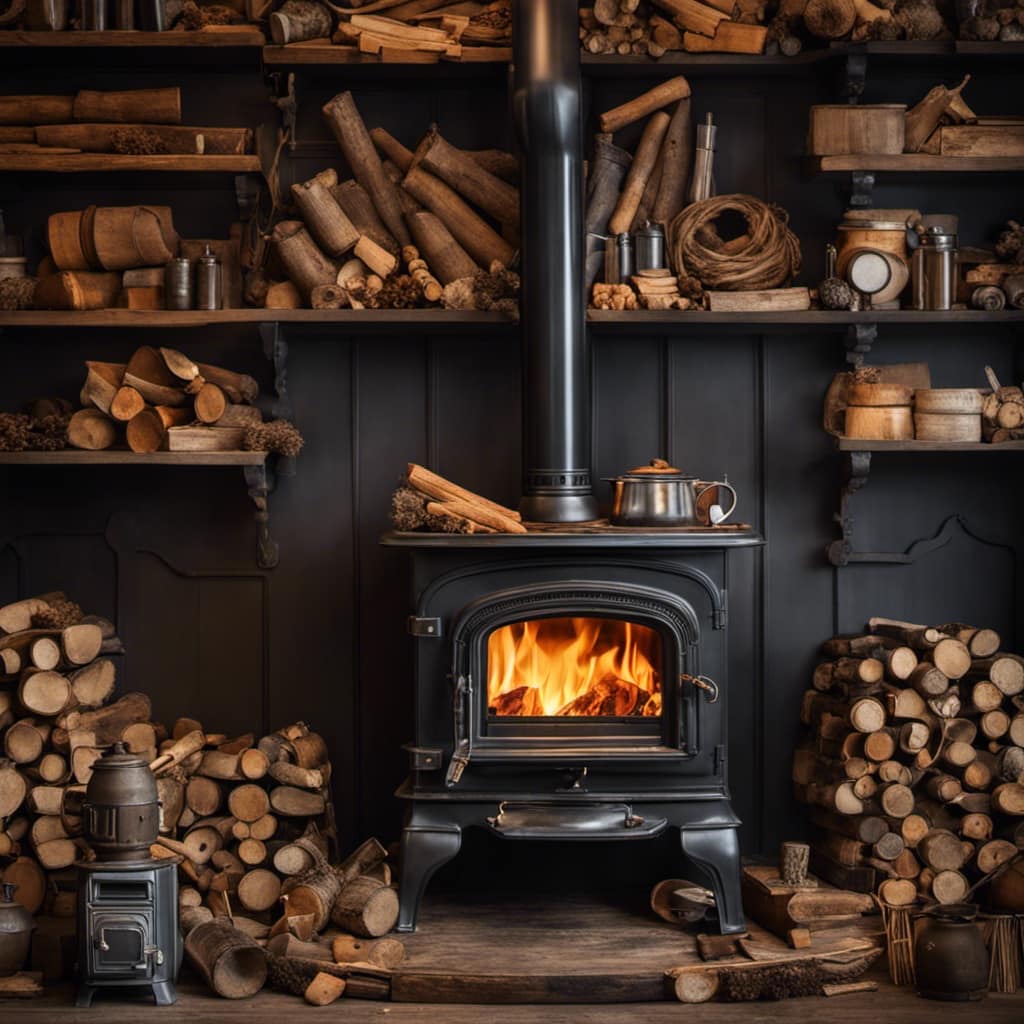
Single wall wood stove pipe has several advantages that make it a popular choice for venting wood stoves. Firstly, it’s more affordable compared to double wall pipe. Secondly, it’s easier to install due to its lightweight nature.
However, there are common mistakes that one must avoid when installing wood stove pipe. One such mistake isn’t providing enough clearance to combustible materials. This can lead to fire hazards and is a violation of building codes. Another mistake isn’t properly sealing the joints, which can result in smoke leakage.
Understanding these basics and avoiding these mistakes will ensure a safe and efficient installation.
Now that I’ve a good grasp of the basics, I can move on to gathering the necessary tools and materials.
Gathering the Necessary Tools and Materials
To get started, all I’ll need are the right tools and materials. Here’s what you’ll need to gather before you begin installing a single wall wood stove pipe:
-
Measuring Tape: Accurate measurements are crucial for a successful installation, so make sure you’ve a reliable measuring tape on hand.
-
Screwdriver: You’ll need a screwdriver to secure the pipe sections together and attach the pipe to the stove and the wall.
-
Tin Snips: Tin snips are essential for cutting the pipe to the desired length. They allow for precise and clean cuts.
-
Chimney Brush: Before installing the pipe, you’ll want to clean your chimney thoroughly. A chimney brush will help remove any debris or creosote buildup.
Now that you’ve your tools ready, it’s time to move on to preparing your space for installation.
Transition Sentence: With the necessary tools and materials gathered, it’s important to prepare your space before you can start installing the single wall wood stove pipe.
Preparing Your Space for Installation
With everything ready, I can now ensure my space is properly prepared for the installation.
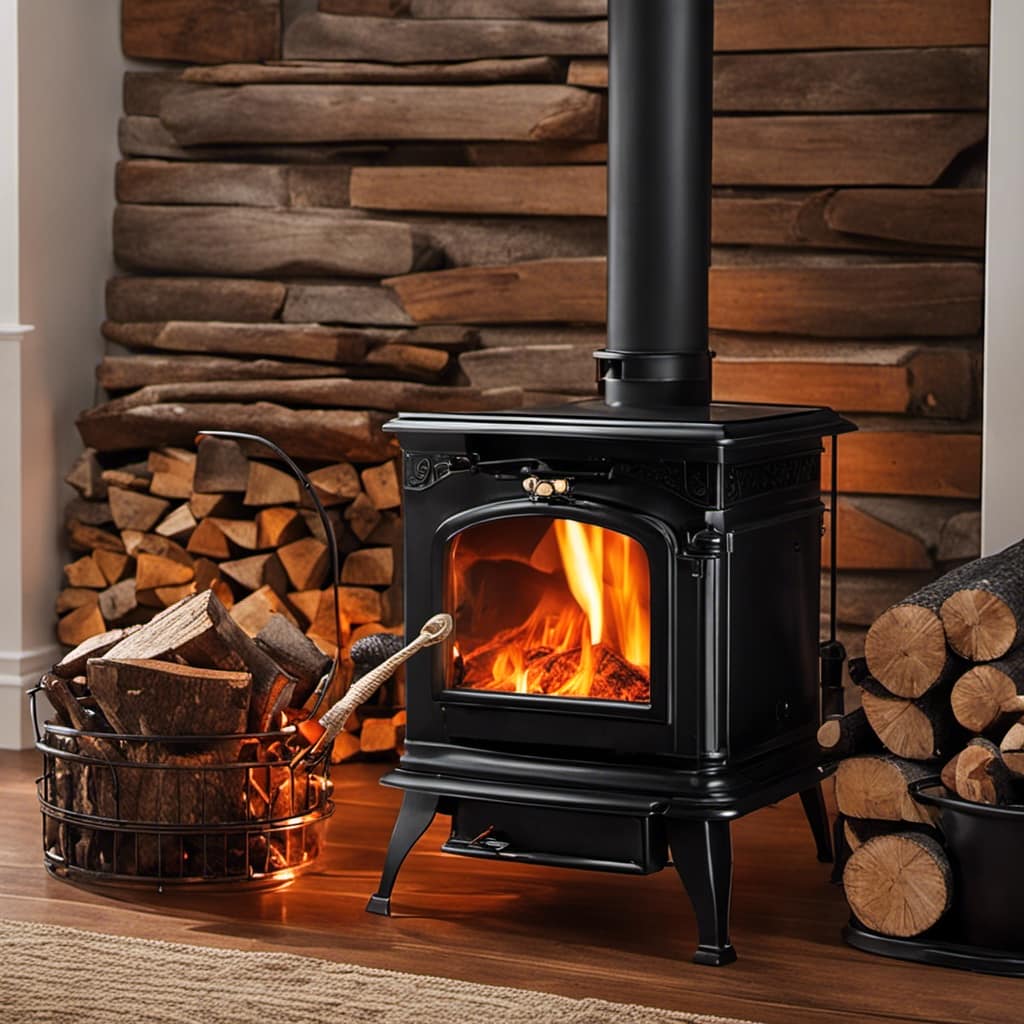
The first step is to measure the dimensions of the area where the single wall wood stove pipe will be installed. This is crucial to ensure a proper fit and to avoid any potential hazards. I carefully measure the distance from the top of the stove to the ceiling, as well as the distance from the stove to any nearby walls or combustible materials.
Next, I clear the area around the stove, making sure there are no flammable objects or furniture that could pose a risk. It’s important to have at least a three-foot clearance around the stove to prevent any potential fire hazards.
Step-by-Step Installation Process
Now that the space is prepared, I can begin by assembling the necessary components for the installation. Here is a step-by-step guide on how to install a single wall wood stove pipe:
-
Measure and cut:
Measure the length of the pipe needed and cut it using a hacksaw or reciprocating saw. Make sure to wear safety goggles and gloves for protection.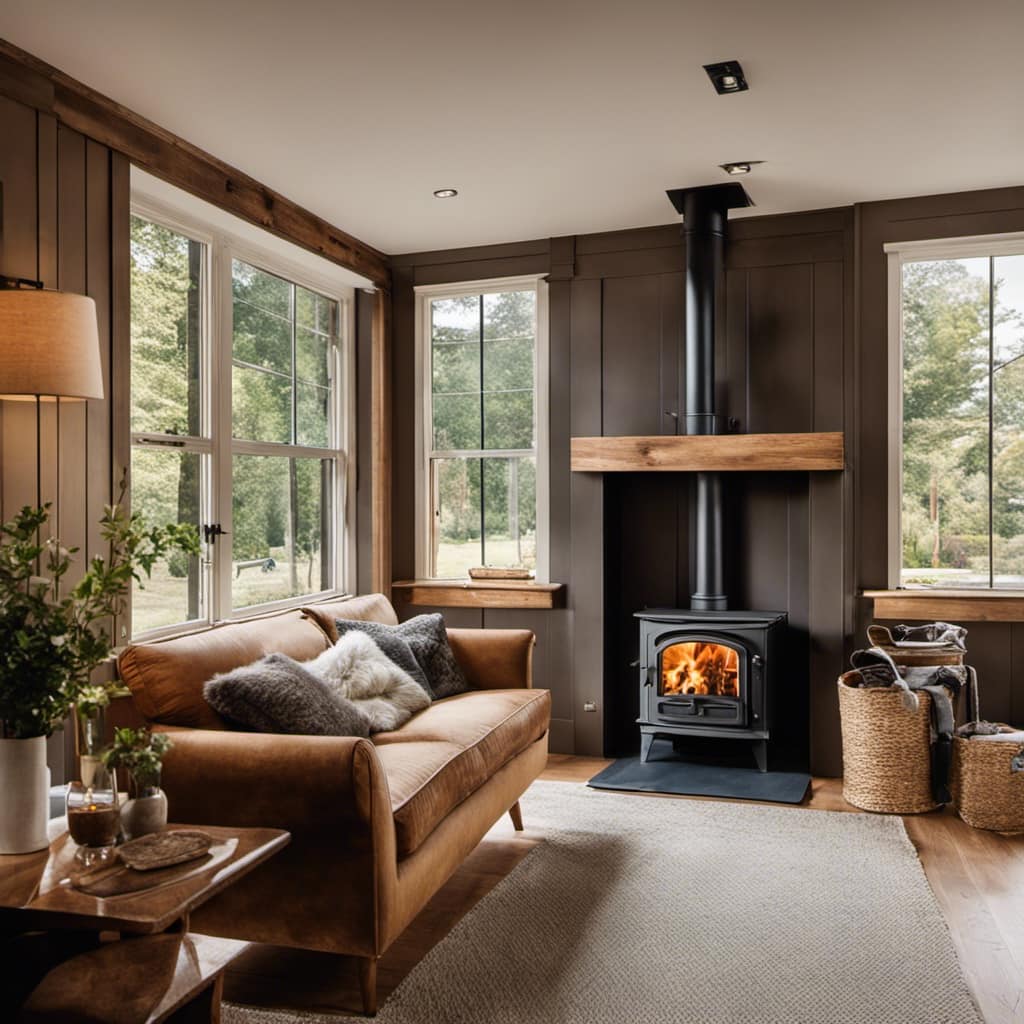
-
Attach the stove pipe sections:
Connect the sections of pipe using a twist lock or slip joint method. Ensure a tight fit to prevent any leaks. -
Secure the pipes:
Use pipe straps to secure the stove pipe to the wall or ceiling. This will provide stability and prevent it from shifting. -
Seal the joints:
Apply high-temperature silicone sealant to all the joints to create an airtight seal. This will prevent any smoke or gases from escaping.
Installation Precautions:
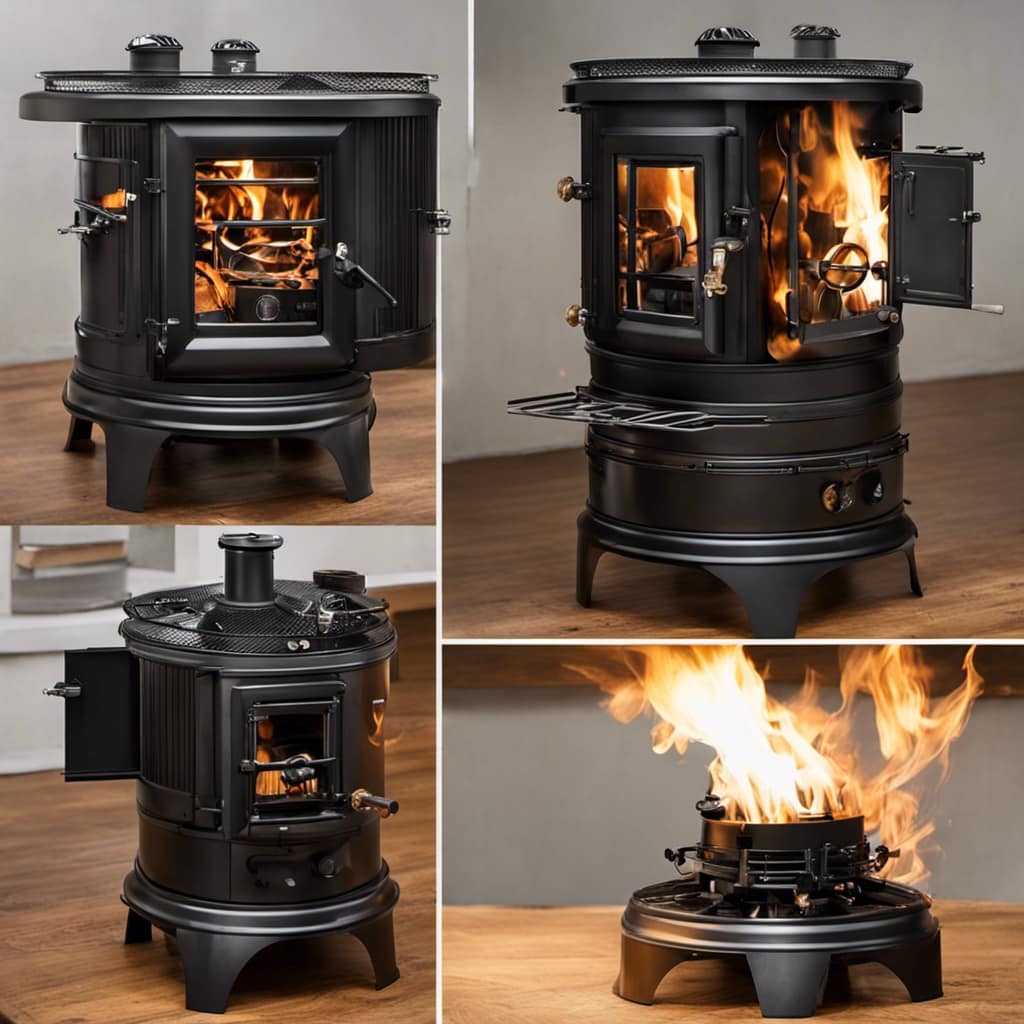
- Always follow the manufacturer’s instructions and guidelines.
- Keep a safe distance between the stove pipe and any combustible materials.
- Install a chimney cap to prevent debris or animals from entering the pipe.
Troubleshooting Common Issues:
- If you notice smoke or gases escaping from the joints, check for any gaps or loose connections.
- Excessive creosote buildup may indicate a problem with the stove’s combustion efficiency. Clean the pipe regularly to prevent fire hazards.
Following these precautions and troubleshooting tips will ensure a safe and effective installation of your single wall wood stove pipe.
Tips and Tricks for a Successful Wood Stove Pipe Installation
I found that using high-temperature silicone sealant on all the joints helped create a tight and secure connection for my wood stove pipe installation. This is essential for proper functioning and safety. Additionally, there are several tips and tricks that can help ensure a successful installation and improve the overall maintenance of your wood stove.
One common issue that homeowners face is creosote buildup in the chimney. This can lead to chimney fires and poor stove performance. To prevent this, it is important to regularly clean the chimney and inspect for any obstructions or damage.
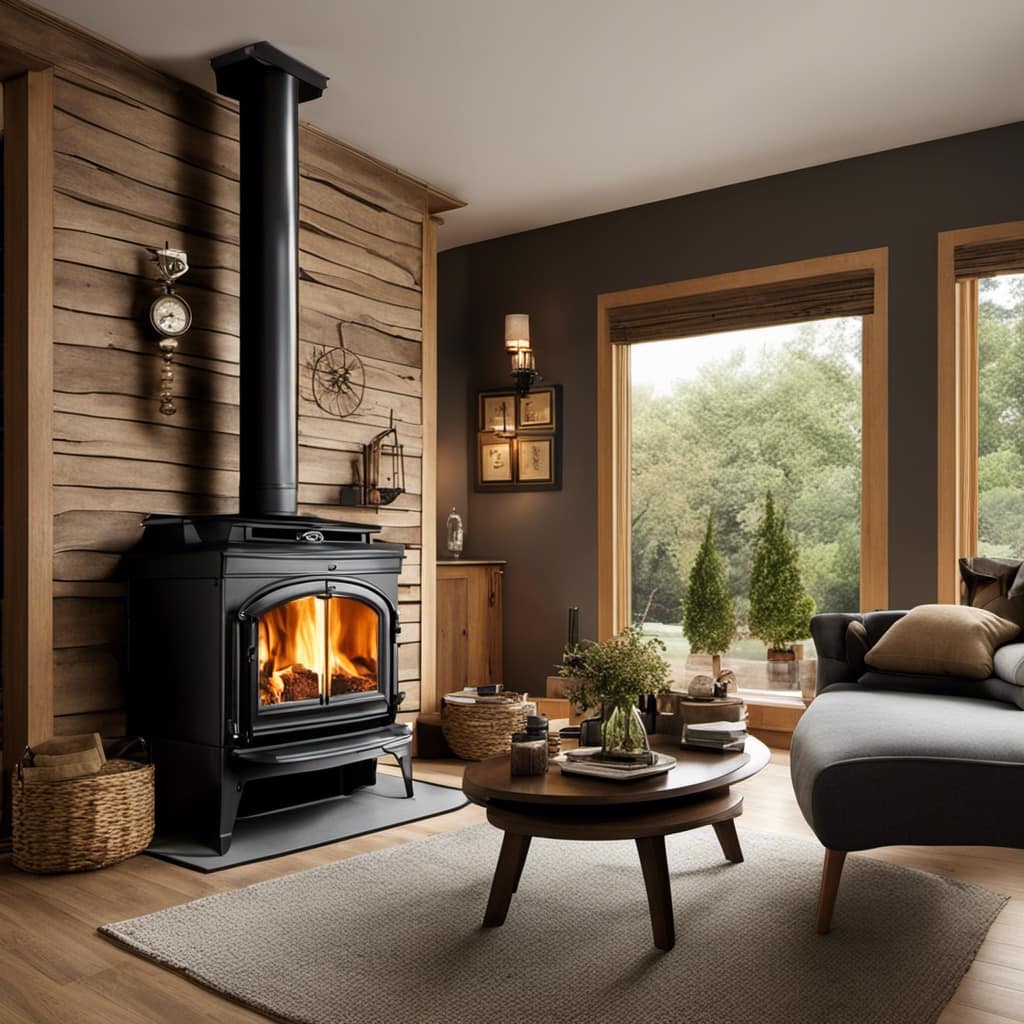
Another common issue is smoke leakage from the joints. This can be resolved by using gaskets or rope seals to create a tight seal. Regularly checking and replacing these seals is vital to prevent smoke leaks.
Furthermore, it is important to properly size and install the stove pipe. Refer to the manufacturer’s guidelines and local building codes to ensure compliance and safety.
Here is a table summarizing some troubleshooting tips:
| Common Issue | Solution |
|---|---|
| Creosote buildup | Regular chimney cleaning and inspection |
| Smoke leakage from joints | Use gaskets or rope seals for tight seal |
| Improper sizing or installation | Refer to manufacturer’s guidelines and building codes |
Frequently Asked Questions
How Often Should Single Wall Wood Stove Pipes Be Inspected and Cleaned?
I recommend inspecting and cleaning single wall wood stove pipes annually to ensure proper functioning and safety. Regular maintenance is crucial for these pipes to prevent the buildup of creosote and other potential hazards.

Can Single Wall Wood Stove Pipes Be Used in Multi-Story Homes?
In multi-story homes, safety concerns are paramount when using single wall wood stove pipes. Proper installation and regular inspections are crucial to prevent fire hazards and ensure the well-being of occupants.
What Is the Average Lifespan of a Single Wall Wood Stove Pipe?
The average lifespan of a single wall wood stove pipe depends on various factors such as maintenance frequency and usage. Regular maintenance and proper care can extend the lifespan of the pipe.
Are There Any Special Considerations for Installing a Wood Stove Pipe in a Mobile Home?
When installing a wood stove pipe in a mobile home, it is crucial to adhere to mobile home regulations and take necessary safety precautions. This ensures proper ventilation and reduces the risk of fire hazards.
Can Single Wall Wood Stove Pipes Be Painted to Match the Decor of the Room?
Yes, single wall wood stove pipes can be painted to match the decor of the room. However, it is important to use high-temperature paint that can withstand the heat generated by the stove. Alternatively, there are other options available to match the decor.
Conclusion
As we reach the end of our installation journey, remember that the single wall wood stove pipe is like a loyal companion, guiding the way for the warmth and comfort of your home.
By understanding the basics, gathering the necessary tools, and following the step-by-step process, you can ensure a successful installation.
With these tips and tricks, you’ll be ready to cozy up by the fire, knowing that your wood stove pipe is secure and reliable.
Growing up surrounded by the vast beauty of nature, Sierra was always drawn to the call of the wild. While others sought the comfort of the familiar, she ventured out, embracing the unpredictable and finding stories in the heartbeat of nature.
At the epicenter of every remarkable venture lies a dynamic team—a fusion of diverse talents, visions, and passions. The essence of Best Small Wood Stoves is crafted and refined by such a trio: Sierra, Logan, and Terra. Their collective expertise has transformed the platform into a leading authority on small wood stoves, radiating warmth and knowledge in equal measure.


