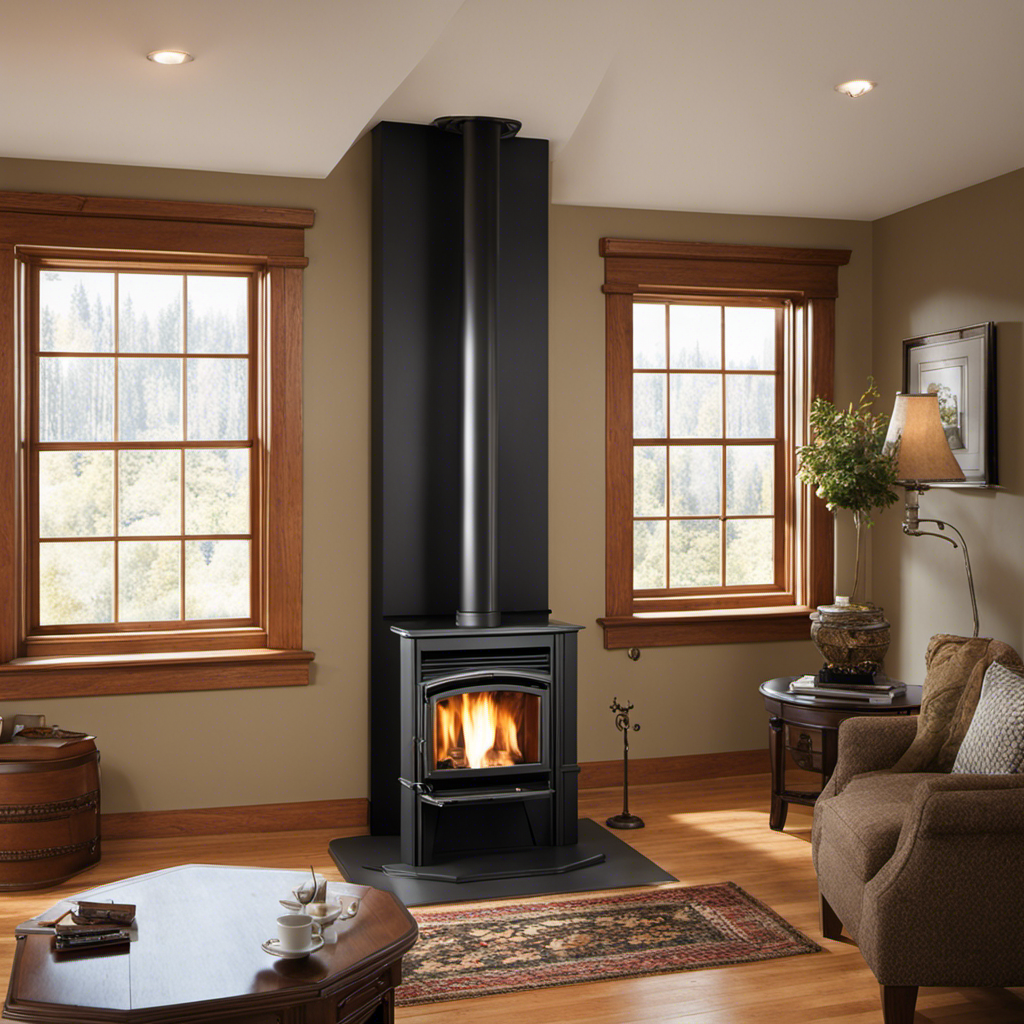
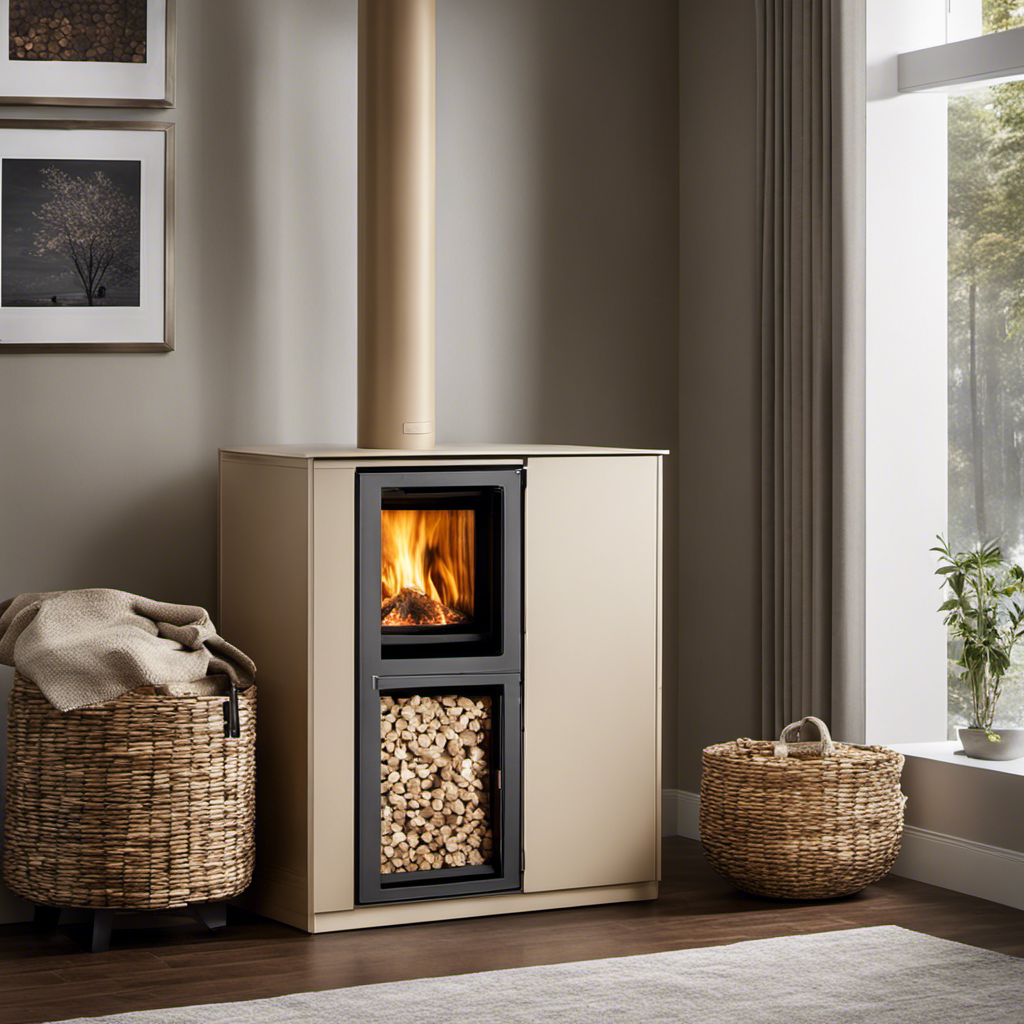
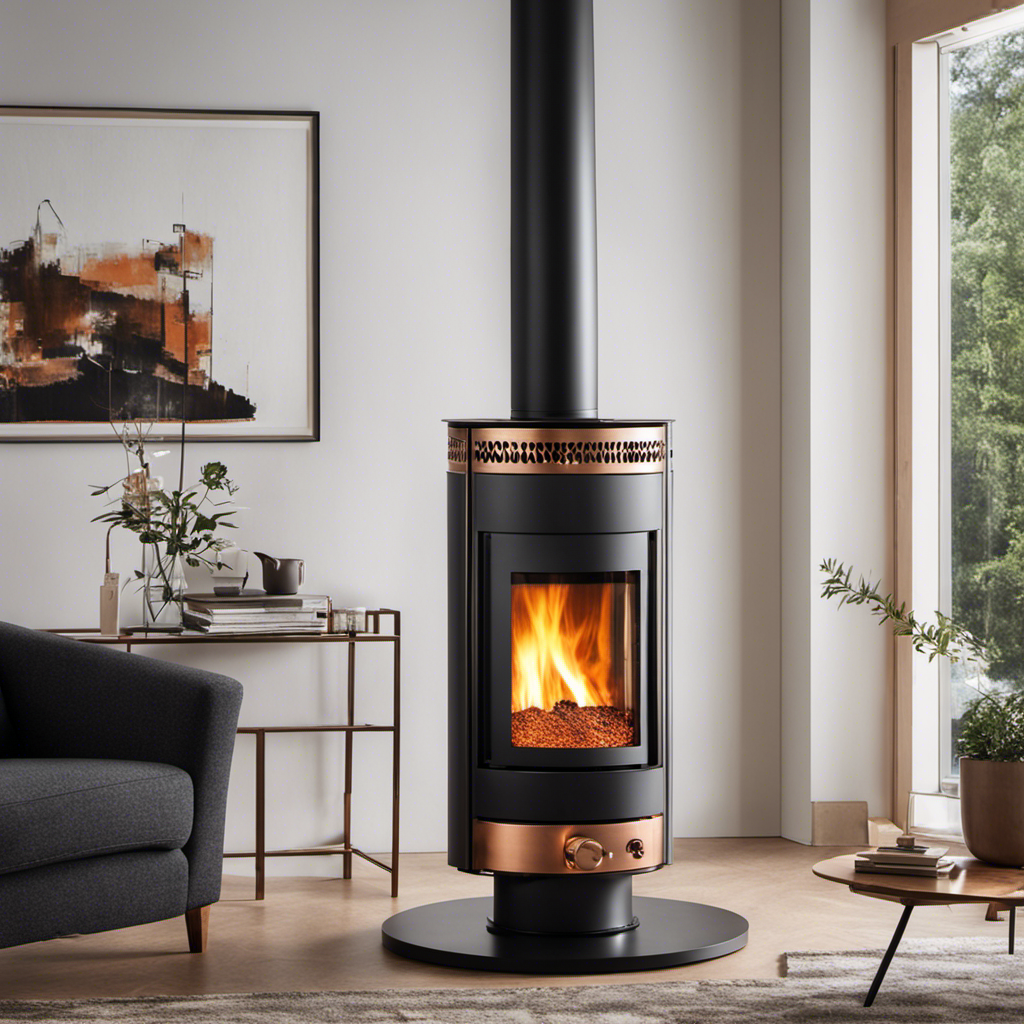
I’ve always held a deep appreciation for the cozy and inviting atmosphere created by a wood stove, but the time has arrived for a change. Therefore, I’ve begun the process of replacing my trusty old wood stove with a pellet stove.
It may sound daunting, but fear not! In this step-by-step guide, I’ll walk you through the process of:
- Assessing the existing setup
- Removing the wood stove and chimney
- Preparing the space
- Installing the pellet stove and venting system.
Get ready to cozy up to a new level of heating efficiency!
Key Takeaways
- Assess the existing wood stove setup and consult a professional for advice on the feasibility of installation.
- Remove the wood stove and chimney safely, considering hiring professionals if needed.
- Prepare the space for the pellet stove by clearing out debris, cleaning the area, and inspecting and repairing the hearth and chimney.
- Install the pellet stove and venting system properly, following the instructions and testing for proper operation.
Assessing the Existing Wood Stove Setup
First, you’ll need to determine if the existing wood stove setup is suitable for installing a pellet stove. Evaluating your options and doing a cost comparison will help you make an informed decision. Here’s a step-by-step guide to assessing the existing wood stove setup.
-
Inspect the wood stove: Check if it’s in good condition and meets the necessary safety regulations. Look for any signs of damage or wear and tear.
-
Measure the dimensions: Ensure that the space can accommodate a pellet stove. Measure the height, width, and depth to determine if it’s suitable.
-
Evaluate the chimney: Assess if the chimney is compatible with a pellet stove. Consider the size, condition, and if it needs any modifications.
-
Consult a professional: Seek advice from a qualified technician or installer to assess the feasibility of installing a pellet stove.
By evaluating these factors, you can determine if the existing wood stove setup is suitable for a pellet stove installation.
Now, let’s move on to the next section about removing the wood stove and chimney.
Removing the Wood Stove and Chimney
Before you begin, make sure to disconnect the chimney pipe from the wood stove. This step is crucial to ensure a safe and successful removal process.
Once the chimney pipe is disconnected, you can start removing the wood stove itself. Begin by emptying the ash pan and removing any remaining debris.
Next, unbolt the stove from the floor and carefully detach it from the chimney pipe. Remember to wear protective gloves and use a dolly or assistance if the stove is heavy.
If you’re uncertain about removing the wood stove on your own, it’s recommended to hire professionals to ensure a smooth and hassle-free process.
With the wood stove removed, you can now transition into preparing the space for the pellet stove installation.
Preparing the Space for the Pellet Stove
To get started, you’ll need to clear out any remaining debris and ensure the area is clean and ready for the new stove. This step is crucial for a safe and efficient installation of the pellet stove.
Begin by removing any loose or leftover wood and ash from the previous wood stove. Use a vacuum cleaner to thoroughly clean the area, including the floor and walls surrounding the space.
Next, inspect the hearth and make any necessary repairs or adjustments to ensure it is sturdy and level. Additionally, check the chimney for any blockages or damage that may affect the proper functioning of the pellet stove.
Taking these space preparation steps and safety precautions will help create a suitable environment for installing the pellet stove and venting system smoothly.
Now, let’s move on to the next phase of the installation process, which involves installing the pellet stove and venting system.
Installing the Pellet Stove and Venting System
Now, let’s get started on how you can properly set up the new stove and the venting system.
-
Choose the right location: Find a spot where the pellet stove will have enough clearance from walls, furniture, and combustible materials. Make sure the venting system can be installed properly in this location.
-
Install the vent pipe: Follow the manufacturer’s instructions to assemble and install the vent pipe. Use high-temperature silicone sealant to ensure a tight seal at each joint. Remember to provide proper clearance from any combustible materials.
-
Connect the stove to the vent: Attach the vent pipe to the exhaust outlet of the pellet stove using a vent adapter. Secure it with screws or clamps, following the manufacturer’s recommendations.
-
Test for proper operation: Before completing the installation, test the pellet stove to ensure it is functioning correctly. Check for any air leaks in the venting system and adjust the settings as needed.
By following these steps, you can successfully install your pellet stove and venting system.
Now, let’s move on to testing and finishing touches to ensure everything is working efficiently.
Testing and Finishing Touches
Once you have completed the assembly and connection of the venting system, it’s time to run a test to ensure proper operation. Testing techniques are crucial to confirm that your pellet stove is functioning correctly and is safe to use.
Here are the steps to perform a thorough test:
-
Check for any gas leaks: Use a gas leak detector or soapy water solution to identify any leaks in the gas connections. Apply the solution to the joints and connections, and if you see any bubbles forming, there is a leak that needs to be addressed.
-
Test the ignition: Start the pellet stove and observe if the ignition is working properly. Ensure that the pellets ignite quickly and produce a consistent flame.
-
Check the airflow: Verify that the air intake and exhaust systems are functioning correctly. Make sure there is proper airflow and that the smoke is being properly vented outside.
-
Monitor temperature settings: Adjust the temperature settings to different levels and observe if the stove responds accordingly. The temperature should rise and fall as expected.
Once the testing is complete, you can focus on choosing the right finish for your pellet stove. Consider the aesthetics and durability of the materials you choose, ensuring they complement your home’s decor and withstand the heat generated by the stove.
Frequently Asked Questions
What Are the Advantages of Installing a Pellet Stove Over a Wood Stove?
The advantages of installing a pellet stove over a wood stove include easier maintenance, as pellet stoves require less cleaning and produce less ash. Their automated fuel delivery system also allows for more convenient operation.
Are There Any Specific Safety Precautions to Consider When Removing the Old Wood Stove and Chimney?
When removing an old wood stove and chimney, there are important safety precautions to consider. It is crucial to follow a proper removal process to avoid any accidents or damage to your home.
Can the Existing Chimney Be Used for the Pellet Stove, or Does a New Venting System Need to Be Installed?
Yes, the existing chimney can be used for the pellet stove, but a new venting system may need to be installed depending on the chimney compatibility.
How Much Does It Typically Cost to Install a Pellet Stove and Venting System?
The cost factors of installing a pellet stove and venting system depend on various factors like the type of stove, chimney condition, and installation requirements. The installation process involves removing the old stove, preparing the area, installing the new stove and venting system.
Are There Any Specific Maintenance Requirements for a Pellet Stove That Differ From a Wood Stove?
Maintenance requirements for a pellet stove differ from a wood stove. Regular cleaning of the hopper and ash pan is necessary. Additionally, the pellet stove may require more frequent inspections and adjustments to maintain optimal performance compared to a wood stove.
Conclusion
Well, congratulations! You’ve successfully learned how to install a pellet stove where a wood stove once stood. Now you can revel in the joy of a more efficient heating system while saving the environment, one pellet at a time.
Remember, it’s all about assessing, removing, preparing, installing, and testing. Just follow these steps, and you’ll be cozy and warm in no time.
So go ahead, embrace the pellet stove revolution and show those old-fashioned wood stoves who’s boss!


