
I have always dreamed of incorporating a warm and functional wood stove into my home, and the Cubic Grizzly appeared to be the perfect choice.
But installing it? That seemed daunting at first. However, with a little research and a lot of determination, I learned how to do it myself.
In this article, I’ll guide you through the step-by-step process of installing the Cubic Grizzly wood stove, so you can enjoy warmth and ambiance in your own home too.
Key Takeaways
- Select a safe location away from flammable materials and provide proper ventilation
- Prepare the installation area by clearing debris and creating a level surface
- Assemble the wood stove components according to the manufacturer’s instructions
- Connect the venting system properly to ensure safe and efficient operation
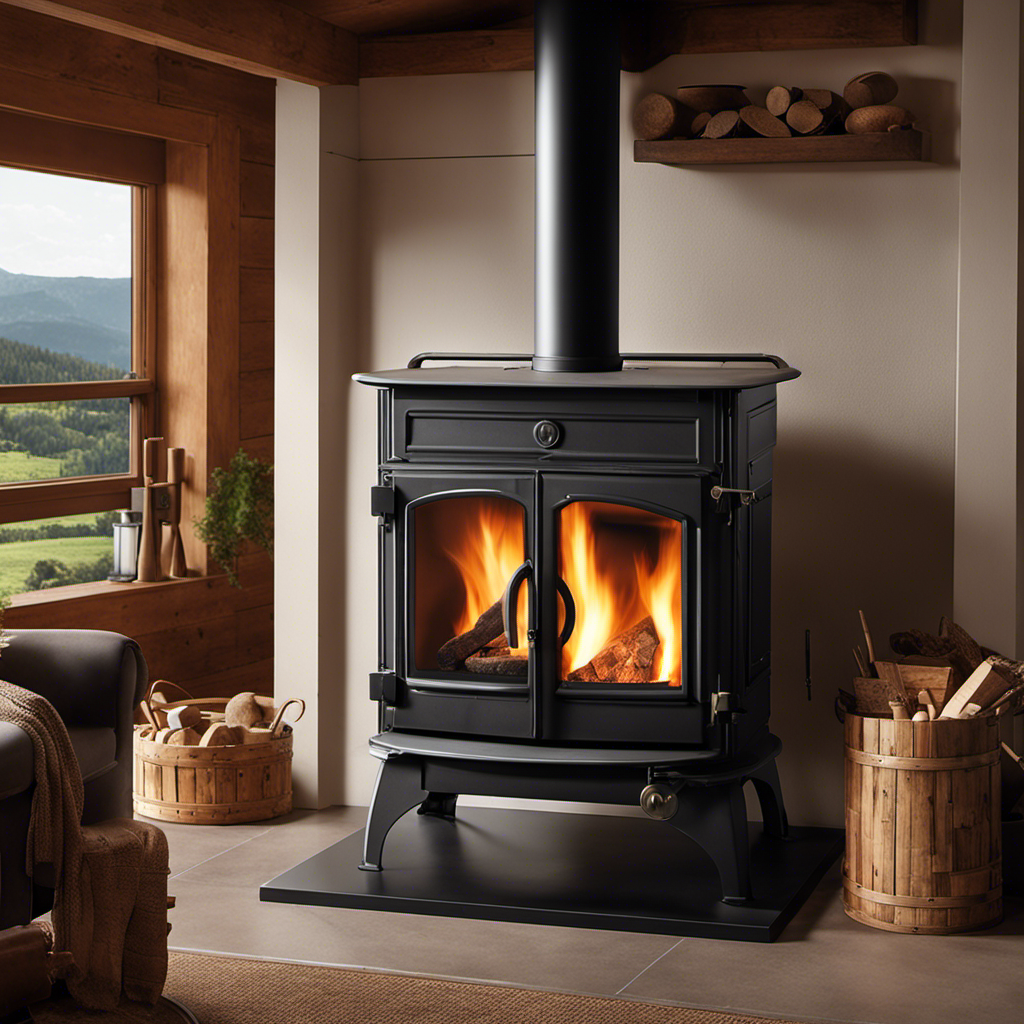
Selecting the Ideal Location
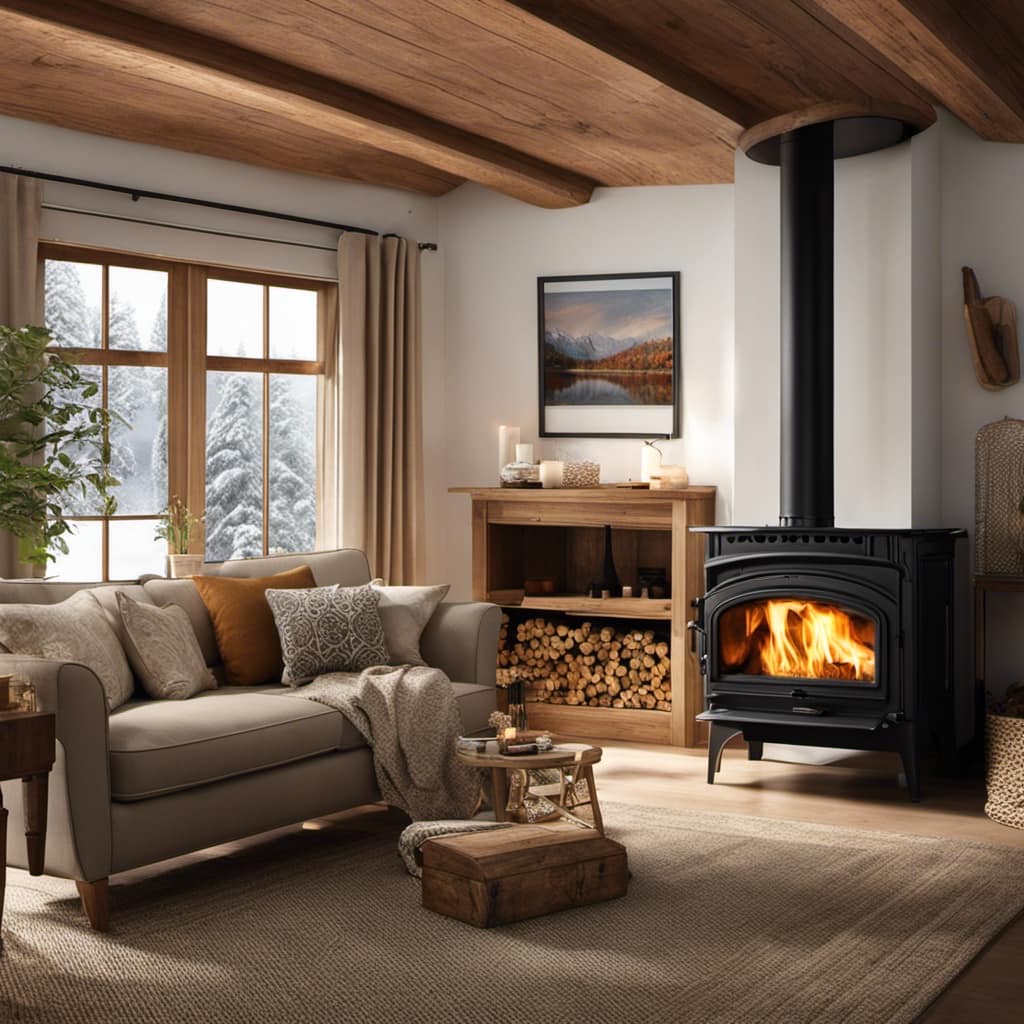
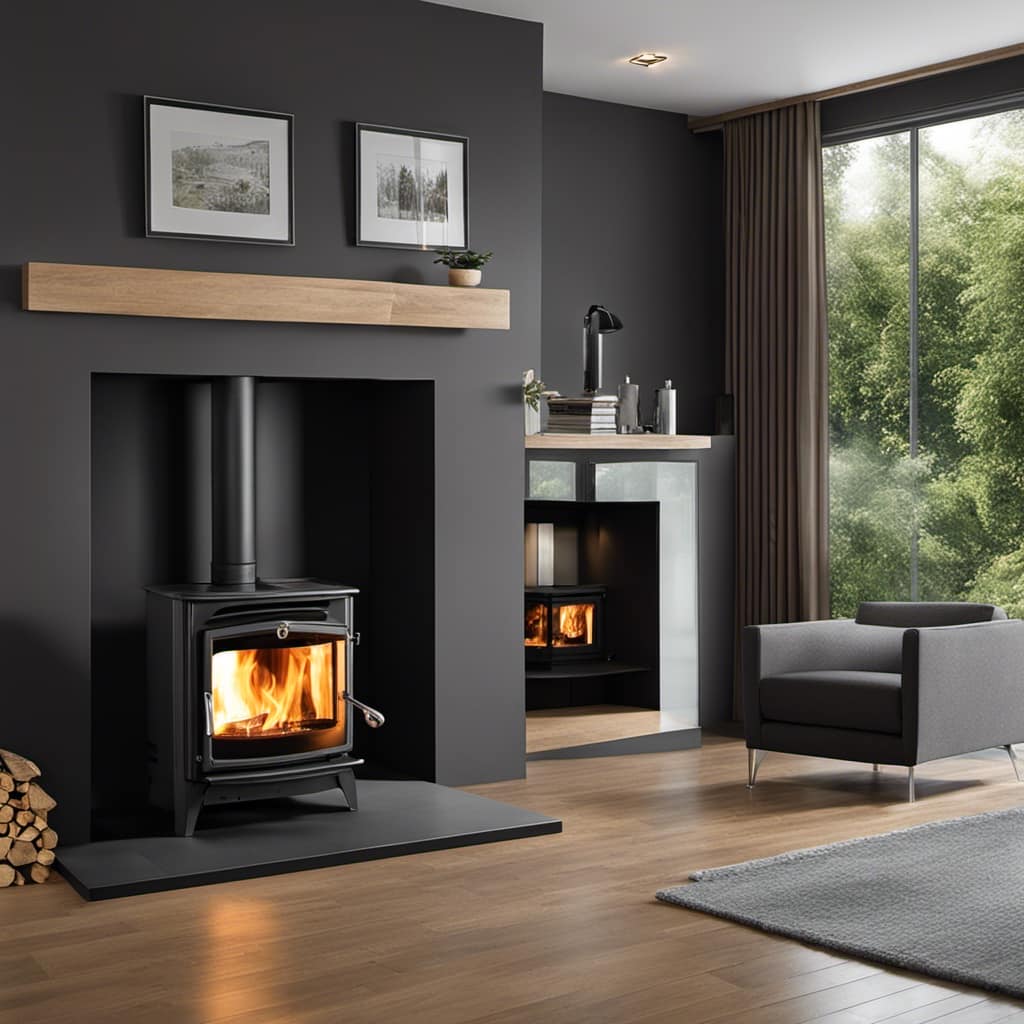
I need to find the ideal location for my new wood stove. When considering safety precautions, it’s crucial to choose a spot that’s away from flammable materials and provides enough space for proper ventilation.
The stove should be placed on a non-combustible surface, such as a concrete or tile floor, to prevent any accidental fires. It’s also important to keep the stove at a safe distance from furniture, curtains, and walls to minimize the risk of heat damage.
Proper ventilation is essential to ensure the efficient operation of the wood stove and to prevent the buildup of harmful gases, such as carbon monoxide. Therefore, it’s advisable to install the stove near a chimney or to use a venting system that meets the manufacturer’s recommendations.
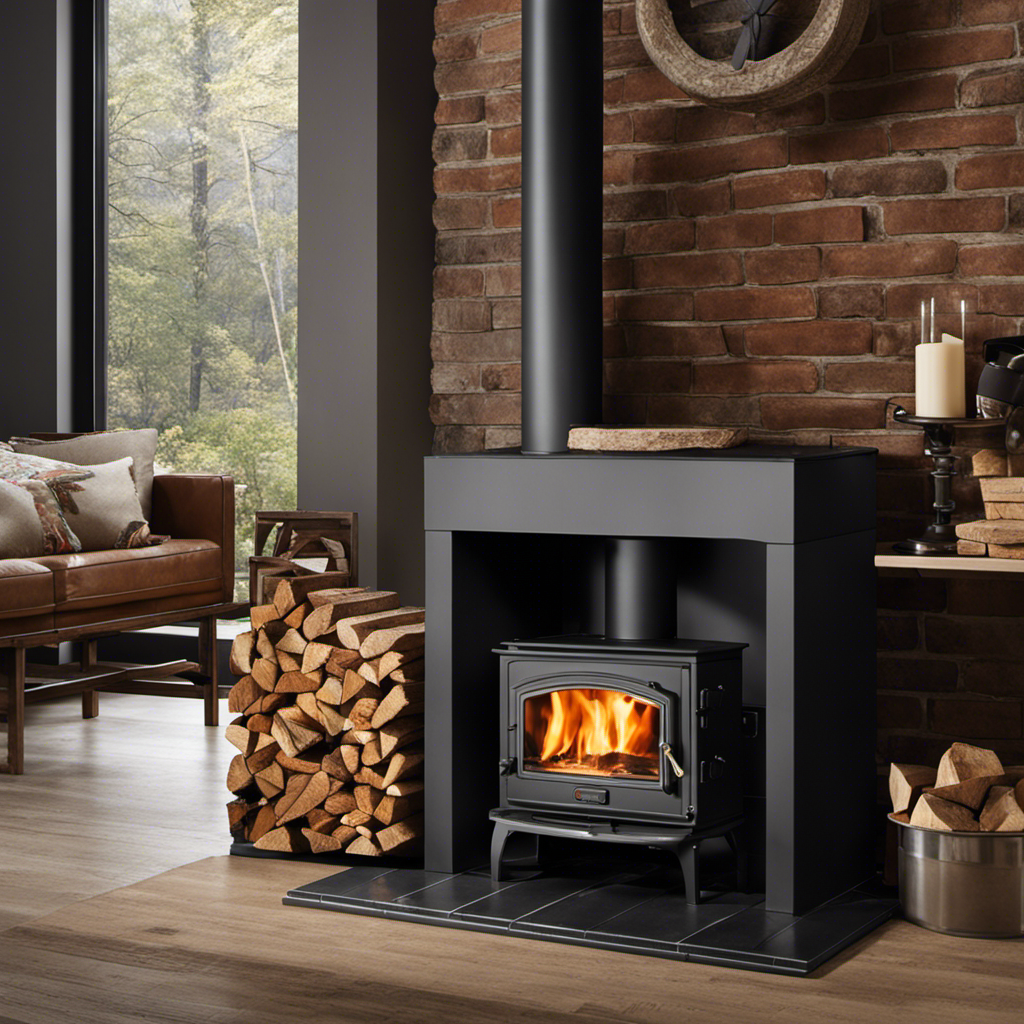
Preparing the Installation Area
To prepare the installation area, I’ll clear away any debris and ensure a level surface for the wood stove. It’s crucial to start with a clean and level space to ensure the safety and efficiency of the installation.
First, I’ll remove any loose materials or debris from the area, including rocks, twigs, or leaves.

Next, I’ll use a level tool to check the surface and make any necessary adjustments to create a flat base. This step is important because an uneven surface can lead to instability and potential damage to the wood stove.
Additionally, I’ll measure the dimensions of the area to ensure that the wood stove fits properly.
Once the area is cleared and leveled, it’s time to move on to assembling the wood stove components.
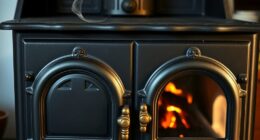
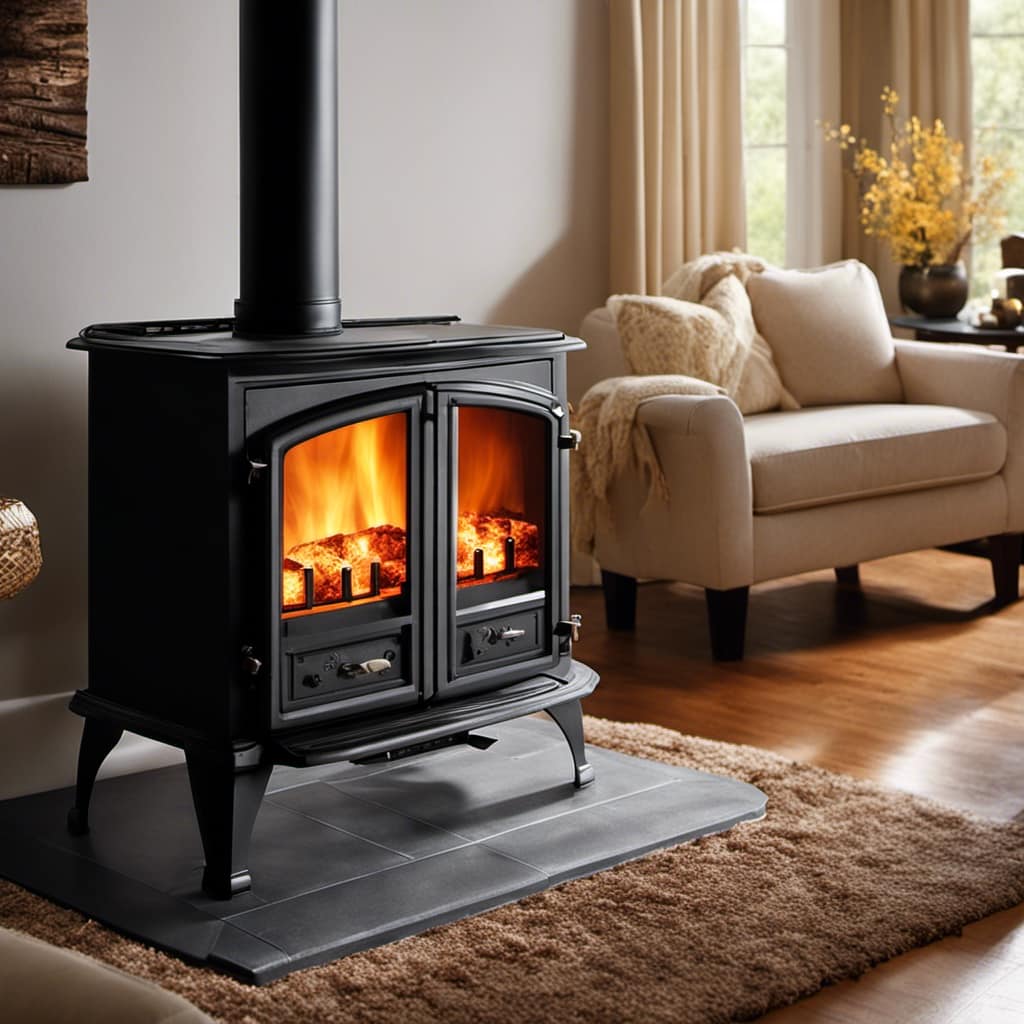
Assembling the Wood Stove Components
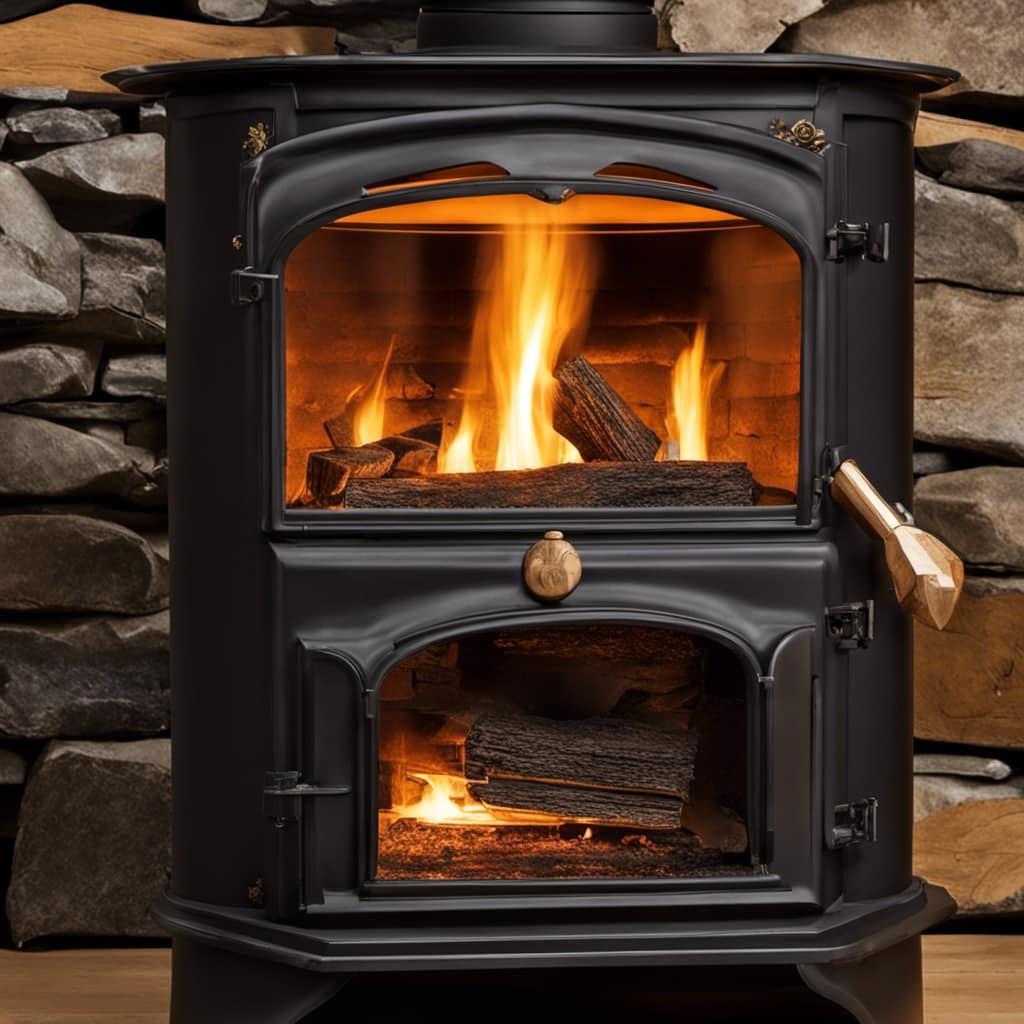
After clearing and leveling the installation area, it is time to begin assembling the wood stove components. Assembling techniques play a crucial role in ensuring a successful installation. Let’s take a look at the table below to understand the different components and their functions:
| Component | Description |
|---|---|
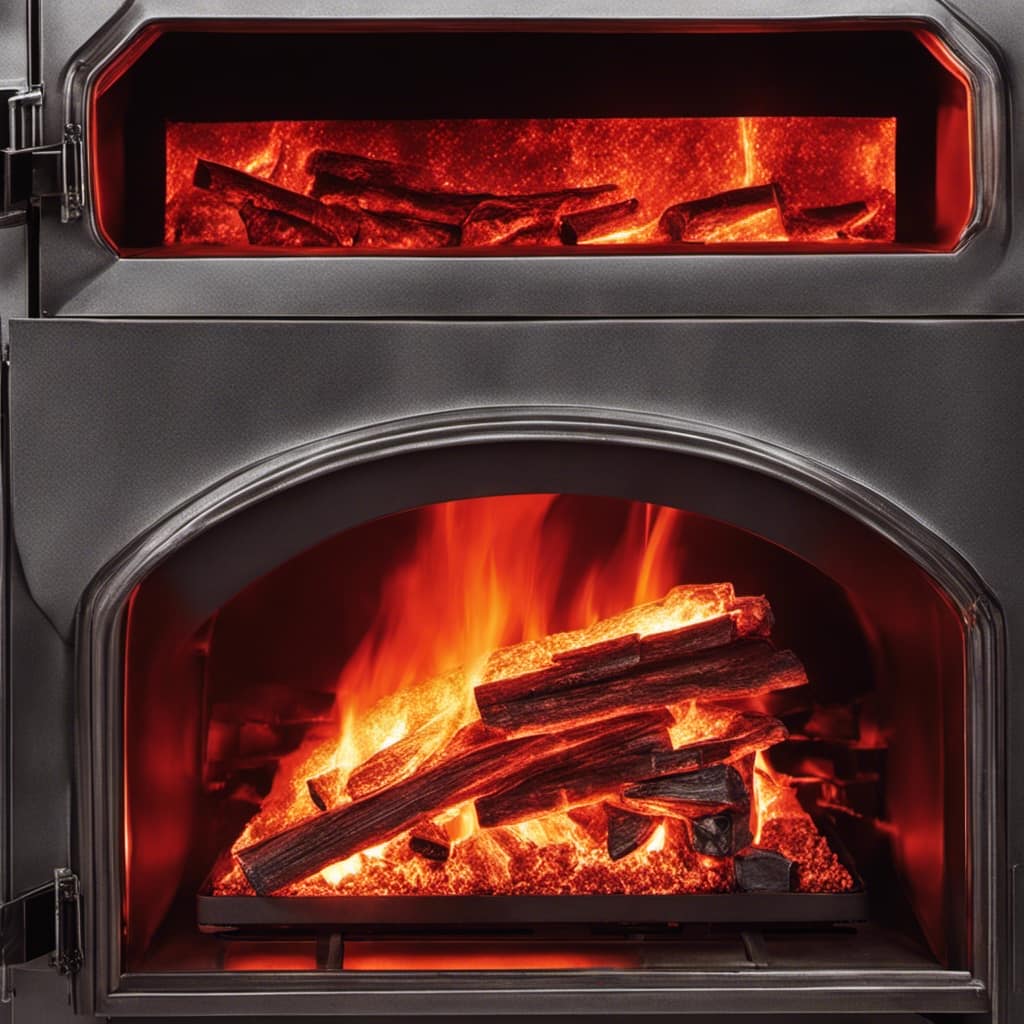
| Firebox | The main chamber where the wood is burned. |
| Door | Provides access to the firebox for loading wood and cleaning. |
| Baffle | Controls the flow of air and smoke for efficient combustion. |
| Flue | Connects the stove to the venting system, allowing the release of combustion byproducts. |
| Damper | Regulates airflow and heat output. |
| Ash Pan | Collects the ashes for easy removal. |
Troubleshooting common issues during assembly can save time and frustration. Some common issues include misaligned parts, loose connections, and improper gasket placement. By carefully following the manufacturer’s instructions and double-checking each step, these issues can be easily avoided.
Now that the wood stove components are assembled, it’s time to move on to connecting the venting system.
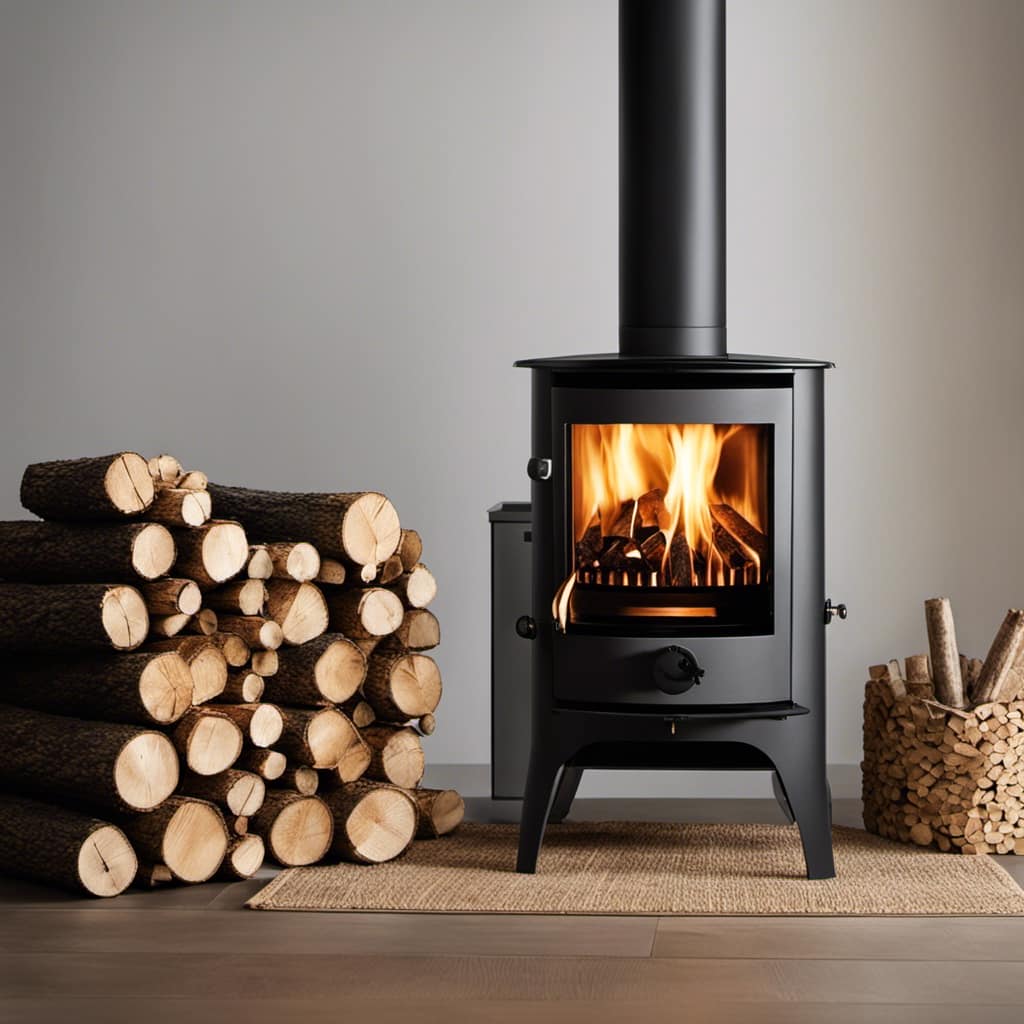
Connecting the Venting System
Once the wood stove components are assembled, I’ll connect the flue and the venting system.
Proper ventilation installation is crucial for the safe and efficient operation of a wood stove.
When it comes to venting system options, there are two main types: direct vent systems and chimney vent systems.
Direct vent systems use a sealed pipe that draws in outside air for combustion and exhausts the fumes outside.
On the other hand, chimney vent systems utilize a vertical pipe that carries the combustion byproducts up and out through the chimney.
Whichever option you choose, it’s important to follow the manufacturer’s instructions for installation to ensure proper venting and prevent any potential hazards such as carbon monoxide buildup.
Now that the venting system is connected, we can move on to testing and maintaining your wood stove.
Testing and Maintaining Your Wood Stove
I regularly perform tests and maintenance on my wood stove to ensure its efficiency and safety. It’s important to regularly clean the stove to prevent the buildup of creosote, which can lead to chimney fires.
Here are three cleaning and safety precautions I take:
-
Cleaning the flue: I make sure to clean the flue at least once a year to remove any soot or debris that may have accumulated. This helps maintain proper airflow and prevents blockages.
-
Inspecting the gaskets: I regularly check the gaskets on the door and other openings to ensure they’re in good condition. If they’re worn or damaged, I replace them to maintain a tight seal and prevent leaks.
-
Troubleshooting common issues: If I notice any issues with the stove’s performance, such as difficulty starting or maintaining a fire, I troubleshoot the problem. This can involve checking the air vents, adjusting the damper, or cleaning the air intake.
Frequently Asked Questions
What Are the Required Clearances for the Wood Stove Installation?
The clearance requirements for wood stove installation include maintaining a safe distance from combustible materials. When installing on a carpeted floor, additional safety precautions should be taken to ensure proper ventilation and protection against heat damage.
Can I Install the Wood Stove on a Carpeted Floor?
I wouldn’t recommend installing a wood stove on a carpeted floor. It’s important to have a non-combustible surface like tile or concrete. This ensures safety and makes maintenance easier in the long run.
How Often Should I Clean the Chimney and Flue Pipe?
I clean my chimney and flue pipe at least once a year to ensure proper functioning and prevent chimney fires. Regular chimney cleaning is important for removing creosote buildup and maintaining the safety of the wood stove.
Can I Use the Wood Stove for Cooking or Heating Water?
Yes, you can use a wood stove for cooking and heating water. Cooking with a wood stove adds a rustic flavor to meals, while heating water with it provides an efficient and eco-friendly option.
Are There Any Safety Precautions I Should Take When Operating the Wood Stove?
When operating the wood stove, it’s essential to prioritize safety. Following proper safety measures and operating guidelines ensures a secure environment. From fireproof flooring to maintaining proper ventilation, taking precautions is crucial.
Conclusion
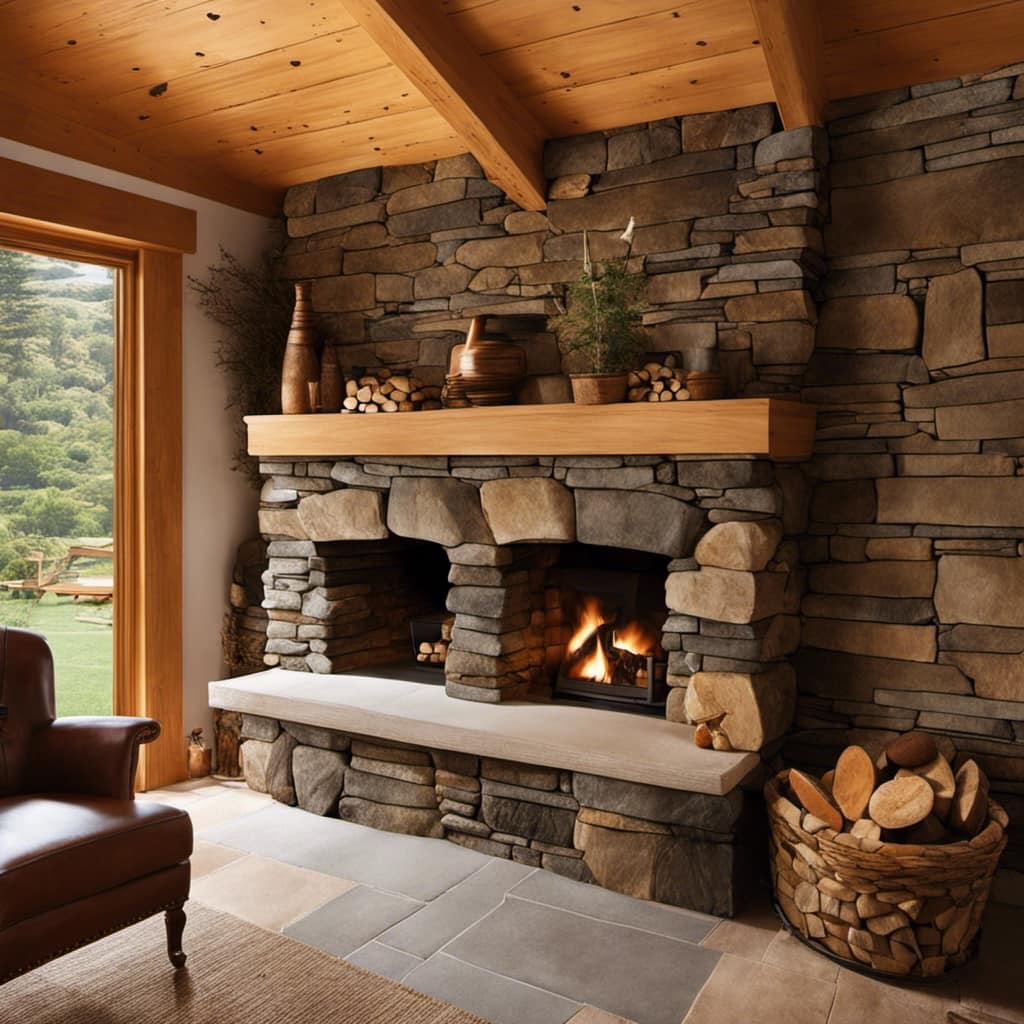
After following these steps, you’ll have your Cubic Grizzly wood stove installed and ready to provide warmth and coziness to your home.

Just imagine snuggling up next to the crackling fire on a cold winter’s night, feeling a sense of comfort and peace.
The wood stove becomes the heart of your home, radiating not just heat, but also a sense of nostalgia and togetherness.
So, go ahead and embark on this journey of warmth and create lasting memories with your loved ones.

Growing up surrounded by the vast beauty of nature, Sierra was always drawn to the call of the wild. While others sought the comfort of the familiar, she ventured out, embracing the unpredictable and finding stories in the heartbeat of nature.
At the epicenter of every remarkable venture lies a dynamic team—a fusion of diverse talents, visions, and passions. The essence of Best Small Wood Stoves is crafted and refined by such a trio: Sierra, Logan, and Terra. Their collective expertise has transformed the platform into a leading authority on small wood stoves, radiating warmth and knowledge in equal measure.