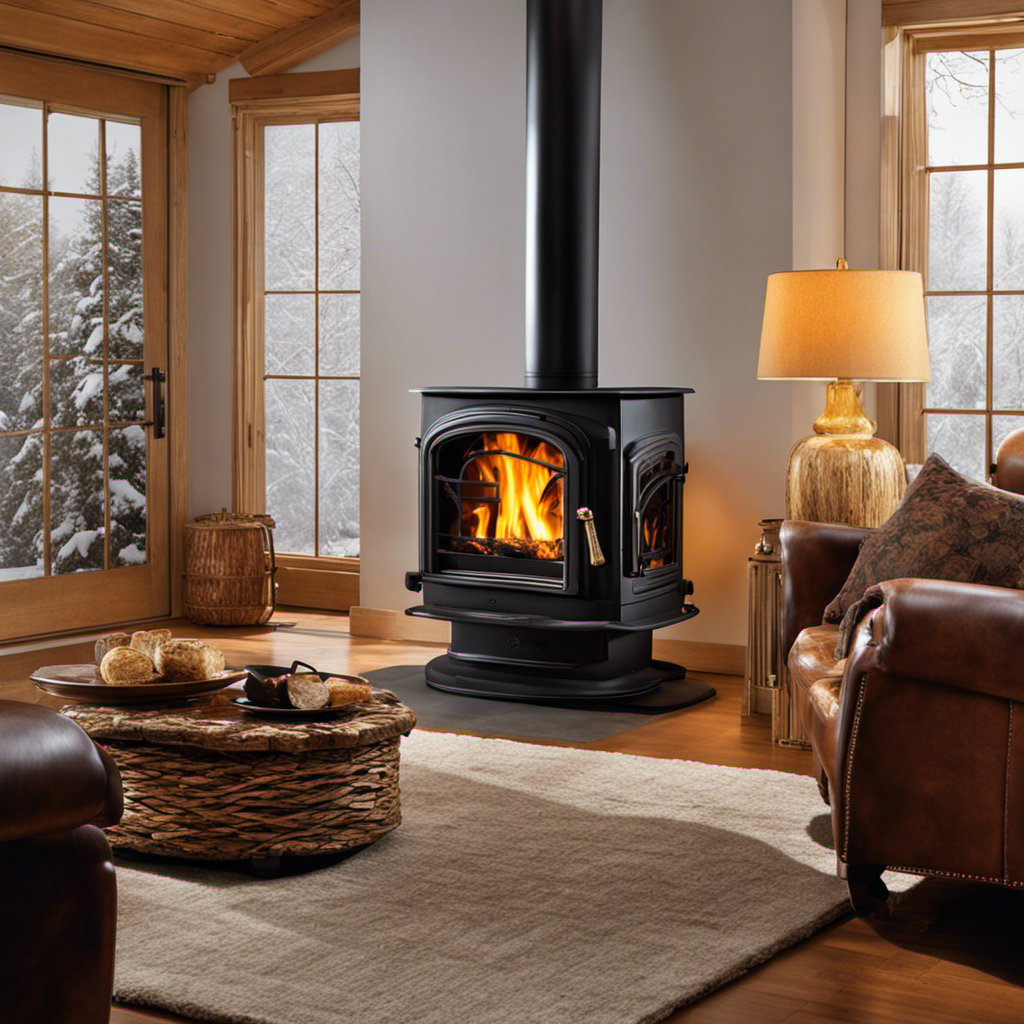
Seeking to outfit your wood stove with a cement board? Your search ends here!
In this article, I’ll guide you through the precise and technical steps of installing cement board for a professional and safe installation.
From choosing the right cement board to sealing and finishing, I’ll provide comprehensive and detailed instructions to ensure a successful project.
So, let’s get started and make your wood stove installation a breeze!
Key Takeaways
- Consider the weight and thickness of the cement board to ensure it can support the wood stove without cracking and provide durability and heat resistance.
- Prepare the surface by insulating the area, applying a moisture barrier, checking for levelness and stability, and using non-combustible insulation material and waterproofing membrane or moisture-resistant paint.
- Cut and fit the cement board panels accurately using appropriate techniques and leave a 1/8-inch gap between panels for expansion.
- Secure and fasten the cement board to the wall using corrosion-resistant screws, placing them at specific intervals, or consider alternative materials like plastic anchors or adhesive as per manufacturer’s instructions.
Choosing the Right Cement Board for Your Wood Stove Installation
I think I should consider the weight and thickness of the cement board when choosing the right one for my wood stove installation.
The weight of the cement board is important because it needs to be able to support the weight of the wood stove without cracking or breaking.
Additionally, the thickness of the cement board will determine its durability and ability to withstand high temperatures.
It’s crucial to select a cement board that’s specifically designed for use with wood stoves to ensure its safety and effectiveness.
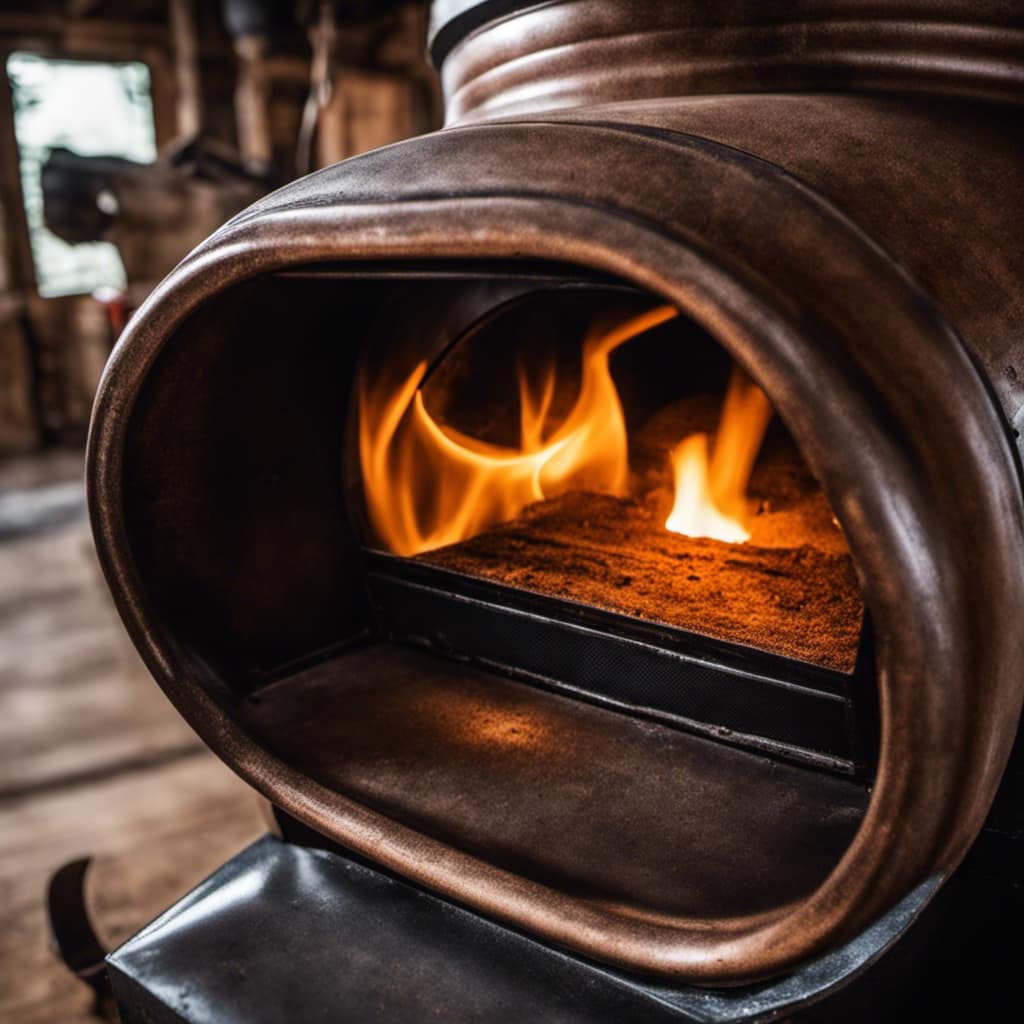
When installing the cement board, it’s essential to use the appropriate adhesive that’s compatible with the board and can withstand the heat generated by the wood stove.
Preparing the Surface for Cement Board Installation
Before beginning the installation process, it’s important to ensure that the surface is properly prepared for the cement board. Here are three important steps to follow:
-
Insulating the area: To protect the surrounding walls and floor from excessive heat, it’s crucial to insulate the area where the wood stove will be installed. This can be done by adding a layer of non-combustible insulation material, such as ceramic fiber board or vermiculite board.
-
Applying a moisture barrier: Since cement board isn’t waterproof, it’s necessary to apply a moisture barrier before installation. This can be achieved by applying a layer of waterproofing membrane or a moisture-resistant paint on the surface. This will help prevent moisture damage to the cement board and the underlying structure.
-
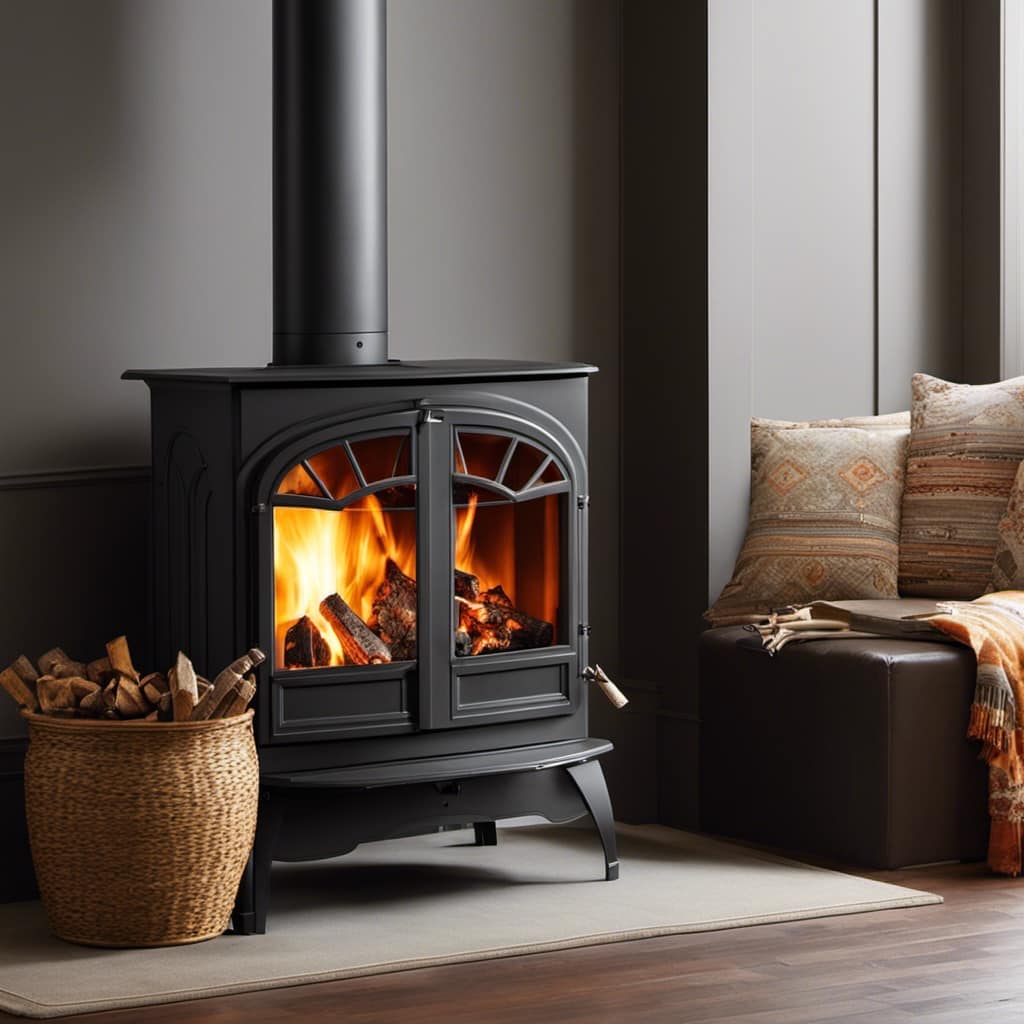
Checking for levelness and stability: Before installing the cement board, ensure that the surface is level and stable. This can be done by using a level to check for any uneven areas and by reinforcing any weak spots with additional support, such as plywood or cement board screws.
Cutting and Fitting the Cement Board Panels
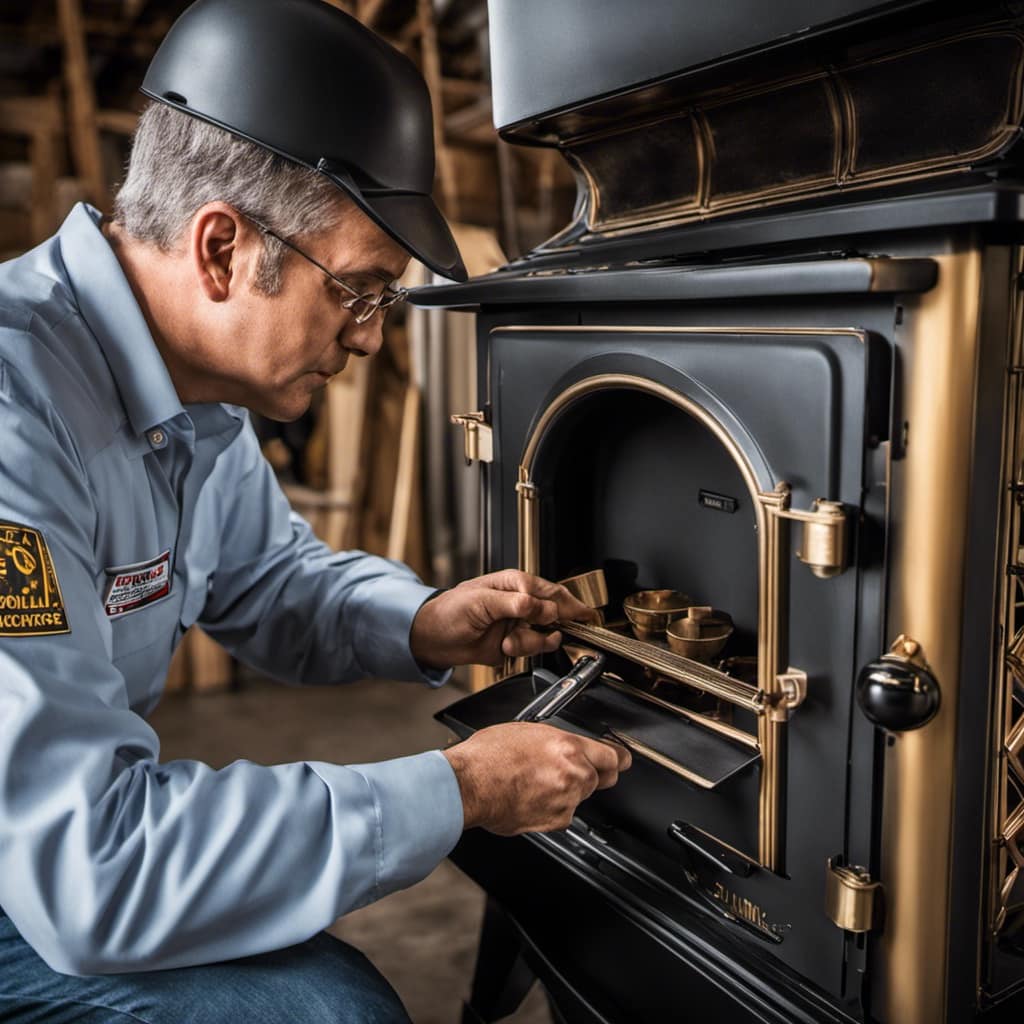
To ensure a precise fit, I measured and cut the cement board panels according to the dimensions of the installation area. When cutting the cement board, it’s important to use the appropriate cutting techniques to avoid chipping or damaging the panels. I recommend using a circular saw with a diamond-tipped blade, as it provides clean and precise cuts. Make sure to wear safety goggles and a dust mask to protect yourself from any potential hazards.
Once the panels are cut to size, it’s time to place them properly on the wall. Start by positioning the first panel and ensure that it’s flush against the corner or edge. Use shims if necessary to achieve a level and even surface. Repeat this process for the remaining panels, making sure to leave a 1/8-inch gap between each panel to allow for expansion.
As we move on to securing and fastening the cement board to the wall, it’s important to follow the proper installation techniques to ensure a stable and durable structure.
Securing and Fastening the Cement Board to the Wall
Once all the panels are in place, I secure them to the wall using screws and a drill. Securing the cement board properly is crucial to ensure a sturdy and safe installation for your wood stove. Here are the steps to follow:
-
Choose the right fastening technique: Use corrosion-resistant screws that are specifically designed for cement board. These screws should have a sharp point and a coarse thread to effectively grip into the cement board.
-
Determine the spacing: Place screws every 8 inches along the edges and corners of the cement board panels, and every 12 inches in the field area. This ensures proper support and prevents any flexing or movement.
-
Consider alternative materials: If you prefer not to use screws, you can also use cement board screws with plastic anchors or adhesive to secure the panels to the wall. Just make sure to follow the manufacturer’s instructions for these alternative methods.
Sealing and Finishing the Cement Board for a Professional Look
I find that sealing and finishing the cement board is essential for achieving a polished and professional appearance. To ensure the longevity and durability of the installation, it’s crucial to employ proper sealing techniques and waterproofing methods.
Start by applying a layer of cement-based waterproofing membrane to the entire surface of the cement board. This will create a protective barrier against moisture and prevent any potential water damage.
Next, carefully inspect the seams and corners of the cement board and apply a high-quality silicone caulk to seal any gaps or cracks. This will further enhance the waterproofing capabilities of the cement board.
Once the sealing is complete, you can proceed with finishing the cement board using a suitable primer and paint. Choose a paint that’s heat-resistant and specifically formulated for use in high-temperature environments.

Frequently Asked Questions
Can Cement Board Be Used for Other Types of Installations Besides Wood Stoves?
Cement board can be used for various installations besides wood stoves. Its advantages include durability, fire resistance, and moisture resistance. It is commonly used for tiling, flooring, and wall installations due to its strength and reliability.
What Type of Adhesive Should Be Used to Secure the Cement Board to the Wall?
I typically use a high-quality adhesive like thin-set mortar to secure the cement board to the wall. It provides a strong bond and ensures the board stays in place. Proper technique involves evenly spreading the adhesive and pressing the board firmly against it.
Is It Necessary to Use a Vapor Barrier Behind the Cement Board?
Yes, it is necessary to use a vapor barrier behind the cement board when installing a wood stove. This helps prevent moisture from damaging the wall. Alternatives to wood stoves include pellet stoves and gas fireplaces.
How Long Does It Typically Take for the Cement Board Adhesive to Dry Before Proceeding to the Next Step?
Typically, the cement board adhesive takes around 24 hours to dry before moving on to the next step. It’s crucial to wait for it to fully dry to ensure proper installation and avoid any issues down the line.
Can Cement Board Be Installed Over Existing Tile or Other Types of Surfaces?
Yes, cement board can be installed over existing tile or other surfaces. However, it is important to consider the pros and cons. Pros include durability and fire resistance, while cons may include added weight and the need for proper installation techniques.
Conclusion
In conclusion, the installation of cement board for a wood stove is a precise and technical process that requires attention to detail and adherence to safety measures.
By following the comprehensive and detailed instructions provided by a contractor or construction expert, you can ensure a professional and secure installation.
Remember, safety should always be prioritized throughout the installation process to avoid any risks or hazards.

With the right cement board and proper techniques, you can create a safe and efficient environment for your wood stove.


