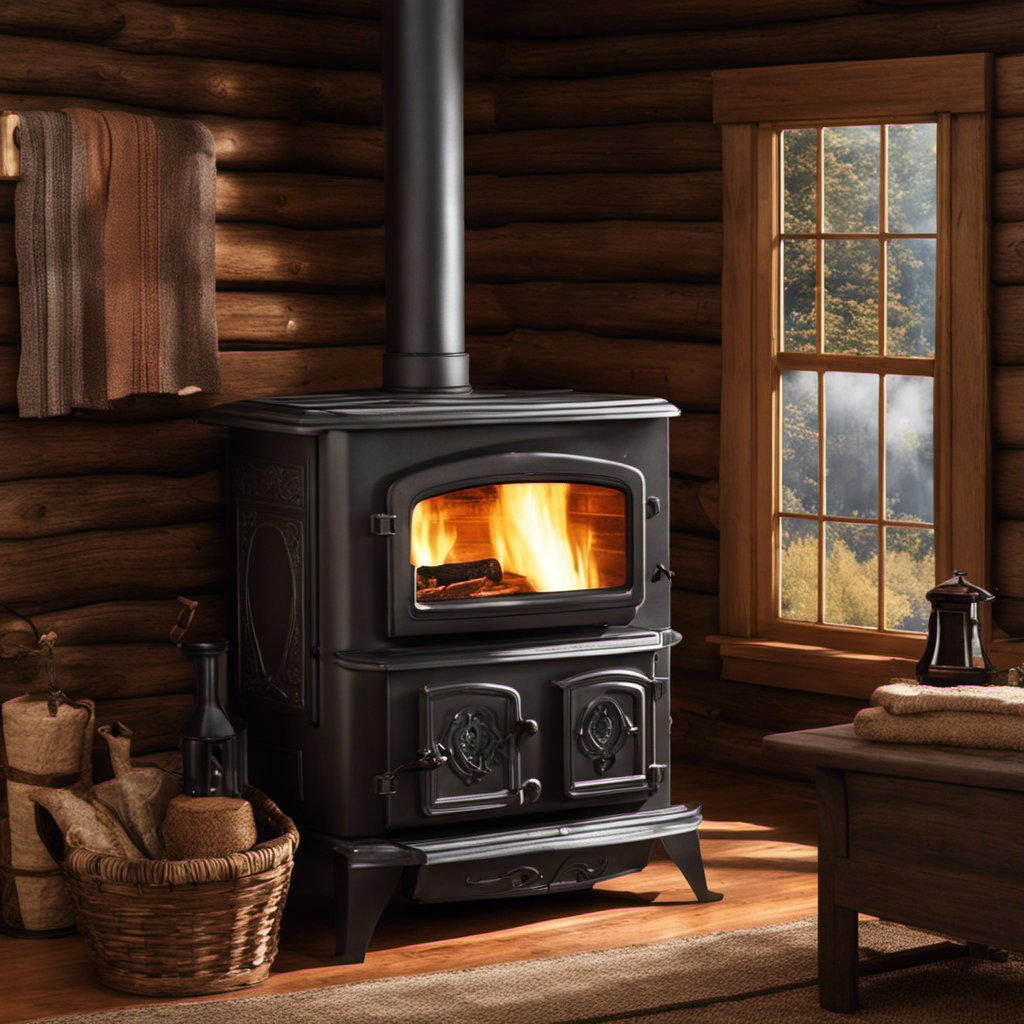
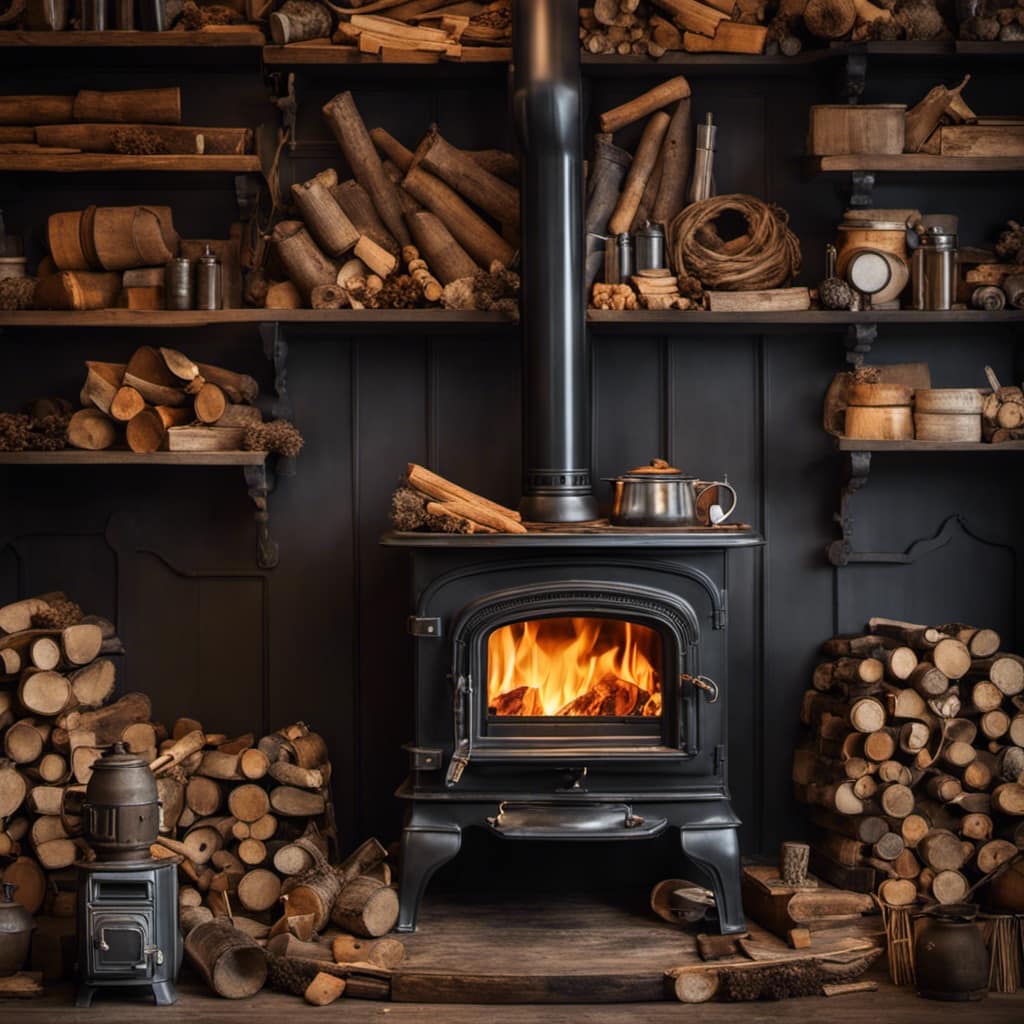
I’ve always heard that the kitchen is considered the heart of a home, but personally, I believe the wood stove holds that central place.
There’s nothing quite like the cozy warmth it brings on a cold winter’s night.
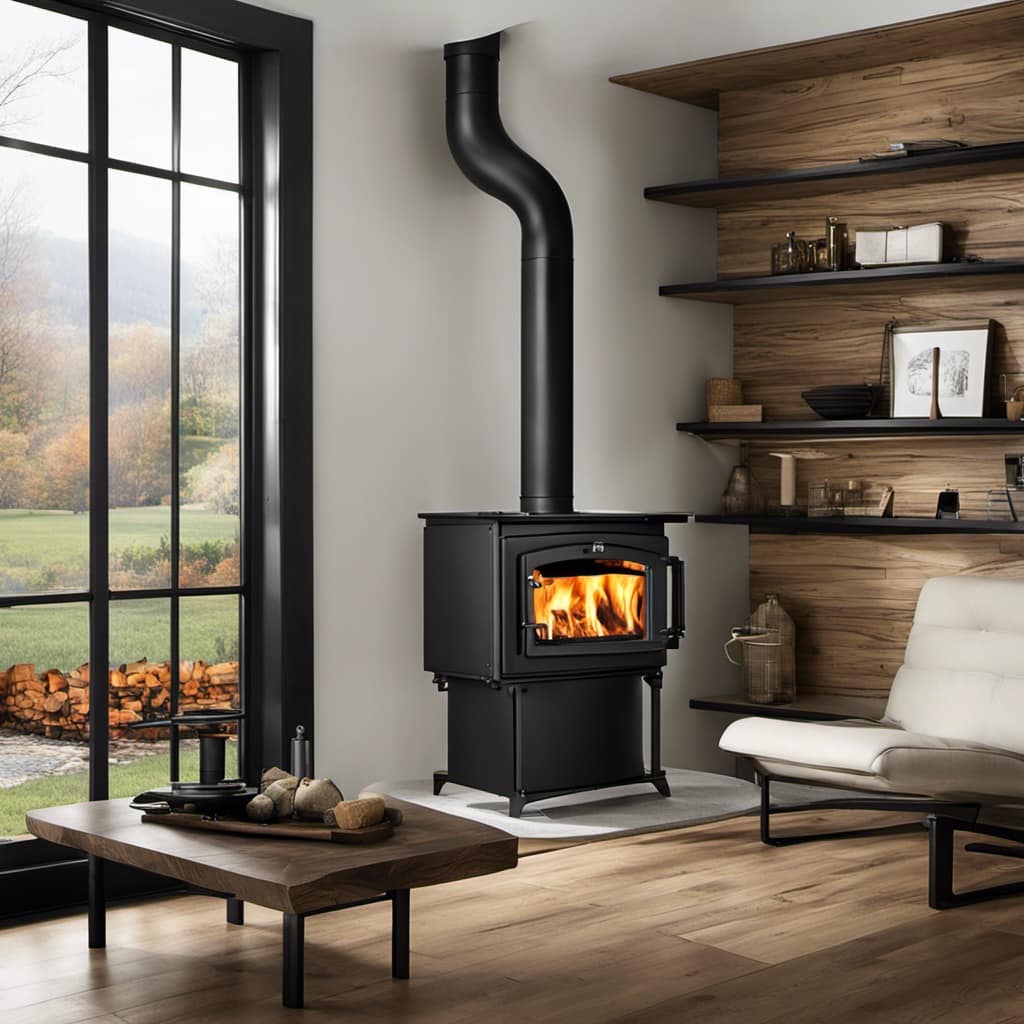
If you’re like me and want to enhance the look of your wood stove, a tile surround is the way to go.
In this article, I’ll guide you through the process of installing a wood stove tile surround, step by step.
Let’s get started!
Key Takeaways
- Consider the overall style and aesthetic of the space
- Clean and prepare the surface before installation
- Apply the tile adhesive properly for a strong bond
- Choose the right grout color and seal it for durability and easy maintenance

Dreamflame Electric Fireplace Trim Kit for 36inch Fireplace Electric Inserts, Metal Construction Plates, Black-B09R1X2S59
【Dimensions】The outer dimensions of the trim kit: 44.55"W x 32.1"H x 0.7"D and the inner dimensions are 32.95"W…
As an affiliate, we earn on qualifying purchases.
As an affiliate, we earn on qualifying purchases.
Choosing the Right Tiles
I’m not sure which tiles to choose for my wood stove surround, but I think the article I read about choosing the right tiles will help me make a decision.
When it comes to choosing tile patterns for a wood stove surround, there are a few factors to consider. First, you’ll want to think about the overall style and aesthetic of your space. Do you prefer a more traditional or modern look?
Next, consider the size and shape of the tiles. Larger tiles can create a more contemporary feel, while smaller tiles can add texture and visual interest.
Lastly, think about the color options. Neutral tones like beige or gray can provide a timeless look, while bold colors can make a statement.
With these factors in mind, I can now move on to preparing the surface for tile installation.

StyloVue 100 Pieces Peel and Stick Backsplash for Kitchen, 3" x 6" PVC Subway Tile Upgraded Distressed Wood Backsplash Stick on Tile Elevate Kitchen, Bathroom, Fireplace,RV
𝐏𝐫𝐞𝐦𝐢𝐮𝐦 𝐏𝐞𝐫𝐟𝐨𝐫𝐦𝐚𝐧𝐜𝐞: Our peel and stick wall tiles are designed with high-performance PVC polymer material, offering waterproof, heat-resistant,…
As an affiliate, we earn on qualifying purchases.
As an affiliate, we earn on qualifying purchases.
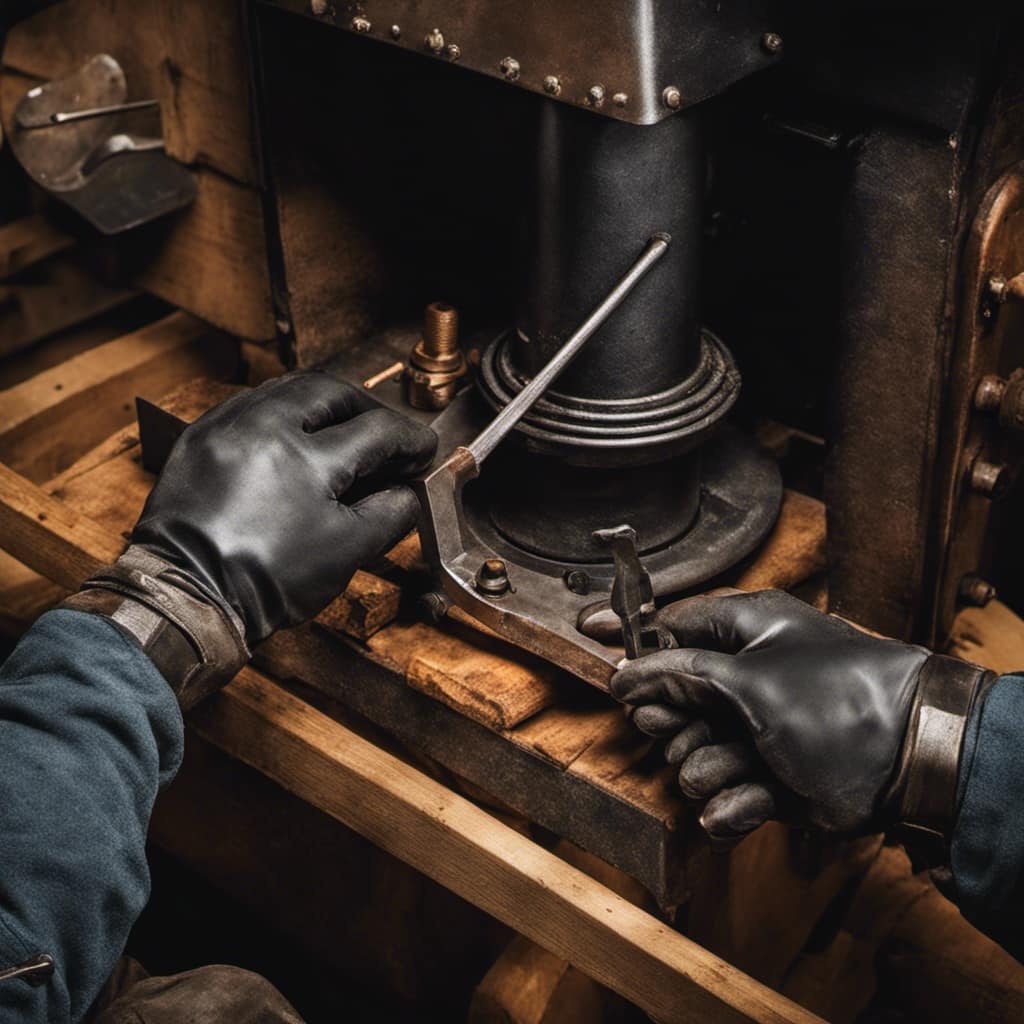
Preparing the Surface for Tile Installation
Before starting the tile installation, I need to ensure that the surface is properly prepared. This step is crucial to ensure a successful and long-lasting tile installation. Here are four important steps to follow for surface preparation:
-
Clean the surface: Remove any dirt, dust, or debris from the surface using a broom or vacuum cleaner. A clean surface will allow the tile adhesive to bond properly.
-
Repair any cracks or uneven areas: Use a suitable filler or patching compound to repair any cracks or uneven areas on the surface. This will help create a smooth and even base for the tiles.
-
Apply a primer: Depending on the type of surface, apply a suitable primer to enhance adhesion and prevent moisture penetration. This step is particularly important for surfaces like concrete or drywall.
-
Allow the surface to dry: Give the surface enough time to dry completely before starting the tile installation. This will ensure that the tiles adhere properly and minimize the risk of future issues.

Globalcom Heavy Duty Construction Adhesive, Tile and Stone Marble Granite Wood Floor Adhesive, Gap Filling and Waterproof – 5.3 oz White
【Strong Bonding Performance】- This is a new type of heavy duty construction adhesive, the main material is modified…
As an affiliate, we earn on qualifying purchases.
As an affiliate, we earn on qualifying purchases.
Applying the Tile Adhesive
To start applying the tile adhesive, I’ll first mix it according to the manufacturer’s instructions. It’s crucial to follow these instructions carefully to ensure the adhesive’s effectiveness.
Proper tile adhesive application techniques are essential for a successful tile installation. One important technique is to apply the adhesive evenly and consistently across the surface, using a notched trowel. This helps to create a strong bond between the tiles and the substrate.
Another technique is to work in small sections, ensuring that the adhesive doesn’t dry out before installing the tiles. This allows for better control and accuracy during the installation process.
When applying tile adhesive, it’s important to avoid common mistakes such as applying too much adhesive or not removing excess adhesive from the surface. These mistakes can lead to uneven tile placement and difficulty in grouting.

Miracle Sealants 511 Impregnator Advanced Penetrating Sealer for Countertops, Stone, Tile & Grout, Pint
For use inside or out on a variety of surfaces including sanded grout, ceramic tile, porcelain tile, glazed…
As an affiliate, we earn on qualifying purchases.
As an affiliate, we earn on qualifying purchases.
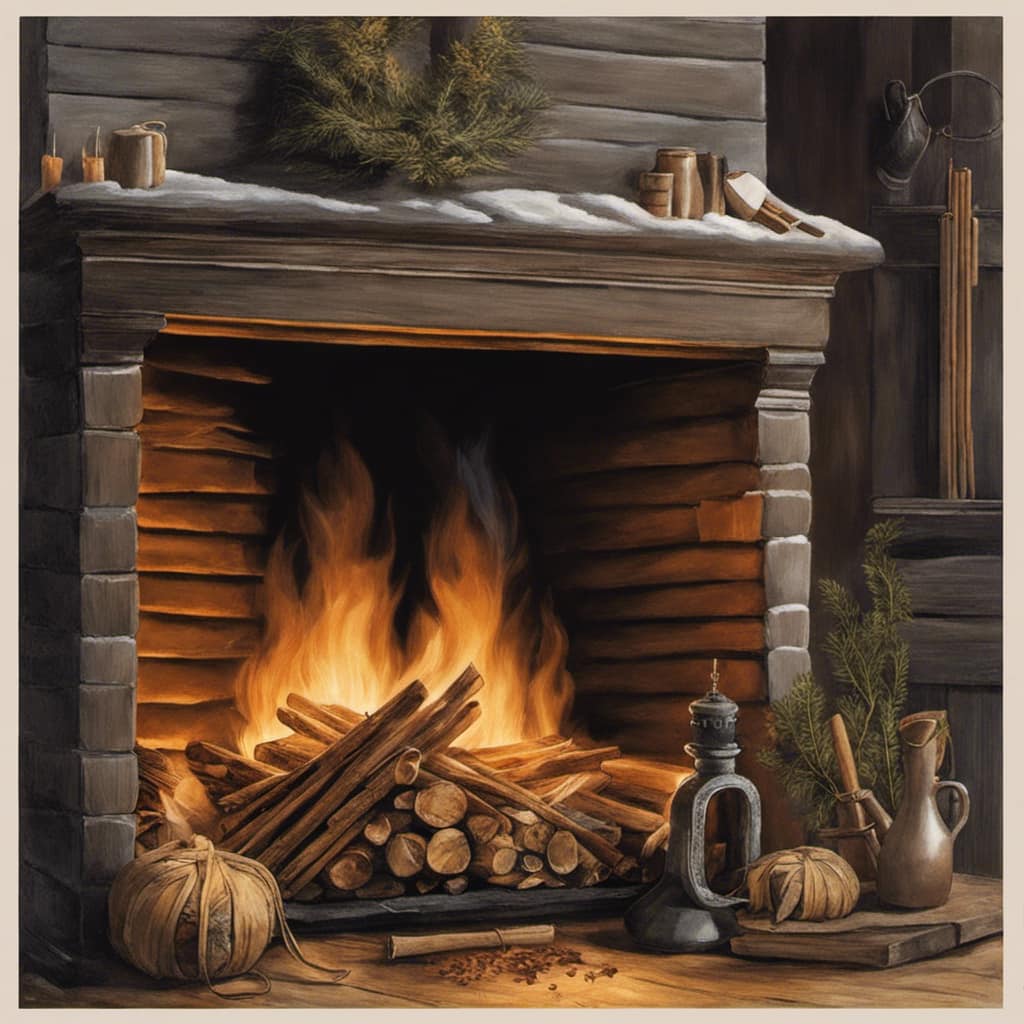
Installing the Tile Surround
I will measure and cut the tiles to fit perfectly around the wood stove. This step is crucial to ensure a seamless and professional-looking tile surround.
Here are four key points to consider when installing a wood stove tile surround:
-
Accurate measurements: Taking precise measurements of the area around the wood stove is essential for a proper fit. This will prevent any gaps or uneven edges in the tile surround.
-
Tile cutting: Cutting the tiles to the correct size is a skill that requires precision. It’s advisable to use a wet saw or a tile cutter to achieve clean and accurate cuts.
-
Professional installation: Hiring a professional for tile surround installation has several benefits. They have the expertise and experience to handle complex installations, ensuring a high-quality and durable end result.
-
Proper maintenance: Once the tile surround is installed, proper maintenance is necessary to preserve its appearance and functionality. Regular cleaning and inspection will help prevent any damage or deterioration.
With the tiles measured and cut, the next step is grouting and adding the finishing touches to complete the wood stove tile surround installation.
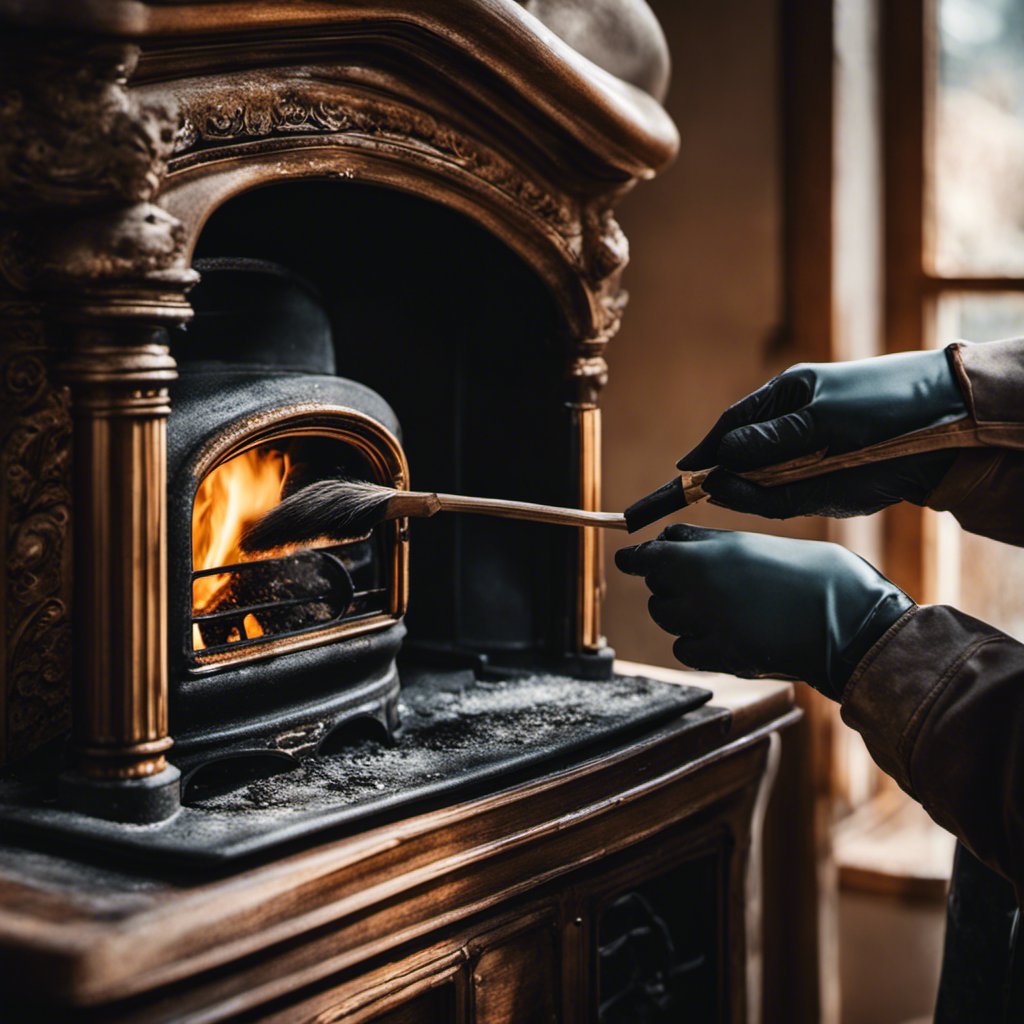
Grouting and Finishing Touches
After cutting the tiles to the correct size, I’ll begin grouting and adding the finishing touches to the wood stove tile surround. Grout color options are an important consideration when it comes to achieving the desired look for your tile surround. The color you choose can complement or contrast with the tiles, enhancing the overall aesthetic appeal.
It’s crucial to select a grout color that complements the wood stove and the surrounding décor. Once the grouting is complete, it’s important to seal the grout to protect it from stains and discoloration. Sealing the grout will also make it easier to clean and maintain.

A high-quality grout sealer should be applied using a brush or roller, ensuring that the entire grout surface is covered. By carefully selecting the grout color and sealing the grout, you can achieve a beautiful and durable wood stove tile surround.
Conclusion
In conclusion, installing a wood stove tile surround requires careful consideration of tile selection, thorough surface preparation, and precise application of tile adhesive.
The installation process itself involves meticulous placement of each tile to ensure a seamless and visually appealing surround.
Finally, grouting and adding finishing touches will complete the project with a professional touch.

Remember, a well-executed tile surround can transform your wood stove into a stunning centerpiece, adding both functionality and aesthetic appeal to your space.