As someone with a keen interest in DIY projects, I have faced many obstacles. However, the project of installing a wood stove chimney through a wall has been particularly fulfilling.
In this guide, I’ll walk you through each step, from choosing the right location to testing and maintaining your chimney.
With the right tools and materials, you can enjoy the warmth and comfort of a wood stove while keeping your home safe.
Let’s dive in and get started!
Key Takeaways
- Consider the square footage of the area and choose an appropriate wood stove size
- Familiarize yourself with local building codes and ensure compliance with regulations
- Evaluate the wall’s load-bearing capacity and consider reinforcement methods if necessary
- Gather the necessary tools and materials for a successful installation

Duravent 6" DuraPlus Through the Wall Kit
- Installation Kit for 6" DuraPlus: Through-the-wall vertical chimney setup
- Secure Twist-Lock Design: Ensures stable assembly
- Supports Up to 40 Feet: Chimney pipe length capacity
As an affiliate, we earn on qualifying purchases.
As an affiliate, we earn on qualifying purchases.
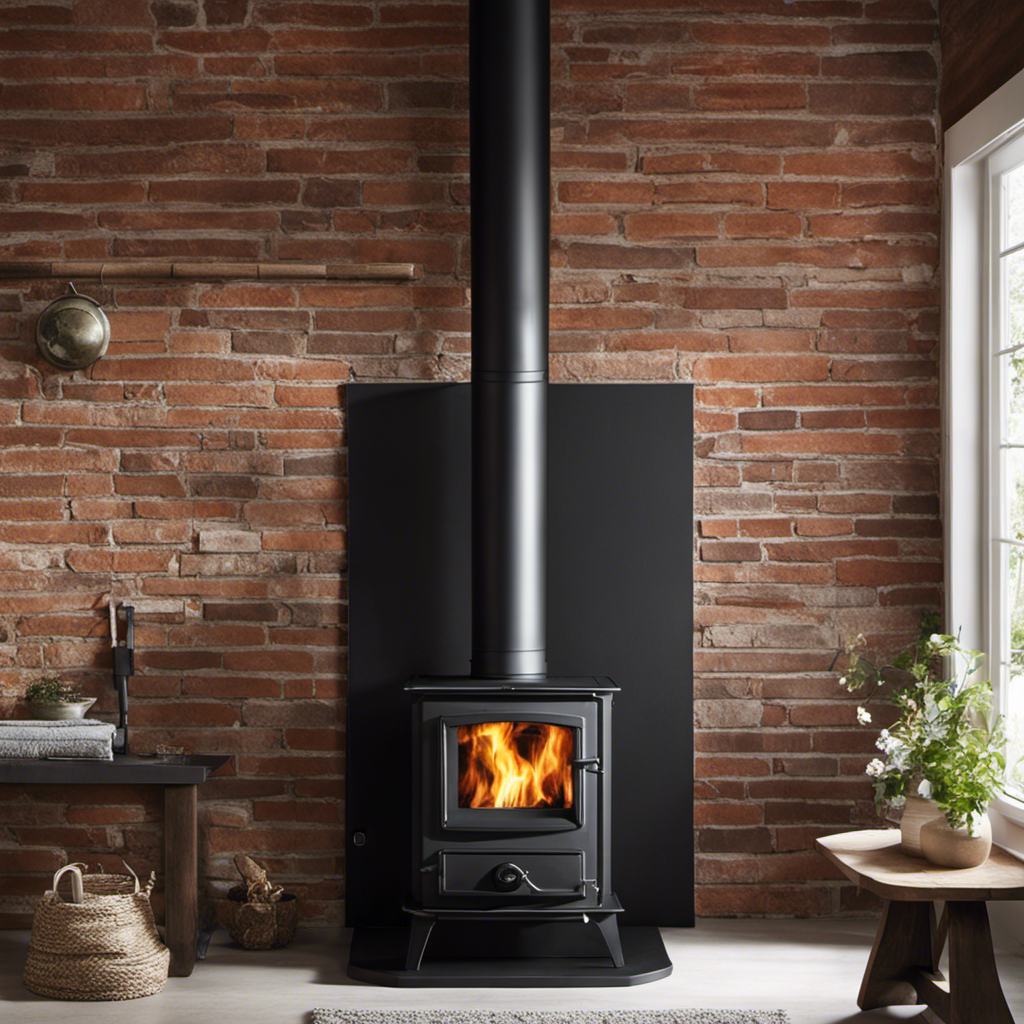
Choosing the Right Location for Your Wood Stove
I’m considering the best location for my wood stove installation. When it comes to choosing the right location for your wood stove, there are a few factors to keep in mind.
One important factor is selecting the right wood stove size for your space. This will ensure that the stove is able to effectively heat your home without wasting energy or overheating the room. It’s important to measure the square footage of the area you want to heat and choose a wood stove that’s appropriate for that size.
Another crucial aspect to consider is understanding local building codes. Different areas have different regulations when it comes to wood stove installations. It’s essential to familiarize yourself with these codes to ensure that you’re in compliance with the law and that your installation is safe. Codes may dictate the required clearances from combustible materials, the type and size of chimney required, and the necessary ventilation for the stove.
By understanding and following these codes, you can avoid potential hazards and ensure a safe and efficient wood stove installation.
Assessing the Structural Integrity of the Wall
Before proceeding with the installation of a wood stove chimney through the wall, it’s crucial to assess the structural integrity of the wall in order to ensure its ability to support the weight and stress of the chimney system.
This assessment involves evaluating the wall’s load-bearing capacity, determining if proper support installation is present, and considering structural reinforcement options if necessary.
Wall Load-Bearing Capacity
To determine if my wall can support the weight of a wood stove chimney, I’ll need to assess its load-bearing capacity. This is crucial to ensure the stability and safety of the chimney installation. Here are three key factors to consider when evaluating the wall’s load-bearing capacity:
-
Wall Material: Different materials have different load-bearing capacities. For example, concrete and brick walls generally have higher load-bearing capacities compared to wood or drywall.
-
Wall Thickness: Thicker walls tend to have higher load-bearing capacities as they can distribute the weight more effectively.
-
Structural Reinforcement Methods: If the wall’s load-bearing capacity is insufficient, reinforcement methods can be employed. These include installing additional supports such as braces, beams, or columns to strengthen the wall and distribute the weight of the chimney more evenly.
Proper Support Installation
After assessing the load-bearing capacity of my wall, I’ll focus on ensuring proper support installation for the chimney. It’s crucial to have a secure and stable support system to prevent any potential damage or accidents.
To begin, I’ll determine the appropriate location for the chimney support bracket. This bracket should be attached to a load-bearing stud or a sturdy framing member. I’ll mark the spot and use a stud finder to locate the nearest stud.
Next, I’ll use appropriate screws or bolts to secure the bracket to the stud, ensuring it’s tightly fastened.
Additionally, I’ll inspect and maintain the support installation regularly to ensure its integrity. This includes checking for any signs of wear, corrosion, or loose connections.
Proper support installation is essential for the safe and efficient operation of a wood stove chimney.
Structural Reinforcement Options
I believe reinforcing the structure of my wall is necessary to ensure the stability and safety of the chimney. When it comes to structural reinforcement techniques for chimney installation, there are several options to consider:
-
Install a steel support bracket: This bracket provides additional support for the chimney, ensuring it stays securely in place. It should be attached to the wall studs for maximum strength.
-
Use concrete anchors: By drilling holes into the wall and inserting concrete anchors, you can create a solid foundation for the chimney. This method is especially useful for masonry walls.
-
Reinforce with plywood or metal plates: Adding plywood or metal plates to the wall behind the chimney can help distribute the weight evenly and prevent any potential damage to the structure.
Gathering the Necessary Tools and Materials
Before proceeding with the installation of a wood stove chimney through the wall, it’s crucial to gather the necessary tools and materials.
I’ll need a sturdy ladder, a tape measure, a level, a drill, a reciprocating saw, a masonry bit, a chimney pipe kit, flashing, high-temperature silicone sealant, and screws.
Additionally, it’s important to ensure that all tools are in good working condition and that all materials are of high quality to ensure a successful installation process.
Essential Tools and Materials
To complete the installation, I need a few essential tools and materials. Here is a list of what I’ll need:
-
Chimney kit: This includes the necessary components such as the chimney pipe, chimney cap, flashing, and support brackets.
-
Measuring tape: Accurate measurements are crucial to ensure a proper fit and alignment of the chimney components.
-
Power drill: This will be used to create the holes in the wall for the chimney pipe and to secure the brackets.
Having these tools and materials ready is essential for a smooth installation process. The chimney kit provides all the necessary components for a safe and efficient wood stove chimney installation. The measuring tape ensures precise measurements, which is crucial for proper fitting. And the power drill helps create the necessary holes and secure the chimney brackets.
With these tools and materials in hand, I’m ready to move on to the proper preparation steps.
Proper Preparation Steps
My first step in preparing for the installation is to carefully assess the area where the chimney will be placed. This involves checking for any obstructions or potential dangers that could affect the installation process. To ensure a smooth and safe installation, I have created a preparation checklist and identified some important safety precautions that need to be followed:
| Preparation Checklist | Safety Precautions |
|---|---|
| Check for obstructions | Wear protective gear |
| Ensure proper clearance | Use a level to ensure alignment |
| Mark the location | Have a fire extinguisher nearby |
Preparing the Wall for Chimney Installation
I need to measure and mark the desired location on the wall for the chimney installation.
Before installing the chimney, it’s important to prepare the wall to ensure a safe and secure installation. Here are the steps involved in wall preparation for chimney installation:
-
Determine the location: Choose a suitable location on the wall where the chimney will be installed. Consider factors such as clearance requirements, proximity to combustible materials, and accessibility for maintenance.
-
Mark the area: Use a stud finder to locate the studs in the wall. Mark the center of the stud where the chimney will penetrate. Measure the required clearance distance from any combustible materials and mark it on the wall as well.
-
Cut the opening: Using a reciprocating saw or a hole saw, carefully cut a hole in the wall at the marked location. Make sure to follow the manufacturer’s instructions regarding the size of the opening and any additional requirements.
Installing the Chimney Pipe and Support Brackets
After preparing the wall, it’s time to connect the chimney pipe and secure it with support brackets. This step is crucial in ensuring the proper functioning and safety of your wood stove chimney installation.
To begin, attach the chimney pipe to the collar of the wood stove using screws or clamps, ensuring a tight seal. Next, measure the distance from the ceiling to the top of the chimney pipe, and cut a section of pipe to fit. Connect this piece to the top of the first section, using screws or clamps again to secure it in place.
Once the chimney pipe is connected, it’s important to install support brackets to ensure stability. These brackets will prevent the pipe from sagging or shifting over time. Place the brackets at regular intervals along the length of the chimney pipe, following the manufacturer’s instructions for proper placement. Secure the brackets to the wall using screws or anchors, ensuring they’re tightly fastened.
Now that the chimney pipe is installed and supported, it’s time to consider chimney cap installation and chimney pipe insulation. The chimney cap serves as a protective cover, preventing debris, rain, and animals from entering the chimney. Install the cap securely on top of the chimney pipe, following the manufacturer’s instructions.
For added insulation and energy efficiency, consider installing chimney pipe insulation. This insulation will help to retain heat and improve overall stove performance. Follow the manufacturer’s instructions to properly install the insulation around the chimney pipe, ensuring a snug fit.
Sealing and Insulating the Chimney Penetration
To ensure proper insulation and prevent any air leakage, I’ll seal the chimney penetration with high-temperature silicone caulk. Sealing the chimney penetration is crucial in creating a safe and efficient wood stove installation.
Here are the steps I’ll follow to properly seal and insulate the chimney penetration:
-
Clean the area: Before applying the caulk, it’s important to clean the chimney penetration thoroughly. Remove any loose debris or dirt using a wire brush or vacuum cleaner.
-
Apply the caulk: Using a caulk gun, apply a generous amount of high-temperature silicone caulk around the chimney penetration. Make sure to create a continuous and even bead to ensure proper sealing.
-
Smooth the caulk: After applying the caulk, use a caulking tool or your finger to smooth out the bead. This will help create a neat and professional finish while ensuring a tight seal.
By following these sealing methods and insulation techniques, I can effectively prevent any air leakage and ensure that the wood stove installation is safe and efficient.
Now, let’s move on to the next step: connecting the chimney pipe to the wood stove.
Connecting the Chimney Pipe to the Wood Stove
Connecting the chimney pipe requires careful alignment and securing to ensure proper ventilation and safety. When installing a wood stove, it is crucial to connect the chimney pipe correctly to allow the efficient removal of smoke and combustion gases. Here’s a step-by-step guide on how to connect the chimney pipe to the wood stove:
-
Start by placing the wood stove in its designated location, ensuring it meets all clearance requirements from combustible materials.
-
Measure the distance between the top of the wood stove and the ceiling. This measurement will determine the length of the chimney pipe needed.
-
Connect the chimney pipe to the flue collar on the back of the wood stove. Ensure a tight fit by using high-temperature silicone sealant or a pipe clamp.
-
Secure the chimney pipe to the wood stove using the provided screws or clamps. This will prevent any movement or disconnection during operation.
-
Attach the chimney pipe to the ceiling support assembly or support box using the appropriate connectors and brackets. This will provide stability and prevent any sagging of the pipe.
Here’s a visual representation of the connections needed:
| Connection | Components Required |
|---|---|
| Stove to Chimney | Flue collar, silicone sealant or pipe clamp |
| Chimney to Ceiling | Connectors, brackets |
Testing and Maintaining the Wood Stove Chimney
I regularly inspect and clean my wood stove chimney to ensure it functions properly and safely. Chimney maintenance is crucial for the efficient operation of a wood stove and to prevent hazards such as chimney fires.
Here are some testing methods and maintenance tasks that I perform on a regular basis:
-
Visual Inspection: I carefully examine the exterior and interior of the chimney for any signs of damage, such as cracks, loose bricks, or deteriorating mortar. I also check for any obstructions like nests or debris.
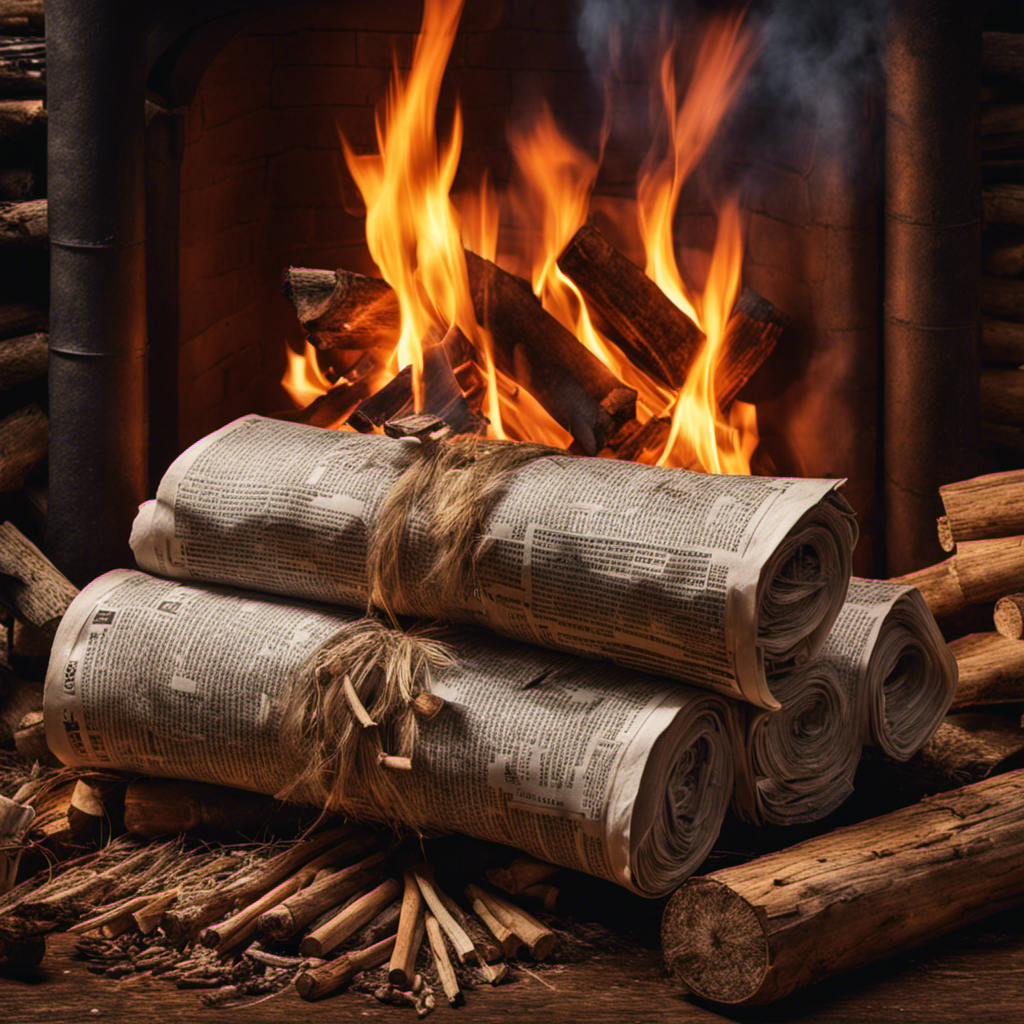
-
Creosote Removal: Creosote is a byproduct of burning wood that can accumulate inside the chimney and pose a fire hazard. I use a chimney brush to remove the creosote buildup at least once a year, preferably before the heating season begins.
-
Draft Testing: A proper draft is essential for the efficient operation of a wood stove. I use a draft gauge to measure the draft in the chimney and ensure it meets the recommended levels. If the draft is insufficient, I may need to make adjustments to the stove or chimney configuration.
Frequently Asked Questions
How Do I Determine the Appropriate Size of the Wood Stove Chimney for My Room?
To determine the appropriate size of a wood stove chimney for your room, you need to calculate the dimensions based on several factors.
Consider the size of the stove, the room’s square footage, and the height of the ceiling.
Additionally, you should account for the type of wood being burned and the local building codes.
These calculations will ensure that your chimney is properly sized to provide efficient ventilation and maintain a safe environment in your room.
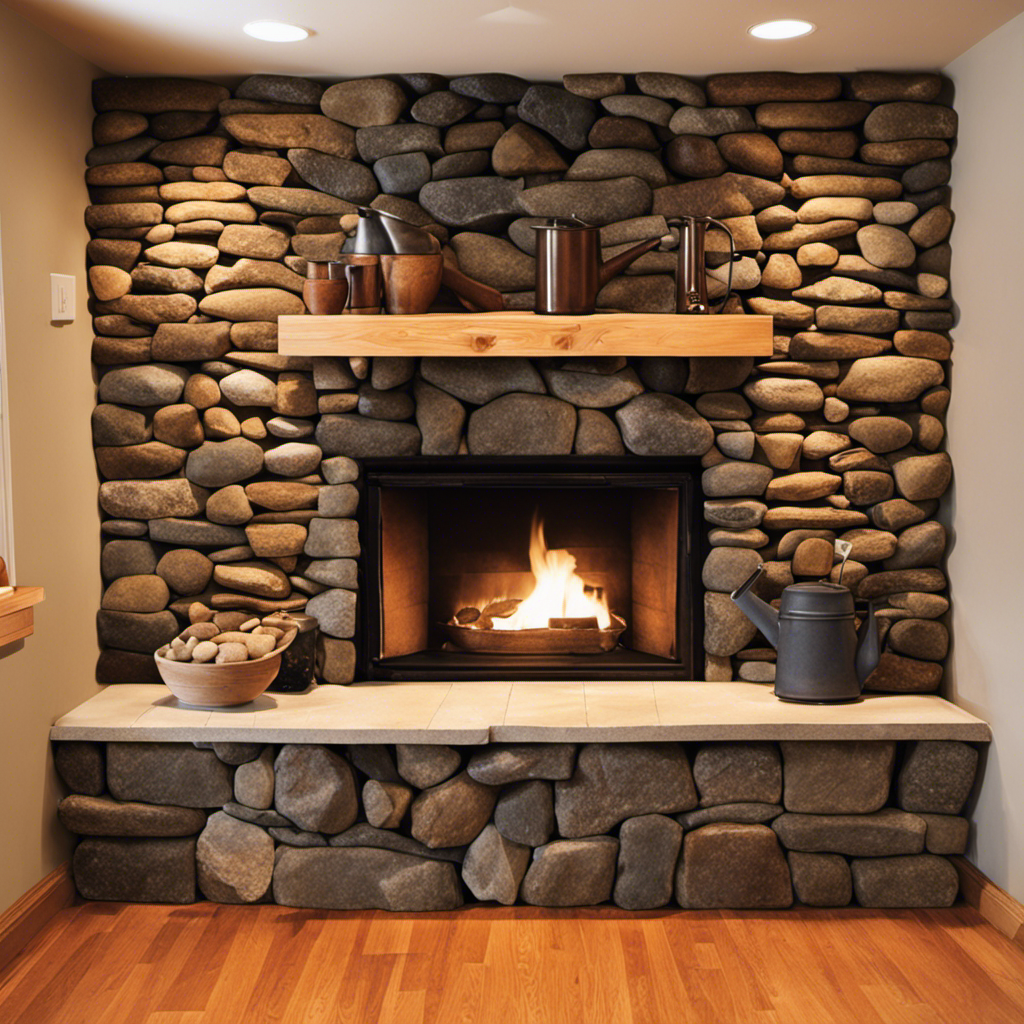
Can I Install a Wood Stove Chimney Through an Exterior Wall Made of Brick or Stone?
Installing a wood stove chimney through an exterior wall made of brick or stone is possible and can be a suitable alternative to a traditional chimney. It requires proper planning and execution to ensure safety and efficiency.
Considerations such as the thickness of the wall, insulation, and clearance requirements must be taken into account. Consulting with a professional chimney installer is recommended to ensure the installation meets all necessary regulations and guidelines.
What Safety Precautions Should I Take When Installing a Wood Stove Chimney Through a Wall?
When installing a wood stove chimney through a wall, it’s crucial to prioritize safety precautions and follow proper installation techniques. Taking measures to ensure the chimney is securely fastened and insulated will prevent potential fire hazards.
Additionally, using appropriate materials and adhering to local building codes is essential. Proper ventilation and regular maintenance are also important for the safe operation of the wood stove chimney.
Are There Any Building Codes or Regulations I Need to Comply With When Installing a Wood Stove Chimney Through a Wall?
Are there any building codes or regulations I need to comply with when installing a wood stove chimney through a wall?
Yes, there are. Building code requirements dictate the proper installation of a wood stove chimney through a wall. These guidelines ensure the safe operation of the wood stove and minimize the risk of fire hazards.
It’s crucial to follow these regulations to maintain the integrity of the chimney and ensure the safety of your home.
How Often Should I Clean and Inspect My Wood Stove Chimney to Ensure Its Proper Functioning?
To ensure proper functioning of a wood stove chimney, it’s crucial to clean and inspect it regularly. The frequency of cleaning depends on various factors like how often you use the stove and the type of wood you burn. As a general guideline, it’s recommended to clean the chimney at least once a year.
Signs of chimney malfunction include excessive smoke, poor draft, and a buildup of creosote. Regular maintenance will help prevent chimney fires and ensure safe operation of the wood stove.
Conclusion
And there you’ve it, folks! You’re now a certified wood stove chimney installation expert.
With your newfound knowledge and skills, you can confidently transform your living space into a cozy haven filled with the warm embrace of a crackling fire.
Just remember to follow all safety precautions, maintain your chimney regularly, and enjoy the countless cozy nights ahead.
Stay warm and keep that fire burning!


![[Invitation] Galaxy Unpacked July 2026: A New Shape Unfolds](https://bestsmallwoodstoves.com/wp-content/uploads/2026/07/invitation-galaxy-unpacked-july-2026-a-new-shape-unfolds-featured-260x140.jpg)