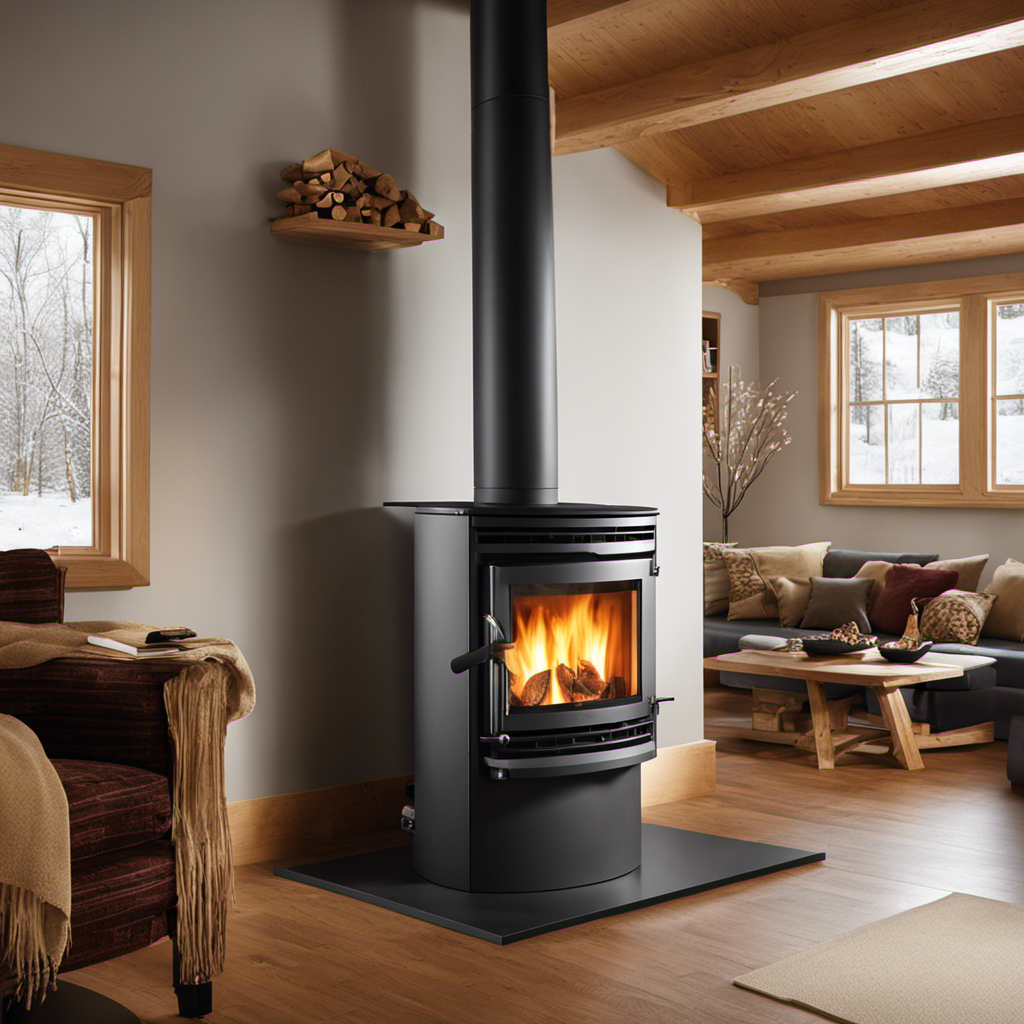
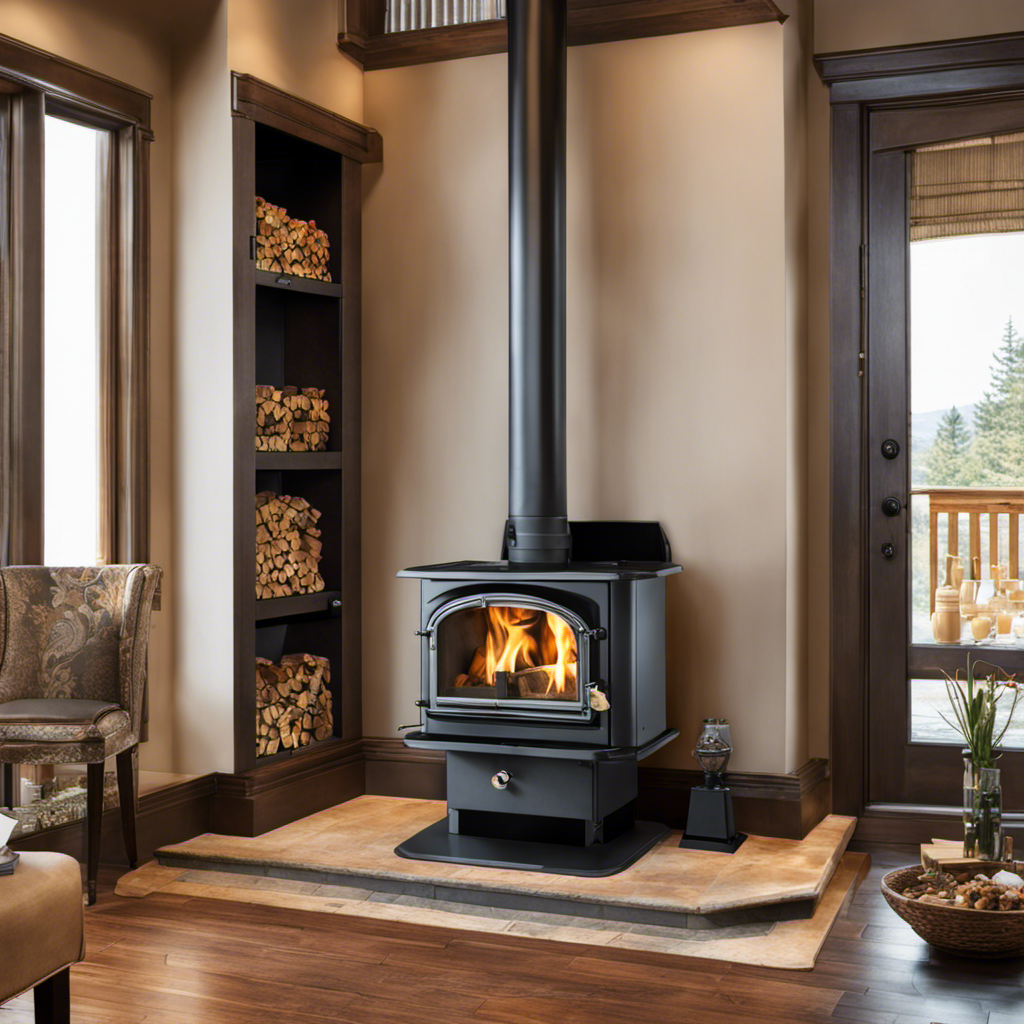
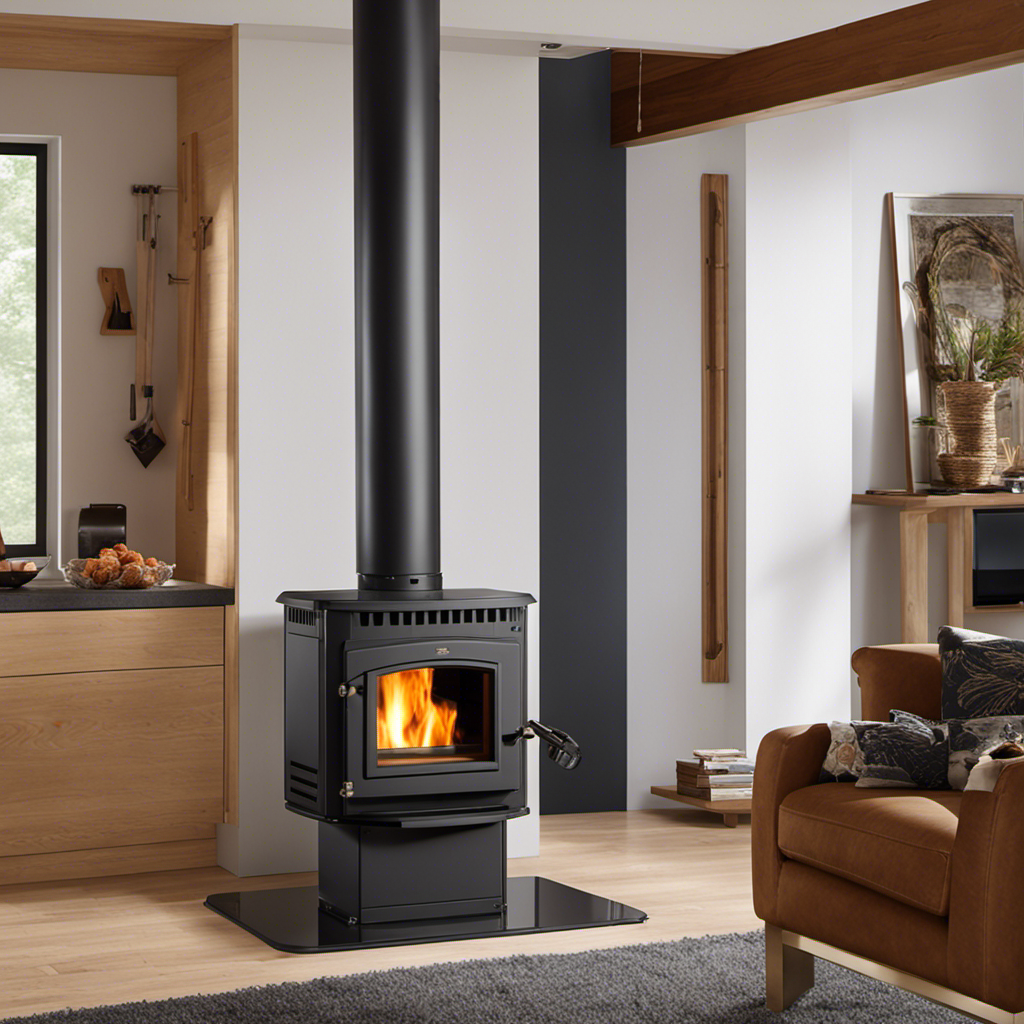
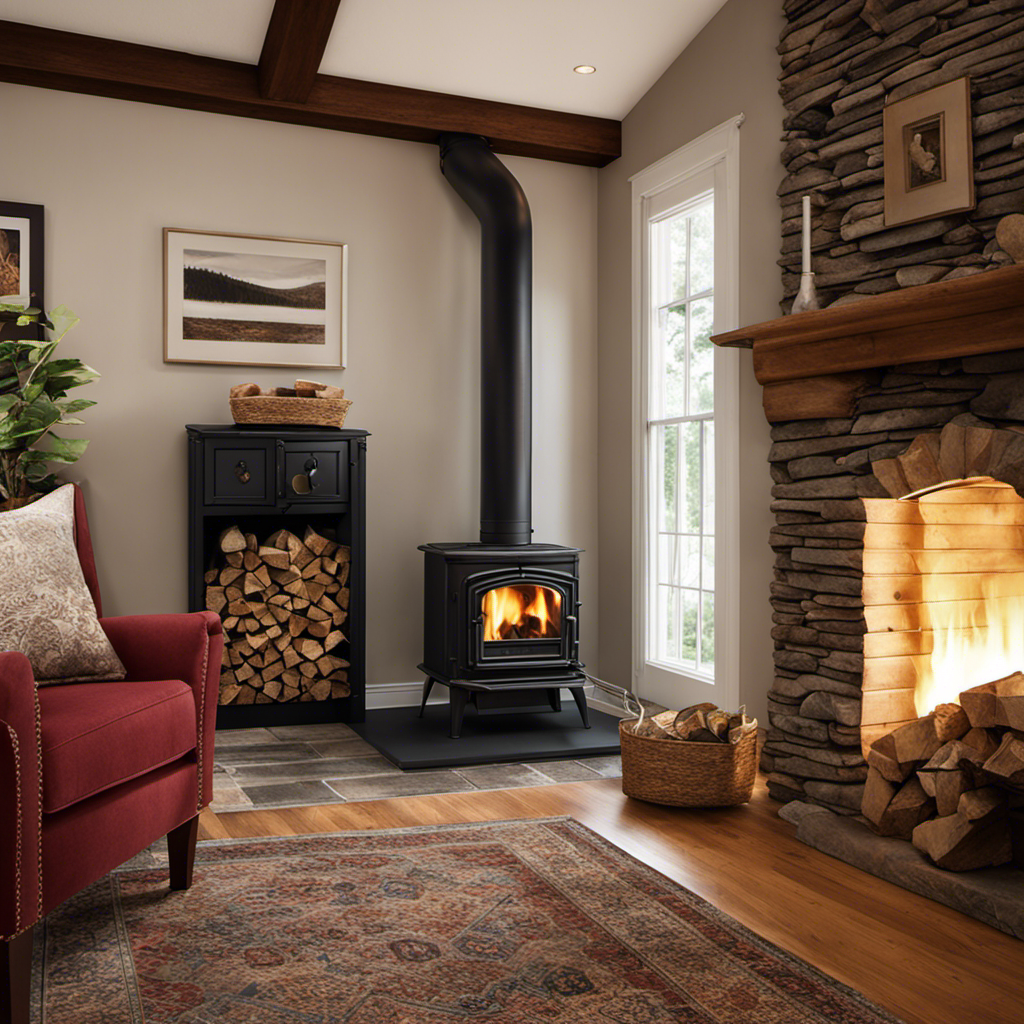
In this detailed guide, I’ll walk you through the process of installing a wood pellet stove, step by step.
We’ll cover everything from choosing the right location to testing and adjusting the stove.
It’s important to make sure you have proper ventilation and a suitable chimney system in place.
We’ll also go over setting up the fuel storage and connecting the stove to the chimney.
With these detailed instructions, you’ll be able to install your own wood pellet burning stove with ease.
Key Takeaways
- Choosing the right location and assessing ventilation requirements are important steps in preparing for the installation of a wood pellet burning stove.
- Proper chimney installation includes ensuring the chimney height, understanding venting techniques, choosing the right material, installing a chimney cap, and placing smoke detectors near the chimney.
- Venting and air flow considerations involve determining the correct size and length of venting pipes, following manufacturer’s instructions, positioning pipes with an upward slope, and regularly checking for blockages or obstructions.
- Setting up the fuel storage, installing the pellet delivery system, locating it near the stove, and securely connecting the flexible hose are crucial for the fuel storage and delivery system.
Choosing the Right Location
You’ll want to choose a location that is both accessible for maintenance and provides proper ventilation for your wood pellet burning stove.
When it comes to ventilation requirements, it is important to ensure that the stove is installed in an area with enough air circulation. This will prevent the buildup of harmful gases, such as carbon monoxide.
Additionally, the location should have a fuel storage setup that is convenient and safe. It is recommended to have a designated space for storing the wood pellets, preferably in a dry area away from any potential sources of ignition.
Assessing ventilation requirements is crucial for the proper functioning and safety of your wood pellet burning stove. Without adequate ventilation, the stove may not burn efficiently and could pose a risk of carbon monoxide poisoning.
Assessing Ventilation Requirements
Assessing the ventilation requirements for a wood pellet burning stove is crucial in ensuring safe and efficient operation. Evaluating safety and understanding regulations are important steps in this process.
First, consult the manufacturer’s guidelines to determine the specific ventilation needs for your stove model. This will typically involve calculating the square footage of the area where the stove will be installed and ensuring that there is adequate airflow to prevent the buildup of harmful gases.
Next, assess the existing ventilation in your home and determine if any additional vents or openings need to be installed to meet the requirements. It is important to follow local building codes and regulations when making any modifications to your home’s ventilation system.
Preparing the Surrounding Area
Once you’ve confirmed the ventilation requirements, it’s important to prepare the surrounding area for the installation of your new stove. Here are some steps to follow in preparing the space:
-
Clear the area: Remove any furniture, rugs, or other objects near the installation site. This will create a safe and open workspace.
-
Protect the flooring: Lay down a protective covering, such as a tarp or drop cloth, to prevent any damage to the floor during the installation process.
-
Create a safe zone: Set up a designated area with clear boundaries to keep children and pets away from the installation site. This will ensure their safety during the process.
-
Gather necessary tools: Make sure you have all the tools and equipment you’ll need for the installation, such as a drill, screwdriver, and level.
Installing the Chimney System
When it comes to installing the chimney system for your wood pellet burning stove, there are a few key points to consider.
First, you need to ensure that the chimney height meets the requirements set by local building codes and regulations.
Proper venting techniques are also crucial to ensure the safe and efficient operation of your stove, so it’s important to understand how to properly vent the exhaust gases.
Lastly, you have various material options for the chimney, such as stainless steel or clay tiles, each with its own advantages and considerations, so it’s essential to choose the right material for your specific needs.
Chimney Height Requirements
To ensure proper ventilation, it’s important to consider the chimney height requirements when installing a wood pellet burning stove. The height of the chimney plays a crucial role in chimney safety and the effective removal of smoke and gases. Here are some key points to keep in mind:
- The chimney should extend at least 3 feet above the highest point where it passes through the roof to prevent downdrafts.
- It should be at least 2 feet higher than any portion of the building within a 10-foot radius to avoid obstruction.
- The chimney cap should be installed to prevent rain, snow, and debris from entering.
- Smoke detectors should be placed near the chimney to ensure early detection of any potential fire hazards.
Proper chimney height is just the first step in ensuring safe and efficient pellet stove operation.
Now let’s move on to discussing the proper venting techniques that will further enhance the performance of your wood pellet burning stove.
Proper Venting Techniques
Proper venting techniques are essential for maximizing the performance of your wood pellet stove. Follow these step-by-step instructions to ensure that your stove is properly vented and operating efficiently.
-
Determine the correct size and length of venting pipes needed for your stove. Consult the manufacturer’s guidelines for this information.
-
Install the venting pipes according to the manufacturer’s instructions, making sure they are securely connected and sealed to prevent any leaks.
-
Position the venting pipes so that they create a slight upward slope towards the outside of your home. This will allow for proper draft and prevent any condensation buildup.
-
Check the venting system regularly for any blockages or obstructions. Clear out any debris to maintain proper airflow.
-
If you notice any issues with the venting, such as smoke backflow or poor draft, troubleshoot the problem by checking for any leaks, blockages, or improper installation.
Now that you know how to properly vent your wood pellet stove, let’s explore the different material options for your chimney.
Material Options for Chimney
For the material options of your chimney, consider using stainless steel or clay tiles for durability and longevity. When it comes to chimney maintenance and cleaning, the right material choice can make a big difference. Here are some key points to keep in mind:
-
Stainless steel: This option is known for its corrosion resistance and durability. It requires less maintenance and is easy to clean, making it a popular choice for chimney liners.
-
Clay tiles: These tiles have been used for centuries and provide excellent insulation. They are durable and can withstand high temperatures, making them a reliable choice for chimney construction.
-
Longevity: Both stainless steel and clay tiles have a long lifespan, ensuring that your chimney will last for years to come with proper maintenance and cleaning.
-
Durability: Both materials are designed to withstand the harsh conditions of a chimney, including exposure to heat, moisture, and creosote buildup.
Choosing the right chimney material is essential for the longevity and durability of your wood pellet burning stove. Now let’s move on to connecting the stove to the chimney.
Connecting the Stove to the Chimney
When it comes to proper chimney installation, venting and air flow play crucial roles in ensuring the safe and efficient operation of your wood pellet burning stove.
First, it is essential to carefully follow the manufacturer’s instructions for chimney installation, as improper installation can lead to issues such as poor draft and increased risk of carbon monoxide leakage.
Secondly, proper venting is necessary to allow the smoke and combustion byproducts to exit your home, preventing any potential health hazards.
Lastly, maintaining adequate air flow is important to ensure optimal combustion, as insufficient air supply can result in incomplete burning and decreased stove performance.
Proper Chimney Installation
To ensure safe operation, it’s important to have a qualified professional install the chimney for your wood pellet burning stove. Proper chimney installation is crucial for the efficient and effective functioning of your stove.
Here are some key points to consider:
- Choose the right location for the chimney that allows for proper venting and air flow.
- Make sure the chimney is installed at the correct height to prevent downdrafts and maintain optimal draft.
- Use the appropriate materials and insulation to ensure the chimney is durable and well-insulated.
- Regularly inspect and clean the chimney to prevent blockages and ensure proper airflow.
By following these guidelines, you can avoid common chimney installation mistakes and ensure that your wood pellet burning stove operates safely and efficiently.
Now, let’s move on to discussing the importance of venting and air flow for your stove.
Venting and Air Flow
Proper venting and air flow are crucial for the efficient operation of your wood pellet stove. To ensure this, it is important to perform regular maintenance and follow safety precautions. Here is a step-by-step guide to help you with venting and air flow:
-
Clean the vent pipe: Regularly inspect and clean the vent pipe to remove any debris or blockages. This will prevent any restrictions in air flow and ensure proper ventilation.
-
Check the air intake: Make sure the air intake is clear of any obstructions. This will allow fresh air to enter the stove and aid in efficient combustion.
-
Adjust the damper: Properly set the damper to regulate the airflow. This will help control the burn rate and maintain optimal combustion.
By following these maintenance steps and safety precautions, you can ensure that your wood pellet stove operates efficiently and safely.
Now, let’s move on to setting up the fuel storage for your stove.
Setting Up the Fuel Storage
First, you’ll want to ensure that the fuel storage area is clean and free of any debris. This is important for maintaining the efficiency and longevity of your wood pellet burning stove.
Here’s how to set up the fuel storage:
-
Choose the right fuel storage option based on your needs and space availability. You can opt for bags of pellets, which are convenient but have limited capacity, or a bulk storage system, which allows for larger fuel storage capacity.
-
Install the fuel storage container in a dry area, away from any potential sources of moisture or heat.
-
Make sure the container is easily accessible for refilling and cleaning purposes.
-
Use a secure lid or cover to prevent any pests or debris from contaminating the fuel.
With the fuel storage area properly set up, you can now move on to installing the pellet delivery system, ensuring a smooth and efficient operation for your wood pellet burning stove.
Installing the Pellet Delivery System
Once you’ve set up the fuel storage area, it’s time to start installing the pellet delivery system for efficient operation. To ensure pellet quality and safety, follow these steps.
First, locate the delivery system near the stove and connect the flexible hose to the pellet storage container. Make sure the hose is securely attached to prevent any leaks.
Next, position the delivery system in a way that allows the pellets to flow smoothly into the stove. Secure it in place using brackets or screws.
Finally, test the delivery system by turning on the stove and checking if the pellets are being delivered properly. Make any necessary adjustments to achieve optimal performance.
With the pellet delivery system in place, it’s now time to move on to testing and adjusting the stove’s settings for optimal heating.
Testing and Adjusting the Stove
To ensure the stove is functioning correctly, you should adjust the airflow settings to achieve the desired heat output. Here are the testing procedures and troubleshooting tips to help you with this process:
- Start by setting the stove to the lowest heat output and ignite the pellets.
- Observe the flame to see if it’s steady and blue, indicating proper air-to-fuel ratio.
- Increase the heat output gradually, monitoring the flame throughout the process.
- If the flame becomes yellow and flickering, it means there is insufficient air supply. Adjust the air intake to increase airflow.
By following these testing procedures and troubleshooting tips, you can ensure that your wood pellet burning stove is functioning optimally.
Now let’s move on to maintaining and troubleshooting the stove, where we will address common issues and their solutions.
Maintaining and Troubleshooting the Stove
Now that you know how to adjust the airflow settings for optimal heat output, let’s discuss how to properly maintain and troubleshoot your stove.
Proper maintenance is crucial to ensure the longevity and efficiency of your wood pellet burning stove. Here are some maintaining tips to keep in mind:
-
Regularly clean the stove: Remove ashes and debris from the burn pot and ash pan to prevent clogging and maintain proper combustion.
-
Clean the glass: Use a glass cleaner specifically designed for stoves to remove any built-up soot or residue from the glass door.
-
Check the gaskets: Inspect the door gaskets for any signs of wear or damage. Replace them if necessary to maintain a proper seal.
Now, let’s discuss some troubleshooting techniques to address common issues:
-
Poor heat output: Check for any blockages in the venting system and clean the air intake and exhaust pipes. Adjust the airflow settings if needed.
-
Ignition failure: Ensure the power supply is connected and functioning properly. Check the igniter for any damage and replace if necessary.
Frequently Asked Questions
How Much Does a Wood Pellet Burning Stove Cost?
Installing a wood pellet burning stove is a cost-effective way to heat your home. Factors like stove size, features, and brand can affect the cost. Comparison shopping is crucial to find the best deal.
Are There Any Safety Precautions I Need to Take When Installing a Wood Pellet Burning Stove?
When installing a wood pellet burning stove, it’s important to take safety precautions. Follow these steps to ensure a safe installation: 1) Choose a suitable location. 2) Install proper ventilation. 3) Follow manufacturer’s instructions for connecting and securing the stove.
Can I Use a Wood Pellet Burning Stove as the Primary Source of Heating in My Home?
Using a wood pellet burning stove as the primary source of heating in my home is cost-effective and has a minimal environmental impact. It provides warmth and comfort, like a cozy blanket on a winter’s night.
Are There Any Local Regulations or Permits Required for Installing a Wood Pellet Burning Stove?
Before installing a wood pellet stove, it’s important to research and understand local regulations and permits. Local requirements may vary, so check with your municipality to ensure compliance with any necessary permits or regulations.
How Often Do Wood Pellets Need to Be Refilled in the Stove?
I refill wood pellets in my stove every 12-24 hours. To properly clean a wood pellet burning stove, I follow these steps: shut off and cool the stove, remove ash, clean the burn pot, and check and clean the exhaust vent. Using a wood pellet burning stove offers benefits such as cost savings and environmental friendliness.
Conclusion
So there you have it, my friends! We’ve reached the end of our journey on how to install a wood pellet burning stove.
I hope this guide has shed light on the process and provided you with all the necessary steps to bring warmth and coziness to your home.
Remember, with a little patience and some handy skills, you can create a haven of comfort and ambiance.
So go ahead, embark on this euphoric adventure of stove installation and let the warmth of your new pellet burner embrace you in its loving glow.
Happy installing!

