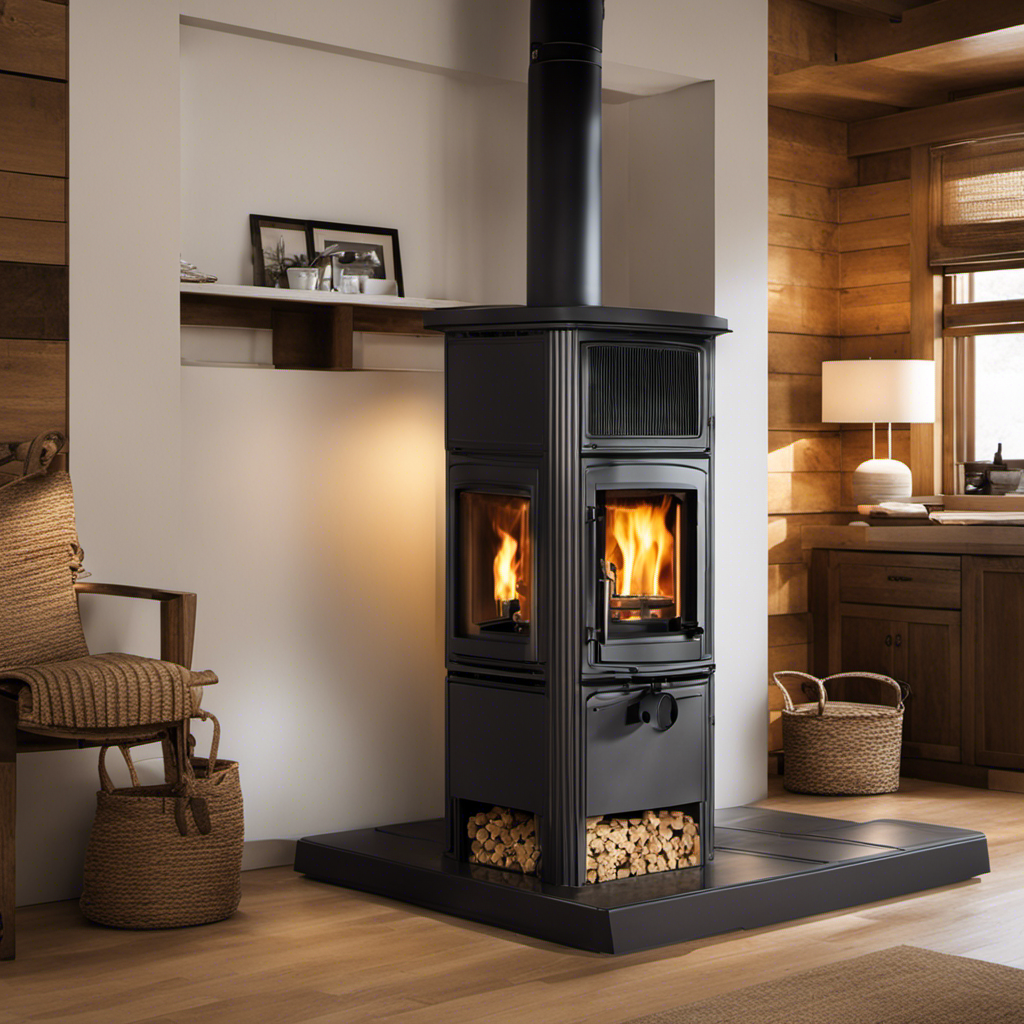
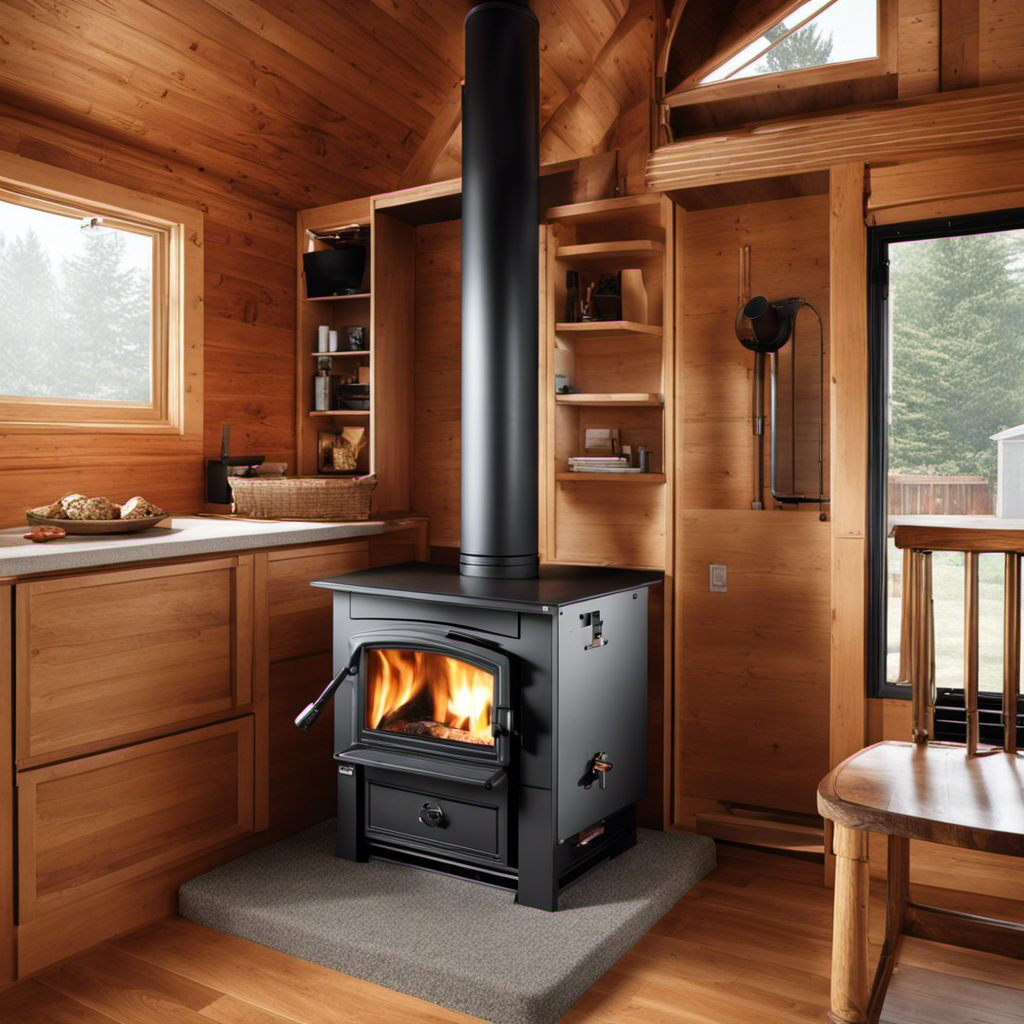
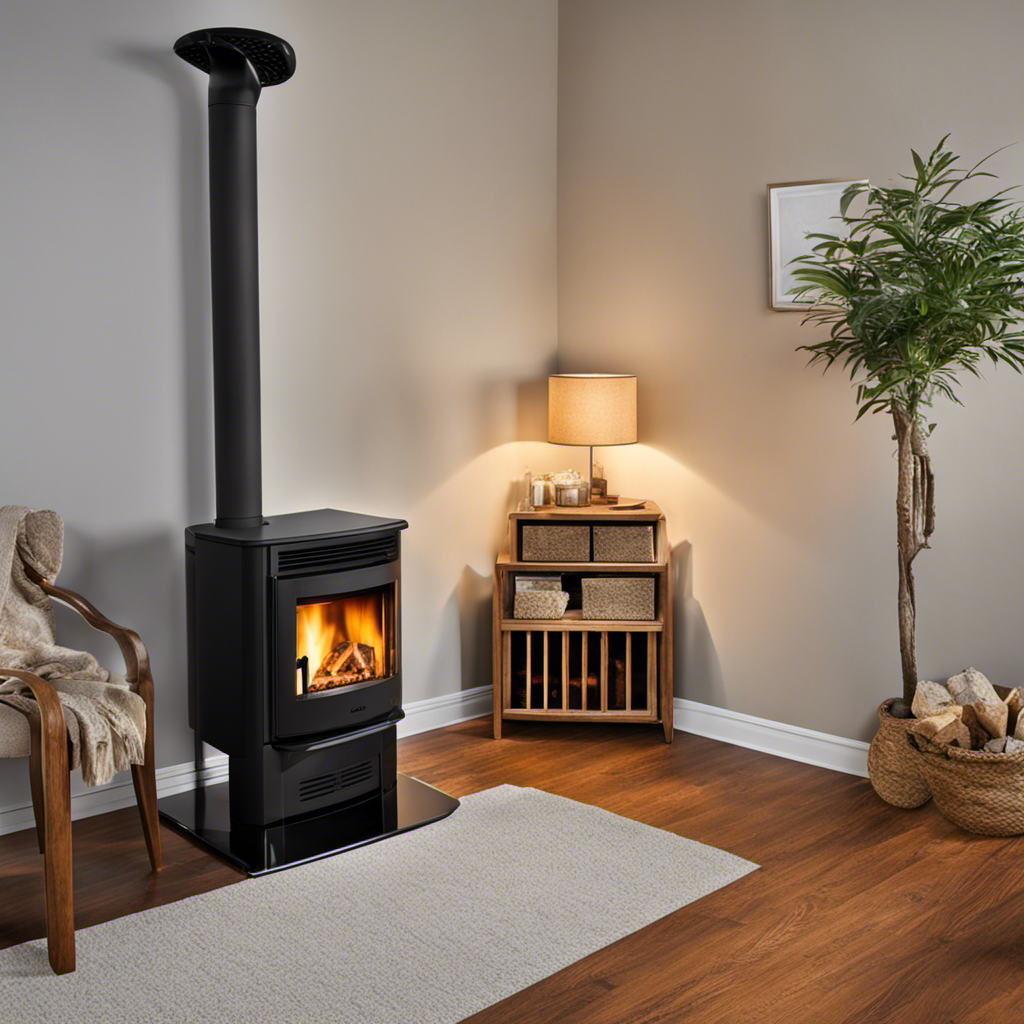
Throughout my experience, I’ve installed numerous pellet wood stoves and I must confess, it introduces an innovative way to warm your home effectively.
Did you know that a pellet wood stove can reduce your heating costs by up to 50%?
In this article, I’ll walk you through the step-by-step process of installing a pellet wood stove, from choosing the right location to testing and adjusting for proper operation.
With the right tools and a little know-how, you’ll be enjoying a cozy, cost-effective heat source in no time.
Key Takeaways
- Choosing the right location and clearing the area are important steps in preparing the space for installation.
- Properly measuring available space and ensuring safety precautions are taken are crucial for a successful installation.
- Installing the venting system requires careful planning, choosing appropriate materials, and sealing all joints and connections.
- Troubleshooting venting issues involves checking for obstructions, inspecting for gaps or loose fittings, cleaning the vent pipe, and adjusting the damper if necessary.
- Connecting the pellet wood stove to the venting system involves aligning and securing the vent pipe with the stove’s exhaust collar.
- Setting up the pellet storage and feeding system includes choosing a suitable storage area, keeping pellets dry and away from moisture, and installing a secure and airtight connection between the pellet feeder and the stove.
Choosing the Right Location
You should choose a location for your pellet wood stove that is near an exterior wall and has access to a designated venting system. When selecting the right stove, it is crucial to consider ventilation options to ensure proper functioning and safety.
The location should have enough space to accommodate the stove and allow for easy access for maintenance. It is important to choose a wall that can accommodate the venting system without obstruction. Additionally, the location should be away from combustible materials such as curtains, furniture, or walls. This will reduce the risk of fire hazards.
Now that you have selected the ideal location, let’s move on to preparing the space for installation, which will ensure a smooth and successful process.
Preparing the Space for Installation
Before installing a pellet wood stove, it’s crucial to prepare the space properly. This involves clearing the area of any obstacles or flammable materials that could pose a risk during installation or operation.
Additionally, measuring the available space accurately ensures that the stove fits correctly and meets the necessary clearance requirements.
Lastly, it’s essential to take safety precautions, such as wearing protective gear and following the manufacturer’s instructions, to minimize the potential for accidents or injuries during the installation process.
Clearing the Area
To safely install your pellet wood stove, start by ensuring the area is clear of any flammable materials. Before beginning the installation process, it is crucial to clear away any debris or clutter that may pose a fire hazard. This includes removing any loose papers, fabrics, or other combustible materials from the vicinity.
Additionally, proper ventilation is essential for the safe operation of your pellet wood stove. Ensure that the area where you plan to install the stove has adequate airflow to prevent the buildup of carbon monoxide and other harmful gases. By clearing the area and ensuring proper ventilation, you create a safe and suitable space for your pellet wood stove.
Now, let’s move on to measuring the available space for installation.
Measuring Available Space
Now that the area is clear, it’s important to measure the available space for installation. Measuring accuracy is crucial to ensure that the pellet wood stove fits perfectly into the designated area.
To begin, gather a tape measure, pencil, and paper. First, measure the width of the space, noting down the measurement. Then, measure the height from the floor to the ceiling, making sure to account for any obstructions such as vents or windows. Lastly, measure the depth of the space, considering the clearance requirements specified by the manufacturer.
By accurately measuring the space, you can maximize space utilization and prevent any issues during installation.
With the measurements in hand, we can now move on to the next section, which focuses on safety precautions to be taken during the installation process.
Safety Precautions
While taking safety precautions, it’s essential to wear protective gear such as gloves, goggles, and a mask to prevent any accidents or injuries during the installation process. Here are some safety measures to keep in mind when installing a pellet wood stove:
-
Clear the area: Remove any flammable materials or objects from the installation site to reduce the risk of fire.
-
Proper ventilation: Ensure that the room has proper ventilation to prevent the buildup of harmful gases, such as carbon monoxide.
-
Follow manufacturer’s instructions: Read and understand the installation manual provided by the manufacturer to avoid any mistakes or potential hazards.
-
Turn off electricity: Before beginning the installation, turn off the electricity to eliminate the risk of electric shock.
By adhering to these safety measures, you can minimize potential hazards and ensure a safer installation process.
Now, let’s move on to gathering the necessary tools and materials.
Gathering the Necessary Tools and Materials
In order to successfully install a pellet wood stove, it is crucial to have the necessary tools and materials on hand.
The essential tools for this installation include a drill, screwdriver, pliers, and a level.
Additionally, it is important to have the proper equipment, such as a chimney pipe, stovepipe, and venting materials, to ensure a safe and efficient installation process.
Essential Tools and Materials
To install a pellet wood stove, you’ll need essential tools and materials. Here is a list of the items you’ll need for a successful installation:
-
Vent Pipe: This is a crucial component that allows the stove to exhaust smoke and gases safely. Choose a high-quality vent pipe with the appropriate diameter for your stove.
-
Chimney Brush: Regular cleaning of the vent pipe is essential to prevent blockages and maintain efficient operation. Invest in a sturdy chimney brush that matches the size of your vent pipe.
-
Drill: You’ll need a drill to create holes for mounting brackets and securing the vent pipe. Make sure to use a drill bit suitable for the type of material you’re drilling into.
-
Level: A level is necessary to ensure that the stove and vent pipe are installed correctly and level. This will help with proper airflow and prevent any potential issues.
With these tools and materials, you’ll be well-equipped to begin the installation process.
Now, let’s move on to discussing the proper equipment for installation.
Proper Equipment for Installation
Now let’s talk about the right gear you’ll need for a successful installation.
When it comes to equipment selection, there are a few key items you’ll need to ensure a smooth installation process.
First and foremost, you’ll need a quality stud finder to locate the studs in your wall for secure mounting.
Additionally, a level will be essential to ensure that your stove is installed straight and even.
A drill with the appropriate drill bits will be necessary for securing the stove to the wall and creating any necessary ventilation holes.
Finally, a fireproof caulking and insulation material will be needed to seal any gaps and prevent heat loss.
With these essential tools in hand, you’ll be ready to move on to installing the venting system, which is a vital component of your pellet wood stove setup.
Installing the Venting System
First, make sure you’ve properly measured and planned the location for the venting system when installing a pellet wood stove. This is crucial to ensure efficient and safe operation.
To install the venting system, follow these steps:
- Determine the best route for the vent pipe to exit the building, avoiding obstacles such as walls and windows.
- Choose the appropriate venting material, such as stainless steel or double-wall pipe, based on your stove’s requirements and local building codes.
- Install the vent pipe vertically whenever possible to promote proper draft and minimize the risk of backdrafting.
- Seal all joints and connections using high-temperature silicone to prevent gas leaks.
Troubleshooting common venting issues:
- If you experience poor draft or excessive smoke, check for obstructions or blockages in the vent pipe.
- In case of backdrafting, ensure that the vent pipe terminates at least two feet above any obstructions, such as roofs or nearby structures.
Now that the venting system is installed, let’s move on to connecting the pellet wood stove to the venting system.
Connecting the Pellet Wood Stove to the Venting System
Once the venting system is in place, you’ll need to securely connect it to your stove for proper operation. Start by aligning the vent pipe with the exhaust collar on the stove. Ensure that the male end of the vent pipe is inserted into the female end of the collar. Use a coupling clamp to secure the connection, making sure it is tight and leak-free.
It’s important to check for any gaps or loose fittings, as these can cause venting issues, such as backdrafting or poor draft. Additionally, make sure that the vent pipe is installed at the correct angle to facilitate proper airflow. Troubleshooting common venting issues may involve inspecting for blockages, cleaning the vent pipe, or adjusting the damper.
Now that the venting system is securely connected, let’s move on to setting up the pellet storage and feeding system.
Setting Up the Pellet Storage and Feeding System
After securely connecting the venting system, it’s time to set up the storage and feeding system for the pellets. Here’s how to do it:
-
Pellet Storage Organization: Choose a dry, well-ventilated area for storing your pellets. Keep them away from moisture and direct sunlight. Use sturdy containers or bins to organize and store the pellets, ensuring easy access when needed.
-
Feeding System Installation: Install the pellet feeder or hopper near the stove, following the manufacturer’s instructions. Connect the feeder to the stove with a flexible pellet feed line, ensuring a secure and airtight connection.
-
Troubleshooting Common Feeding Issues: Ensure that the feeder motor is functioning properly and the feed rate is set correctly. Check for any blockages in the feed line or feeder mechanism. Clean the feeder regularly to prevent pellet dust buildup.
-
Transition: Once the storage and feeding system is set up, it’s time to move on to testing and adjusting the stove for proper operation.
Now that the pellet storage and feeding system is in place, it’s important to test and adjust the stove for proper operation.
Testing and Adjusting the Stove for Proper Operation
To ensure the stove is operating correctly, you’ll need to test and make adjustments as necessary. Start by checking the power supply and making sure the stove is plugged in properly. Next, turn on the stove and set the thermostat to the desired temperature. Observe the flame and make sure it is strong and steady. If the flame is weak or flickering, check the air intake and adjust it to allow for more oxygen. Additionally, check the exhaust system for any blockages or leaks. If you notice any unusual noises or smells, it may indicate a problem with the combustion process. Troubleshooting tips include cleaning the burn pot and checking the fan and auger for any obstructions. By following these testing procedures and troubleshooting tips, you can ensure that your stove is operating efficiently. This will help prevent any issues and extend the lifespan of your stove.
Moving on to cleaning and maintenance tips for longevity…
Cleaning and Maintenance Tips for Longevity
To keep your stove running efficiently and lasting longer, it’s important to regularly clean and maintain it. Here are some cleaning techniques and troubleshooting tips to help you with the maintenance of your stove:
-
Clean the stove’s exterior: Use a soft cloth and mild detergent to wipe down the exterior of the stove. Avoid using abrasive cleaners that can damage the finish.
-
Clean the stove’s glass door: Use a glass cleaner specifically designed for stoves to remove any soot or residue from the glass door. Make sure to let it dry completely before using the stove again.
-
Clean the stove’s interior: Remove any ash or debris from the firebox using a vacuum cleaner or an ash vacuum. Be sure to wear appropriate protective gear to avoid breathing in the ash particles.
-
Troubleshoot common issues: If your stove is not igniting or is producing excessive smoke, check the airflow and ensure that the fuel is properly loaded. You may also need to clean or replace the stove’s air intake system or check the flue for blockages.
Frequently Asked Questions
How Much Does a Pellet Wood Stove Typically Cost?
A pellet wood stove typically costs between $1,500 and $3,500. The cost varies depending on factors like brand, size, and features. Pellet wood stoves require regular maintenance and offer advantages over traditional wood stoves.
Can a Pellet Wood Stove Be Installed in Any Type of Home?
Installing a pellet wood stove in different types of homes has pros and cons. Factors to consider before installation include ventilation requirements, available space, and fuel storage. It’s essential to consult a professional for guidance.
Are Pellet Wood Stoves Environmentally Friendly?
Pellet wood stoves offer several advantages, such as efficient heat output and reduced emissions compared to traditional wood stoves. However, they also have some disadvantages, including the need for electricity and the cost of purchasing and storing pellets.
How Often Do Pellet Wood Stoves Need to Be Cleaned?
To clean a pellet wood stove effectively, it’s important to look out for signs that indicate it needs cleaning. This includes a decrease in heating efficiency, excessive ash buildup, and a strong, smoky odor. Regular cleaning ensures optimal performance.
Can a Pellet Wood Stove Be Used as the Primary Source of Heat in a Home?
Using a pellet wood stove as the primary heat source in a home can be quite efficient. It provides enough heat to warm the entire house and reduces reliance on other heating methods.
Can You Provide Steps for Operating a Pellet Wood Stove after Installation?
Sure, here’s a wood pellet stove operation tutorial. First, ensure the stove is properly installed according to the manufacturer’s instructions. Next, fill the hopper with wood pellets and turn the stove on. Adjust the temperature and fan settings as needed. Clean and maintain the stove regularly for efficient operation.
Conclusion
In conclusion, installing a pellet wood stove is a complex task that requires careful planning and precision. By following the steps outlined in this article, you can successfully install a pellet wood stove in your home.
While some may argue that the installation process is too difficult, with the right tools and materials, anyone can accomplish this task. Remember to always prioritize safety and consult professional help if needed.
With proper installation and regular maintenance, your pellet wood stove will provide you with warmth and comfort for years to come.

