Were you aware that adding a wood stove to your home can do more than just create a warm and inviting atmosphere? It can also assist in reducing your heating costs.
In this article, I will guide you through the step-by-step process of hooking up a wood stove in your fireplace.
From assessing your chimney to testing and maintaining the stove, I will provide you with all the necessary information and tools to successfully install and enjoy the warmth of a wood stove in your home.
Key Takeaways
- Assess the condition of the fireplace and chimney for any damage or debris.
- Gather the necessary tools and materials, including a drill, chimney brush, and fireproof insulation.
- Prepare the fireplace by removing the existing insert and cleaning the chimney.
- Install the wood stove and stovepipe properly, ensuring a snug fit and using high-temperature sealant to prevent leaks.
Assessing the Fireplace and Chimney
I should start by checking inside the fireplace for any signs of damage or debris. To evaluate the structural integrity, I’ll inspect the walls, floor, and chimney for any cracks or deterioration. It’s crucial to ensure that the fireplace and chimney are in good condition to support the weight of the wood stove and prevent any potential hazards.

Next, I’ll assess the ventilation system to guarantee proper airflow. This involves checking the flue for any obstructions and ensuring that the damper is functioning correctly. Adequate ventilation is essential for efficient combustion and to prevent the buildup of harmful gases.
Once I’ve evaluated the fireplace and chimney, I can move on to gathering the necessary tools and materials to proceed with the installation process smoothly.
Gathering the Necessary Tools and Materials
To successfully install the wood stove, I need to collect the tools and materials. This includes a drill, screws, a chimney brush, and fireproof insulation.
Selecting the right wood stove is crucial for safety and efficiency. Firstly, I’ll ensure that the wood stove is suitable for the size of my fireplace and meets all local safety regulations.

Next, I’ll gather the necessary tools. This includes a drill with the appropriate drill bits for installing the stovepipe and attaching the stove to the floor. I’ll also need screws to secure the stovepipe and fireproof insulation to prevent heat transfer to combustible materials.
Safety precautions while installing a wood stove include wearing heat-resistant gloves, using a dust mask, and following the manufacturer’s instructions carefully.
Preparing the Fireplace for Wood Stove Installation
Before starting the installation, I need to remove the existing fireplace insert and clean out the chimney. This is an essential step in preparing the fireplace for a wood stove installation.
First, I carefully remove the fireplace insert by disconnecting the gas line and unscrewing any bolts or screws that hold it in place. I make sure to turn off the gas supply before disconnecting the line.

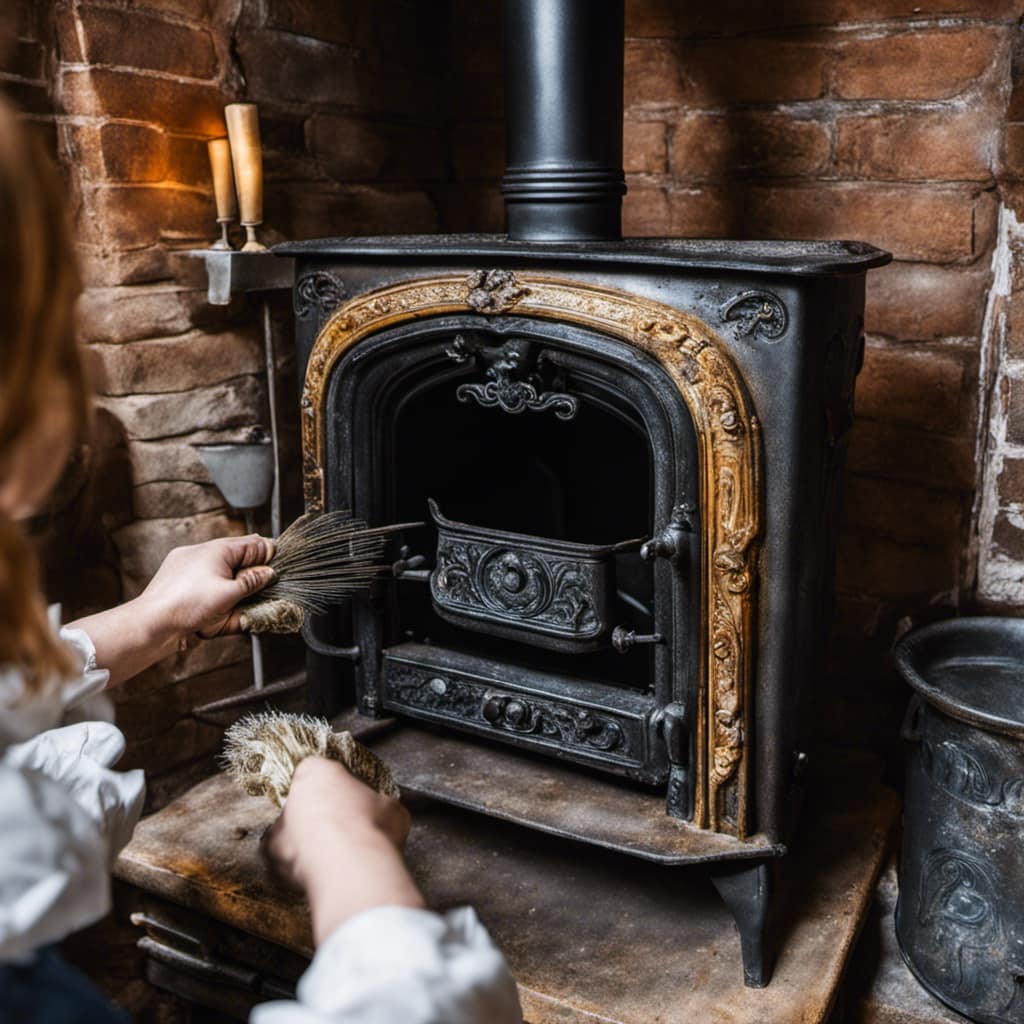
Once the insert is removed, I thoroughly clean out the chimney to ensure proper ventilation and chimney safety. I use a chimney brush to sweep away any debris or creosote buildup. This step is crucial to prevent chimney fires and ensure the efficient operation of the wood stove.
After cleaning the chimney, I inspect it for any damages or cracks that may need repair during the fireplace renovation process.
Installing the Wood Stove and Stovepipe
How can I properly connect the wood stove and stovepipe together?
To ensure a safe and efficient wood stove installation, it’s crucial to correctly connect the stovepipe to the wood stove. Here is a step-by-step guide to help you through the process.

-
Begin by positioning the wood stove close to the fireplace opening and ensuring it’s level.
-
Remove the flue collar cover from the stove and clean any debris or residue.
-
Attach the stovepipe to the flue collar using a pipe connector. Make sure it fits securely and is properly aligned.
-
Apply a high-temperature silicone sealant around the connection to prevent any leaks or air gaps.

-
Slide the other end of the stovepipe into the chimney or flue opening, ensuring a snug fit.
-
Secure the stovepipe to the chimney using brackets or screws, following the manufacturer’s instructions.
-
Finally, check for any gaps or openings and seal them with additional silicone sealant if necessary.
Testing and Maintaining the Wood Stove
I regularly check the wood stove for any signs of damage or malfunction. Cleaning and inspecting the wood stove is an important part of maintaining its safety and efficiency. Here are some safety precautions for using a wood stove and steps to clean and inspect it:

- Start by ensuring the wood stove is completely cool.
- Remove any ashes and debris from the firebox using a metal scoop and ash bucket.
- Clean the stovepipe and chimney to prevent creosote buildup using a chimney brush.
- Inspect the stovepipe for any cracks, leaks, or loose connections.
- Check the door gasket for wear and tear and replace if necessary.
- Inspect the firebricks for any cracks or damage and replace if needed.
- Clean the glass door using a fireplace glass cleaner.
- Test the stove’s door latch and damper to ensure they’re functioning properly.
Regular cleaning and inspection of the wood stove will help ensure its safe and efficient operation.
Remember to always follow manufacturer’s guidelines and consult a professional if you have any concerns.
Frequently Asked Questions
How Do I Determine the Appropriate Size of Wood Stove for My Fireplace?
To determine the appropriate size of a wood stove for your fireplace, measure the dimensions of the fireplace opening. Consider the clearance requirements and consult the manufacturer’s guidelines for the recommended stove size based on the fireplace measurements.
Can I Install a Wood Stove in a Fireplace That Already Has a Gas or Electric Insert?
Yes, you can install a wood stove in a fireplace that already has a gas or electric insert. However, there are both advantages and disadvantages to consider when making this decision.

Is It Necessary to Remove the Fireplace Damper Before Installing a Wood Stove?
Removing the fireplace damper is necessary prior to wood stove installation. This step ensures proper ventilation and prevents smoke and fumes from entering the living space. Follow these steps for fireplace damper removal and installation.
Can I Use an Existing Chimney for My Wood Stove Installation, or Do I Need to Install a New Chimney?
I can use an existing chimney for my wood stove installation, but there are advantages to installing a new chimney. Installing a new chimney ensures proper ventilation and reduces the risk of chimney fires.
Are There Any Building Codes or Regulations I Need to Consider When Installing a Wood Stove in a Fireplace?
When installing a wood stove in a fireplace, it is crucial to adhere to building codes and safety regulations. Obtain the necessary building permits and ensure proper venting, clearances, and fireproof materials are used.
Conclusion
In conclusion, installing a wood stove in a fireplace requires careful assessment, gathering the right tools and materials, and proper preparation.

By following the step-by-step instructions, you can successfully install the wood stove and stovepipe.
Remember to test and maintain the wood stove regularly to ensure its efficiency and safety.
So, don’t hesitate to embark on this project and enjoy the warmth and coziness that a wood stove can bring to your home.


