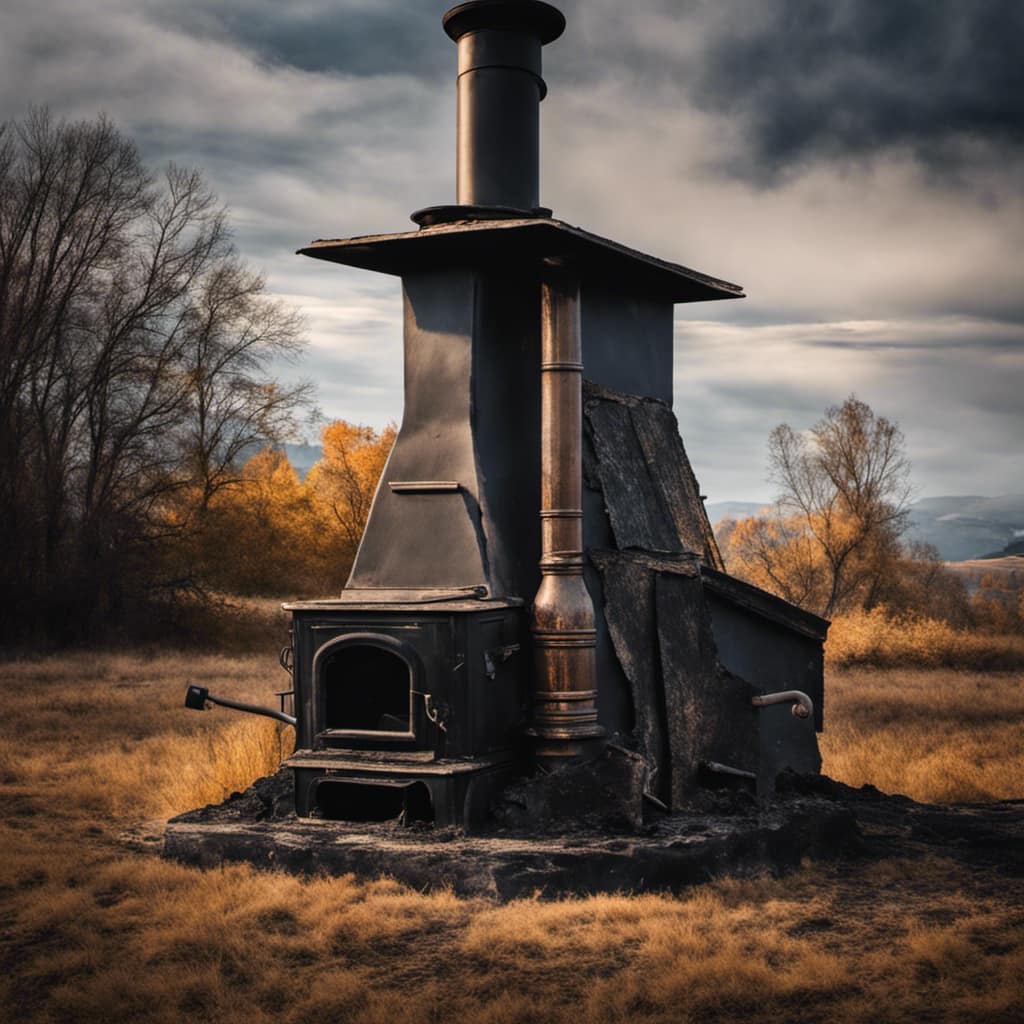
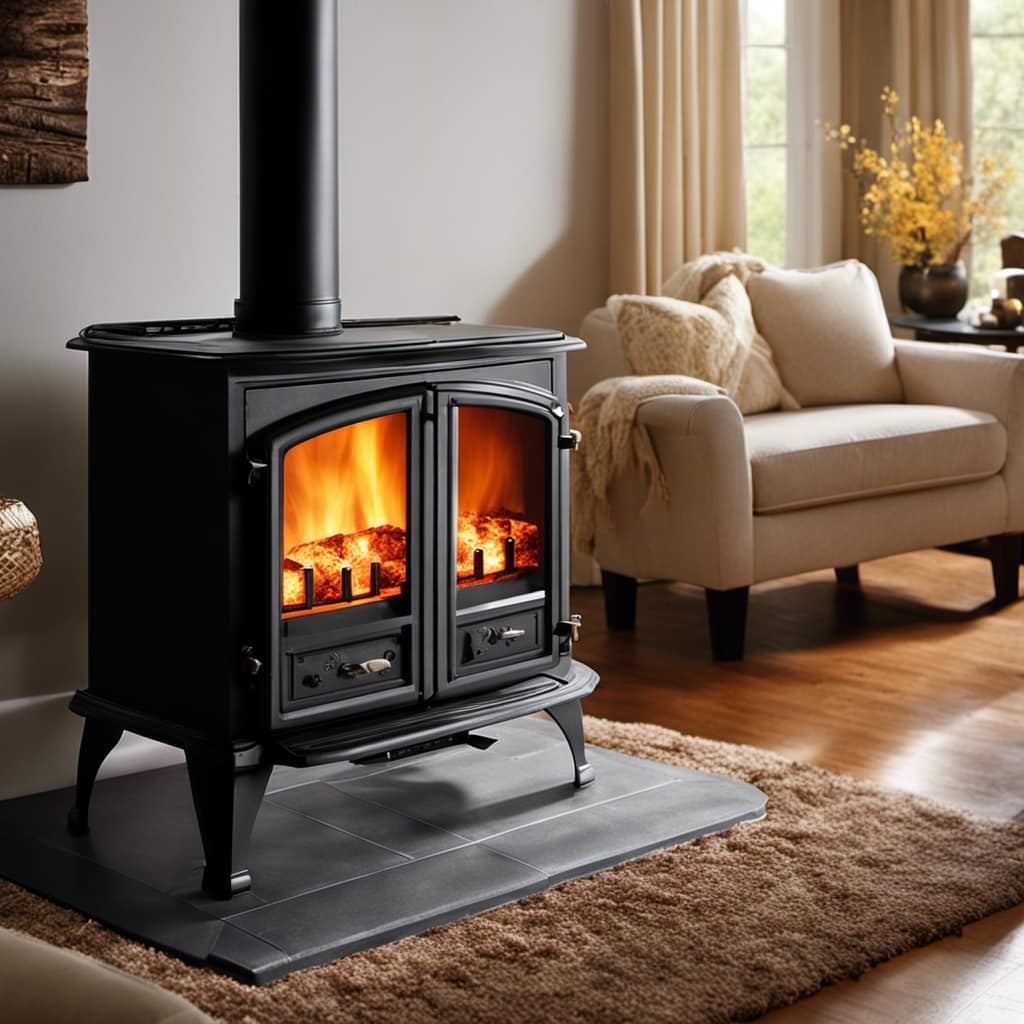
I have found a unique method for installing a 6-foot flue pipe into a wood stove, and I am thrilled to share it with you.
It’s a precise process that requires careful planning and execution, but the end result is a perfectly fitted flue pipe that will ensure optimal performance and safety.
In this article, I’ll guide you through each step, from choosing the right size pipe to testing and maintaining the installation.
Let’s dive in and make this daunting task a breeze.
Key Takeaways
- Accurately measure the diameter of the wood stove’s flue collar to ensure the right flue pipe size.
- Using a flue pipe that is too small can result in poor draft and inadequate ventilation.
- Using a flue pipe that is too large may lead to excessive heat loss.
- Proper insulation, sealing, and maintenance are crucial for efficient and safe operation of the flue pipe installation.

Imperial Manufacturing Group BM0111 6" X 24" Black Matte Stove Pipe
Size: 6" x 24"
As an affiliate, we earn on qualifying purchases.
As an affiliate, we earn on qualifying purchases.
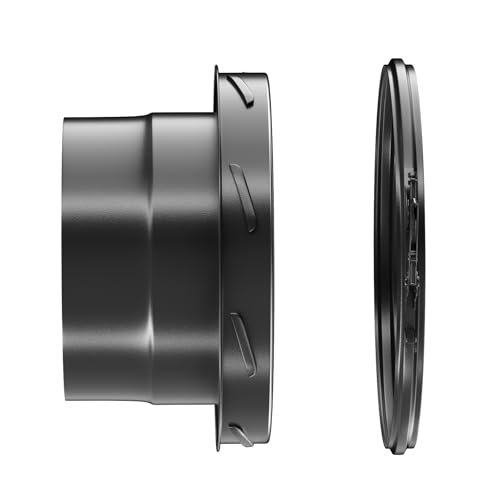
Choosing the Right Flue Pipe Size
I need to make sure I choose the right flue pipe size for my wood stove installation. When it comes to flue pipe installation, there are a few tips to keep in mind.
First and foremost, it’s crucial to measure the diameter of your wood stove’s flue collar accurately. This measurement will determine the size of the flue pipe you need.
It’s important to note that using a flue pipe that’s too small can result in poor draft and inadequate ventilation, while a pipe that’s too large may lead to excessive heat loss.
Additionally, common flue pipe problems can arise if the pipe is improperly installed or if there are gaps and leaks. Proper insulation and sealing are essential to ensure efficient and safe operation.
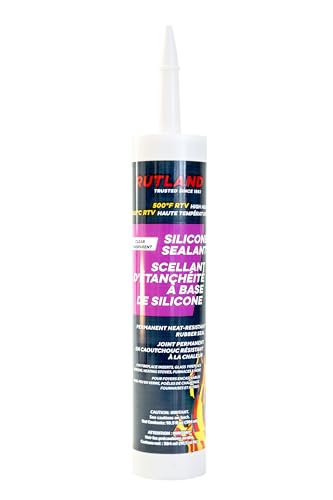
Rutland 500°F RTV High Heat Silicone Sealant Clear, USA-Made High Temperature Gasket Maker Adhesive – UV Stable, Oil Resistant & Non-Corrosive
Rutland High Temperature Silicone is a great solution to your sealant and adhesive needs
As an affiliate, we earn on qualifying purchases.
As an affiliate, we earn on qualifying purchases.
Preparing the Wood Stove for Installation
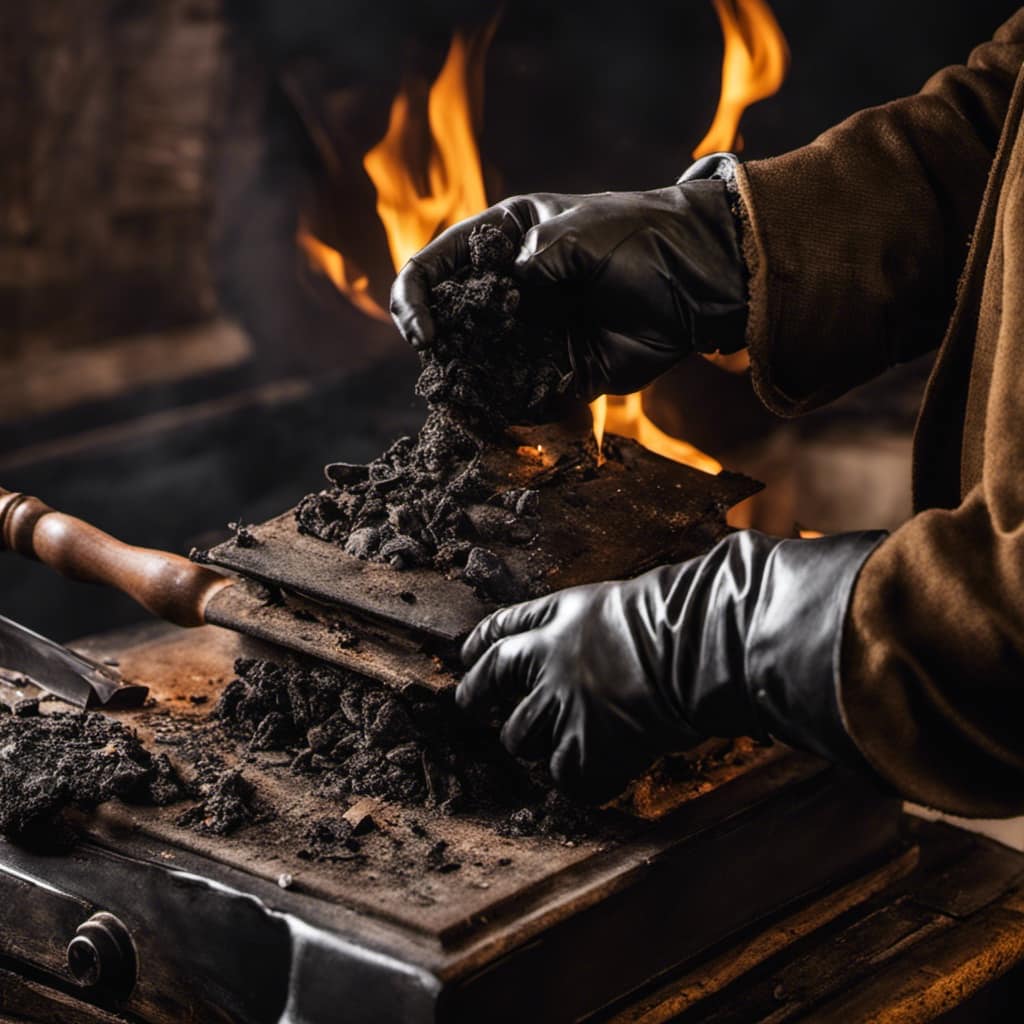
Before starting the installation, I need to ensure that the wood stove is properly cleaned and cleared of any debris. This is crucial for wood stove safety and to ensure optimal performance. Here are the steps I follow to prepare the wood stove for installation:
- Inspect the interior of the stove for any ash or soot buildup and clean it using a stove brush or vacuum cleaner.
- Remove the baffle plates and clean them thoroughly to ensure proper airflow and combustion.
- Check the gaskets around the door and replace them if they’re worn or damaged to ensure a tight seal.
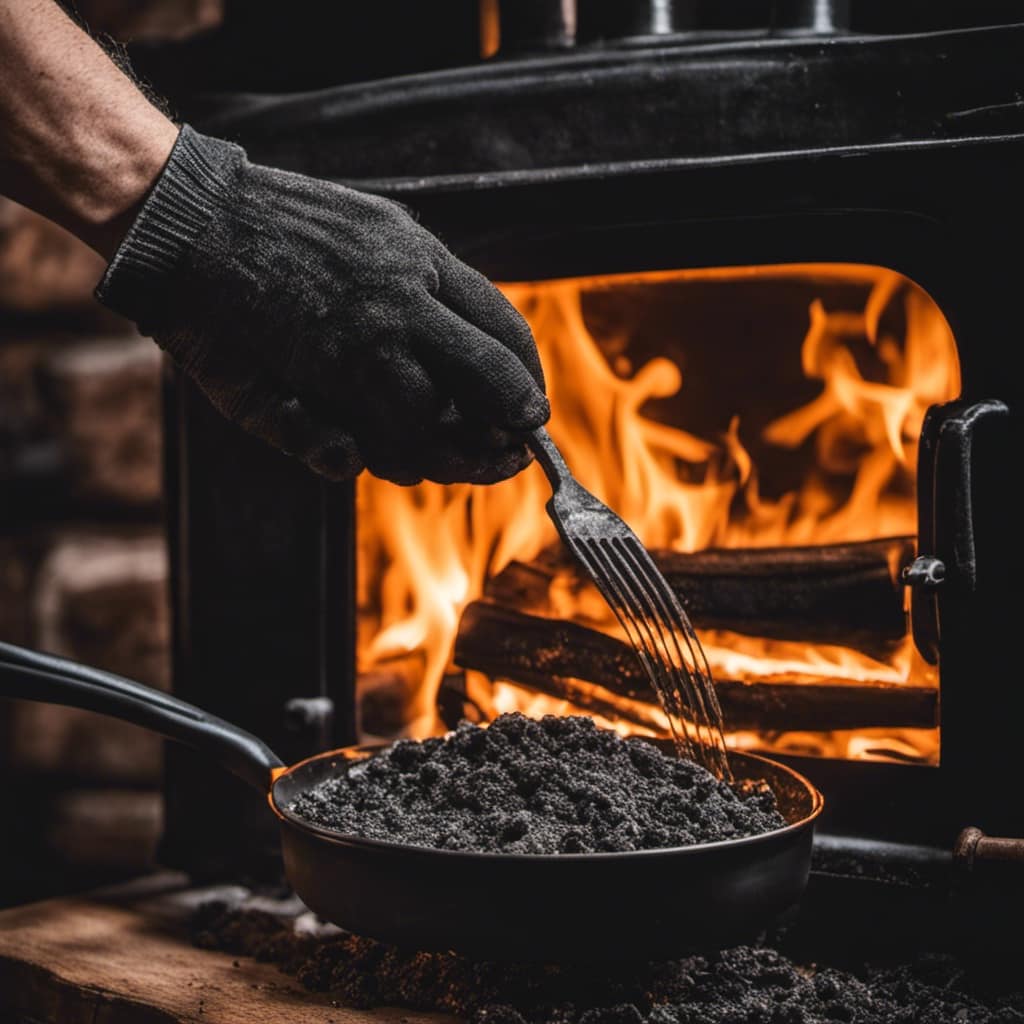
- Inspect the flue pipe for any obstructions or creosote buildup and clean it using a chimney brush.
- Finally, seal the flue pipe connection to the wood stove using high-temperature silicone or stove cement to prevent any leakage.

Rutland Creosote Remover, Fireplace, Wood Stove & Chimney Cleaner, 2 lb Tub
Creosote remover penetrates the sticky, tar-like creosote and turns it into a loose, powdery, non-adhering ash that can…
As an affiliate, we earn on qualifying purchases.
As an affiliate, we earn on qualifying purchases.
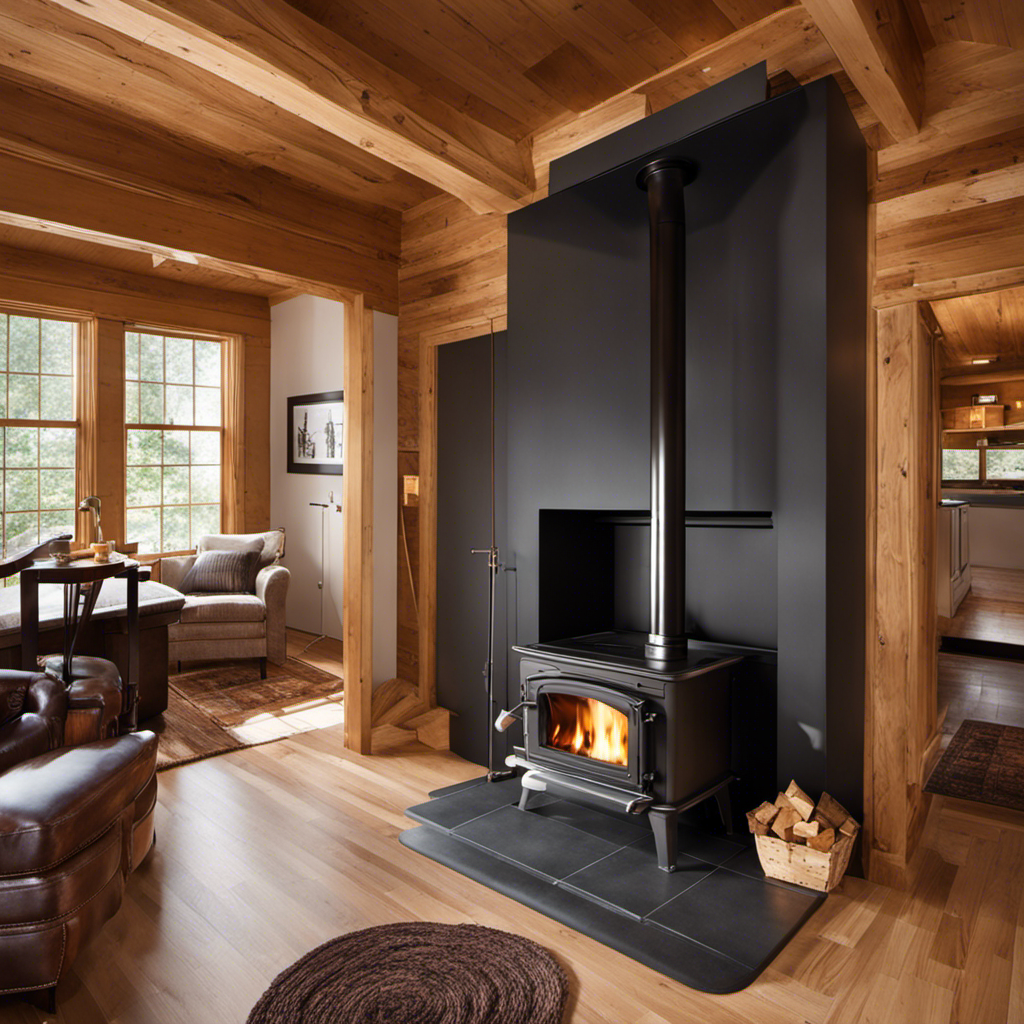
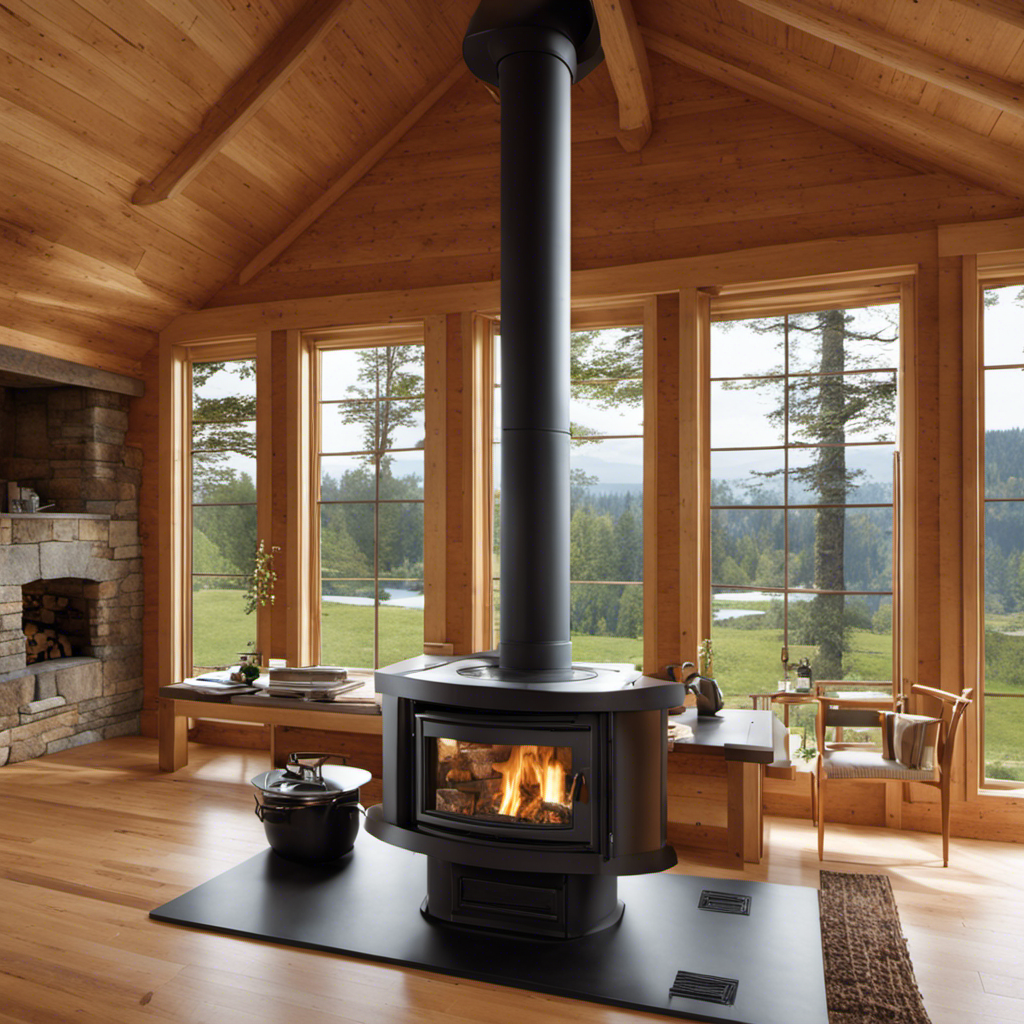
Positioning and Aligning the Flue Pipe
The flue pipe needs to be properly positioned and aligned with the wood stove to ensure efficient and safe ventilation. Proper ventilation is crucial for the effective operation of a wood stove, as it allows for the efficient removal of smoke and harmful gases from the combustion process.
When positioning the flue pipe, it’s important to consider safety precautions to prevent any potential hazards. Firstly, ensure that the flue pipe is securely attached to the stove using appropriate connectors or adapters. This will prevent any leaks or disconnections during operation.
Additionally, the flue pipe should be positioned vertically, with a slight incline towards the chimney to promote the flow of exhaust gases.

Finally, make sure that the flue pipe is clear of any combustible materials and that it’s adequately insulated to prevent heat transfer to nearby structures.
Ventylis 6 Inch Insulated Stove Pipe Adapter Stainless Steel,Double-Wall Transition Connector, High-Temp Chimney Vent Pipe Fitting for Wood Stoves, Fireplaces, Heaters
【Smooth 6-Inch Transition】Designed to connect a 6" insulated chimney pipe to a double-wall stove pipe, ensuring a secure,…
As an affiliate, we earn on qualifying purchases.
As an affiliate, we earn on qualifying purchases.
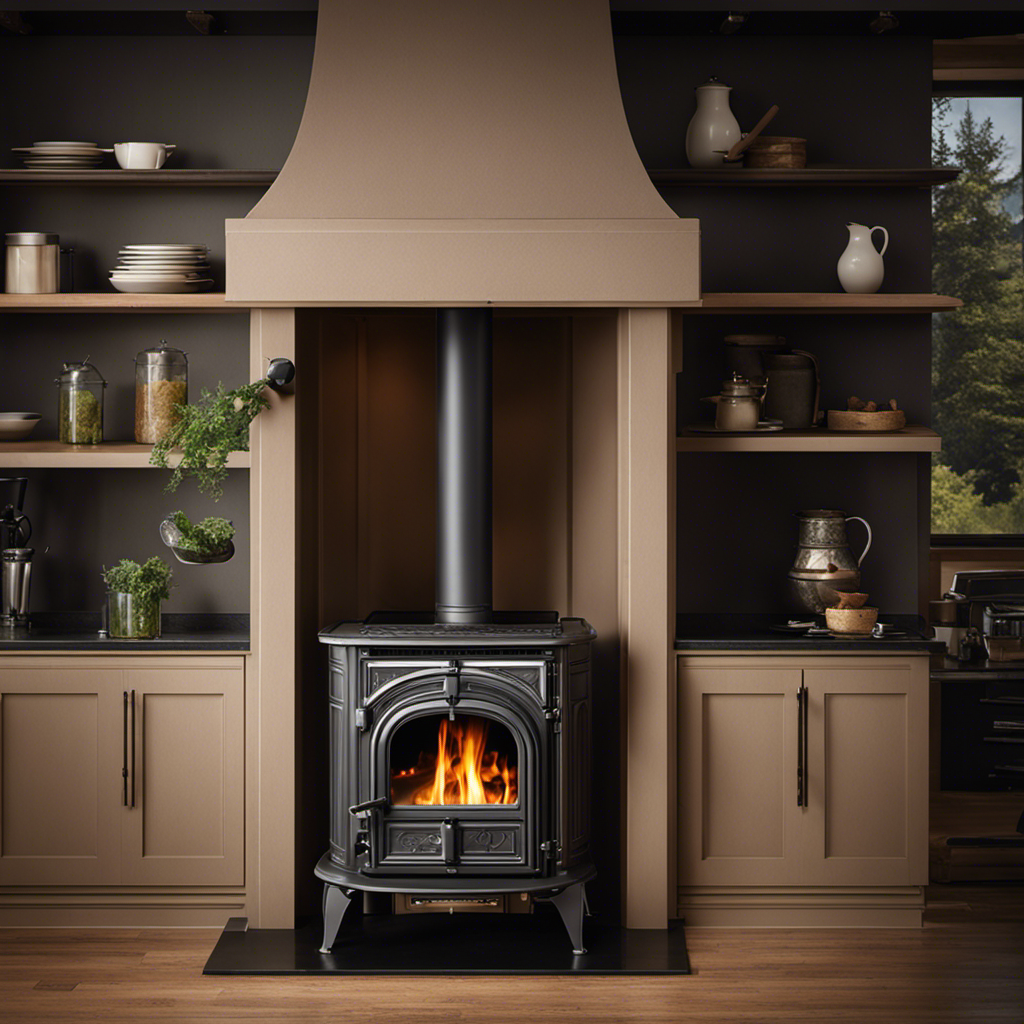
Connecting and Securing the Flue Pipe
After aligning the flue pipe with the wood stove, it’s important to securely connect it using appropriate connectors or adapters. This ensures a safe and efficient operation of the wood stove, while preventing any potential leaks or hazards.
To properly connect the flue pipe, follow these steps:
- Use a high-quality connector or adapter specifically designed for wood stoves.
- Slide the connector onto the flue pipe, ensuring a tight fit.
- Secure the connector with screws or clamps, depending on the type of connector used.
- Install a chimney cap on top of the flue pipe to prevent water, debris, and animals from entering the chimney.
- Lastly, seal the joints between the flue pipe sections using a high-temperature silicone sealant to prevent any smoke or gases from escaping.
Testing and Maintaining the Flue Pipe Installation
I need to regularly inspect and clean the flue pipe to ensure it’s functioning properly. Maintaining flue pipe efficiency is crucial for the overall performance of my wood stove.
To begin, I’ll visually inspect the flue pipe for any signs of damage or corrosion. I’ll also check for any blockages such as creosote buildup or debris. If I notice any issues, I’ll troubleshoot common flue pipe problems by using a chimney brush to remove any obstructions.
Additionally, I’ll check the flue pipe for proper insulation to prevent heat loss and condensation.
Frequently Asked Questions
How Do I Determine the Correct Amount of Clearance Needed Between the Flue Pipe and Any Combustible Materials?
To determine the correct amount of clearance needed between the flue pipe and combustible materials, I consider the type of flue pipe material and consult the manufacturer’s guidelines. This ensures safe installation and reduces the risk of fire hazards.
Can I Use a Different Type of Material for the Flue Pipe, Such as Stainless Steel or Aluminum?
Sure, I can use a different material for the flue pipe, like stainless steel or aluminum. These materials offer benefits such as durability and resistance to corrosion, making them suitable for efficient and safe venting of the wood stove.

Are There Any Specific Guidelines or Regulations Regarding the Height at Which the Flue Pipe Should Extend Above the Roofline?
There are specific guidelines and regulations regarding the height at which the flue pipe should extend above the roofline. It is important to comply with these regulations to ensure proper ventilation and safety.
What Are Some Common Issues or Problems That Can Occur With a Flue Pipe Installation, and How Can I Troubleshoot Them?
When troubleshooting flue pipe installations, it is important to be aware of common issues such as leaks, blockages, and improper connections. Regular maintenance, such as cleaning and inspecting, can help prevent these problems.
Is It Necessary to Use Any Type of Sealant or Gasket When Connecting the Sections of the Flue Pipe Together?
When connecting sections of a flue pipe, it is necessary to use a sealant or gasket to ensure a proper seal. This helps prevent leaks and ensures the safety and efficiency of the wood stove. Proper clearance determination is also essential.
Can Flashing a Wood Stove Pipe on a Tin Roof Affect the Installation of a 6″ Flue Pipe into a Wood Stove?
Flashing a wood stove pipe on a tin roof can definitely affect the installation of a 6″ flue pipe into a wood stove. Proper flashing is crucial to prevent leaks and ensure a secure connection. It’s important to follow manufacturer guidelines and consult with a professional to avoid any issues.
Conclusion
After carefully following the precise steps outlined above, you may find yourself questioning why you ever embarked on the journey of installing a 6′ flue pipe into a wood stove. The sheer size and complexity of the task can evoke a sense of irony, as the seemingly straightforward process becomes a challenging endeavor.
However, the satisfaction of a successfully installed flue pipe will surely outweigh any initial doubts, leaving you with a warm and satisfying feeling.