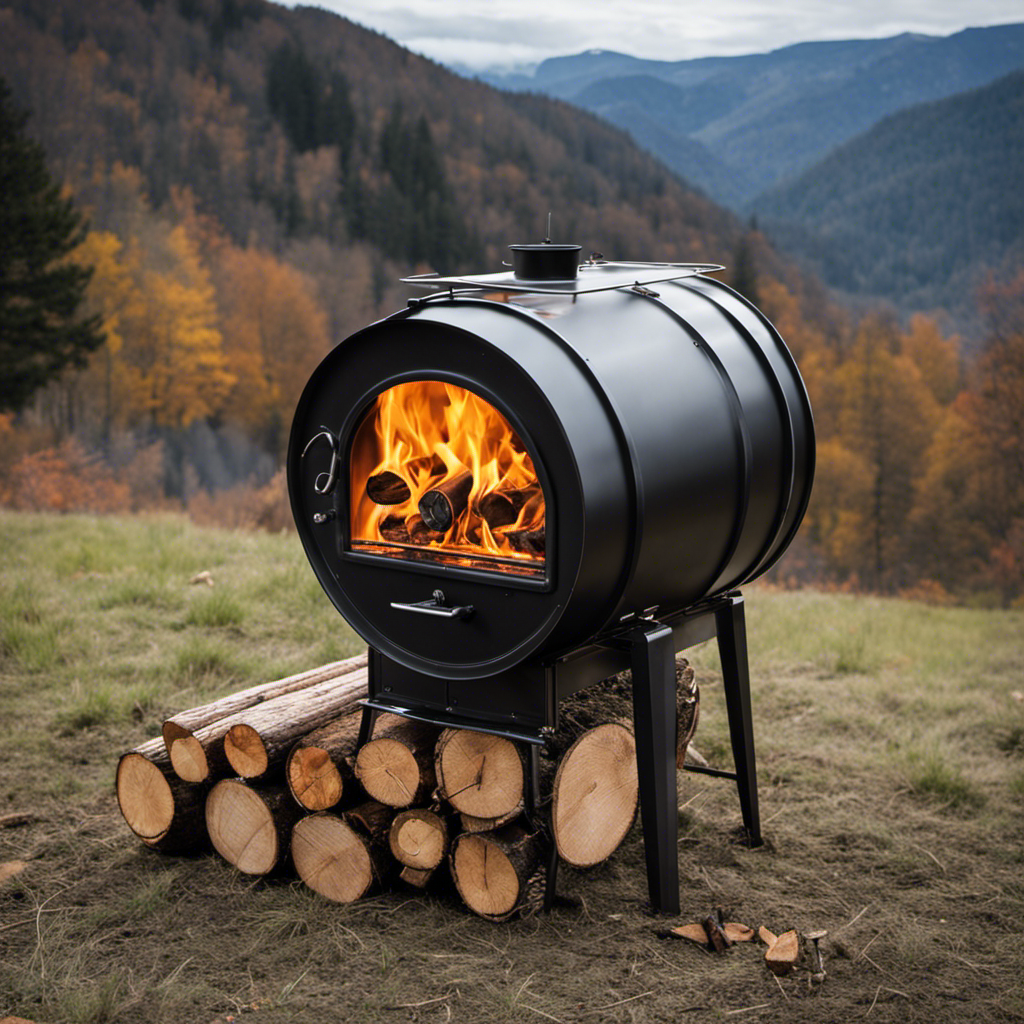
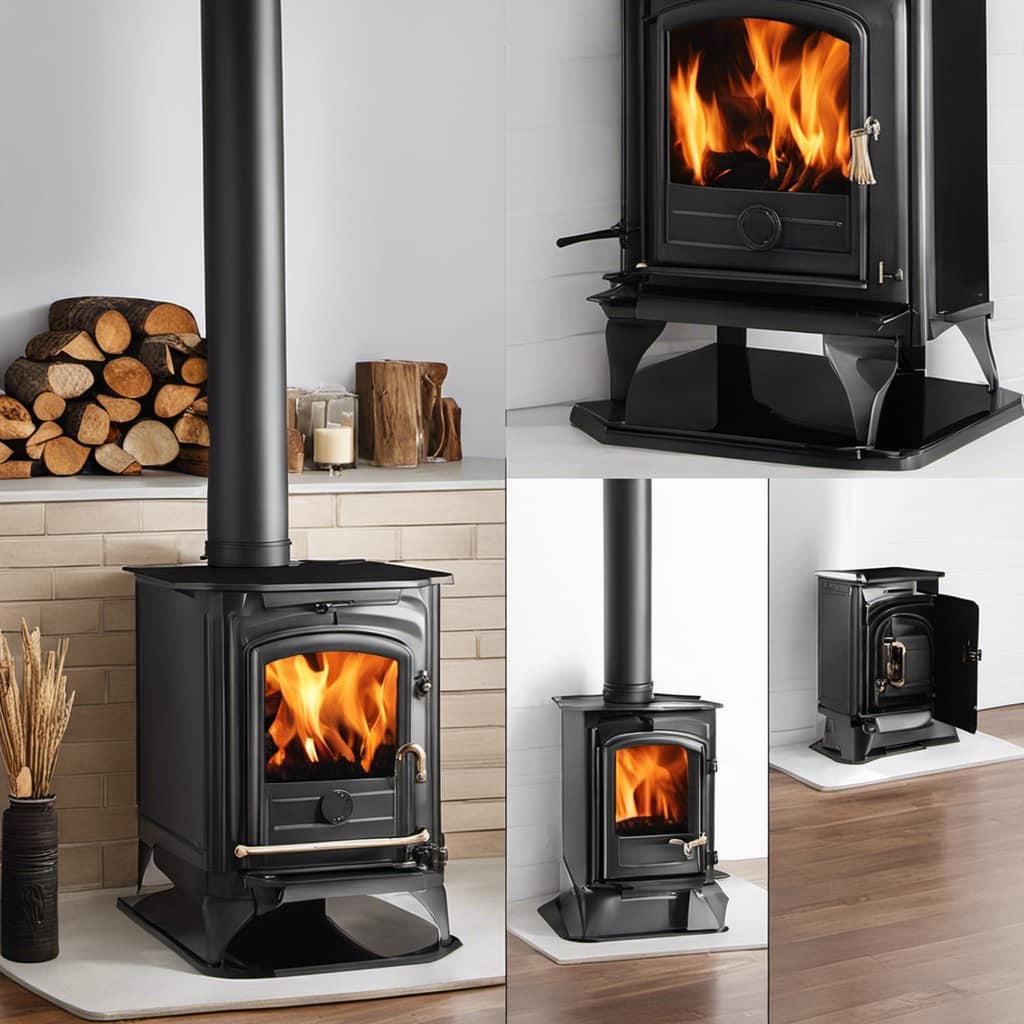
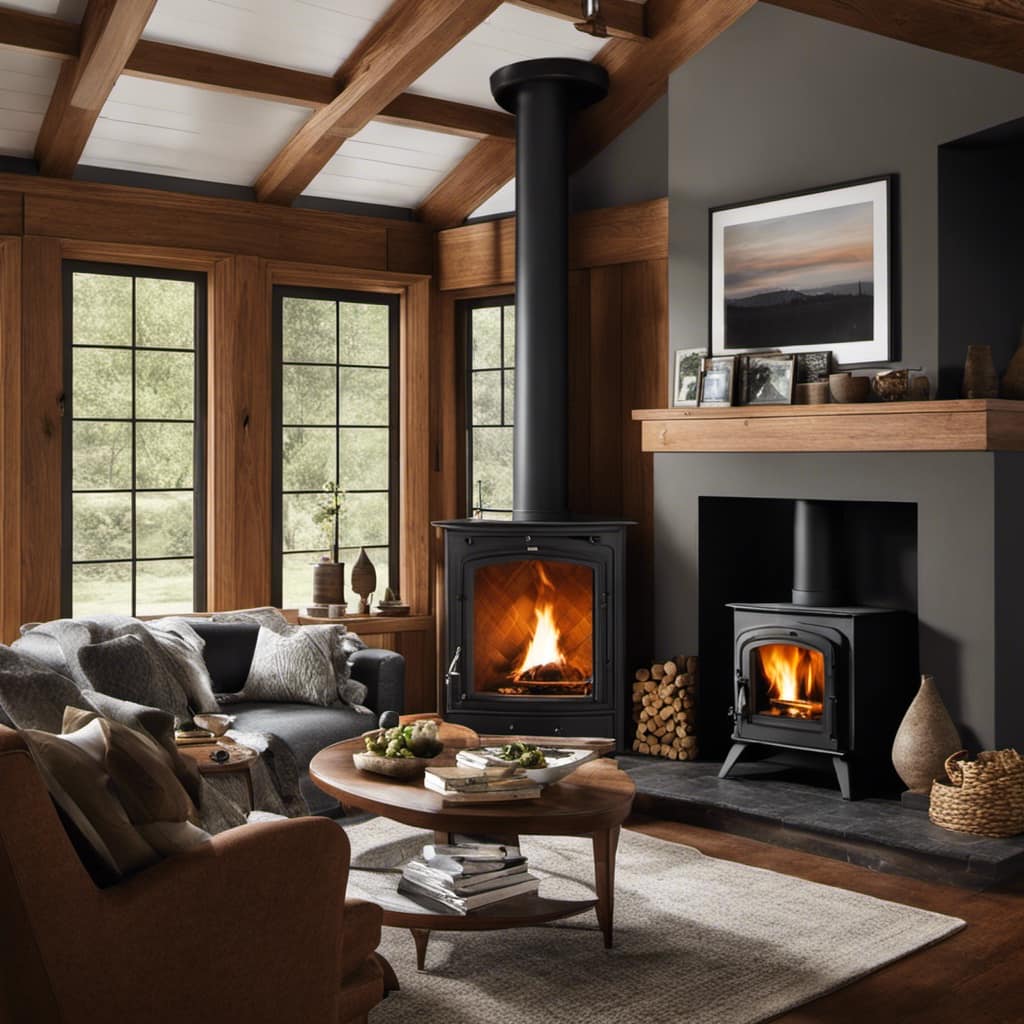
Looking for guidance on installing a 6-inch wood stove pipe through a metal roof? You’ve come to the right place! Follow along in this article as I provide step-by-step instructions to achieve a leak-proof installation for your wood stove pipe.
We’ll cover everything from choosing the right flashing material to securing and sealing the flashing around the pipe.
Get ready to master the art of flashing and enjoy a worry-free wood stove experience on your tin roof.
Key Takeaways
- Metal flashing (aluminum or copper) is the most durable and fire-resistant option for flashing a wood stove pipe on a tin roof.
- Rubber and plastic flashing materials may be cheaper but lack durability and fire resistance.
- Properly preparing the tin roof before installation is important for a smooth and secure installation process.
- Accurate measuring and cutting of the wood stove pipe is crucial to ensure a tight and secure fit in the flashing system.
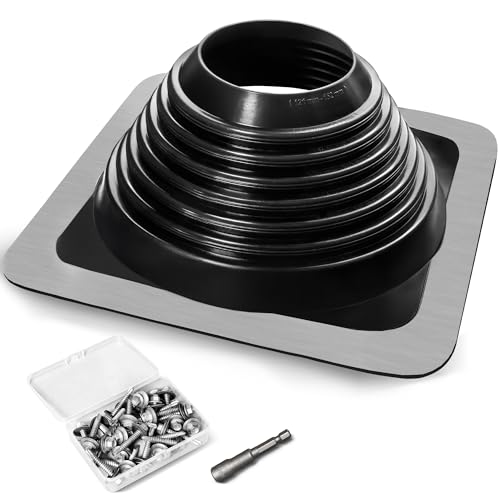
#6 Epdm Metal Roof Vent Boot, Flexible Roofing Boots Fits Pipe Od 4 3/4'' to 10'', Metal Roof Jacks Flashing for Houses Includ Roofing Screws & Hex, Black/ 1 Pcs
Suitable for Corrugated Roofs – The flexible roofing boots square base can perfectly fit various roofs and adapt…
As an affiliate, we earn on qualifying purchases.
As an affiliate, we earn on qualifying purchases.
Choosing the Right Flashing Material
I need to research different options because I’m not sure which flashing material would be the best choice for my tin roof.
When it comes to flashing materials, there are several different types to consider. One of the main advantages of using metal flashing is its durability. Metal flashing, such as aluminum or copper, can withstand harsh weather conditions and provide long-lasting protection for your roof. Additionally, metal flashing is resistant to fire, which is crucial when dealing with a wood stove pipe.
Other types of flashing materials include rubber and plastic, which may be more affordable but lack the same level of durability and fire resistance as metal flashing.
It’s important to carefully weigh the advantages and disadvantages of each type before making a decision.

GOORY Copper Flashing 28 Gauge – 6in x 20ft 0.013"(0.32mm) Thickness Roof Flashing Roll – 99.95+% Pure Copper Sheet Metal ASTM B152 – Roofing Repair DIY Project Contractor Jewelry Crafts
【Package】: 1 Pcs 6in x 20ft, 28 Gauge(0.01"/0.32mm) thickness copper sheet roll is well-wrapped and packed within a…
As an affiliate, we earn on qualifying purchases.
As an affiliate, we earn on qualifying purchases.
Preparing the Tin Roof for Installation
Before installing the tin roof, it’s crucial to properly prepare it by cleaning and removing any debris. This ensures a smooth and secure installation process. Here are some important steps to follow when preparing the tin roof for installation:

Clear the roof: Remove any leaves, sticks, or other debris from the roof surface. This will prevent interference with the flashing installation and ensure a clean and stable base.
Inspect the roof: Check for any damaged or loose sections of the roof. Repair or replace them before proceeding with the installation to avoid future leaks or issues.
Clean the roof: Use a mild detergent and water solution to clean the roof surface. This will remove any dirt or grime that could affect the adhesion of the flashing material.
Dry the roof: Allow the roof to thoroughly dry before starting the installation. Moisture can compromise the effectiveness of the flashing and lead to potential leaks.
By following these steps, you can avoid common mistakes in flashing installation and ensure a successful and durable tin roof installation.
Now, let’s transition to the next section about measuring and cutting the wood stove pipe.

Tent Stove Jack Kit,Flexible Silicone Chimney Pipe Boot for Roof,Heat Resistant Flue Flashing for Wood Burning Stove,Bell Tent,Yurt,Ice Fishing Shelter – Fits Stove Pipe OD 1 3/4" to 3 1/4"
【Maximum Heat Resistance】Crafted from industrial-grade high-temp silicone with stainless steel reinforcement, our stove jack creates a critical barrier…
As an affiliate, we earn on qualifying purchases.
As an affiliate, we earn on qualifying purchases.
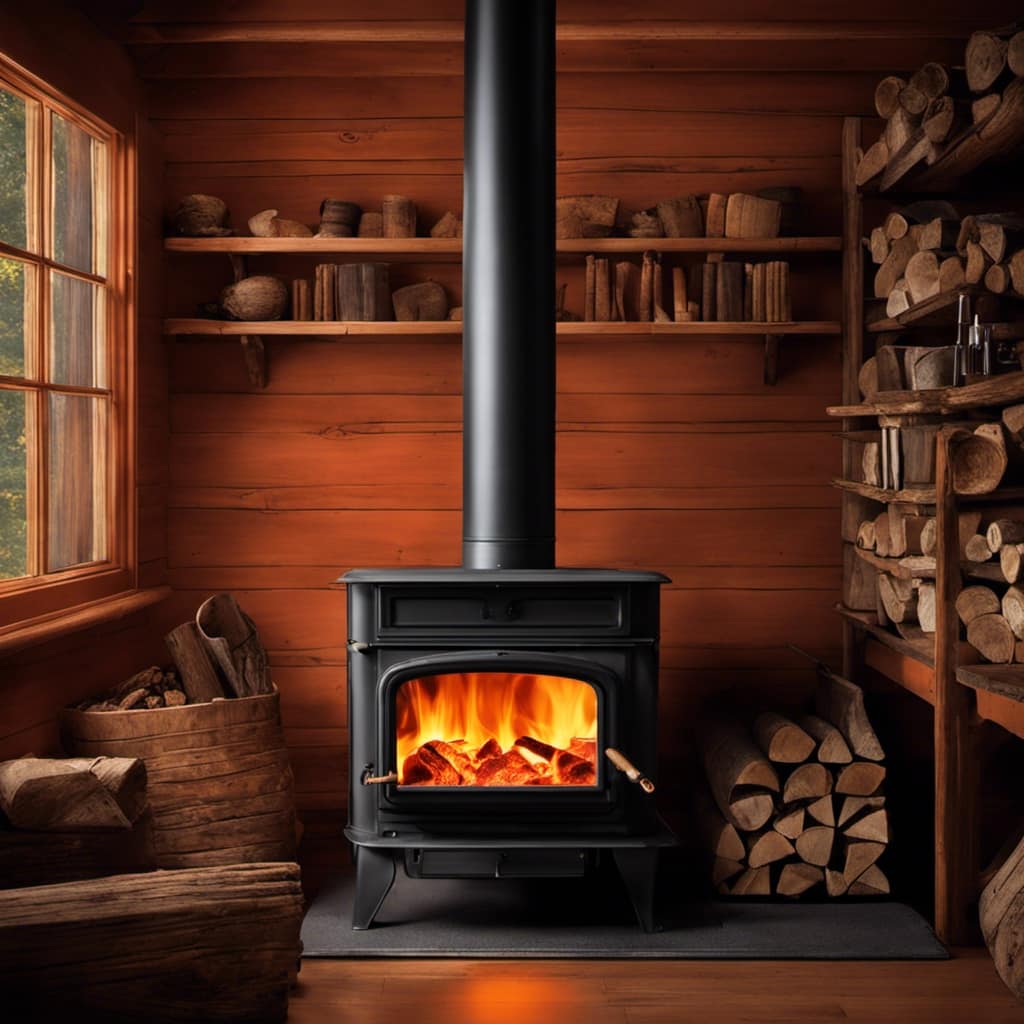
Measuring and Cutting the Wood Stove Pipe
To ensure proper fit and alignment, I measured and cut the wood stove pipe using a tape measure and a hacksaw. Measuring accuracy is crucial when working with wood stove pipes to ensure a tight and secure fit. I used a tape measure to accurately measure the length of the pipe needed. Cutting techniques are also important to achieve clean and precise cuts. I used a hacksaw to carefully cut the pipe to the measured length. Accuracy and precision are key in this process to avoid any gaps or leaks in the stove pipe system.
To further illustrate the importance of measuring accuracy and cutting techniques, here is a table showcasing the potential issues that can arise from inaccurate measurements and improper cutting:
| Issue | Cause | Solution |
|---|---|---|
| Pipe too long | Incorrect measurement | Re-measure and recut |
| Pipe too short | Incorrect measurement | Re-measure and recut |
| Uneven cut | Improper cutting technique | Recut using proper technique |

#3 Metal Roof Vents Flashing, Roofing Boots Kit for Houses Fits Pipe Od 1/4" to 5-3/4", Epdm Flexible Roof Jacks for Roofing, Roofing Screws & Hex Socket and Scissors Included – 4 Pcs
Suitable for Corrugated Roofs – The flexible roofing boots square base can perfectly fit various roofs and adapt…
As an affiliate, we earn on qualifying purchases.
As an affiliate, we earn on qualifying purchases.
Installing the Flashing Around the Pipe
When installing the pipe collar and flashing around the pipe, there are several steps to take to ensure a secure and watertight connection:
Position the flashing: Place the flashing around the pipe, ensuring it’s centered and properly aligned with the roof.
Secure the flashing: Use roofing nails or screws to secure the flashing to the roof. Make sure to follow the manufacturer’s instructions for the specific type of flashing you’re using.
Apply sealant: Apply a high-quality sealant around the base of the pipe collar, creating a watertight seal. This will help prevent any water from entering the roof through the pipe.
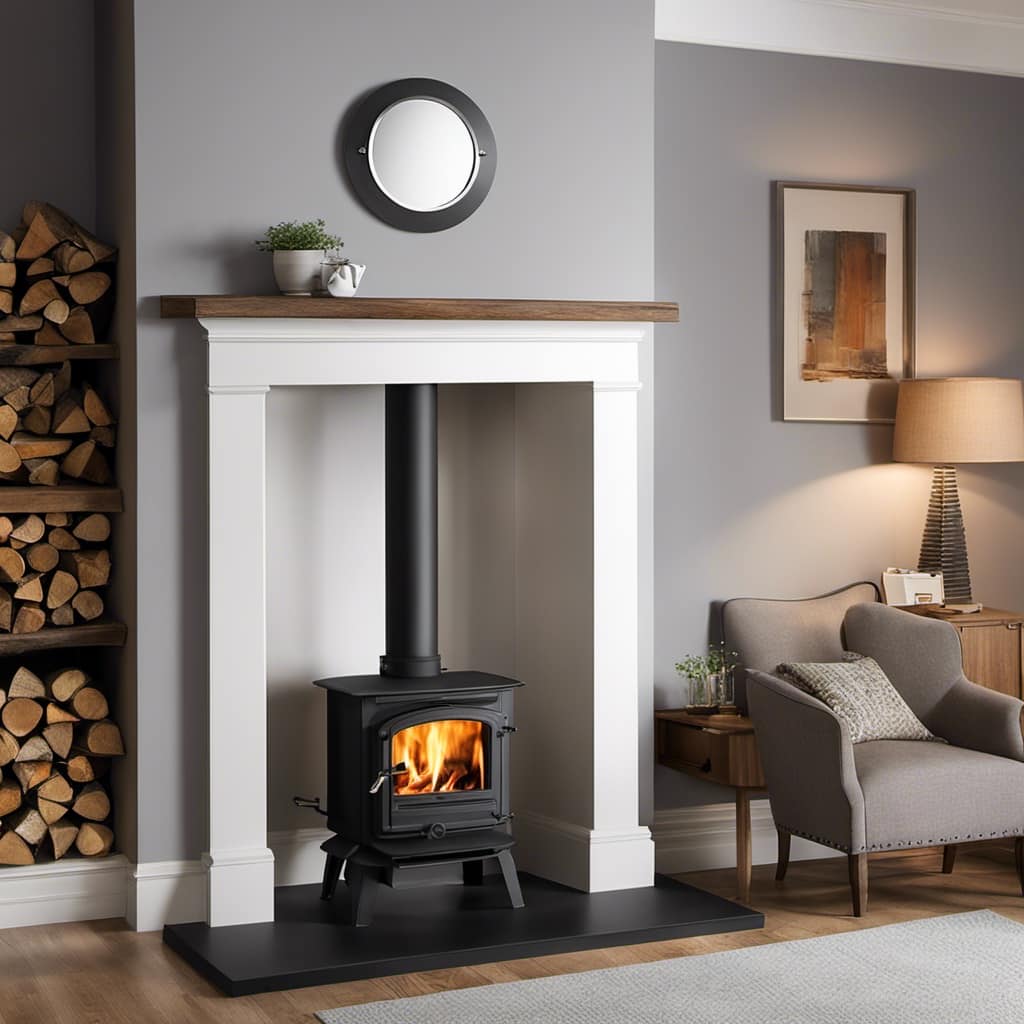
Ensure proper ventilation: Check that the pipe collar has proper ventilation to allow for airflow. This is crucial for the proper functioning of the pipe and to prevent any buildup of gases or smoke.
Following these steps will help you achieve a secure and watertight connection when installing the flashing around the pipe collar, while also ensuring proper ventilation.
Securing and Sealing the Flashing for a Watertight Fit
I’ll make sure to use roofing nails or screws to secure the flashing, creating a watertight fit. When it comes to flashing installation techniques, securing and sealing the flashing is crucial to prevent any water leaks and potential damage to the roof.
To start, I’ll position the flashing over the wood stove pipe, ensuring that it overlaps the roof surface properly.
Next, I’ll carefully fasten the flashing to the roof using roofing nails or screws, making sure to drive them through the designated holes in the flashing. It’s important to avoid over-tightening the fasteners to prevent damaging the flashing or the roof.
Can the Method for Flashing a Wood Stove Pipe on a Tin Roof Be Adapted for Electric Stove Use During Power Outages?
Yes, the method for flashing a wood stove pipe on a tin roof can be adapted for warming up a house with an electric wood stove during power outages. The key is to ensure the proper insulation and sealing to prevent any potential hazards or damage to the roof.
Conclusion
In conclusion, choosing the right flashing material and properly preparing the tin roof are crucial steps in ensuring the successful installation of a wood stove pipe.
Measuring and cutting the pipe accurately, followed by installing and securing the flashing, will result in a watertight fit.
Just like a well-constructed puzzle, each step in this process must be carefully executed to achieve a seamless and efficient wood stove pipe installation on a tin roof.