You might think that swapping out the tape gasket on your smoker’s wood stove seems like a major hassle. However, don’t worry, because I’m going to demonstrate how simple it is to not only replace the gasket but also ensure it works well for a long time.
In this article, I’ll guide you through the step-by-step process of assessing the damage, preparing the smoker, and installing the new wood stove tape gasket.
Get ready to enjoy a perfectly sealed smoker once again!
Key Takeaways
- Clean the smoker and inspect the surface before replacing the wood stove tape gasket.
- Measure and cut the gasket to fit the smoker’s door or lid, and apply a thin, even layer of high-temperature adhesive to secure it in place.
- Use the right tape size and apply even pressure along the entire length of the tape for a uniform seal.
- Allow the tape to cure for the recommended time before using the wood stove to ensure a tight seal and prevent air leaks.

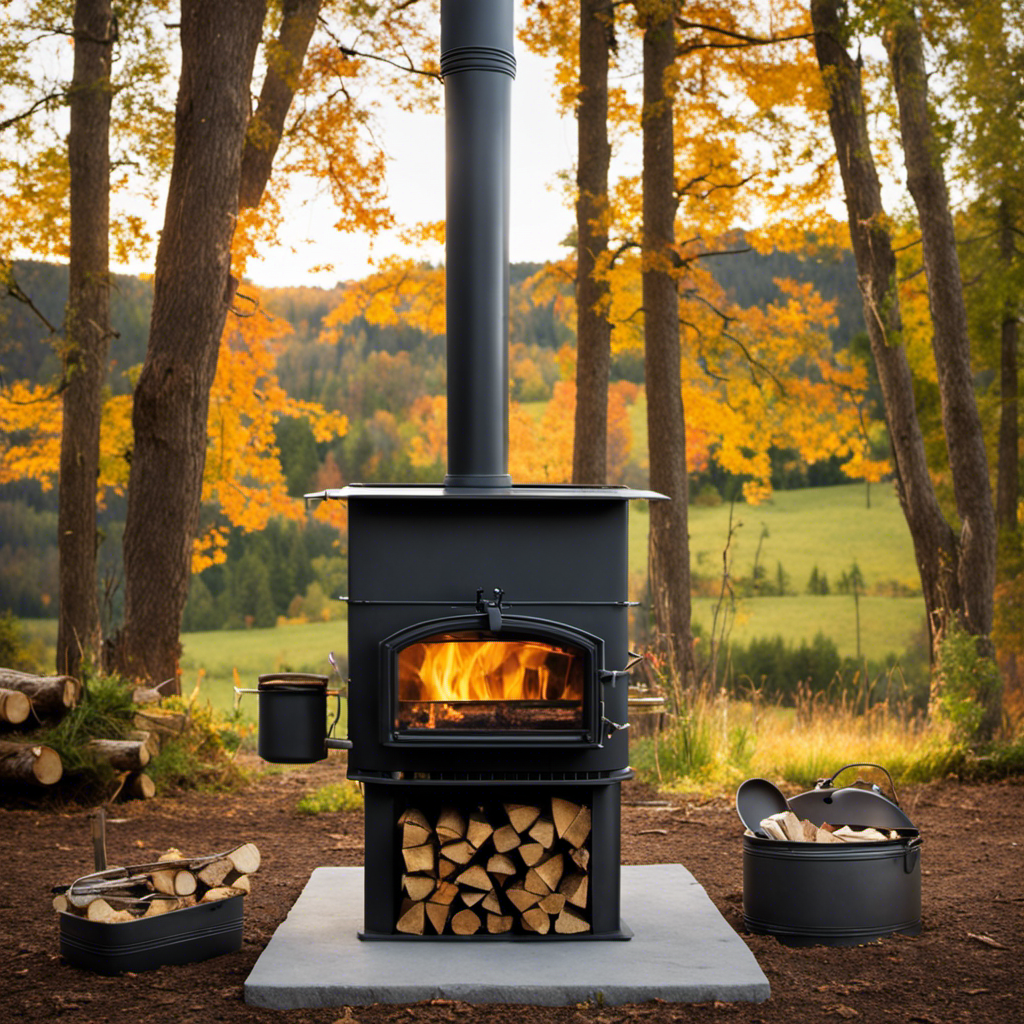
Single Burn Rate Stove
Heats up to 900 sq. ft.
As an affiliate, we earn on qualifying purchases.
Understanding the Wood Stove Tape Gasket
I’m really struggling with understanding how the wood stove tape gasket works. However, I’ve done some research and learned some valuable information about it.
The wood stove tape gasket is a heat-resistant material that’s used to seal the joints of a wood stove. It provides several benefits, such as preventing smoke and gases from escaping, improving efficiency, and reducing fuel consumption. Additionally, it helps to maintain a consistent temperature inside the stove, which is crucial for efficient burning.
However, there are some common issues with wood stove tape gaskets. Over time, they may deteriorate or become damaged, resulting in leaks and decreased performance. It’s important to regularly inspect and replace the gasket to ensure proper functioning of your wood stove.

Guide Gear Outdoor Wood Burning Stove; Portable with Chimney Pipe for Cooking and Camping
OUTDOOR WOOD STOVE – We designed our camp stove for use outside. Perfect for use during camping trips...
As an affiliate, we earn on qualifying purchases.
Assessing the Damage on the Gasket
There are several signs of damage on the gasket, such as cracks or fraying, and it’s important to address these issues promptly. Evaluating the damage on the gasket is crucial for troubleshooting issues and ensuring the proper functioning of your wood stove.
Here are some key steps to follow when assessing the damage:
- Inspect the gasket thoroughly, looking for any visible cracks, tears, or fraying.
- Check for any signs of wear and tear, such as flattened or compressed areas.
- Pay attention to any gaps or leaks that may be present when the stove is in use.
- Take note of any changes in the stove’s performance, such as reduced heat output or difficulty maintaining a consistent temperature.

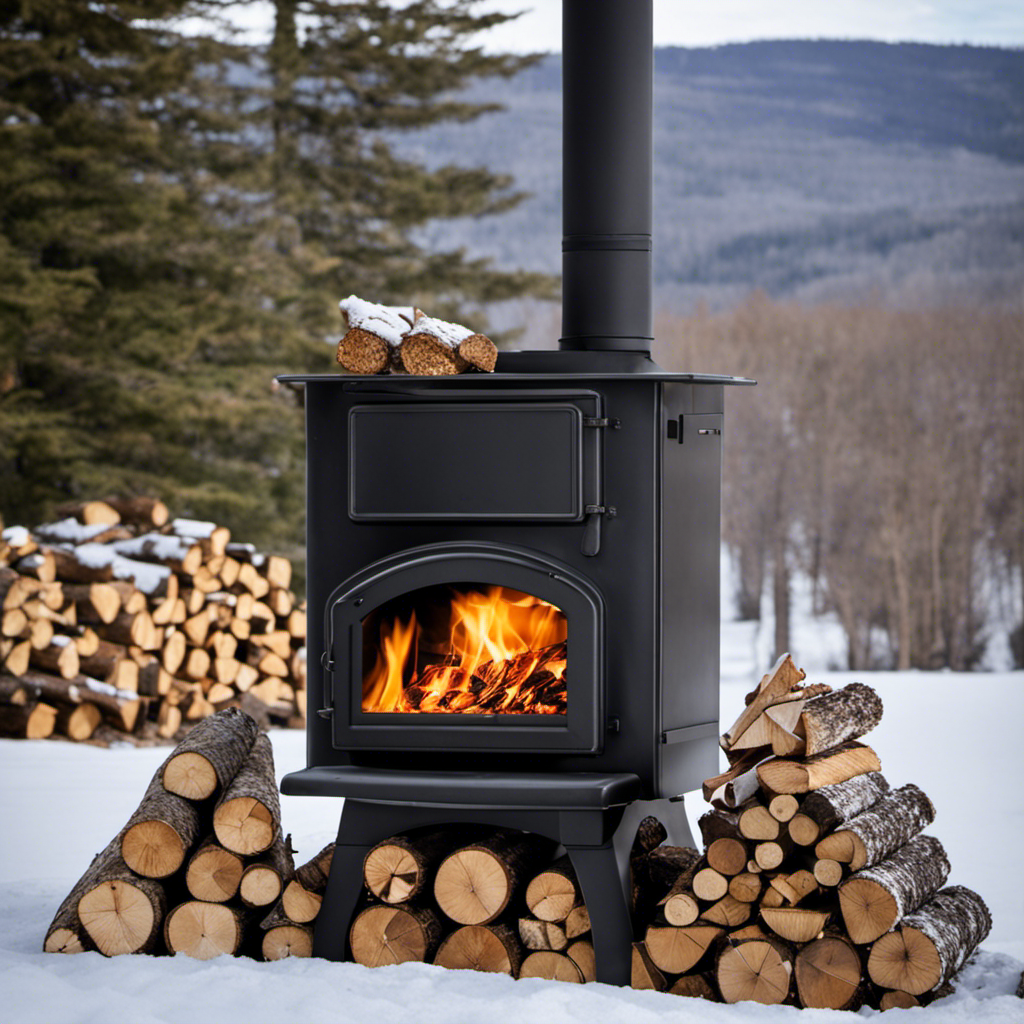
YRenZ Upgraded Portable Wood Stove for Camping, Compact Tent Stove with Large Firebox, High Airtightness for Outdoor Cooking & Heating
【Upgraded Tent Camping Wood Stove】: Compact yet powerful wood stove for tents and outdoor use, with high airtightness,...
As an affiliate, we earn on qualifying purchases.
Preparing the Smoker for Gasket Replacement
First, gather all the necessary tools and materials, and then remove the old gasket carefully.
Preparing the smoker for gasket replacement is an essential step to ensure optimal performance and prevent any leaks or loss of heat. Here is a detailed guide on how to prepare your smoker for a gasket replacement:
-
Clean the smoker: Before starting the replacement process, thoroughly clean the smoker to remove any grease, debris, or residue. This will provide a clean surface for the new gasket to adhere to.
-
Inspect the surface: Check the surface where the gasket will be installed for any signs of damage or wear. Smooth out any rough spots or remove any old adhesive residue.
-
Measure and cut the gasket: Take precise measurements of the smoker’s door or lid and cut the gasket accordingly. Ensure the gasket is long enough to cover the entire seal area.
-
Apply adhesive: Apply a thin, even layer of high-temperature adhesive to one side of the gasket. Let it sit for a few minutes to become tacky.
-
Install the gasket: Carefully place the adhesive side of the gasket onto the cleaned surface, ensuring proper alignment. Press firmly along the entire length to secure it in place.
GVUHR Portable Wood Burning Stove - Lightweight Cast Iron Camp Stove for Backpacking,A Small Size 8.9in * 8.9in * 8.7in Backpacking Camping Stove Kit (Black, Small)
【Outdoor Portability】 Our picnic stove can be easily disassembled and placed in a matching backpack (easy to disassemble),...
As an affiliate, we earn on qualifying purchases.
Installing the New Wood Stove Tape Gasket
To properly install the new wood stove tape gasket, carefully align it with the cleaned surface and firmly press it in place. This ensures a tight seal and prevents air leaks.
Here are some important points to consider for proper tape application:
-
Clean the surface thoroughly: Remove any dirt, grease, or old adhesive residue from the surface before applying the tape. This will ensure better adhesion and longevity of the gasket.
-
Use the right tape size: Choose a tape that matches the size of your stove door or flue opening. Using an undersized or oversized tape can lead to improper sealing.
-
Apply even pressure: When pressing the tape in place, make sure to apply even pressure along the entire length. This helps in achieving a uniform seal and prevents gaps.
-
Allow curing time: After installation, allow the tape to cure for the recommended time before using the wood stove. This allows the adhesive to fully bond and ensures optimal performance.
Curing and Maintaining the Gasket for Longevity
I’m going to show you how to properly cure and maintain the gasket for maximum longevity in your wood stove. Maintaining gasket effectiveness and preventing gasket deterioration are crucial for the optimal performance of your stove. Here is a simple guide to help you achieve that:
| Step | Procedure |
|---|---|
| 1 | Ensure the gasket is clean and free from any debris or residue. |
| 2 | Apply a high-temperature adhesive to the gasket, making sure to cover the entire surface. |
| 3 | Gently press the gasket onto the stove door, ensuring it is evenly distributed. |
| 4 | Allow the adhesive to cure for the recommended time, as specified by the manufacturer. |
Frequently Asked Questions
What Are the Common Signs of a Damaged Wood Stove Tape Gasket?
Common signs of a damaged wood stove tape gasket include visible wear and tear, fraying, and gaps between the gasket and the stove. Proper gasket maintenance is crucial to prevent damage, which can be caused by high temperatures and improper installation.
Can I Use Any Type of Adhesive to Install the New Wood Stove Tape Gasket?
Yes, you can use hot glue for wood stove tape gasket installation. It provides a strong and secure bond. Before installing, make sure to clean the surface thoroughly to ensure proper adhesion.
How Often Should I Check and Replace the Wood Stove Tape Gasket?
I check and replace the wood stove tape gasket regularly to ensure optimal performance. Cleaning and maintaining it is crucial for extending its lifespan. Regular inspections and proper maintenance are key.
Is It Necessary to Remove the Old Adhesive Before Installing the New Gasket?
Before installing a new gasket on my wood stove, I wondered if I should clean the surface and reuse the old adhesive. It’s essential to clean the surface for proper adhesion, but using the old adhesive is not recommended for optimal performance.
Can I Cure the Wood Stove Tape Gasket Using a Different Method Than the One Mentioned in the Article?
I can try different curing methods for the wood stove tape gasket, but it’s important to consider the pros and cons of different gasket materials. I’ll explore alternative options to find the best solution.
Conclusion
In conclusion, properly curing and maintaining the wood stove tape gasket on your smoker is crucial for its longevity and efficient performance.
Just like nourishing a delicate seedling in a garden, taking care of this gasket ensures a tight seal and prevents heat loss, resulting in a more flavorful and evenly smoked food.
By following the steps outlined in this article, you can enjoy many years of hassle-free smoking sessions with your well-maintained wood stove tape gasket.