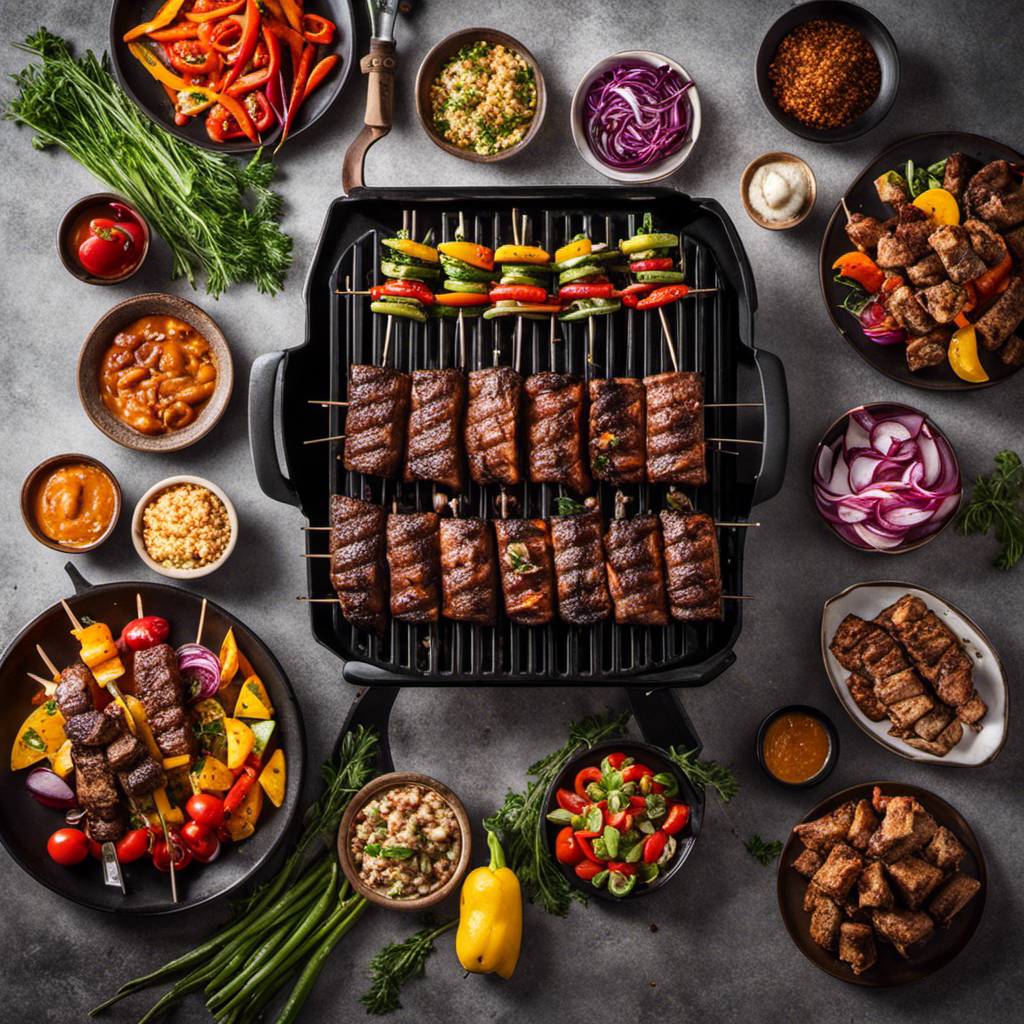
I’m excited to share a secret with you – cooking kabobs on a wood pellet grill will revolutionize your barbecuing journey. The rich, smoky taste that infuses every succulent meat piece and colorful vegetable is incredibly appealing.
In this article, I’ll guide you through the precise steps and expert tips to achieve kabob perfection on your wood pellet grill. From selecting the right grill to mastering the cooking time, get ready to elevate your grilling skills and delight your taste buds.
Let’s dive in and unlock the mouthwatering world of wood pellet grilled kabobs.
Key Takeaways
- Wood pellet grills offer consistent heat and temperature control
- Marinating infuses flavors and tenderizes the meat
- Alternate ingredients and leave space between them for even cooking
- Preheat the grill to the recommended temperature and grill kabobs over direct heat for juicy and tender texture
Choosing the Right Wood Pellet Grill for Kabob Cooking
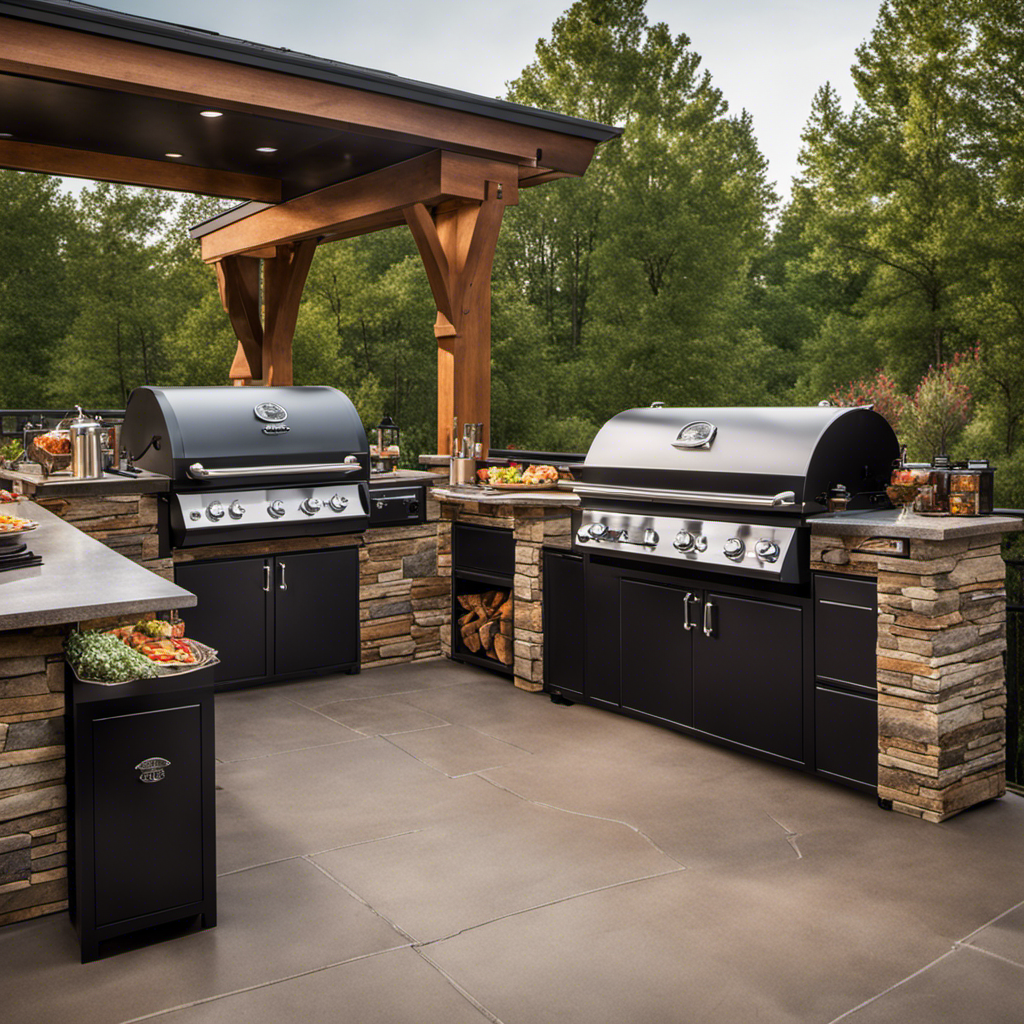
Before you start cooking kabobs on a wood pellet grill, it’s important to choose the right grill for the job. When it comes to grilling kabobs, I highly recommend using a wood pellet grill over a charcoal grill.
Wood pellet grills offer consistent heat and temperature control, ensuring perfectly cooked kabobs every time. Plus, the natural smoky flavor from the wood pellets adds a delicious element to your kabobs.
When grilling seafood on a wood pellet grill, there are a few tips to keep in mind. First, make sure your grill is preheated to the desired temperature. Next, lightly oil the grill grates to prevent sticking. For delicate seafood like shrimp or scallops, I suggest using skewers or a grill basket to keep them from falling through the grates. Lastly, be mindful of the cooking time as seafood tends to cook quickly.
Now that you have chosen the right grill, let’s move on to preparing and marinating the kabob ingredients.
Preparing and Marinating the Kabob Ingredients
When you’re getting ready to grill, make sure to properly prepare and marinate all of your kabob ingredients.
Marinating is essential to infuse flavors and tenderize the meat, ensuring a delicious and juicy end result.
Start by choosing your preferred marinating technique. Whether you opt for a quick marinade or a longer overnight soak, the key is to combine a balanced blend of ingredients like oil, acid (such as lemon juice or vinegar), herbs, spices, and seasonings.
Experiment with different flavors and marinade recipes to discover your favorite combinations.
Don’t limit yourself to traditional kabob ingredients like chicken, beef, or shrimp. Get creative and try alternative options like tofu, vegetables, or even fruit for a unique twist.
Once your ingredients are marinated to perfection, it’s time to move on to the next step: skewering and arranging the kabobs on the grill.
Skewering and Arranging the Kabobs on the Grill
Once you’ve marinated the ingredients, it’s time to start skewering and arranging them on the grill. This step is crucial in ensuring that your kabobs cook evenly and are visually appealing. Here are some grilling tips for the perfect skewer arrangement:
-
Alternate ingredients: Thread your vegetables and meats onto the skewers in an alternating pattern. This helps to distribute heat evenly and ensures that each bite is a flavorful combination.
-
Leave space: Be sure to leave a small gap between each ingredient on the skewer. This allows the heat to circulate and cook everything thoroughly.
-
Keep it tight: Pack your ingredients tightly together on the skewer to prevent them from sliding or falling off during grilling.
-
Similar sizes: Cut your ingredients into similar-sized pieces to ensure they cook at the same rate. This way, you won’t end up with overcooked or undercooked elements.
-
Soak wooden skewers: If using wooden skewers, soak them in water for at least 30 minutes before skewering. This prevents them from burning on the grill.
Now that your kabobs are perfectly arranged, let’s move on to setting the temperature and cooking time for a delicious meal.
Setting the Temperature and Cooking Time for Perfect Kabobs
When it comes to cooking kabobs, achieving the perfect temperature is crucial for optimal results. The ideal temperature for kabobs is around 400-450 degrees Fahrenheit, which ensures a nice sear on the outside while keeping the inside juicy and tender.
As for cooking time guidelines, it typically takes about 10-15 minutes to cook kabobs, turning them every few minutes to ensure even cooking on all sides.
Optimal Temperature for Kabobs
To achieve the best results, it’s important to maintain an optimal temperature for your kabobs while cooking them on a wood pellet grill. Here are four grilling techniques to ensure your kabobs are cooked to perfection:
-
Preheat your wood pellet grill to a medium-high heat, around 400°F (204°C). This will give your kabobs a nice sear and lock in the juices.
-
Use indirect heat by placing the kabobs on the grill grates away from the direct flames. This will allow for even cooking and prevent any flare-ups.
-
Rotate the kabobs every few minutes to ensure all sides are cooked evenly. This will result in a delicious char and beautiful grill marks.
-
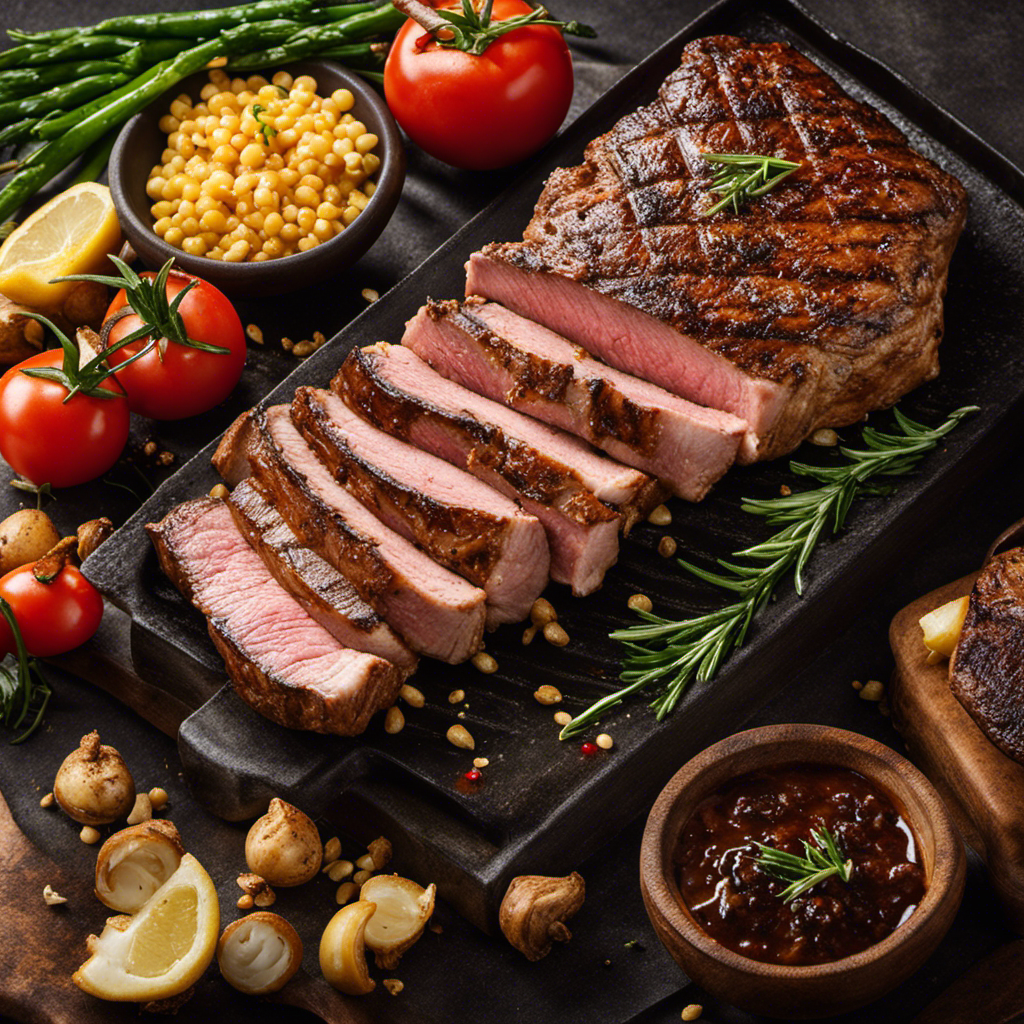
Use a meat thermometer to check the internal temperature of the kabobs. For chicken, aim for 165°F (74°C), for beef and lamb, aim for 145°F (63°C) for medium-rare.
Cooking Time Guidelines
Now that we know the optimal temperature for cooking kabobs on a wood pellet grill, let’s talk about cooking time guidelines.
Cooking kabobs over direct heat requires careful timing to ensure that the meat and vegetables are cooked to perfection. Generally, kabobs with vegetables cook faster than those without.
For example, chicken kabobs with vegetables usually take about 10-15 minutes to cook, while beef kabobs without vegetables may take around 15-20 minutes.
It’s important to rotate the kabobs every few minutes to ensure even cooking and prevent them from burning. Keep an eye on the meat’s internal temperature as well, making sure it reaches the desired doneness.
We want juicy kabobs, so let’s move on to the next section and learn some tips for achieving that succulent result.
Achieving Juicy Kabobs
Achieving juicy kabobs is all about marinating the meat beforehand to enhance its flavor and tenderness. When it comes to marinade options, there are countless possibilities to explore.
Some popular choices include a classic combination of olive oil, garlic, and lemon juice for a tangy flavor profile. For those who enjoy a bit of heat, a spicy marinade with chili powder, cayenne pepper, and paprika can add a fiery kick to your kabobs. Experiment with different herbs and spices like rosemary, thyme, and cumin to create unique flavor combinations.
When it comes to grilling techniques, it’s important to preheat your wood pellet grill to the recommended temperature and grill the kabobs over direct heat for even cooking. This ensures that the meat is cooked to perfection, with a juicy and tender texture.
Now, let’s move on to flipping and basting the kabobs for even cooking without interrupting the flow of your cooking process.
Flipping and Basting the Kabobs for Even Cooking
When it comes to achieving juicy kabobs on the grill, basting techniques play a crucial role. By brushing the kabobs with a flavorful marinade or sauce throughout the cooking process, you ensure that the meat remains moist and tender.
As for flipping frequency, it’s important to find the right balance between achieving even browning and preventing the kabobs from sticking to the grill grates.
Lastly, the grill temperature is a key factor in determining the overall success of your kabobs. Maintaining a consistent heat level allows for proper cooking and prevents the meat from becoming dry or undercooked.
Basting Techniques for Juicier Kabobs
To make your kabobs juicier, try basting them with a flavorful marinade every few minutes while they cook on the wood pellet grill. Basting is a technique that involves brushing the kabobs with a liquid mixture to enhance their flavor and keep them moist.
The marinade flavors can vary depending on your preference, from tangy and sweet to spicy and savory. Some popular options include teriyaki, barbecue, honey mustard, and garlic herb. When basting, make sure to use a silicone brush or a basting mop to evenly distribute the marinade over the kabobs. This will help to infuse the flavors into the meat and vegetables.
Now, let’s move on to flipping frequency for even browning without overusing the word ‘step’.
Flipping Frequency for Even Browning
Now that we’ve discussed basting techniques for juicier kabobs, let’s move on to the next step in cooking kabobs on a wood pellet grill: flipping frequency for even browning. Flipping your kabobs at the right time is crucial to ensure that each side gets evenly cooked and develops a beautiful caramelized crust.
To help you understand the flipping process better, here’s a table that outlines different flipping techniques and their effects on moisture retention during cooking:
| Flipping Technique | Effects on Moisture Retention |
|---|---|
| Frequently | Retains more moisture |
| Infrequently | Results in drier kabobs |
| Once halfway through | Balanced moisture retention |
By flipping your kabobs frequently, you will help to seal in the juices and keep them moist throughout the cooking process. On the other hand, flipping infrequently can result in drier kabobs. Alternatively, flipping once halfway through cooking can strike a balance between moisture retention and browning.
Now that we’ve covered flipping techniques, let’s move on to the importance of grill temperature in achieving perfectly cooked kabobs.
Importance of Grill Temperature
Make sure you adjust the temperature of your grill to achieve the perfect level of doneness for your kabobs. Grill temperature control is crucial for maintaining consistent heat and ensuring that your kabobs cook evenly.
Here are some tips to help you master the art of grill temperature control:
-
Preheat your grill: Before placing your kabobs on the grill, make sure to preheat it to the desired temperature. This will ensure that the grill grates are hot enough to sear the meat and vegetables.
-
Use a thermometer: Invest in a good quality meat thermometer to accurately monitor the internal temperature of your kabobs. This will help you determine when they are cooked to perfection.
-
Adjust the vents: Most grills have adjustable vents that allow you to control the airflow and temperature. Open the vents to increase the heat and close them to decrease the temperature.
Maintaining the right grill temperature is essential for achieving delicious and succulent kabobs. Once your kabobs are cooked to perfection, it’s time to move on to the next step – serving and enjoying your wood pellet grilled kabobs.
Serving and Enjoying Delicious Wood Pellet Grilled Kabobs
After grilling the kabobs on a wood pellet grill, it’s time to savor the delicious flavors and enjoy them with your family and friends.
When it comes to serving techniques, presentation is key. Start by arranging the kabobs on a large platter, making sure to space them out evenly. This not only looks visually appealing but also allows guests to easily pick and choose their favorite skewers.
Garnish the platter with fresh herbs, such as parsley or cilantro, to add a pop of color and freshness.
To enhance the overall experience, serve the kabobs with a variety of dipping sauces, such as tzatziki, chimichurri, or spicy peanut sauce. This allows everyone to personalize their kabobs and experiment with different flavors.
Frequently Asked Questions
Can I Use Metal Skewers Instead of Wooden Ones?
Yes, you can use metal skewers instead of wooden ones. Metal skewers have the benefit of being reusable and durable. To prevent kabobs from sticking to metal skewers, you can brush them with oil before grilling.
How Long Should I Marinate the Kabob Ingredients?
I typically marinate kabob ingredients for at least 2 hours to ensure maximum flavor infusion. However, if you’re short on time, you can use an alternative marinade option like a vinegar-based dressing for a quick burst of flavor.
Can I Use Frozen Vegetables for Kabob Cooking?
Using frozen vegetables for kabob cooking has its pros and cons. While it’s convenient, they may not char as nicely as fresh ones. Thawing them first can help with even cooking. Bamboo or stainless steel skewers are great alternatives.
What Kind of Wood Pellets Should I Use for Kabobs?
As an experienced griller, I’d recommend using apple or cherry wood pellets for kabobs. Apple adds a subtle sweet flavor, while cherry brings a hint of smokiness. Remember to soak the skewers before grilling and rotate the kabobs for even cooking.
Can I Cook Kabobs Using Indirect Heat on a Wood Pellet Grill?
Yes, you can cook kabobs using indirect heat on a wood pellet grill. It’s a great alternative to a gas grill because it imparts a smoky flavor. Experiment with different marinades for delicious results.
Does Cleaning a Wood Pellet Grill Affect the Taste of Kabobs Cooked on It?
Yes, cleaning a wood pellet grill can affect the taste of kabobs cooked on it. Residue buildup on the grates can impart off-flavors to the food. To ensure a clean wood pellet grill and delicious kabobs, regular maintenance and thorough cleaning are essential.
Conclusion
In conclusion, cooking kabobs on a wood pellet grill is the pinnacle of perfection. The smoky flavor infused into the succulent skewers is simply sensational.
With the right grill and marination, your kabobs will be a triumph. Skewering and arranging them with finesse ensures even cooking. And don’t forget to flip and baste for that extra touch of tenderness.
So gather your guests, savor the moment, and relish in the divine delight of wood pellet grilled kabobs. Bon appétit!

