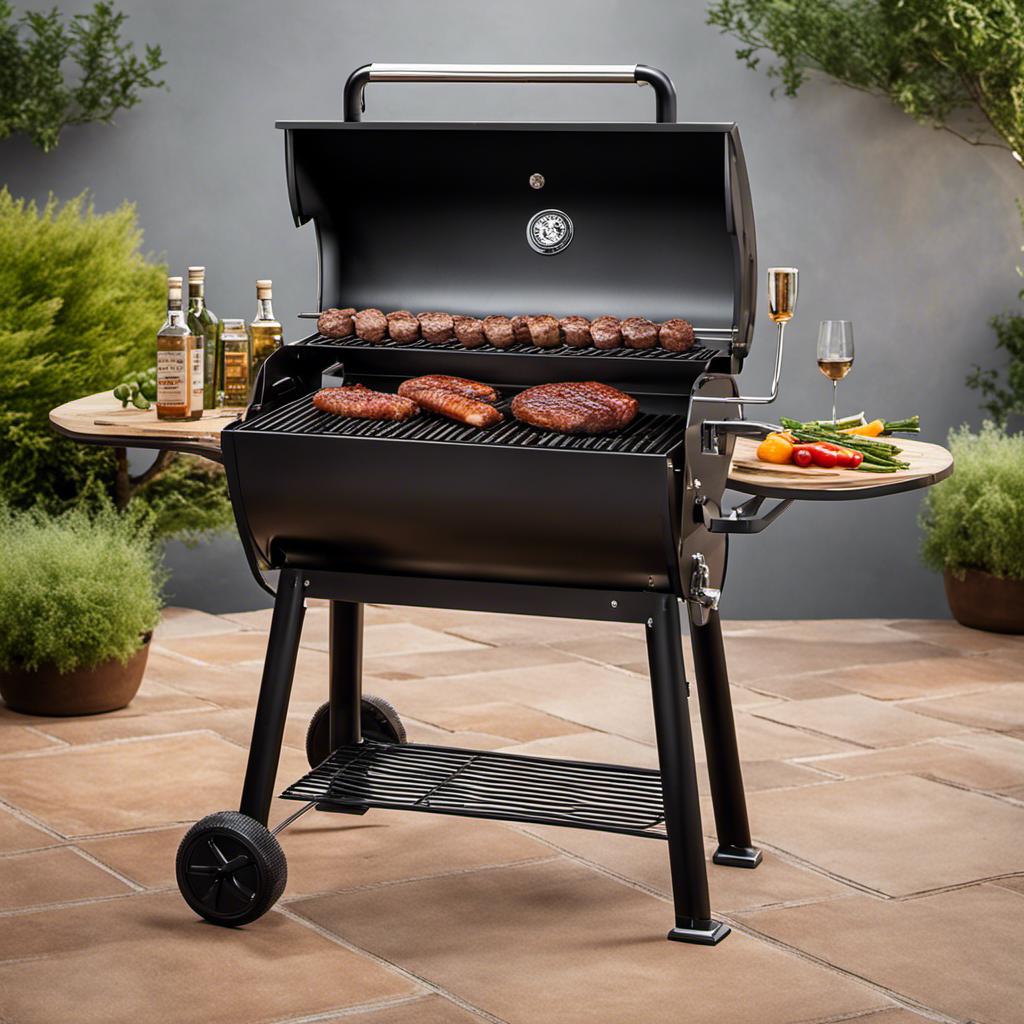
Positioned in front of my wood pellet grill, the alluring scent of smoky tastes permeates the atmosphere.
Today, I am going to share with you my tried and true method for cooking the perfect chicken breast on this amazing grill.
With a few simple steps and the right techniques, you’ll be able to achieve juicy, tender chicken that is bursting with flavor.
So, grab your apron and let’s get started on this mouthwatering culinary adventure.
Key Takeaways
- Choose boneless and skinless chicken breasts for even cooking and better flavor absorption.
- Preheat the wood pellet grill to a temperature of 375°F.
- Use a meat thermometer to accurately gauge the internal temperature of the chicken.
- Flip the chicken halfway through the cooking process using sturdy tongs for even browning on both sides.

LESYAO 2-Pack Meat Thermometer Replacement for Pit Boss Pellet Grills and Smokers, 3.5 mm Plug Waterproof Probes with 2 Pack Probe Grommets
COMPATIBILITY: Meat probe is only compatible with Pit Boss wood pellet grills and smokers. NOTE: The Pit Boss…
As an affiliate, we earn on qualifying purchases.
As an affiliate, we earn on qualifying purchases.
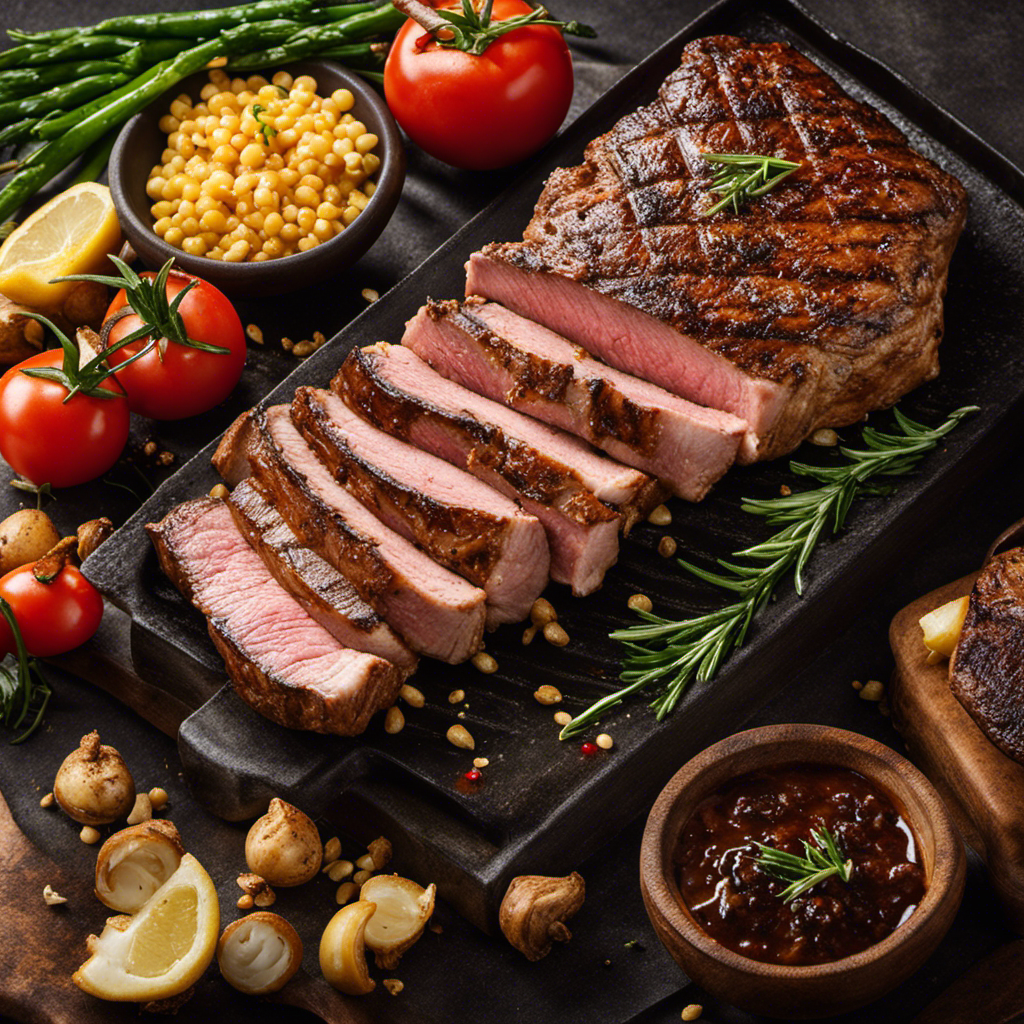
Selecting the Right Chicken Breast
When selecting the right chicken breast, it’s important to choose ones that are boneless and skinless. This ensures that the chicken cooks evenly and allows for better absorption of flavors during the cooking process.
Before cooking, I highly recommend brining the chicken breast. Brining involves soaking the chicken in a saltwater solution, which not only adds flavor but also helps to keep the meat moist and tender. The brining process can take anywhere from 30 minutes to overnight, depending on your preference.
As for cooking time suggestions, it’s best to grill the chicken breast for about 6-8 minutes per side, or until the internal temperature reaches 165°F.
Now that we have selected the perfect chicken breast, let’s move on to preparing the marinade for an extra burst of flavor.
boneless skinless chicken breasts
As an affiliate, we earn on qualifying purchases.
As an affiliate, we earn on qualifying purchases.
Preparing the Marinade
First, mix all the ingredients together in a bowl to create a flavorful marinade for your deliciously grilled chicken. The marinade is a key component in infusing the chicken breast with incredible taste and tenderness. For the marinade, you’ll need a combination of ingredients such as olive oil, lemon juice, garlic, herbs, and spices. Feel free to experiment with different flavors and seasonings to suit your preferences.
Once the marinade is mixed, place the chicken breast in a zip-top bag or a shallow dish and pour the marinade over it, ensuring that each piece is well coated. Allow the chicken to marinate in the refrigerator for at least 30 minutes or up to 24 hours for maximum flavor penetration.
Now, let’s move on to seasoning the chicken breast to enhance its taste even further.
marinade injector for chicken
As an affiliate, we earn on qualifying purchases.
As an affiliate, we earn on qualifying purchases.
Seasoning the Chicken Breast
When it comes to seasoning chicken breast, there are a variety of options to choose from. Some of the best seasoning options include traditional favorites like salt, pepper, garlic powder, and paprika, as well as more unique blends such as lemon herb or Cajun seasoning.
In terms of techniques, you can either marinate the chicken breast or use a dry rub, each offering its own distinct flavors and benefits.
Let’s explore the best seasoning options, seasoning techniques, and the pros and cons of marinating versus using a dry rub for chicken breast.
Best Seasoning Options
For the best seasoning options, you can try using a combination of salt, pepper, garlic powder, and paprika on your chicken breast before grilling it on a wood pellet grill. This combination adds a perfect balance of flavors to enhance the taste of your chicken.
However, if you prefer a spicier kick, you can opt for a spicy rub option such as cayenne pepper or chili powder. On the other hand, if you enjoy a more herb-infused seasoning, you can try using a blend of dried herbs like thyme, rosemary, and oregano. These herbs will add a fresh and aromatic touch to your grilled chicken breast.
Experimenting with different seasoning options can help you discover your preferred flavor profile. Now, let’s dive into the various seasoning techniques to elevate your chicken breast even further.
Seasoning Techniques
To take your seasoning to the next level, try experimenting with different techniques like marinating, dry rubbing, or brining. Each method offers a unique way to infuse flavor into your chicken breast.
Here are four brining techniques that can enhance the taste of your grilled chicken:
-
Basic brine: Dissolve salt and sugar in water, then soak the chicken in the brine for a few hours. This helps to tenderize the meat and enhance the natural flavors.
-
Buttermilk brine: Combine buttermilk, salt, and spices to create a tangy and flavorful brine. This technique adds a rich and creamy taste to your chicken.
-
Citrus brine: Mix together citrus juices, salt, and herbs for a refreshing and zesty brine. The citrus acidity helps to tenderize the meat and brighten the flavors.
-
Beer brine: Use your favorite beer as the base for your brine, along with salt and spices. This method adds a unique depth of flavor and caramelization to the chicken.
By utilizing these brining techniques, you can achieve a delicious flavor infusion that will elevate your grilled chicken to new heights.
Now let’s explore the differences between marinating and dry rubbing.
Marinating Vs Dry Rub
When it comes to flavoring your chicken breast on a wood pellet grill, you have two great options: marinating and dry rubs. Both methods have their own advantages and can bring out different flavors in your chicken.
Marinating involves soaking the chicken in a mixture of liquids, such as vinegar, oil, or citrus juice, along with herbs, spices, and other seasonings. This process allows the flavors to penetrate deep into the meat, resulting in a moist and flavorful chicken breast. Marinating also helps to tenderize the meat, making it more juicy and succulent.
On the other hand, dry rubs consist of a mixture of herbs, spices, salt, and sugar, which is rubbed onto the chicken’s surface. This method forms a flavorful crust on the outside of the meat, creating a delicious contrast to the tender interior. Dry rubs are great for adding a smoky, spicy, or savory flavor to your chicken.
Now, let’s move on to preheating the wood pellet grill for the perfect cooking temperature.

Alpha Grillers Meat Thermometer Digital – Instant Read Food Thermometer for Cooking & Grilling – Professional Kitchen Gift for Men, Dad & Mom
Instant Read Food Thermometer | Our instant read thermometer features a temperature probe and advanced, highly accurate technology…
As an affiliate, we earn on qualifying purchases.
As an affiliate, we earn on qualifying purchases.
Preheating the Wood Pellet Grill
When it comes to preheating a wood pellet grill, there are a few key points to keep in mind.
First, it’s important to ensure that the grill reaches the proper temperature before adding any food. This typically means preheating to around 350°F to 450°F, depending on the desired cooking method.
Secondly, the preheating time will vary depending on the size and model of the grill, but a general rule of thumb is to allow at least 10-15 minutes for the grill to fully heat up.
Lastly, the duration of preheating will depend on the specific recipe or cooking instructions, but it’s generally recommended to preheat for a minimum of 10-15 minutes before adding any ingredients.
Proper Temperature for Preheating
The proper temperature for preheating a wood pellet grill is around 400 degrees Fahrenheit. Preheating your grill to the right temperature is crucial for achieving delicious and perfectly cooked chicken breasts. Here are four key reasons why preheating is important:
-
Even cooking: Preheating ensures that the grill grates are evenly heated, resulting in consistent cooking temperatures across the entire surface.
-
Sealing in juices: By preheating the grill, you create a hot cooking environment that sears the chicken breasts quickly, locking in their natural juices and flavors.
-
Enhanced flavor: The high temperature achieved during preheating adds a smoky flavor to the chicken, enhancing its taste and making it more appetizing.
-
Reduced cooking time: Preheating allows the chicken breasts to cook faster, saving you valuable time in the grilling process.
Now that we understand the benefits of preheating, let’s move on to discussing the ideal preheating time and duration for your wood pellet grill.
Preheating Time and Duration
Now that we’ve covered the benefits of preheating, let’s talk about how long it takes to preheat your grill and how long you should keep it at the desired temperature. Preheating your grill is essential for achieving the best results when cooking chicken breast. The time it takes to preheat your grill will vary depending on the type of grill you have and the desired temperature. As a general rule, it can take anywhere from 10 to 20 minutes for your grill to reach the desired temperature. Once your grill is preheated, you should keep it at the desired temperature for the duration of the cooking process. To give you an idea, here’s a table that shows the recommended preheating time and duration for different grill temperatures.
| Grill Temperature (°F) | Preheating Time (minutes) | Duration (minutes) |
|---|---|---|
| 350 | 10 | 20 |
| 400 | 15 | 25 |
| 450 | 20 | 30 |
This table should serve as a guideline, but it’s important to monitor the temperature with a thermometer to ensure accuracy. Once your grill is preheated and at the desired temperature, it’s time to place the chicken breast on the grill.
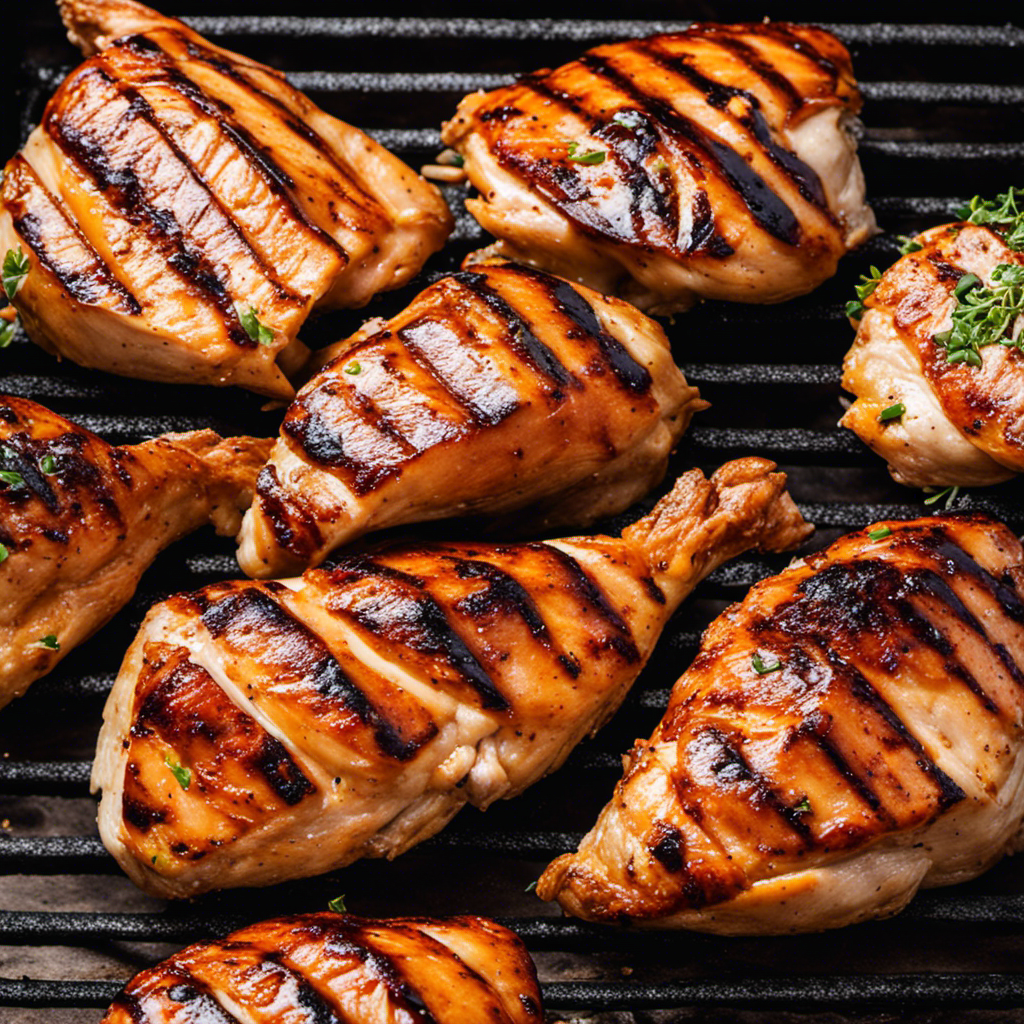
Placing the Chicken Breast on the Grill
To get started, you’ll want to place the chicken breast on the grill. Here’s how you can do it:
- Preheat the wood pellet grill to a temperature of 375°F.
- Season the chicken breast with your choice of spices and marinades.
- Carefully place the chicken breast directly on the grill grates, ensuring even spacing between each piece.
- Close the lid of the grill to create a convection effect and allow the chicken to cook evenly.
Cooking time for chicken breast on a wood pellet grill can vary depending on the thickness of the meat. As a general guideline, you can expect it to take around 20-25 minutes. However, it’s crucial to monitor the internal temperature of the chicken using a meat thermometer to ensure it reaches at least 165°F.
Now that the chicken breast is on the grill, let’s move on to the next step of monitoring and adjusting the temperature.
Monitoring and Adjusting the Temperature
Keep an eye on the temperature and make any necessary adjustments as you monitor the progress of your chicken breast on the grill. Adjusting the cooking time and ensuring the right temperature is crucial for perfectly cooked chicken. To assist you in this process, I recommend using a meat thermometer. This handy tool allows you to accurately gauge the internal temperature of the chicken, ensuring it reaches the safe temperature of 165°F (74°C) to avoid any risk of foodborne illness. Here’s a table to guide you:
| Desired Doneness | Internal Temperature |
|---|---|
| Juicy and Tender | 150-155°F (66-68°C) |
| Well-Done | 160-165°F (71-74°C) |
Flipping and Basting the Chicken
Make sure you flip the chicken and baste it with your desired marinade to enhance its flavor and juiciness. Here are some flipping techniques and basting tips that will help you achieve perfectly cooked chicken breast on a wood pellet grill:
-
Use a sturdy pair of tongs to carefully flip the chicken halfway through the cooking process. This ensures even browning on both sides.
-
Baste the chicken with your favorite marinade using a brush or spoon. This adds moisture and flavor to the meat, creating a delicious crust.
-
Consider marinating the chicken for a few hours before grilling. This allows the flavors to penetrate the meat and enhances its tenderness.
-
Don’t overflip or overbaste the chicken, as this can cause the marinade to drip into the grill and create flare-ups.
By following these flipping techniques and basting tips, you’ll be able to achieve mouthwatering chicken breast on your wood pellet grill.
Now, let’s move on to checking for doneness and resting the chicken to ensure it’s cooked to perfection.
Checking for Doneness and Resting the Chicken
Once the chicken reaches the recommended internal temperature, let it rest for a few minutes to allow the juices to redistribute throughout the meat.
This resting time is crucial for achieving a tender and juicy chicken breast.
To check for tenderness, gently press the chicken with your finger. It should feel firm yet springy to the touch.
If it feels too soft or mushy, it may need more time on the grill. However, be careful not to overcook it, as this can result in dry and tough meat.
Resting the chicken also gives it a chance to finish cooking while retaining its moisture.
During this time, the residual heat will continue to cook the chicken, resulting in a perfectly cooked and succulent piece of meat.
Frequently Asked Questions
How Long Should I Marinate the Chicken Breast Before Grilling?
I usually marinate chicken breast for about 2-4 hours before grilling. It helps to infuse flavor and keep the meat moist. Look for wood pellet grill brands with good temperature control for perfect results.
Can I Use a Gas or Charcoal Grill Instead of a Wood Pellet Grill?
Sure, you can use a gas or charcoal grill instead of a wood pellet grill. Gas grills offer convenience and control, while charcoal grills provide that smoky flavor. Each has its pros and cons, so choose what suits you best.
What Other Types of Seasoning Can I Use Instead of the Ones Mentioned in the Article?
When it comes to seasoning chicken breast, there are plenty of options to choose from. You can get creative and try different spices, herbs, marinades, or even a combination of flavors to enhance the taste.
How Often Should I Flip the Chicken Breast While Grilling?
I flip the chicken breast on the grill every 5-7 minutes to ensure even cooking. This helps to achieve a juicy and tender result. Proper seasoning is also key for delicious flavor.
Can I Use a Meat Thermometer to Check for Doneness?
Yes, you can use a meat thermometer to check if the chicken breast is fully cooked. It’s a reliable tool that ensures your chicken is safe to eat by measuring its internal temperature accurately.
Conclusion
In conclusion, cooking chicken breast on a wood pellet grill is like embarking on a culinary adventure. Just like a skilled captain navigating the sea, you must carefully select the right chicken breast, season it with precision, and master the art of temperature control.
As you flip and baste the chicken, it’s like conducting a symphony, harmonizing flavors and creating a masterpiece. And when you finally check for doneness and let the chicken rest, it’s like witnessing the birth of a star, as the flavors meld and intensify.
So, set sail on your wood pellet grill, and let your taste buds embark on a delicious journey.