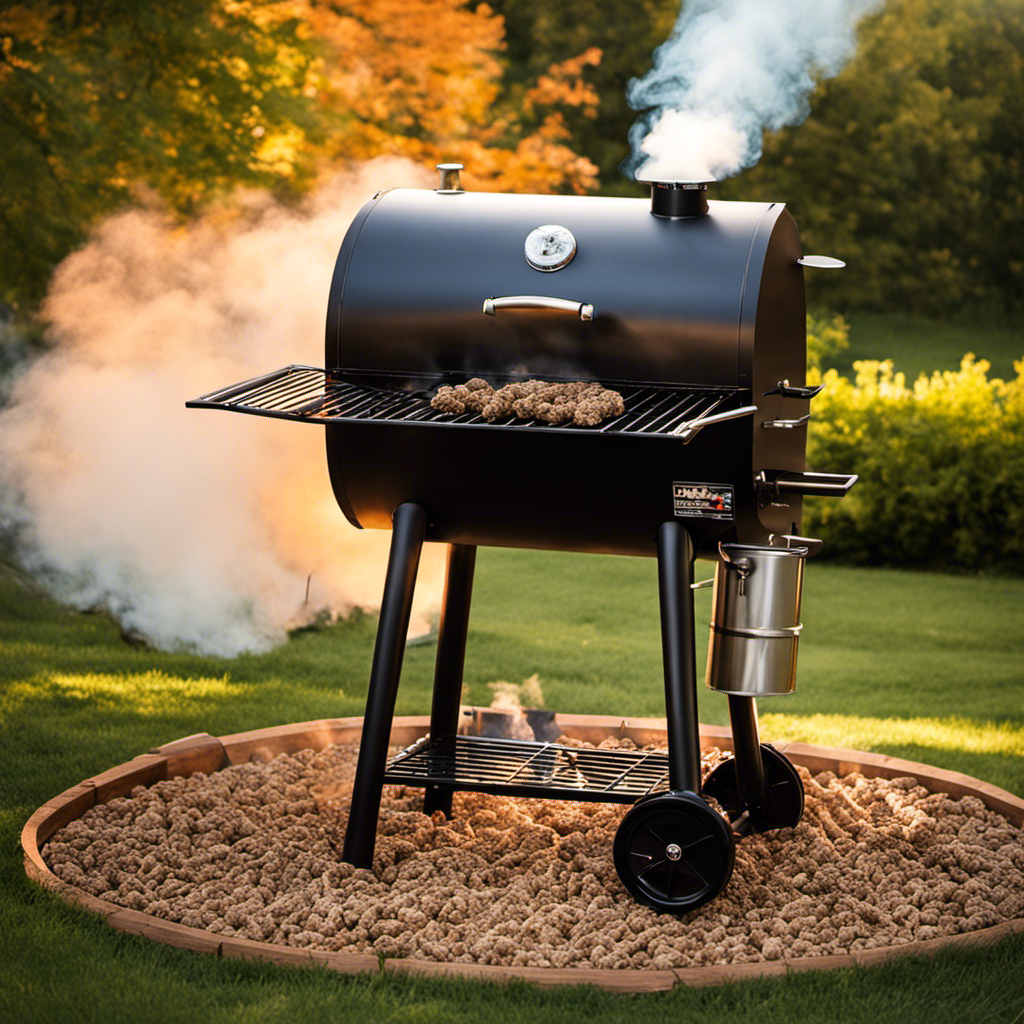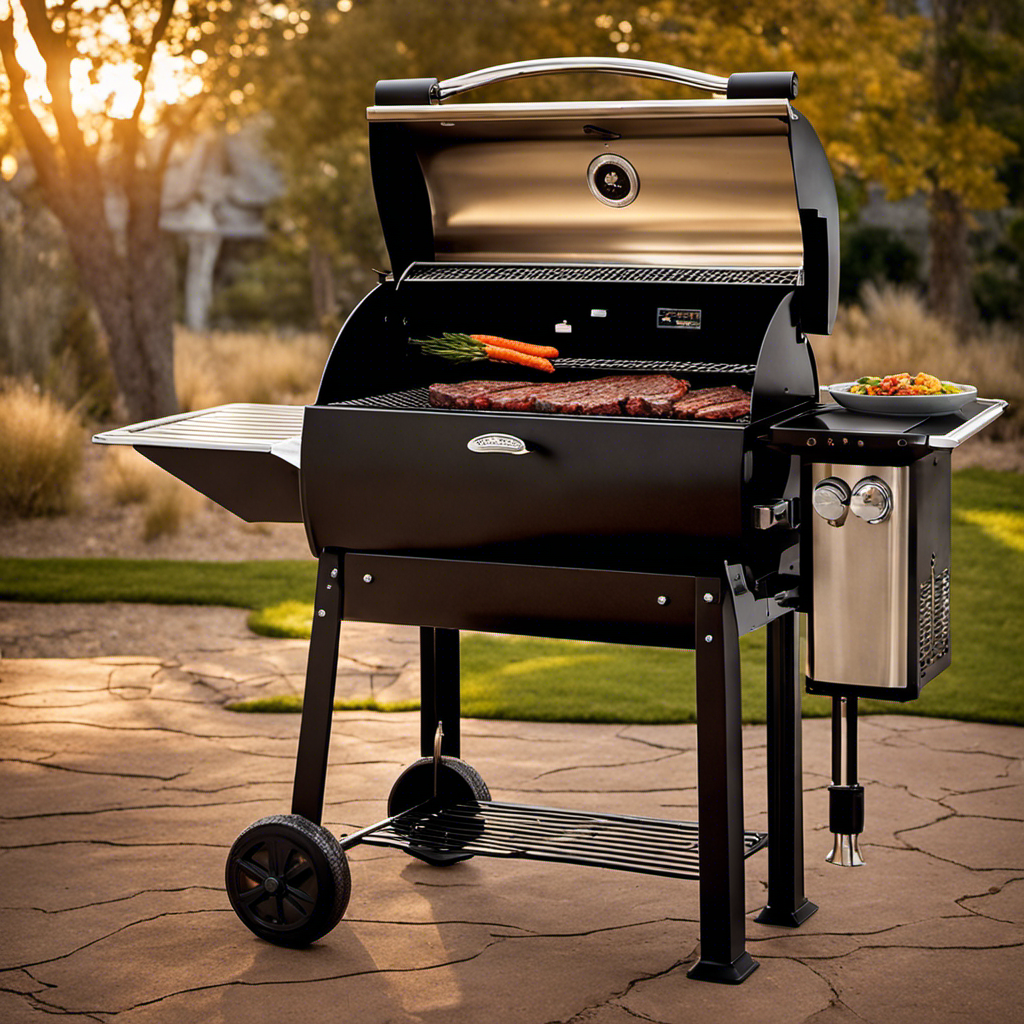
As an individual deeply passionate and experienced in the art of barbecuing, I’ve consistently sought the ideal method for creating beef jerky. I can assert with certainty that utilizing a Cabellas Wood Pellet Grill revolutionizes the entire method.
The smoky flavors that infuse into the meat, the tender texture that melts in your mouth – it’s a sensory experience like no other.
In this article, I’ll walk you through the step-by-step process of cooking beef jerky on a Cabellas Wood Pellet Grill, so you can enjoy this savory snack anytime, anywhere.
Key Takeaways
- Choose lean cuts of meat like flank steak, sirloin, or eye of round for best results.
- Slice the beef against the grain for tender jerky or with the grain for a chewier texture.
- Use pre-made jerky seasoning blends or create your own using ingredients like soy sauce, Worcestershire sauce, garlic powder, and black pepper.
- Properly preheat the grill and use a reliable thermometer to monitor the temperature accurately.

Bear Mountain 2-Pack Wood Pellets for Smoker, Grill & BBQ, 20 Lbs, Gourmet Blend – Premium Hardwood Barbecue Pellets for Indoor and Outdoor Grilling
Gourmet Blend BBQ Flavor: Take your grilling to another level by using this pack of Gourmet blend wood…
As an affiliate, we earn on qualifying purchases.
As an affiliate, we earn on qualifying purchases.
Selecting the Right Beef Cut for Jerky
When making beef jerky, it’s important to choose the right cut of beef. The type of beef you use will greatly affect the taste and texture of your jerky. For the best results, I recommend using lean cuts of meat such as flank steak, sirloin, or eye of round. These cuts have minimal fat, making them ideal for jerky.
You can ask your butcher to slice the meat thinly for you, or you can do it yourself at home. As for the seasoning options, there are endless possibilities. You can use pre-made jerky seasoning blends available in stores or create your own using ingredients like soy sauce, Worcestershire sauce, garlic powder, and black pepper.
Now that we have the right cut of beef, let’s move on to preparing the marinade for beef jerky.
COSORI Food Dehydrator for Jerky, 176°F Temperature Control, 5 Stainless Steel Trays with 5.1 ft² Drying Space, 4 Presets, 48H Timer, for Dog Treats, Meat, Fruit, Veggies, Snacks, Bright-Silver
𝟭𝟳𝟲 °𝗙 𝗠𝗔𝗫 𝗧𝗘𝗠𝗣𝗘𝗥𝗔𝗧𝗨𝗥𝗘: Adjust the dehydrator between 95-176°F in 1°F increments. Higher temps ensure safer beef jerky….
As an affiliate, we earn on qualifying purchases.
As an affiliate, we earn on qualifying purchases.
Preparing the Marinade for Beef Jerky
To prepare the marinade for your homemade jerky, you’ll need to gather all the necessary ingredients and mix them together in a bowl. Here are some beef jerky flavor variations and alternative marinade ingredients you can try:
- Teriyaki: soy sauce, honey, garlic powder, ginger
- Spicy BBQ: ketchup, Worcestershire sauce, brown sugar, cayenne pepper
- Smoky Chipotle: adobo sauce, lime juice, smoked paprika, cumin
- Sweet and Tangy: pineapple juice, apple cider vinegar, brown sugar, onion powder
Experimenting with different flavors and ingredients can add an exciting twist to your jerky. Once you’ve mixed the marinade, you’ll be ready to move on to the next step of slicing the beef for jerky. This process ensures that the flavors penetrate the meat, resulting in a delicious and satisfying snack.

Meat Slicer, 200W Electric Food Slicer with 2 Removable 7.5" Stainless Steel Blades and Stainless Steel Tray, Child Lock Protection, Adjustable Thickness, Food Slicer Machine for Meat Cheese Bread
Professional Slicer: The powerful 200-watt meat slicer has enough features and speed to slice a variety of foods….
As an affiliate, we earn on qualifying purchases.
As an affiliate, we earn on qualifying purchases.
Slicing the Beef for Jerky
Once you’ve gathered all your ingredients and mixed them together, it’s time to slice the beef into thin strips for your homemade jerky. To ensure the best texture and flavor, it’s important to use the right slicing technique.
You can slice the beef against the grain for a tender jerky or with the grain for a chewier texture. Another option is to partially freeze the beef before slicing, as this makes it easier to achieve thin and consistent strips.
Once sliced, it’s crucial to store your beef jerky properly to maintain its freshness. Keep it in an airtight container or vacuum-sealed bag in a cool, dry place. This will help extend its shelf life and prevent moisture from affecting the texture.
Now that your beef is sliced, it’s time to move on to marinating the beef for optimal flavor.

Hi Mountain Jerky Seasoning and Cure Kit | HUNTERS BLEND | Beef Jerky Seasoning | Perfect for Beef, Venison, Elk, & Deer | Seasons up to 15 lbs. of Meat (1 Box)
FLAVOR NOTES – Treat yourself to an unforgettable experience with this hickory-infused garlic and pepper flavor that finishes…
As an affiliate, we earn on qualifying purchases.
As an affiliate, we earn on qualifying purchases.
Marinating the Beef for Optimal Flavor
After mixing the ingredients, it’s important to let the beef marinate for optimal flavor. Marinating the beef is a crucial step in the jerky-making process as it adds depth and richness to the final product.
Here are some marinating techniques and flavor infusion methods to enhance the taste of your beef jerky:
- Use a marinade with a combination of soy sauce, Worcestershire sauce, and your favorite seasonings for a savory profile.
- Experiment with different types of marinades like teriyaki, honey mustard, or spicy chili to add variety to your jerky.
- Let the beef marinate for at least 4 hours, or preferably overnight, to allow the flavors to penetrate the meat thoroughly.
- Consider vacuum-sealing the marinated beef to intensify the infusion and ensure even distribution of flavors.
With the beef marinated to perfection, it’s time to move on to preheating the Cabellas wood pellet grill, creating the ideal cooking environment for your delicious jerky.
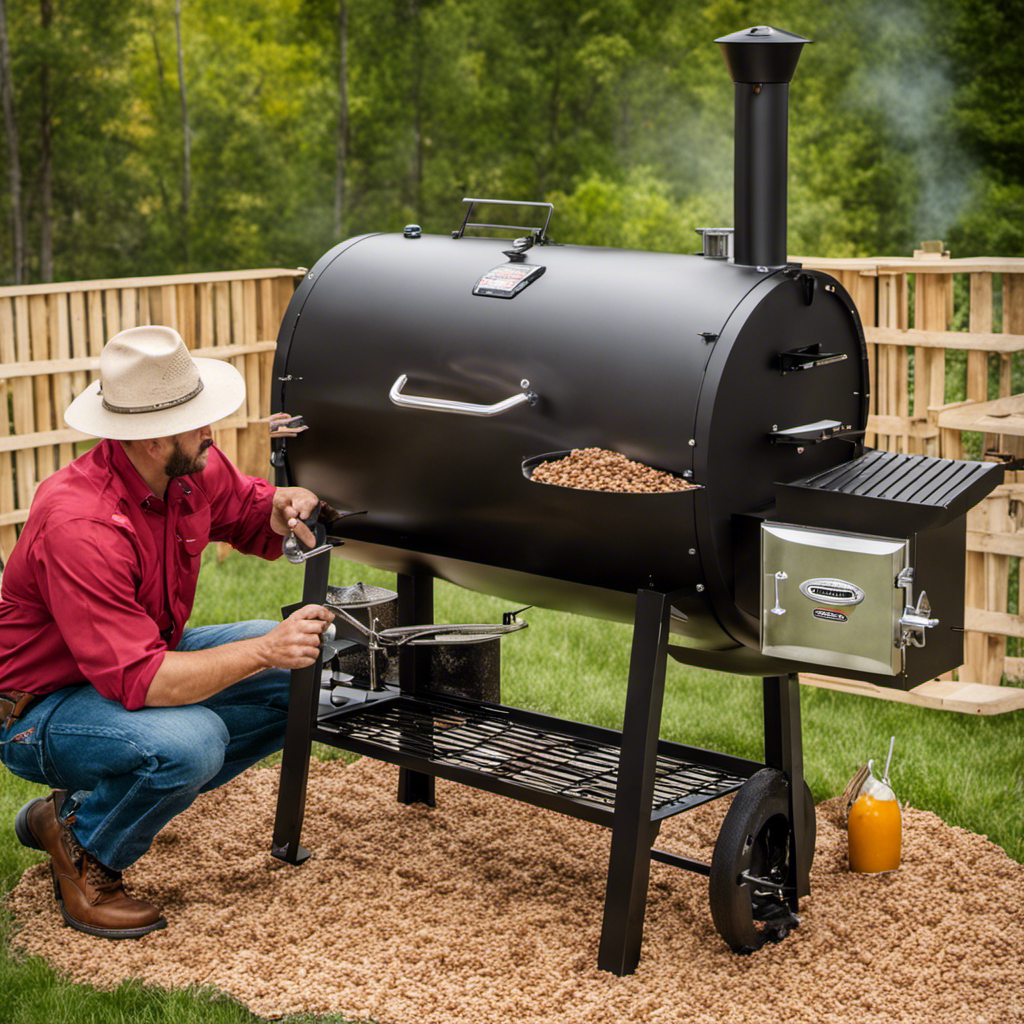
Preheating the Cabellas Wood Pellet Grill
Get started by ensuring that you have properly preheated your Cabellas wood pellet grill for optimal cooking results. Preheating your grill is essential to maintain consistent temperatures and achieve delicious beef jerky.
To control the temperature effectively, I recommend using a reliable grill thermometer. This will allow you to monitor the temperature accurately throughout the cooking process. Set the temperature to around 180-200 degrees Fahrenheit, as this is the ideal range for drying out the beef without overcooking it.
Preheating the grill and monitoring the temperature will help you achieve the perfect texture and flavor for your beef jerky.
Now, let’s move on to setting up the grill for indirect heat cooking to ensure even and thorough drying of the beef.
Setting up the Grill for Indirect Heat Cooking
To ensure even and thorough drying of your meat, you’ll want to set up the grill for indirect heat cooking. This method allows the jerky to slowly cook and dry out, resulting in a delicious and flavorful end product.
Here are some temperature control tips and grill thermometer recommendations to help you achieve the perfect cooking conditions:
- Place a drip pan filled with water under the grill grates to create a humid environment that prevents the jerky from drying out too quickly.
- Set the temperature to around 165°F (74°C) for optimal drying without overcooking the meat.
- Use a digital grill thermometer to monitor the internal temperature of the grill and make adjustments as needed.
- Keep the lid closed as much as possible to maintain a consistent temperature and prevent heat fluctuations.
By following these temperature control tips and using a reliable grill thermometer, you can ensure that your beef jerky cooks evenly and achieves the perfect texture.
Now, let’s move on to placing the beef jerky on the grill grates.
Placing the Beef Jerky on the Grill Grates
Now that you have prepared the grill for indirect heat cooking, it’s time to place your deliciously marinated meat on the grill grates.
When it comes to beef jerky, there are a variety of flavorful seasoning options you can choose from. Whether you prefer a smoky barbecue flavor or a spicy kick, the choice is yours.
As for grilling techniques, you can lay the beef strips directly on the grates or use a grill basket for easier flipping. Make sure to leave some space between the pieces for proper air circulation.
Once you have placed the beef jerky on the grill, close the lid and let it cook slowly over indirect heat for several hours, allowing the flavors to develop and the meat to become tender and juicy.
Now, let’s move on to monitoring and adjusting the grill temperature to ensure perfect results.
Monitoring and Adjusting the Grill Temperature
When it comes to grilling, temperature control is crucial for achieving the perfect cook. To ensure precise results, I’ve gathered some helpful temperature control tips that have worked wonders for me.
Additionally, I’ll be sharing my top grill thermometer recommendations to help you keep track of the internal temperature of your food with accuracy and ease.
Temperature Control Tips
Make sure you’re closely monitoring the temperature on your Cabellas wood pellet grill for optimal beef jerky cooking. Here are some temperature control tips for a successful cook:
- Regularly clean and maintain your grill to ensure accurate temperature readings and prevent any malfunctions.
- Use a grill thermometer to monitor the temperature inside the grill and make adjustments as needed.
- Create smoke flavor enhancement by adding wood chips or pellets to the grill, which can also help in maintaining a steady temperature.
- Keep the grill lid closed as much as possible to prevent heat fluctuations and maintain a consistent cooking environment.
By following these temperature control tips, you can ensure that your beef jerky is cooked to perfection on your Cabellas wood pellet grill.
Now let’s talk about some grill thermometer recommendations to help you accurately monitor the temperature.
Grill Thermometer Recommendations
Using a reliable grill thermometer is essential for accurately monitoring the temperature of your cooking surface. When it comes to grill temperature control, having a meat thermometer that provides accurate readings is crucial. It ensures that your beef jerky is cooked to perfection, with the right level of tenderness and juiciness. Here are some recommended grill thermometers that offer excellent accuracy:
| Thermometer | Temperature Range | Accuracy |
|---|---|---|
| Thermopro | 32°F to 572°F | ±1.8°F |
| Weber | 32°F to 572°F | ±1.0°F |
| Maverick | 32°F to 482°F | ±2.0°F |
| ThermoWorks | -58°F to 572°F | ±0.7°F |
These thermometers provide precise temperature readings, allowing you to control the heat of your grill and ensure that your beef jerky is cooked to perfection. Now that we know the importance of grill thermometer accuracy, let’s move on to the next step of flipping and rotating the beef jerky for even cooking.
Flipping and Rotating the Beef Jerky for Even Cooking
When it comes to cooking beef jerky on my Cabellas wood pellet grill, there are a few key points I always keep in mind.
First, flipping the jerky ensures even heat distribution, allowing each piece to cook uniformly.
Second, rotating the jerky prevents hot spots, ensuring that no section of the grill gets too much direct heat.
Lastly, timing is crucial for achieving optimal flavor, as overcooking can lead to a dry and tough texture.
Flipping Ensures Even Heat
To ensure even heat, you should flip the beef jerky periodically while it cooks on the Cabellas wood pellet grill. This flipping technique is one of the key grilling techniques for achieving perfectly cooked jerky. Here are some reasons why flipping is important:
-
Promotes even cooking: Flipping the jerky ensures that both sides are exposed to the same amount of heat, preventing one side from getting overcooked while the other remains undercooked.
-
Prevents drying out: By flipping the jerky, you allow the moisture to distribute evenly, preventing any one side from becoming too dry.
-
Enhances flavor: Flipping the jerky helps to evenly distribute the marinade or seasoning, resulting in a more consistent and flavorful end product.
-
Minimizes sticking: Flipping the jerky regularly prevents it from sticking to the grill grates, ensuring easy removal once it’s done.
By mastering the flipping technique, you can ensure that your beef jerky cooks evenly, resulting in a delicious and perfectly cooked snack.
And now, let’s move on to how rotating prevents hot spots in the next section.
Rotating Prevents Hot Spots
Now that we’ve discussed the importance of flipping your beef jerky to ensure even heat, let’s move on to another crucial step in the cooking process: rotating the jerky.
Rotating the jerky on the grill is essential for preventing burning and maintaining moisture. By rotating the jerky, you can avoid hot spots that may cause certain areas to overcook or dry out. This will result in a more consistent and flavorful batch of beef jerky.
To rotate the jerky, simply move the pieces around on the grill, ensuring that each section gets equal exposure to the heat. By doing so, you’ll achieve perfectly cooked jerky that is tender and juicy.
Now that we’ve covered the rotating step, let’s move on to the next section, which focuses on the timing for optimal flavor.
Timing for Optimal Flavor
For the best flavor, make sure you let your jerky marinate for at least 24 hours before cooking. This allows the flavors to penetrate the meat and gives it a delicious taste.
When it comes to cooking beef jerky on a Cabellas wood pellet grill, temperature control techniques are key. Here are some tips to ensure your jerky turns out perfectly every time:
- Set the grill to a low and consistent temperature, around 165°F to 175°F, for slow and even cooking.
- Use different wood pellet flavors to add a unique twist to your jerky. Hickory, mesquite, and applewood are popular choices.
- Keep a close eye on the jerky as it cooks to prevent it from becoming too dry or overcooked.
- Rotate the jerky racks periodically to ensure even heat distribution and prevent hot spots.
By following these temperature control techniques and experimenting with different wood pellet flavors, you can achieve a mouthwatering beef jerky that is full of flavor.
Now, let’s move on to testing and storing the cooked beef jerky.
Testing and Storing the Cooked Beef Jerky
After cooking the beef jerky on the Cabella’s wood pellet grill, it’s important to properly test and store it.
When it comes to testing, there are a few methods you can use to ensure your jerky is cooked to perfection. One popular method is the ‘bend test,’ where you try to bend the jerky and see if it snaps. If it does, it means it’s ready. Another method is the ‘tear test,’ where you try to tear the jerky. If it tears easily, it needs more time.
As for storage, it’s crucial to keep your jerky in an airtight container or vacuum-sealed bag to prevent moisture from getting in. Additionally, storing it in a cool, dry place will help maintain its flavor and texture.
Following these testing methods and proper storage techniques will ensure your beef jerky stays delicious for a long time.
Frequently Asked Questions
How Long Does It Take to Cook Beef Jerky on the Cabellas Wood Pellet Grill?
It takes about 4-6 hours to cook beef jerky on the Cabellas wood pellet grill. For best results, use lean beef cuts like sirloin or eye of round and marinate them beforehand.
Can I Use Any Type of Beef Cut for Making Jerky?
Yes, you can use different beef cuts for making jerky. Some of the best cuts include sirloin, flank, and round. It’s important to choose lean cuts and marinate them in your preferred marinade for optimal flavor.
Is It Necessary to Marinate the Beef Before Cooking It on the Grill?
Yes, it is necessary to marinate the beef before cooking it on the grill. Marinating adds flavor and tenderizes the meat. Different marinades can be used to create alternative flavors for beef jerky on the grill.
How Do I Know When the Beef Jerky Is Fully Cooked?
To know when beef jerky is fully cooked, I rely on visual cues and texture. It should be dry and firm, but still slightly chewy. It’s important to follow proper seasoning and drying methods for best results.
How Should I Store the Cooked Beef Jerky to Keep It Fresh and Flavorful?
To keep my cooked beef jerky fresh and flavorful, I store it in an airtight container or vacuum-sealed bag. Adding a desiccant packet helps absorb any moisture. For an extra boost of flavor, I sprinkle some seasoning before sealing.
Conclusion
In conclusion, cooking beef jerky on the Cabellas wood pellet grill is a flavorful and enjoyable experience.
As the grill heats up, the tantalizing aroma of marinated beef fills the air, creating a mouthwatering scene.
Watching the beef slices sizzle and char on the grill grates is a sight to behold, as they transform into delicious, tender jerky.
With the right temperature adjustments and careful flipping, the end result is perfectly cooked beef jerky that is packed with savory flavors.
Once done, storing the jerky ensures its freshness and allows for convenient snacking whenever desired.