As an experienced aficionado of wood-burning stoves, I am here to assist you in navigating the complex procedure of installing wood stove piping.
From understanding the different types of piping to ensuring compliance with safety regulations, this comprehensive article will equip you with the knowledge and skills to tackle this task successfully.
With step-by-step instructions and expert tips on sealing and insulating, you’ll be able to create a safe and efficient wood stove piping system in no time.
Let’s dive in and get started!
Key Takeaways
- Measuring tape, tin snips, high-temperature silicone sealant, and stainless steel screws or clamps are important tools and materials for connecting wood stove piping.
- When choosing piping, consider the size and output of the wood stove to ensure proper airflow and heat retention. Double wall piping offers better insulation and draft performance.
- The step-by-step process for preparing and installing wood stove piping includes measuring and cutting the piping, attaching the stove collar, connecting the piping sections, and securing the piping with support straps.
- Properly sealing and insulating wood stove piping involves using high-temperature silicone sealant, insulation materials designed for wood stove piping, securing joints with screws, and applying metal tape for extra protection.

Duravent 6" DuraPlus Through the Wall Kit
- Installation Kit for 6" DuraPlus: Through-the-wall vertical chimney setup
- Secure Twist-Lock Design: Ensures stable assembly
- Supports Up to 40 Feet: Chimney pipe length capacity
As an affiliate, we earn on qualifying purchases.
As an affiliate, we earn on qualifying purchases.
Required Tools and Materials for Connecting Wood Stove Piping
I need a list of the tools and materials I’ll need for connecting my wood stove piping.
When it comes to wood stove piping maintenance, it’s crucial to have the right tools and materials on hand to ensure a proper connection.
Firstly, you’ll need a measuring tape to accurately measure the length of the pipe sections.
Next, a pair of tin snips will be necessary for cutting the pipe to the correct size.
To secure the connections, high-temperature silicone sealant is vital to create a tight seal and prevent any leaks.
Additionally, stainless steel screws or clamps will be needed to fasten the sections together securely.
Lastly, make sure to have a wire brush handy for cleaning the pipe ends before connecting them.
Understanding the Different Types of Wood Stove Piping
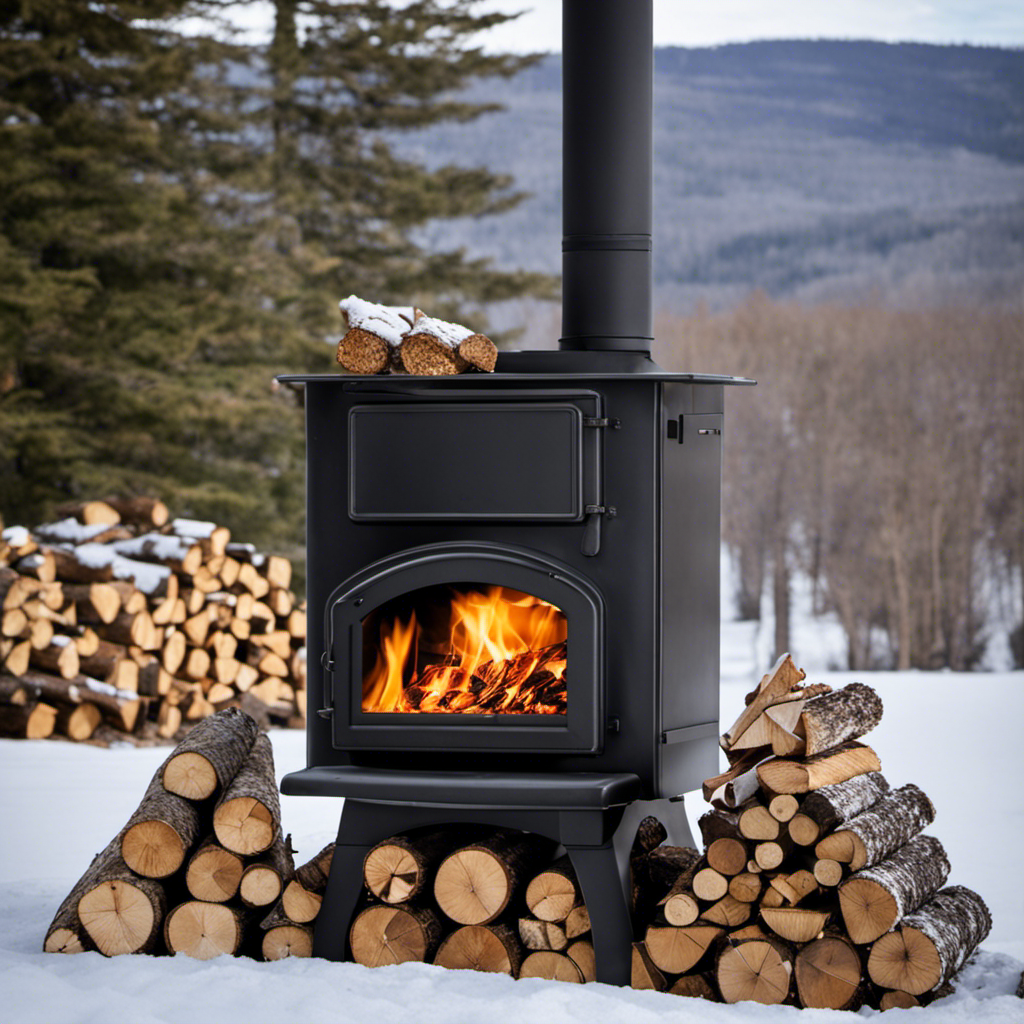
Understanding the different types of wood stove piping is essential for ensuring a safe and efficient wood stove system. When choosing the right size wood stove piping, it’s important to consider the size and output of your wood stove. Piping that’s too small can cause issues with airflow and lead to poor combustion, while piping that’s too large can result in excessive heat loss.
Additionally, using double wall wood stove piping offers several advantages. The double wall construction provides better insulation, reducing the risk of heat transfer to combustible materials. It also improves draft performance, ensuring a more efficient and cleaner burn. Double wall piping is also easier to install and maintain, with a durable outer layer that protects against external damage.
Overall, understanding the different types of wood stove piping and choosing the right size and style can greatly enhance the safety and performance of your wood stove system.
Step-by-Step Guide: Preparing and Installing Wood Stove Piping
When installing wood stove piping, it’s crucial to carefully follow the step-by-step guide for proper preparation and installation. The installation process involves several important steps that ensure the chimney is safely connected to the wood stove, allowing for efficient and effective heat distribution. Here is a table outlining the key steps involved in connecting wood stove piping:
| Step | Description |
|---|---|
| 1 | Measure and cut the piping to the appropriate length. |
| 2 | Attach the stove collar to the wood stove using screws. |
| 3 | Connect the first section of piping to the stove collar. |
| 4 | Attach support straps to secure the piping to the wall or ceiling. |
| 5 | Connect the remaining sections of piping, ensuring a tight fit. |
Tips for Properly Sealing and Insulating Wood Stove Piping
To properly seal and insulate wood stove piping, it’s important to use high-quality sealant and insulation materials, as well as securely fasten the joints with screws and metal tape. Here are some common mistakes to avoid and troubleshooting tips to ensure a successful installation:
-
Choose the right sealant: Opt for a high-temperature silicone sealant that can withstand the extreme heat produced by the wood stove. This will prevent any leaks and ensure a tight seal.
-
Insulate properly: Use insulation materials that are specifically designed for wood stove piping. This will help retain heat and improve the overall efficiency of your wood stove.
-
Secure joints with screws: Make sure to tighten all the joints using screws to prevent any movement or separation. Loose joints can lead to leaks and inefficient operation.
-
Apply metal tape: Use metal tape to further secure the joints and provide an extra layer of protection against heat and smoke leakage.
Ensuring Safety and Compliance: Regulations for Wood Stove Piping Installation
I must ensure that my wood stove piping installation complies with all the safety regulations in order to guarantee the safety of my home.
When it comes to compliance regulations, there are a few key factors to consider.
First, it’s important to use the correct type of piping material, such as stainless steel or double-wall insulated pipe, as specified by local building codes.
Additionally, the installation should include proper clearances from combustible materials, such as walls or ceilings.
It’s crucial to follow the manufacturer’s instructions for proper installation techniques, including securely connecting the sections of pipe and sealing any joints with high-temperature silicone.
Regular maintenance and inspections should also be conducted to ensure the piping remains in good condition.
Frequently Asked Questions
How Often Should Wood Stove Piping Be Cleaned?
I clean my wood stove piping annually to ensure optimal performance. Signs that indicate the need for cleaning include decreased efficiency, excessive smoke, and a strong creosote odor. Regular maintenance is crucial for safety and efficiency.
Can I Connect Different Types of Wood Stove Piping Together?
Yes, you can connect different types of wood stove piping together. However, it is important to ensure that the connections are secure and properly sealed to prevent any leaks or potential hazards.
Is It Necessary to Have a Professional Install Wood Stove Piping?
It is not necessary to have a professional install wood stove piping, but there are pros and cons. DIY installation can save money, but it requires knowledge of local codes and proper connection techniques.
Can I Use Regular Duct Tape to Seal Wood Stove Piping?
Using tape for wood stove piping is not recommended. Duct tape may not withstand high temperatures and can be a fire hazard. Use high-temperature silicone sealant or specialized tape designed for sealing wood stove piping.
Are There Any Specific Regulations for Wood Stove Piping Installation in Apartments or Rental Properties?
In commercial buildings, there are specific regulations for wood stove piping installation. Safety considerations for wood stove piping in rental properties include proper clearance from combustible materials and the use of approved materials.
Conclusion
Well, congratulations! You’re now a certified expert in connecting wood stove piping. With your newfound knowledge and skills, you can confidently tackle any wood stove installation project.
Remember, proper sealing and insulation are crucial for safety and efficiency. And don’t forget to comply with regulations to ensure a worry-free experience.
So go forth, my knowledgeable friend, and enjoy the warmth and coziness of your perfectly connected wood stove piping. Stay safe and happy heating!