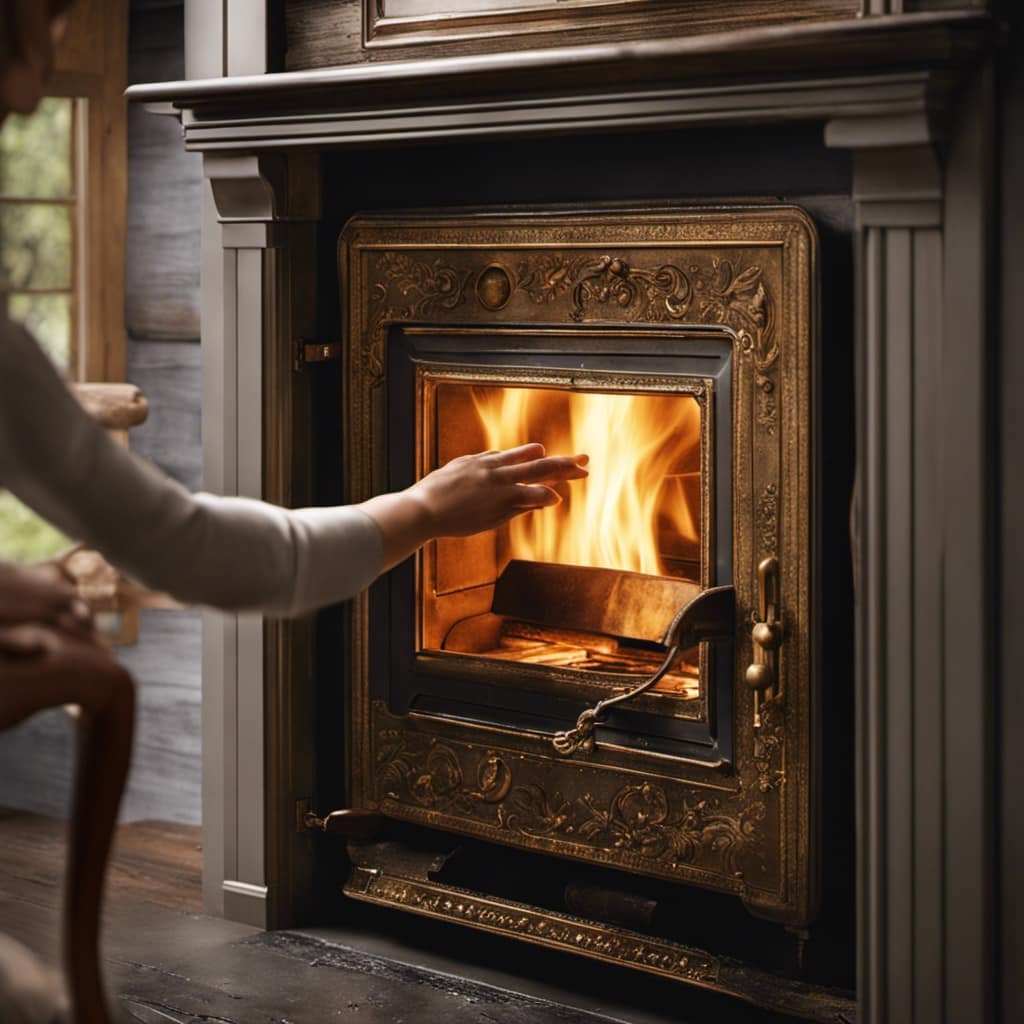
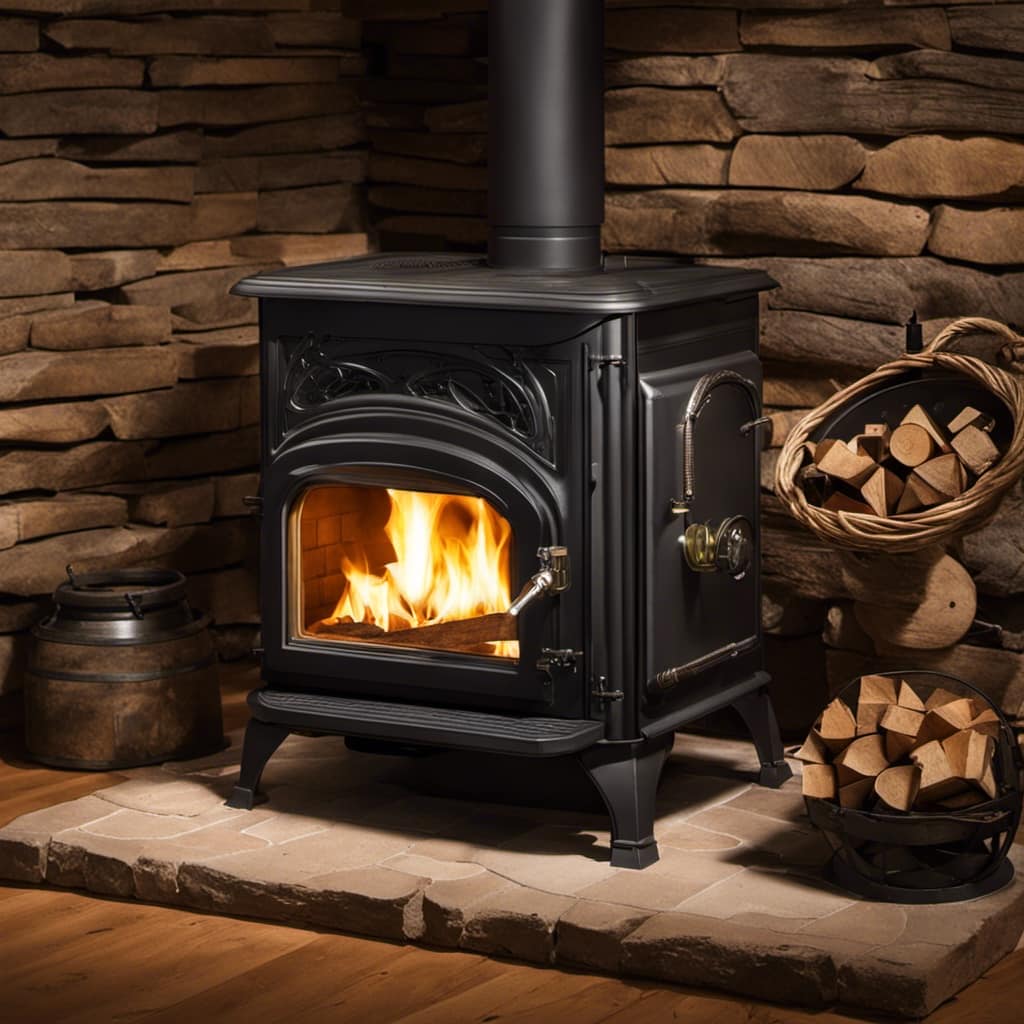
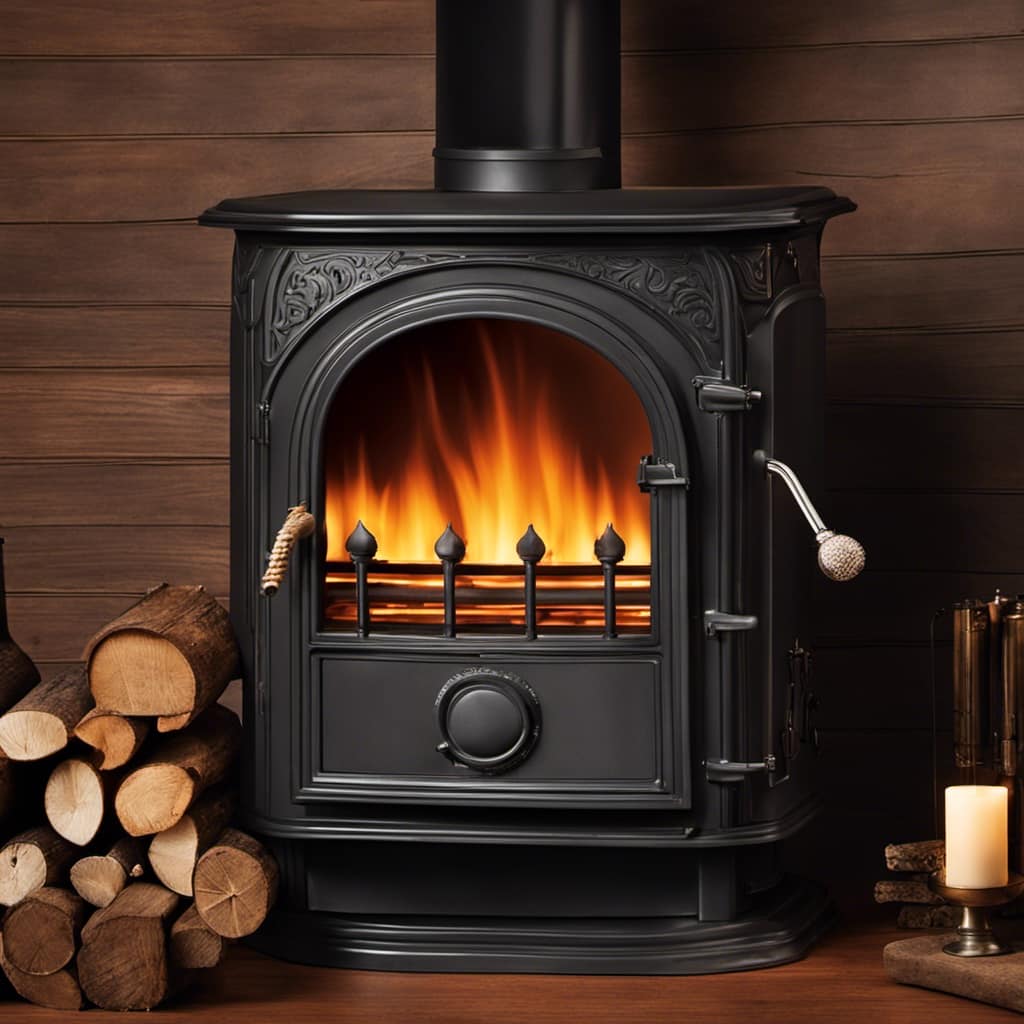
Connect with us

Wood Stove

How To Clean Glass On Wood Stove

Published

on

How To Clean Glass On Wood Stove

So, you have a wood stove and enjoy the cozy heat it emits. Yet, it’s clear that the glass often gets very dirty because of the soot and residue buildup.

No worries though, I’ve got you covered with some simple and effective tips on how to clean that glass like a pro. From gathering the right supplies to scrubbing away stubborn soot, I’ll walk you through every step so you can enjoy a clear and sparkling view of those dancing flames.

Key Takeaways

  • Regular glass cleaning improves the appearance of the stove and ensures efficient and safe operation.
  • Proper cleaning techniques, such as using eco-friendly cleaners like vinegar and water, protect the environment and prevent damage to the glass.
  • Removing stubborn stains can be done using a paste of baking soda and water, followed by rinsing with warm water and using lemon juice to dissolve remaining grime.
  • Prevent future buildup by regularly wiping down and drying the glass, using a specialized glass cleaner or a mixture of vinegar and water, and avoiding burning materials that produce excessive smoke or ash.
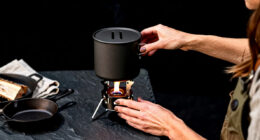
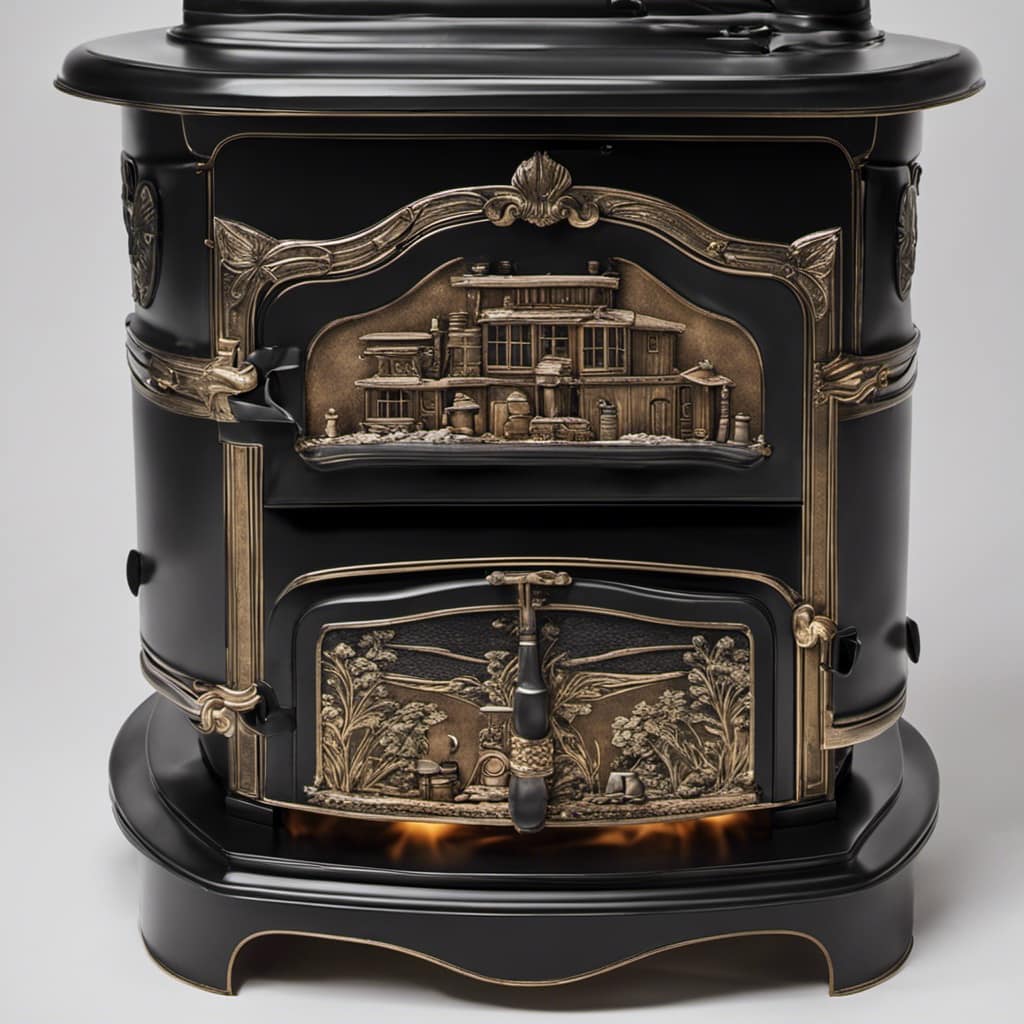
Understanding the Importance of Regular Glass Cleaning

I can’t stress enough how important it’s to regularly clean the glass on a wood stove. Not only does it improve the overall appearance of the stove, but it also ensures efficient and safe operation. Over time, soot and creosote buildup can accumulate on the glass, obstructing the view of the flames and reducing heat transfer. To maintain optimal performance, it’s crucial to follow proper cleaning techniques and safety precautions.

When it comes to cleaning the glass on a wood stove, there are a few techniques you can employ. One method is to use a specialized glass cleaner designed for high-temperature applications. These cleaners are formulated to dissolve tough residues without scratching the glass. Alternatively, you can create a paste using a mixture of water and ash from the stove. Apply the paste to the glass, let it sit for a few minutes, and then wipe it off with a soft cloth.

wood stove installation near me

Regardless of the cleaning method you choose, safety precautions should always be a priority. Before starting the cleaning process, ensure that the wood stove is completely cool to the touch. Wear protective gloves and goggles to shield yourself from any potential hazards. Additionally, make sure the area around the stove is clear of any flammable materials.

Now that you understand the importance of regular glass cleaning on a wood stove, let’s move on to the next step: gathering the necessary cleaning supplies.

Advertisement

Gathering the Necessary Cleaning Supplies

To get started, I’ll need a cloth, some vinegar, and a spray bottle. Cleaning the glass on a wood stove can be a challenging task, especially when it comes to hard-to-reach areas. However, with the right tools and techniques, it can be done effectively and efficiently.

When choosing eco-friendly cleaners for this task, it’s important to opt for products that are non-toxic and safe for the environment. Vinegar is a great option as it is a natural cleaner that is both effective and environmentally friendly. It can easily remove soot and grime from the glass surface without leaving any harmful residues behind.

wood stoves for sale eugene oregon

To clean hard-to-reach areas, such as the corners and edges of the glass, I recommend using a cloth or sponge attached to a long handle. This will allow you to reach those difficult spots without straining your arm or risking injury. You can also use a spray bottle to apply the vinegar solution directly onto the glass surface, ensuring an even distribution of the cleaner.

Here is a handy table summarizing the steps and tips for cleaning hard-to-reach areas on a wood stove:

Step Tips
1. Gather the necessary cleaning supplies: cloth, vinegar, and a spray bottle.
2. Choose eco-friendly cleaners to protect the environment.
3. Attach a cloth or sponge to a long handle to clean hard-to-reach areas.
4. Use a spray bottle to apply the vinegar solution evenly.
5. Take your time and be thorough in cleaning all areas of the glass.
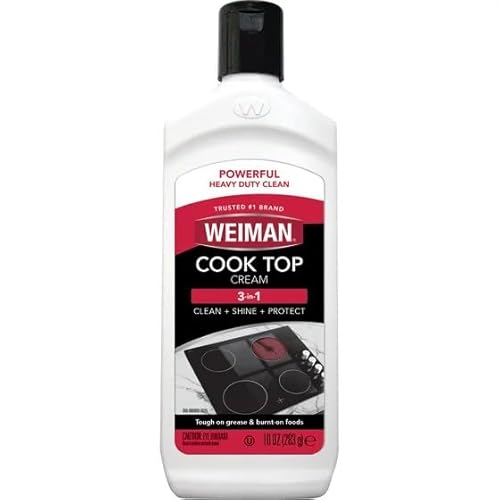
Preparing the Wood Stove for Cleaning

Before beginning the cleaning process, I always make sure to properly prepare the wood stove.

Advertisement

Firstly, I ensure that the stove is completely cooled down by waiting at least a few hours after the last fire.

wood cook stove

Next, I remove any remaining ashes and debris from the firebox using a metal scoop and ash bucket.

Lastly, I open all the vents and doors to allow for better airflow and ventilation during the cleaning process.

Removing Stubborn Stains

After scrubbing the glass with a mixture of vinegar and water, I noticed that the stubborn stains were still present. However, I didn’t lose hope and decided to try some other natural cleaning methods to tackle the tough grime.

I mixed baking soda with water to form a paste and applied it to the stained areas. Using a soft cloth, I gently scrubbed the paste in circular motions. The abrasive nature of baking soda helped loosen the grime, making it easier to remove.

Advertisement

wood stoves for sale craigslist

After rinsing off the paste with warm water, I was amazed to see that most of the stains had disappeared. For the remaining stubborn spots, I sprayed lemon juice directly onto the glass and let it sit for a few minutes before wiping it away. The acidic properties of lemon juice helped dissolve the remaining grime, leaving the glass sparkling clean.

Choosing the Right Cleaner

I found that using a mixture of vinegar and water was effective at removing stubborn stains from the glass. When it comes to cleaning techniques for glass on a wood stove, it’s important to choose the right cleaner to ensure both effectiveness and eco-friendliness.

Many commercial glass cleaners contain harsh chemicals that can be harmful to the environment and your health. Instead, opt for eco-friendly options such as vinegar and water. Mix equal parts of white vinegar and water in a spray bottle and spray it onto the stained glass. Let it sit for a few minutes, then wipe it clean with a soft cloth. The acidity of vinegar helps to break down the stains, while being gentle on the glass surface.

Using eco-friendly cleaning techniques not only keeps your glass clean but also helps to protect the environment. By avoiding harsh chemicals, you’re reducing your carbon footprint and promoting sustainability.

lopi wood stove manual

Transitioning into the next section, preventing future buildup requires regular maintenance and proper care.

Advertisement

Preventing Future Buildup

To maintain a clear and residue-free surface, it’s essential to regularly wipe down and dry the glass.

However, to prevent future buildup and ensure long-term glass maintenance, there are additional tips to consider.

Firstly, using a glass cleaner specifically designed for wood stoves can help remove stubborn stains and prevent residue from sticking to the glass.

wood stoves for heating

Secondly, applying a thin layer of stove glass cleaner or polish after each cleaning can create a protective barrier that makes it easier to remove soot and prevents buildup.

Additionally, avoiding burning materials that produce excessive smoke or ash can minimize the amount of residue that accumulates on the glass.

Advertisement

Lastly, regularly inspecting the gasket around the glass and replacing it when necessary can help maintain a tight seal and prevent air leakage, which can lead to increased soot and residue buildup.
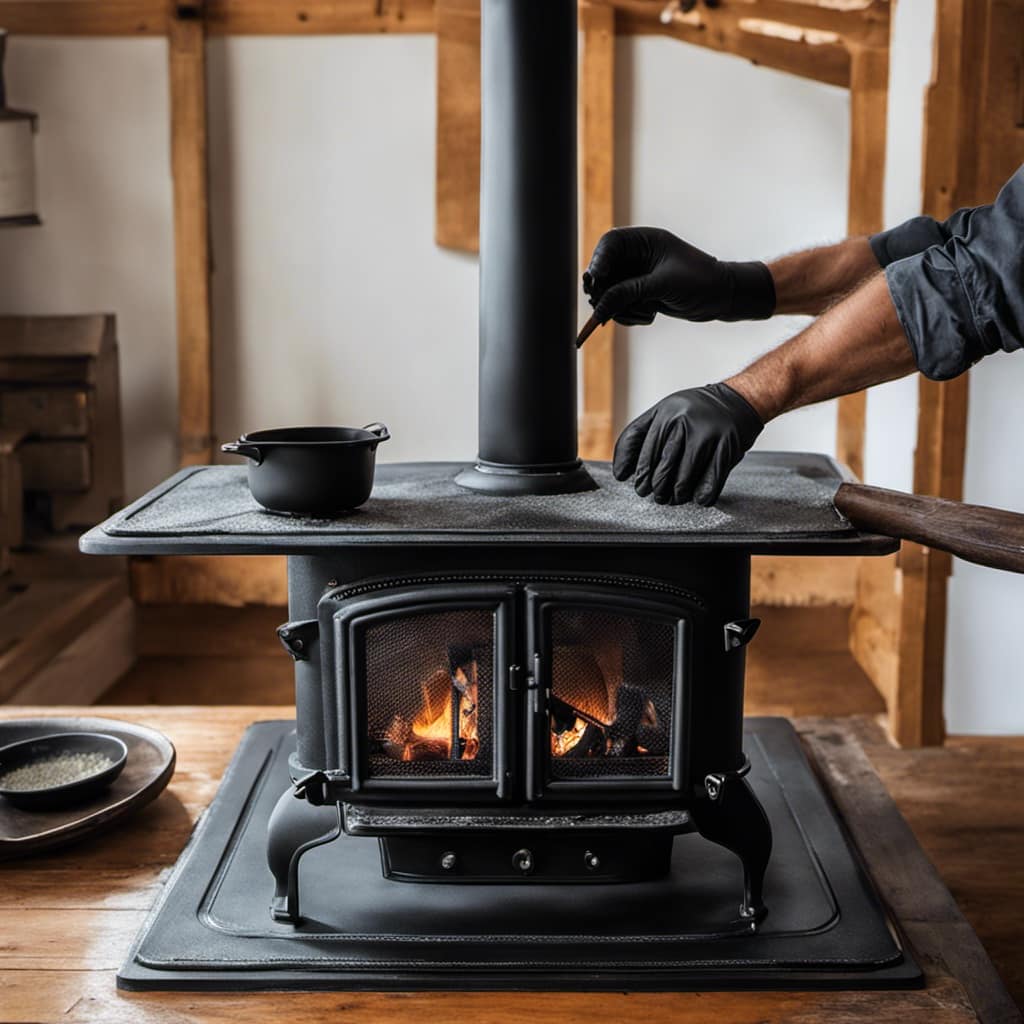
Using Gentle Cleaning Solutions for Stubborn Soot

Stubborn soot can be effectively removed from glass on a wood stove using gentle cleaning solutions. When dealing with soot buildup, it’s important to avoid harsh chemicals or abrasive tools that can damage the glass.

wood cook stove for sale

Here are some gentle cleaning methods and homemade cleaning solutions that can help you restore the clarity of your wood stove glass:

  1. Vinegar and Water Solution: Mix equal parts of white vinegar and water in a spray bottle. Spray the solution onto the soot-covered glass and let it sit for a few minutes. Wipe away the residue with a soft cloth or sponge.

  2. Baking Soda Paste: Make a thick paste by mixing baking soda with water. Apply the paste onto the soot stains and let it sit for about 15 minutes. Gently scrub the glass with a soft-bristle brush or sponge, and then rinse with water.

  3. Lemon Juice and Salt Scrub: Combine lemon juice with table salt to create a paste. Apply the paste onto the soot stains and let it sit for a few minutes. Use a non-abrasive cloth or sponge to scrub the glass in circular motions. Rinse thoroughly with water.

    wood stove amazon

  4. Dish Soap Solution: Mix a few drops of dish soap with warm water. Dip a soft cloth or sponge into the soapy solution and gently scrub the soot-covered glass. Rinse with water and dry with a clean cloth.

By using these gentle cleaning methods and homemade cleaning solutions, you can effectively remove stubborn soot from your wood stove glass without causing any damage.

Once the soot is removed, it’s time to move on to the next step: scrubbing away the remaining residue with non-abrasive tools.

Advertisement

Scrubbing Away Soot With Non-Abrasive Tools

When it comes to removing soot from surfaces, using non-abrasive tools is crucial to prevent any damage. Non-scratch cleaning methods are effective in getting rid of stubborn soot stains without harming the underlying surface.

wood stove pipe installers near me

Non-Scratch Cleaning Methods

I find that using a microfiber cloth is the best way to clean glass on a wood stove without scratching it. Microfiber is an excellent choice because it’s soft and non-abrasive, ensuring that your glass remains in pristine condition. Here are four gentle cleaning methods you can try:

  1. Homemade Glass Cleaner: Mix equal parts vinegar and water in a spray bottle. Spray the solution onto the glass and wipe it clean with the microfiber cloth.

  2. Baking Soda Paste: Make a paste by mixing baking soda with water. Apply the paste to the glass using the microfiber cloth and gently scrub in circular motions. Rinse thoroughly with water.

  3. Dish Soap Solution: Dilute a few drops of dish soap in water. Dampen the microfiber cloth with the solution and wipe down the glass, removing any dirt or grime.

    wood stove installation near me

  4. Lemon Juice and Salt: Create a mixture of lemon juice and salt. Apply the mixture to the glass and scrub gently with the microfiber cloth. Rinse with water.

By using these gentle cleaning methods, you can effectively remove dirt and grime from your wood stove glass without causing any scratches.

Now, let’s move on to the next section and explore how to remove stubborn soot stains.

Removing Stubborn Soot Stains

To tackle those tough soot stains, I find that using a mixture of vinegar and baking soda creates an effective cleaning solution. This natural cleaning method is not only safe for the environment but also gentle on the glass surface of the wood stove. Here is a table that shows the steps to follow when using this cleaning solution:

Advertisement

regency wood stove reviews

Step Instructions
1 Mix equal parts of vinegar and baking soda in a bowl.
2 Apply the mixture to a damp cloth or sponge.
3 Gently scrub the soot stains on the glass surface.
4 Rinse the glass with clean water.
5 Dry the glass with a soft, lint-free cloth.

While using natural cleaning methods like vinegar and baking soda can effectively remove stubborn soot stains, there may be instances where seeking professional help is necessary, especially in cases of heavy buildup or damage to the glass. However, for regular maintenance and light stains, this method can provide satisfactory results. Now, let’s move on to the next section to learn about removing residue with a vinegar and water solution.

Removing Residue With Vinegar and Water Solution

The vinegar and water solution effectively removes residue from the glass on my wood stove. I’ve found this method to be efficient and safe for cleaning the glass, leaving it clear and sparkling. Here are some key points to consider when using this solution:

  1. Mix equal parts of white vinegar and water in a spray bottle.
  2. Spray the solution onto the glass, ensuring complete coverage.
  3. Let the solution sit for a few minutes to allow it to break down the residue.
  4. Use a soft cloth or sponge to gently scrub the glass in circular motions.

Alternative glass cleaning methods can also be effective in removing residue from the glass on your wood stove. Some options include using a mixture of baking soda and water, or a commercial glass cleaner specifically designed for wood stoves.

To prevent residue buildup on the glass, here are some useful tips:

hampton wood stove

  1. Burn dry, seasoned firewood to minimize the amount of smoke and soot produced.
  2. Keep the air vents open to ensure proper airflow and combustion, reducing the likelihood of residue buildup.
  3. Regularly clean the glass using the vinegar and water solution or other appropriate cleaning methods.
  4. Consider using a stove fan or an air purifier to help circulate the air and reduce the amount of residue that accumulates on the glass.

Polishing the Glass for a Clear and Sparkling Finish

Using a soft cloth and a glass cleaner specifically designed for my wood stove, I gently polish the glass to achieve a clear and sparkling finish. Polishing the glass not only improves its appearance but also helps to prevent the buildup of residue and soot.

To ensure the best results, I follow specific polishing techniques and take steps to prevent streaks.

First, I make sure the glass is cool to the touch before starting the polishing process. This prevents any potential damage to the glass or injuries to myself.

Advertisement

Next, I spray the glass cleaner directly onto the cloth, rather than directly onto the glass. This helps to control the amount of cleaner used and prevents overspray onto other surfaces.

wood stoves for sale eugene oregon

I then begin polishing the glass in a circular motion, applying gentle pressure. This helps to remove any stubborn residue or streaks. I make sure to cover the entire surface of the glass, paying extra attention to any areas that may have heavier buildup.

To prevent streaks, I make sure to use a clean section of the cloth for each pass. This ensures that any residue or cleaner is effectively removed and not spread around. Additionally, I avoid using excessive amounts of cleaner, as this can lead to streaking.

Maintaining Clean Glass for Safe and Efficient Wood Stove Operation

Maintaining clear and sparkling glass on my wood stove is crucial for safe and efficient operation. Regular glass maintenance ensures that my wood stove operates at its best and reduces the risk of accidents. To keep my glass clean, I follow these steps:

  1. Inspect the glass: Before cleaning, I carefully inspect the glass for any cracks or damage. If I notice any issues, I contact a professional for repairs.

    wood stove factory

  2. Gather the necessary supplies: I gather a soft cloth, a glass cleaner specifically designed for wood stoves, and a pair of protective gloves.

  3. Safety precautions: I take safety precautions while cleaning the glass. This includes wearing gloves to protect my hands and ensuring that the stove is cool before starting the cleaning process.

  4. Clean the glass: I spray the glass cleaner onto the cloth and gently wipe the surface of the glass in a circular motion. I pay extra attention to any stubborn stains or soot buildup. Once the glass is clean, I use a dry cloth to remove any excess cleaner and leave it sparkling.

Frequently Asked Questions

How Often Should I Clean the Glass on My Wood Stove?

I clean the glass on my wood stove regularly to ensure optimal performance and maintain a clear view of the fire.

Advertisement

lowes summer heat wood stove

By preventing the glass from getting dirty, I reduce the risk of it becoming permanently stained or damaged.

To clean the glass, I use a specialized glass cleaner or a mixture of vinegar and water, along with a soft cloth or sponge.

Regular maintenance and cleaning help to keep the glass on my wood stove looking clean and clear.

Can I Use Any Type of Glass Cleaner on My Wood Stove?

I recommend using caution when selecting a glass cleaner for your wood stove. While many cleaning products are safe for regular glass, they may not be suitable for the specific type of glass used in wood stoves.

wood stove jotul

It’s important to consult the manufacturer’s guidelines or contact a professional for advice on the best cleaning methods and products.

Advertisement

If you prefer alternative cleaning methods, there are natural solutions like vinegar and water that can be effective in removing dirt and grime from the glass.

Is It Necessary to Remove the Glass From the Stove Before Cleaning?

Removing the glass from the wood stove before cleaning has both pros and cons. On one hand, removing the glass allows for easier access and thorough cleaning of all sides. On the other hand, it can be time-consuming and may require additional tools.

If you prefer not to remove the glass, there are alternative methods for cleaning wood stove glass. These include using a specialized glass cleaner or a mixture of vinegar and water.

wood stove wiki

What Should I Do if There Are Stubborn Stains or Buildup on the Glass?

When dealing with stubborn stains or buildup on the glass of my wood stove, I rely on effective cleaning solutions and techniques.

To remove tough stains, I mix a solution of vinegar and water and apply it to the glass. Letting it sit for a few minutes helps to loosen the buildup.

Advertisement

Then, using a non-abrasive scrub brush, I gently scrub the glass in circular motions.

Are There Any Specific Safety Precautions I Should Take While Cleaning the Glass on My Wood Stove?

When it comes to cleaning the glass on my wood stove, I always make sure to take specific safety precautions.

lopi wood stove manual

First, I ensure that the stove is completely cool before beginning any cleaning. I also wear protective gloves and eyewear to prevent any potential injuries.

As for the cleaning techniques, I use a non-abrasive glass cleaner and a soft cloth to gently remove any stains or buildup.

It’s important to follow these safety precautions to avoid any accidents or damage.

Advertisement

Conclusion

In conclusion, regularly cleaning the glass on your wood stove is crucial for safe and efficient operation. By following the steps outlined in this article, you can easily remove stubborn soot and residue from the glass surface.

wood stove pipe installers near me

While some may argue that cleaning the glass is time-consuming, the benefits of better visibility and improved stove performance outweigh the effort required.

Remember to maintain clean glass to ensure a clear and sparkling finish for optimal wood stove operation.

Growing up surrounded by the vast beauty of nature, Sierra was always drawn to the call of the wild. While others sought the comfort of the familiar, she ventured out, embracing the unpredictable and finding stories in the heartbeat of nature.   At the epicenter of every remarkable venture lies a dynamic team—a fusion of diverse talents, visions, and passions. The essence of Best Small Wood Stoves is crafted and refined by such a trio: Sierra, Logan, and Terra. Their collective expertise has transformed the platform into a leading authority on small wood stoves, radiating warmth and knowledge in equal measure.

Continue Reading
Advertisement

Wood Stove

How Long Does It Take Wood To Ignite Aftee Being Put In A Wood Stove

Published

on

By

An image capturing the mesmerizing scene of a wood stove, with a bed of glowing embers beneath carefully stacked logs, as tendrils of thin smoke gracefully curl upwards, depicting the anticipation of wood slowly igniting

I must admit, the wait for wood to catch fire in a wood stove can seem never-ending. However, do not worry, as in this article, I will share some strategies and tips to speed up the process.

From understanding the temperature and moisture content of the wood to choosing the right type and preparing it efficiently, we’ll explore all the factors that affect wood ignition time.

So let’s dive in and get that fire blazing in no time!

Key Takeaways

  • Weather conditions and moisture content of the wood can affect the ignition time.
  • Properly seasoned wood with around 20% moisture content ignites more easily.
  • Smaller wood logs and softer woods tend to ignite faster than larger and harder woods.
  • Proper wood storage and preparation, such as keeping it off the ground, using fire starters, and maintaining airflow, can help ensure faster ignition in a wood stove.

Factors Affecting Wood Ignition Time

I’m curious about the factors that can affect the time it takes for wood to ignite in a wood stove.

One of the key factors is the weather conditions. Cold and damp weather can make it harder for the wood to catch fire, as moisture content in the wood can be high. It’s important to ensure that the wood is properly seasoned and has a moisture content of around 20% for optimal ignition.

Another factor to consider is the size of the wood logs. Smaller logs tend to ignite more quickly as they’ve a larger surface area exposed to the heat source.

Advertisement

Additionally, the type of wood being used can also affect ignition time, with softer woods igniting faster than harder woods.

Temperature and Moisture Content of Wood

The optimal moisture content for wood is around 20%, which ensures efficient ignition in a wood stove. The wood ignition process is influenced by various factors, and the moisture content plays a critical role in determining how quickly the wood will ignite.

When wood is too wet, it requires more energy to burn off the excess moisture before it can reach its ignition point. On the other hand, if the wood is too dry, it may ignite too quickly and burn too rapidly, leading to inefficient combustion and wasted energy.

Therefore, it’s essential to properly store wood to maintain its moisture content within the optimal range. Proper wood storage involves keeping the wood off the ground, covering it to protect it from rain or snow, and allowing for proper airflow to prevent excessive moisture buildup.

Type of Wood and Its Density

I prefer using hardwoods like oak or maple due to their density and their ability to burn longer and provide more heat. When it comes to wood species selection, it’s important to consider the impact of wood moisture content. Here are three key points to keep in mind:

Advertisement
  1. Moisture content affects combustion efficiency: Wet wood contains a higher moisture content, which leads to incomplete combustion and the production of more smoke and pollutants. Dry hardwoods, on the other hand, burn more efficiently and produce less smoke.

  2. Heat output is influenced by wood density: Hardwoods have a higher density compared to softwoods, resulting in a higher heat output. This means that hardwoods like oak and maple can provide more warmth and keep your space cozy for a longer period of time.

  3. Longer burn time with hardwoods: Due to their density, hardwoods burn at a slower rate, allowing for a longer burn time per log. This means less frequent refueling and a more consistent heat source.

Preparing Wood for Efficient Ignition

To ensure efficient ignition, I always make sure to properly split and dry my firewood. Proper wood storage is essential for achieving this. It’s important to store the firewood in a well-ventilated area, off the ground and protected from moisture. This allows the wood to dry properly and reduces the risk of it being damp or rotting.

When it comes to igniting the wood in a wood stove, using fire starters or kindling can greatly speed up the process. These small pieces of flammable material help create a hot and sustained flame, which in turn ignites the larger pieces of wood.

By incorporating these techniques, you can ensure a faster and more efficient ignition in your wood stove.

Now, let’s move on to some tips for faster wood ignition in a wood stove.

Tips for Faster Wood Ignition in a Wood Stove

Using kindling and ensuring proper airflow are key to achieving faster wood ignition in a wood stove. When it comes to stubborn wood that’s difficult to ignite, there are several ignition techniques that can be employed:

Advertisement
  1. Preparation: Properly seasoned wood with a moisture content below 20% is essential for efficient ignition. This ensures that the wood is dry enough to catch fire quickly.

  2. Kindling: Creating a bed of small, dry kindling underneath the larger logs helps to ignite the fire faster. Kindling acts as a fuel source that ignites easily and produces enough heat to catch the larger logs on fire.

  3. Airflow: Adequate airflow is crucial for wood ignition. By opening the damper or adjusting the air vents, you can ensure that enough oxygen is getting to the fire, promoting faster ignition.

While some may consider using accelerants to speed up wood ignition, it’s important to note that this can be dangerous and may result in uncontrollable fires or the release of harmful chemicals. It’s recommended to rely on proper ignition techniques and patience for a safe and efficient wood ignition process.

Frequently Asked Questions

Can I Use Treated Wood in My Wood Stove?

Using pressure treated wood in a wood stove is not recommended due to the chemicals it releases when burned. It is safer to use untreated wood or other alternatives for faster ignition.

What Is the Best Type of Wood to Use for Faster Ignition in a Wood Stove?

Fast burning woods like pine or fir can ignite in a wood stove within minutes. To ensure efficient wood stove usage, it’s important to choose dry, seasoned firewood and properly maintain the stove.

Are There Any Safety Precautions I Should Take When Igniting Wood in a Wood Stove?

When igniting wood in a wood stove, it is important to take safety precautions. Keep a fire extinguisher nearby and ensure proper ventilation. Additionally, the moisture content of the wood can affect its ignition time.

Can I Use Wood Chips or Sawdust for Ignition in a Wood Stove?

I can use wood chips or sawdust for ignition in a wood stove. They are effective fire starters for faster ignition. The small size and high surface area make them ignite quickly, reducing the time needed for the wood to catch fire.

Advertisement

How Does the Size of the Wood Affect Its Ignition Time in a Wood Stove?

Moisture content significantly affects wood ignition in a wood stove. Smaller pieces of wood ignite faster due to increased surface area. However, larger pieces provide longer burn times. Consider the advantages and disadvantages of each for efficient use in a wood stove.

Conclusion

After careful analysis of the factors affecting wood ignition time, it’s safe to say that wood doesn’t ignite instantly in a wood stove. Contrary to popular belief, wood requires time to reach its ignition point, which is influenced by factors such as temperature, moisture content, and wood density.

To expedite the process, it’s crucial to choose the right type of wood and ensure it’s properly prepared. So, if you were expecting an immediate burst of flames, you might’ve to wait a little longer.

Continue Reading

Wood Stove

Why Does Your Wood Stove Smoke

Published

on

By

An image capturing a rustic, cozy living room

Dealing with the smoke from your wood stove can be a real nuisance. But don’t worry, I’m here to provide some tips on how to manage it.

Understanding the root causes of this predicament is crucial. Insufficient airflow, improper wood selection, damaged chimney, inadequate maintenance, and incorrect installation are the major culprits.

Let’s delve into each of these factors to uncover the secrets behind why your wood stove may be producing that bothersome smoke.

Key Takeaways

  • Blocked vents disrupt combustion process and lead to incomplete burning and smoke generation.
  • Burning wet or high-moisture wood results in inefficient burning and increased creosote buildup.
  • Cracked or deteriorating chimney can cause leaks and smoke entry.
  • Inadequate stove maintenance, including dirty burners and clogged flue, can lead to smoke issues.

Insufficient Airflow

I’m having trouble with my wood stove smoking because there’s not enough airflow. A common cause of insufficient airflow is blocked vents. When the vents are blocked, the combustion process is disrupted, leading to incomplete burning of the wood and the generation of smoke.

To ensure efficient combustion and minimize smoke, it’s crucial to maintain clear and unobstructed vents. Blocked vents can result from a buildup of creosote or debris, so regular cleaning is essential.

Additionally, proper placement of the stove is crucial to ensure adequate airflow. Make sure that the stove is positioned away from any obstructions, such as furniture or curtains, that might impede the flow of air.

Advertisement

Improper Wood Selection

To prevent excessive smoke and poor combustion, it’s important to avoid burning wet wood or wood with high moisture content, as it can result in inefficient burning and increased creosote buildup. When burning seasoned firewood, which has a moisture content of around 20% or less, the wood burns more efficiently, producing less smoke and providing more heat output. Seasoned firewood has been properly dried for at least six months, allowing the moisture content to decrease significantly. This ensures that the wood burns cleanly and effectively in your wood stove. However, if you burn wood with high moisture content, it will create more smoke and reduce the overall efficiency of your stove. This can also lead to a higher risk of creosote buildup in your chimney, which can be dangerous and increase the chance of a chimney fire. Therefore, it’s crucial to always use dry, seasoned firewood to prevent excessive smoke and maintain proper combustion in your wood stove.

Now, let’s discuss another potential reason for excessive smoke: a damaged or leaky chimney.

Damaged or Leaky Chimney

A damaged or leaky chimney can cause smoke to enter your home, which can be hazardous to your health and safety. It’s important to address any issues with your chimney promptly to ensure the proper functioning of your wood stove.

Here are three signs of a damaged chimney that you should be aware of:

  1. Cracked or crumbling mortar: If you notice any cracks or crumbling in the mortar joints of your chimney, it could indicate water damage or structural issues. This can lead to leaks and smoke entering your home.

  2. Rusty or deteriorating chimney cap: The chimney cap plays a crucial role in keeping out rain, snow, debris, and animals. If it’s rusty or deteriorating, it may not be able to perform its function effectively, allowing smoke to escape into your living space.

  3. Smoke stains or odors: If you notice smoke stains on the walls or ceilings near your chimney or detect a persistent smoky odor in your home, it could be a sign of a leaky chimney. This should be addressed promptly to prevent further damage and potential health risks.

When faced with a damaged chimney, there are various repair options available, such as chimney relining, chimney crown repair, and chimney flashing repair. It’s important to consult with a professional chimney technician to determine the best course of action for your specific situation.

Advertisement

Inadequate Stove Maintenance

One of the main causes of smoke in your home can be the result of inadequate stove maintenance. A dirty stove and a clogged flue are two common culprits that can lead to smoke issues. When the stove isn’t properly cleaned, a buildup of soot and debris can occur on the burners, causing incomplete combustion and the production of smoke.

Additionally, a clogged flue prevents the proper ventilation of smoke, leading to its accumulation inside your home. Regular cleaning and maintenance of your stove, including cleaning the burners and ensuring the flue is clear, is crucial in preventing smoke issues.

It’s recommended to schedule annual professional maintenance to ensure your stove is in optimal condition and to avoid the inconvenience and potential health hazards associated with smoke in your home.

Incorrect Stove Installation

I regret not hiring a professional for my stove installation, as it has caused numerous issues and potential hazards. When it comes to installing a wood stove, proper positioning and sizing are crucial factors that shouldn’t be taken lightly.

Here are three key reasons why improper stove positioning and incorrect flue size can lead to problems:

Advertisement
  1. Inadequate clearance: Placing the stove too close to combustible materials can increase the risk of fire. It’s essential to follow the manufacturer’s guidelines for proper clearances to ensure the safe operation of the stove.

  2. Inefficient heating: Incorrect positioning can hinder the stove’s ability to distribute heat effectively throughout the room. This can result in uneven temperatures and wasted energy, leading to discomfort and higher heating costs.

  3. Insufficient draft: Using an incorrect flue size can impede the stove’s ability to expel smoke and gases properly. This can lead to backdrafting, where smoke enters the room instead of being directed outside. Aside from the health hazards, backdrafting can damage the stove and cause indoor air quality issues.

To avoid these problems, it’s essential to consult a professional for the proper installation of your wood stove. They’ll ensure that the stove is positioned correctly and the flue size is appropriate for efficient and safe operation.

Frequently Asked Questions

Can Smoking Occur if There Is Sufficient Airflow in the Wood Stove?

Yes, smoking can still occur in a wood stove even with sufficient airflow. Factors like improper wood placement, damp or unseasoned wood, or a clogged chimney can all contribute to smoking issues. Proper troubleshooting can resolve these problems and improve wood stove performance.

What Are Some Common Wood Types That Should Be Avoided to Prevent Smoking in a Wood Stove?

To prevent smoking in a wood stove, it is important to avoid using wood types like pine, as they contain high levels of resin. Additionally, properly seasoning firewood is crucial to reduce smoke production.

How Can I Identify if My Chimney Is Damaged or Leaking?

To identify chimney damage or leaks, conduct a thorough chimney inspection. Look for cracks, loose bricks, or crumbling mortar. Additionally, consider installing a smoke detector near the stove to quickly detect any smoke issues.

Besides Regular Cleaning, What Other Maintenance Practices Can Help Prevent Smoking in a Wood Stove?

Other maintenance practices, such as ensuring proper airflow and avoiding certain wood types, can help prevent smoking in a wood stove. Identifying chimney damage or leaks and checking for correct stove installation are also crucial.

Advertisement

What Are Some Signs of Incorrect Stove Installation That May Lead to Smoking?

Installing a wood stove improperly can lead to frustrating smoke issues. One key sign is if the chimney height is too short. Another is using unseasoned wood, which can cause excessive smoke.

What Are Some Wood Stove Brands That Have Smoke-Reducing Features?

Looking for the best wood stove brands with smoke-reducing features? Look no further. With increasing concerns about air pollution, several brands are innovating their wood stoves to minimize smoke emissions. Some notable options include Vermont Castings, Jøtul, and Blaze King. These brands prioritize efficiency and clean burning, ensuring you can enjoy the warmth of a wood stove while minimizing environmental impact.

Conclusion

In conclusion, when your wood stove smokes, it’s often due to factors such as:

  • Insufficient airflow
  • Improper wood selection
  • A damaged or leaky chimney
  • Inadequate stove maintenance
  • Incorrect installation

To prevent this, you should:

  • Ensure proper ventilation
  • Use seasoned and dry wood
  • Inspect and repair your chimney regularly
  • Maintain your stove diligently
  • Ensure professional installation

By addressing these issues, you can enjoy a smoke-free and efficient wood stove experience, creating a cozy and inviting atmosphere in your home.

Continue Reading

Wood Stove

How To Build A Wood Stove From A Jerry Can

Published

on

By

An image showcasing the step-by-step process of transforming a jerry can into a wood stove

I have always been fascinated by the concept of transforming ordinary objects into useful tools.

So when I came across an old jerry can in my garage, I knew I had the perfect opportunity to create my own wood stove.

In this article, I’ll guide you through the process of transforming a jerry can into a functional and efficient wood stove, complete with ventilation, legs, and a base.

Get ready to unleash your inner DIY enthusiast and start enjoying the warmth of your homemade wood stove.

Key Takeaways

  • Consider the capacity and dimensions of the jerry can
  • Compare different materials for jerry cans
  • Prepare and clean the jerry can properly
  • Take safety precautions and use the right tools when modifying the jerry can

Selecting the Right Jerry Can for Your Wood Stove

I’m trying to figure out which jerry can is the best option for my wood stove.

When it comes to choosing the right size jerry can for your wood stove, it’s important to consider the capacity and dimensions. A larger can will hold more fuel, but it may be too bulky for your space. On the other hand, a smaller can may require more frequent refills.

Advertisement

Additionally, it’s crucial to compare different materials for jerry cans to ensure optimal wood stove performance. Metal cans are durable and resistant to heat, but they can also be heavy. Plastic cans, on the other hand, are lightweight and easier to handle, but may not withstand high temperatures as well.

Ultimately, finding the perfect jerry can for your wood stove is about balancing capacity, dimensions, and material for efficient and safe operation.

Preparing and Cleaning the Jerry Can

Before starting to use the jerry can, it’s crucial to properly clean and prepare it by removing any dirt or residue, and then ensuring it’s completely dry. Here is the cleaning process and safety precautions to follow:

  1. Rinse the jerry can with warm water and a mild detergent to remove any dirt or debris. Use a sponge or brush to scrub the inside and outside of the can thoroughly.

  2. Rinse the can again with clean water to remove any soap residue. Make sure to rinse it multiple times to ensure all the soap is gone.

  3. After rinsing, allow the jerry can to air dry completely. This is important to prevent any moisture from causing rust or corrosion.

By following these cleaning steps, you can ensure that your jerry can is ready for modification.

Now, let’s discuss cutting open and modifying the jerry can for ventilation.

Advertisement

Cutting Open and Modifying the Jerry Can for Ventilation

I’ll explain how to use a few small holes in the jerry can to provide adequate ventilation for the wood stove. When modifying the jerry can for ventilation, it is important to take safety precautions and use the right tools. Here is a table outlining the necessary steps:

Step Safety Precautions Tools Needed
1 Wear protective gloves and goggles Drill
2 Work in a well-ventilated area Marker
3 Ensure the jerry can is empty and clean Metal file
4 Mark the desired ventilation holes on the can Safety glasses
5 Use the drill to create the holes Protective gloves
6 Smooth the edges of the holes with the metal file Goggles
7 Clean any metal shavings from the can Clean cloth

Adding Legs and a Base to the Wood Stove

I can attach some sturdy legs and a stable base to the wood stove to ensure it stands securely on any surface. Achieving stove stability is crucial to prevent accidents and maintain proper functioning.

When choosing materials for the legs and base, it’s important to consider their strength, durability, and heat resistance. Here are three essential elements to consider:

  1. Material Selection: Opt for materials that can withstand high temperatures, such as stainless steel or cast iron. These materials are known for their strength and ability to withstand the intense heat generated by the wood stove.

  2. Design and Construction: The design of the legs should provide sufficient support and stability. Consider a tripod or four-leg design for optimal balance. Additionally, ensure the legs are securely attached to the stove body to prevent any wobbling or instability.

  3. Base Size and Shape: The base of the wood stove should be wide and flat enough to distribute the weight evenly, ensuring stability on various surfaces. A larger base will provide better stability, especially when using the stove on uneven or soft ground.

Testing and Using Your DIY Wood Stove

I’ve successfully tested and now use my DIY wood stove to cook meals while camping. It’s a simple yet effective solution for outdoor cooking. However, before using it, I took several testing techniques and safety precautions to ensure its efficiency and my own well-being.

Firstly, I conducted a leak test to ensure there were no air or gas leaks that could potentially cause a fire hazard. This involved pressurizing the stove and checking for any signs of leakage. I also tested its heat distribution by placing a pot of water on the stove and monitoring how evenly the heat was dispersed.

Advertisement

To further ensure safety, I implemented safety precautions such as maintaining a safe distance between the stove and any flammable objects, using heat-resistant gloves when handling the stove, and having a fire extinguisher nearby.

Using my DIY wood stove has been a game-changer for my camping trips. Not only does it provide a reliable cooking source, but it also allows me to enjoy the natural surroundings without relying on traditional campfire cooking methods. By following proper testing techniques and safety precautions, I can confidently cook my meals and enjoy the great outdoors.

Frequently Asked Questions

How Long Does It Take to Build a Wood Stove From a Jerry Can?

It takes about 2 hours to build a wood stove from a jerry can. The benefits of using a wood stove include cost-effective heating and a sustainable fuel source. Regular cleaning and maintenance ensure optimal performance.

Can I Use Any Type of Wood for the Base of the Wood Stove?

I can use different types of wood for the base of the wood stove, but it’s important to consider safety precautions when using it indoors. Proper ventilation and non-flammable materials are crucial.

Is It Safe to Use the Wood Stove Indoors?

Oh, using a wood stove indoors, what a brilliant idea! Let me enlighten you on the potential health hazards and share some precise tips for safely using one. Shall we begin?

Advertisement

Can I Paint the Jerry Can After Modifying It?

Yes, you can paint the modified jerry can using various painting techniques. It is important to choose a paint that can withstand high temperatures and adhere well to metal surfaces. Make sure to consider alternative fuel sources when painting for safety.

What Tools Do I Need to Build a Wood Stove From a Jerry Can?

To build a wood stove from a jerry can, I need a few tools like a jigsaw, drill, and metal file. Safety precautions are crucial, and alternative materials can be used if necessary.

Can I Use a Wood Stove Insert in a DIY Jerry Can Wood Stove?

When considering building a wood stove fireplace, it’s crucial to factor in the cost of materials and construction. However, if you’re planning to use a wood stove insert in a DIY Jerry Can Wood Stove, the cost of building a wood stove fireplace may decrease significantly. This alternative method combines affordability and practicality, making it an excellent choice for those seeking an alternative heating solution.

Can Duraflame Logs Be Used in a Wood Stove Made from a Jerry Can?

Can Duraflame logs be used in a wood stove made from a jerry can? Many DIY enthusiasts wonder about using Duraflame logs in a wood stove. While Duraflame logs are commonly used in traditional fireplaces, their use in a jerry can wood stove may not be ideal. It’s important to consider the safety and compatibility aspects of using duraflame logs in wood stoves specifically designed for them.

Conclusion

After carefully selecting the right jerry can, preparing and modifying it for ventilation, and adding sturdy legs and a stable base, your DIY wood stove is ready for testing and use.

Advertisement

With its compact design and efficient functionality, this wood stove provides a practical and cost-effective heating solution for outdoor activities or emergency situations.

Embrace the warmth and convenience of this homemade creation, bringing comfort and coziness wherever you go.

Continue Reading

Trending