
The sense of fulfillment I experience upon finishing a DIY project that improves my everyday life is unmatched.
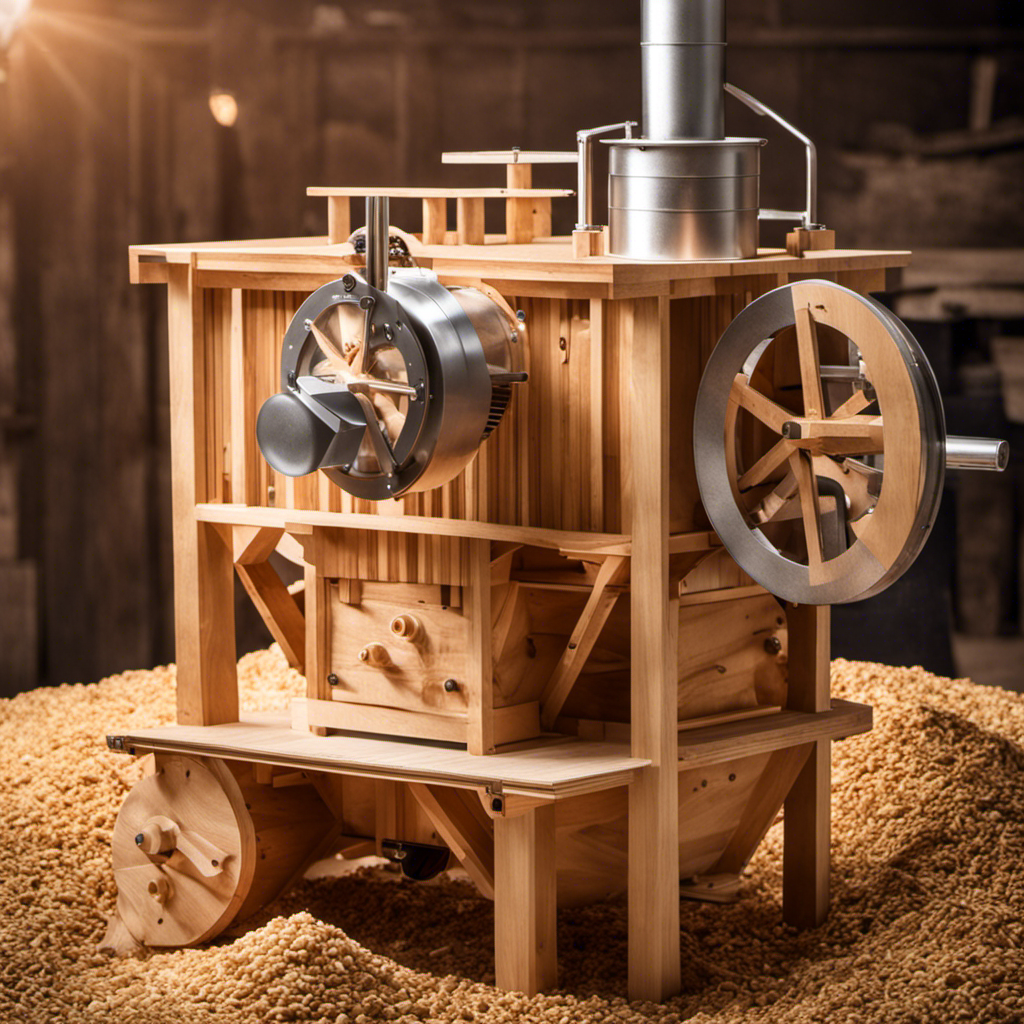
If you’re like me and enjoy the convenience of using wood pellets for heating or grilling, then building your own wood pellet sifter is a must!
This handy tool will help you separate any unwanted debris from your pellets, ensuring a clean and efficient burn.
In this article, I’ll guide you through each step of the process, providing detailed instructions and tips along the way.
Let’s dive in and create a top-notch wood pellet sifter together!
Key Takeaways
- Choose durable and weather-resistant wood for the sifter frame and support structure
- Properly attach the mesh screen to the frame for stability and effective particle separation
- Regularly maintain and care for the sifter to ensure its longevity and optimal performance
- Consider different material options and mesh sizes based on durability, cost, and desired particle separation efficiency
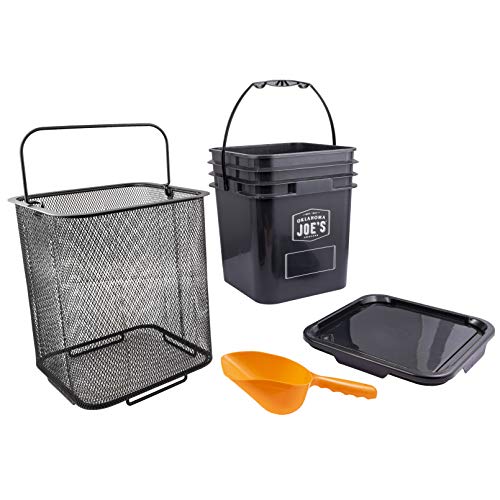
Oklahoma Joe's 5159038W01 Pellet Bucket Kit, Black
Store up to 20 pounds of hardwood pellets in the heavy-duty plastic pellet bucket.
As an affiliate, we earn on qualifying purchases.
As an affiliate, we earn on qualifying purchases.
Selecting the Right Materials
You’ll need to make sure you have the right materials for building your wood pellet sifter. Different types of wood offer varying levels of durability and resistance to wear and tear. Hardwoods such as oak, maple, or birch are excellent choices due to their strength and longevity. Softwoods like pine or cedar can also be used, but they may require more frequent maintenance to ensure their structural integrity over time. It’s important to consider the environment in which your sifter will be used and select a type of wood that can withstand those conditions.
Now that we’ve discussed selecting the appropriate materials, let’s move on to gathering the necessary tools for this project…

Soil Sieve for Garen -12 inches Soil Sifter for Rocks Compost-Sifting pan (1/8”Mesh Screen)
You will get a large 12" sieve with 1/8" mesh
As an affiliate, we earn on qualifying purchases.
As an affiliate, we earn on qualifying purchases.
Gathering the Necessary Tools
To gather the necessary tools for this project, start by grabbing your drill and measuring tape. These are essential for precise measurements and creating holes in the wood. Here are some common mistakes to avoid when gathering tools for building a wood pellet sifter:
- Not checking if the drill battery is charged – make sure it’s ready to go before starting.
- Forgetting to wear safety goggles – protect your eyes from flying debris.
- Using a dull drill bit – ensure smooth and accurate drilling with a sharp bit.
- Neglecting to have spare screws or nails on hand – save time by having extras nearby.
When organizing and storing your tools during the construction process, here are some helpful tips:
- Use a toolbox or tool belt to keep everything in one place.
- Label storage containers for easy identification of different types of fasteners.
- Hang frequently used tools on pegboards or hooks for quick access.
- Keep larger tools like saws or sanders in designated areas to prevent clutter.
Now that we have gathered our tools, let’s move on to designing the sifter frame…
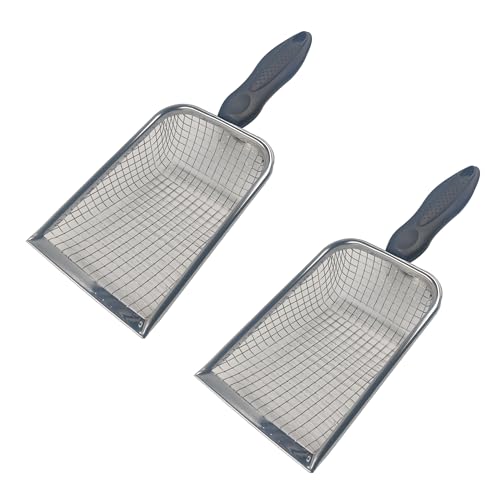
AUXBC 2Pcs Soil Sifter for Gardening, Stainless Steel Garden Sieve with Handle – 5mm Mesh Dirt Sifter for Compost Sand Rocks, Heavy-Duty Gardening Tool for Potting Landscaping and Planting
Package Including: You will receive 2Pcs 5mm Soil Sifter, Product size: 265mm×100mm×45mm( L×W×H) .Heavy-duty construction separates rocks, debris,…
As an affiliate, we earn on qualifying purchases.
As an affiliate, we earn on qualifying purchases.
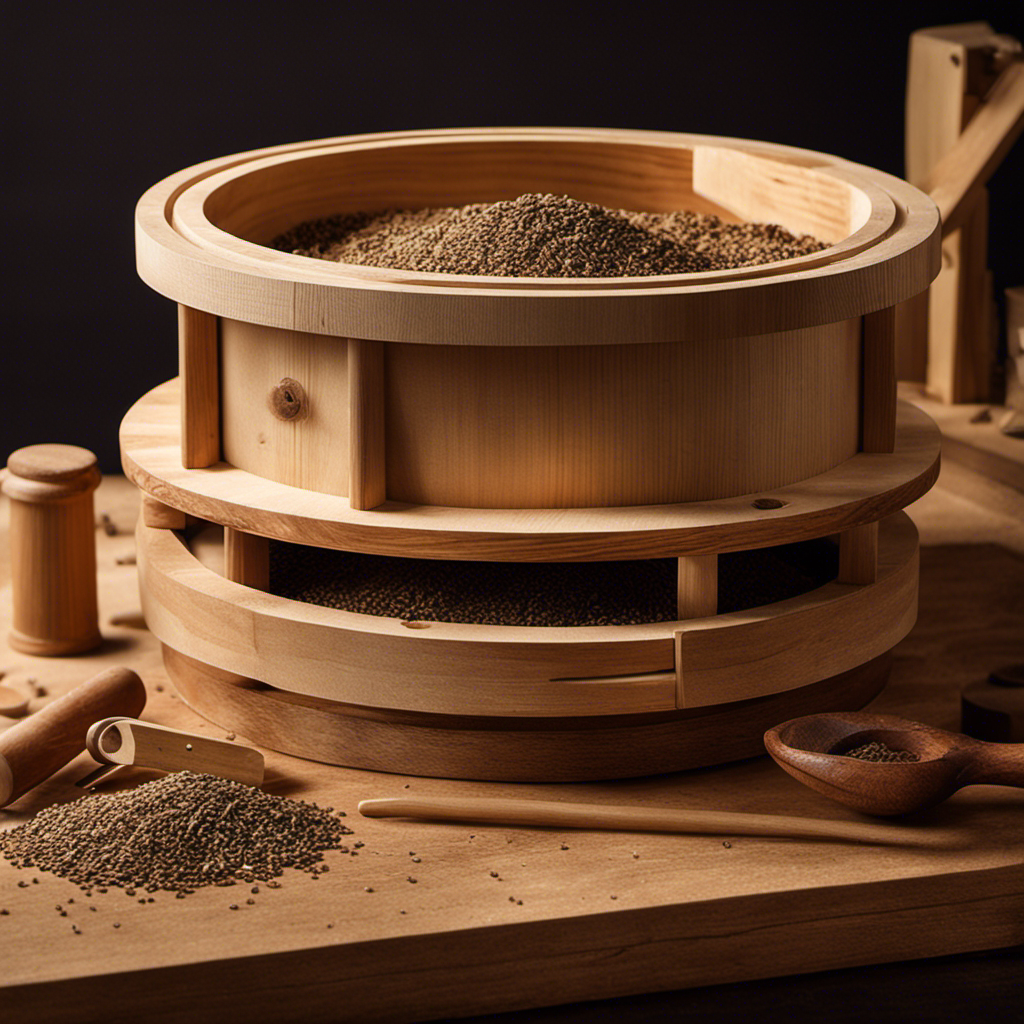
Designing the Sifter Frame
Now that you have the necessary tools, let’s focus on creating a sturdy frame for your sifter. The stability of the sifter frame is crucial to ensure its longevity and effectiveness. To achieve this, we need to pay attention to the construction of both the frame and the mesh screen.
When designing the sifter frame, it is important to choose a durable wood material such as oak or birch. These woods are known for their strength and resistance to warping or bending over time. Additionally, consider using thicker boards for added stability.
To give you a visual representation of what your sifter frame could look like, here is a simple 2 column and 4 row table:
| Frame Material | Frame Thickness |
|---|---|
| Oak | 1 inch |
| Birch | 0.75 inch |
| Pine | 1.25 inch |
| Cedar | 0.5 inch |
Building a sifter support structure requires careful consideration of weight distribution and balance. By following proper design principles in constructing your sifter frame with stable materials such as oak or birch, you will lay a solid foundation for building the support structure in the next section without compromising on functionality or durability.

Wenses Round Soil Sifter for 5-Gallon Bucket (1/8-inch Mesh), Stainless Steel Garden Sieve with Handles
HANDLES ALL KINDS OF JOBS: Whether you're prepping garden beds, composting, cleaning up litter, or sorting gravel, this…
As an affiliate, we earn on qualifying purchases.
As an affiliate, we earn on qualifying purchases.
Building the Support Structure
When it comes to building the support structure for my wood pellet sifter, there are three key points that I need to focus on.
First and foremost, selecting durable and weather-resistant materials is crucial to ensure the longevity of the support structure.
Additionally, I must pay close attention to the stability of the structure by considering factors such as weight distribution and wind resistance.
Lastly, it’s important to incorporate necessary adjustments into the design to accommodate any potential changes or improvements in the future.
Choosing the Right Materials
You’ll need to ensure you select the appropriate materials for building your wood pellet sifter. When it comes to constructing a wood pellet sifter, there are several advantages that make it an attractive option.
One of the main benefits is its ability to separate different-sized pellets, ensuring a consistent and high-quality fuel source. Additionally, popular designs include a simple wooden frame with wire mesh or screen attached, allowing for easy sifting and removal of unwanted debris.
As you consider the materials for your project, opt for sturdy and durable options like pressure-treated lumber and corrosion-resistant hardware. These choices will help ensure the longevity of your wood pellet sifter and provide reliable performance over time.
By choosing the right materials, you are setting yourself up for success in creating a functional and efficient tool for your wood pellet needs.
To ensure proper stability in your wood pellet sifter construction…
Ensuring Proper Stability
To guarantee stability, it’s important to choose sturdy materials and reinforce the frame of your sifter. By improving stability, you can enhance the durability of your wood pellet sifter, ensuring it stands up to regular use.
One way to achieve this is by selecting high-quality wood for the frame, such as hardwood or treated lumber. Additionally, reinforcing the joints with screws or dowels can prevent wobbling and maintain structural integrity.
Another aspect to consider is the size and weight of your sifter. A larger and heavier design will provide more stability during operation. Reinforcing key areas with metal brackets or braces can further improve stability.
By taking these measures, you can ensure that your wood pellet sifter remains stable and durable throughout its lifespan.
When incorporating necessary adjustments into your sifter design…
Incorporating Necessary Adjustments
Now that we have ensured proper stability for our wood pellet sifter, it’s time to focus on incorporating necessary adjustments.
One important aspect is adjusting the size of the sifter itself. This will allow us to sift different amounts of pellets depending on our needs. By making the sifter adjustable, we can easily accommodate varying quantities without compromising its effectiveness.
In addition, it’s crucial to incorporate adjustable legs into the design of our wood pellet sifter. This will enable us to level the sifter on uneven surfaces, ensuring a stable and balanced operation. Adjustable legs also make it easier to move and transport the sifter if needed.
With these adjustments in place, we are now ready to move on to constructing the mesh screen for our wood pellet sifter.
Constructing the Mesh Screen
When constructing the mesh screen for a wood pellet sifter, there are several key points to consider.
First, you need to choose the right material for the sifter, as different materials have varying levels of durability and resistance to wear and tear.
Second, you must carefully select the appropriate mesh size based on your desired particle separation and sifting efficiency.
Lastly, constructing a sturdy screen frame is crucial to ensure stability and longevity of the sifter during operation.
Sifter Material Options
You can choose from various materials for your wood pellet sifter, such as metal mesh, nylon netting, or PVC pipe. When considering the material for your sifter, there are a few factors to take into account: wood versus metal and durability versus cost.
Metal mesh is a popular choice due to its strength and longevity. It can withstand heavy use without breaking or wearing down easily. However, it may be more expensive compared to other options. On the other hand, wood can be a cheaper alternative but might not be as durable in the long run. Ultimately, the decision depends on your budget and how frequently you will be using the sifter.
Moving on to mesh size considerations…
Mesh Size Considerations
Consider selecting a mesh size that allows for efficient separation of particles while still maintaining the desired flow rate. When choosing the right mesh size for your wood pellet sifter, it is important to understand the benefits of using different mesh sizes.
Here are four key considerations:
-
Particle Size: Evaluate the average particle size you expect to encounter and choose a mesh size that can effectively separate those particles without clogging.
-
Flow Rate: Determine the desired flow rate for your sifter and select a mesh size that allows for smooth and uninterrupted material flow.
-
Efficiency: Find a balance between separating fine particles from larger ones while ensuring that the process remains efficient and productive.
-
Durability: Consider the strength and durability of different mesh sizes to ensure longevity in your sifter’s performance.
By carefully considering these factors, you can choose an optimal mesh size that maximizes efficiency and productivity in your wood pellet sifter. This will set the foundation for successful screen frame construction in the next section, ensuring seamless integration into your overall project.
SUBSEQUENT SECTION TRANSITION:
Now let’s move on to discussing screen frame construction techniques…
Screen Frame Construction
Now that we have considered the mesh size for our wood pellet sifter, let’s move on to the construction of the screen frame.
The design of the screen frame is crucial in ensuring its stability and durability during use. When building the frame, it is important to choose a material that is sturdy enough to withstand the pressure exerted by the pellets passing through it. I recommend using high-quality wood or metal for this purpose.
To ensure frame stability, consider adding additional support by incorporating crossbars or braces at strategic points along the frame. This will help prevent any warping or bending of the frame over time and ensure a longer lifespan for your sifter.
With a sturdy and stable screen frame in place, we can now move on to attaching the screen to it.
Attaching the Screen to the Frame
To attach the screen to the frame, you’ll need a staple gun and some sturdy staples. First, make sure your mesh screen is cut to size and fits snugly within the frame. This will ensure effective sifting of wood pellets without any gaps.
Next, reinforce the frame by adding wooden supports or corner braces at each joint. This will prevent any unnecessary movement or flexing during the installation process.
Once your frame is reinforced, position the screen over it and use the staple gun to secure it in place. Start at one corner and work your way around, evenly spacing out the staples for maximum stability.
Now that your mesh screen is securely attached, we can move on to adding handles for easy use.
Transitioning into ‘Adding Handles for Easy Use,’ we can now focus on enhancing convenience with well-placed handles that allow for effortless mobility and maneuverability of our wood pellet sifter.
Adding Handles for Easy Use
When it comes to adding handles for easy use, two key points to consider are ergonomic handle design and the resulting improved user experience.
Ergonomic handle design focuses on creating handles that fit comfortably in the hand and minimize strain or discomfort during use. By prioritizing this aspect, we can enhance the overall user experience by making it more convenient and enjoyable to handle objects or tools.
Ergonomic Handle Design
The ergonomic handle design allows for a comfortable grip while using the wood pellet sifter. When designing the handle, I took into consideration the importance of an ergonomic grip to prevent strain and fatigue during use.
The handle is carefully shaped and textured to fit perfectly in your hand, providing a secure and comfortable grip. Not only does this enhance user comfort, but it also improves overall control and efficiency while sifting wood pellets.
Additionally, handle durability was a top priority during the design process. The handle is made from high-quality materials that are built to withstand frequent use and provide long-lasting performance.
With its ergonomic grip and durable construction, our wood pellet sifter ensures a reliable tool for any sifting task, ultimately leading to an improved user experience.
Improved User Experience
With its comfortable grip and durable construction, our wood pellet sifter enhances the user experience. The improved design of our sifter ensures that it is easy to hold and operate, reducing strain on the hand and wrist during use.
The comfortable grip allows for extended periods of sifting without discomfort or fatigue. Additionally, the sturdy construction of the sifter ensures that it can withstand frequent use without breaking or wearing down. This not only enhances functionality but also provides peace of mind to users who rely on a reliable tool for their woodworking projects.
To further protect this valuable tool, applying a protective finish will help prolong its lifespan and maintain its performance over time.
Applying a Protective Finish
To protect your wood pellet sifter, apply a protective finish using a brush or rag. There are several options for protective finishes that can enhance the durability and longevity of your sifter. Here are some techniques to consider when applying the finish:
-
Sand the surface: Before applying any finish, make sure to sand the surface of your sifter to ensure it is smooth and free from any imperfections.
-
Choose the right finish: Consider using a clear polyurethane or varnish as they provide excellent protection against moisture and wear.
-
Apply in thin coats: To achieve an even and smooth finish, apply thin coats of the protective finish rather than one thick coat.
-
Allow drying time: Make sure to follow the manufacturer’s instructions regarding drying time between each coat of finish.
-
Seal with wax: For added protection, consider sealing the finished sifter with a layer of wax.
After applying a protective finish to your wood pellet sifter, it is important to test and adjust its functionality before use.
Testing and Adjusting the Sifter
Make sure you thoroughly test and make any necessary adjustments to your newly finished wood pellet sifter before putting it to use.
Testing methods are crucial in ensuring the efficiency and functionality of your sifter. One effective method is pouring a small amount of wood pellets into the sifter and shaking it gently. This will help identify any gaps or loose connections that may need adjusting.
Another useful technique is running a larger batch of pellets through the sifter while observing its performance. Pay attention to how well the pellets are sieved, checking for any issues such as jamming or uneven distribution.
By testing and identifying these issues, you can then make the necessary adjustments to ensure optimal performance.
With proper testing and adjusting techniques, your wood pellet sifter will be ready for final tips and considerations on usage and maintenance.
Final Tips and Considerations
For optimal usage and maintenance, here are some final tips and considerations to keep in mind.
-
When adding the final touches to your wood pellet sifter, be sure to double-check all connections and ensure that everything is secure. This will prevent any potential issues during operation.
-
Additionally, it is important to clean the sifter regularly to maintain its efficiency. Remove any wood dust or debris that may accumulate over time.
-
Lubricate moving parts such as hinges or rollers to reduce friction and extend their lifespan.
-
Finally, store your sifter in a dry and protected area when not in use, as exposure to moisture can cause damage.
Frequently Asked Questions
How Much Wood Pellets Can the Sifter Hold at Once?
I’m not sure how much wood pellets the sifter can hold at once, but it’s important to consider the size and capacity of the sifter. Wood pellet storage is crucial for alternative uses like heating or cooking.
Can the Sifter Be Used for Other Types of Materials Besides Wood Pellets?
Yes, the sifter can be used for other materials besides wood pellets. It’s important to consider the pros and cons of using a wood pellet sifter for alternative purposes, such as different particle sizes and potential wear on the equipment.
How Long Does It Take to Build the Wood Pellet Sifter?
It takes about 2 hours to build the wood pellet sifter. To optimize efficiency, ensure proper alignment of the components. Regularly clean and lubricate moving parts for long-lasting use.
Is It Necessary to Have Prior Woodworking Experience to Build the Sifter?
It’s not necessary to have prior woodworking experience to build the sifter, but it’s important to prioritize safety precautions. Beginners can start by learning basic woodworking techniques and gradually expanding their skills.
Can the Sifter Be Disassembled for Easy Storage When Not in Use?
Yes, the wood pellet sifter can be disassembled for easy storage when not in use. The assembly process is straightforward, and there are a few tips for storing it, such as keeping it in a dry place to prevent damage.
Can a DIY Wood Pellet Mill be Used to Make a Wood Pellet Sifter?
Yes, a DIY wood pellet mill can be used to make a wood pellet sifter. By using the right materials and following the proper instructions, you can repurpose the mill to also sift the pellets, ensuring a more refined final product.
Conclusion
In conclusion, building a wood pellet sifter may seem straightforward, but it requires attention to detail and precision. Throughout the process, I discovered that selecting the right materials and designing a sturdy frame are crucial for optimum performance.
Additionally, constructing a durable mesh screen and adding convenient handles make using the sifter effortless. It’s important to apply a protective finish to enhance its appearance and ensure longevity. Finally, testing and adjusting the sifter will guarantee efficiency.
So go ahead, embark on this seemingly simple project – just don’t underestimate its complexity!