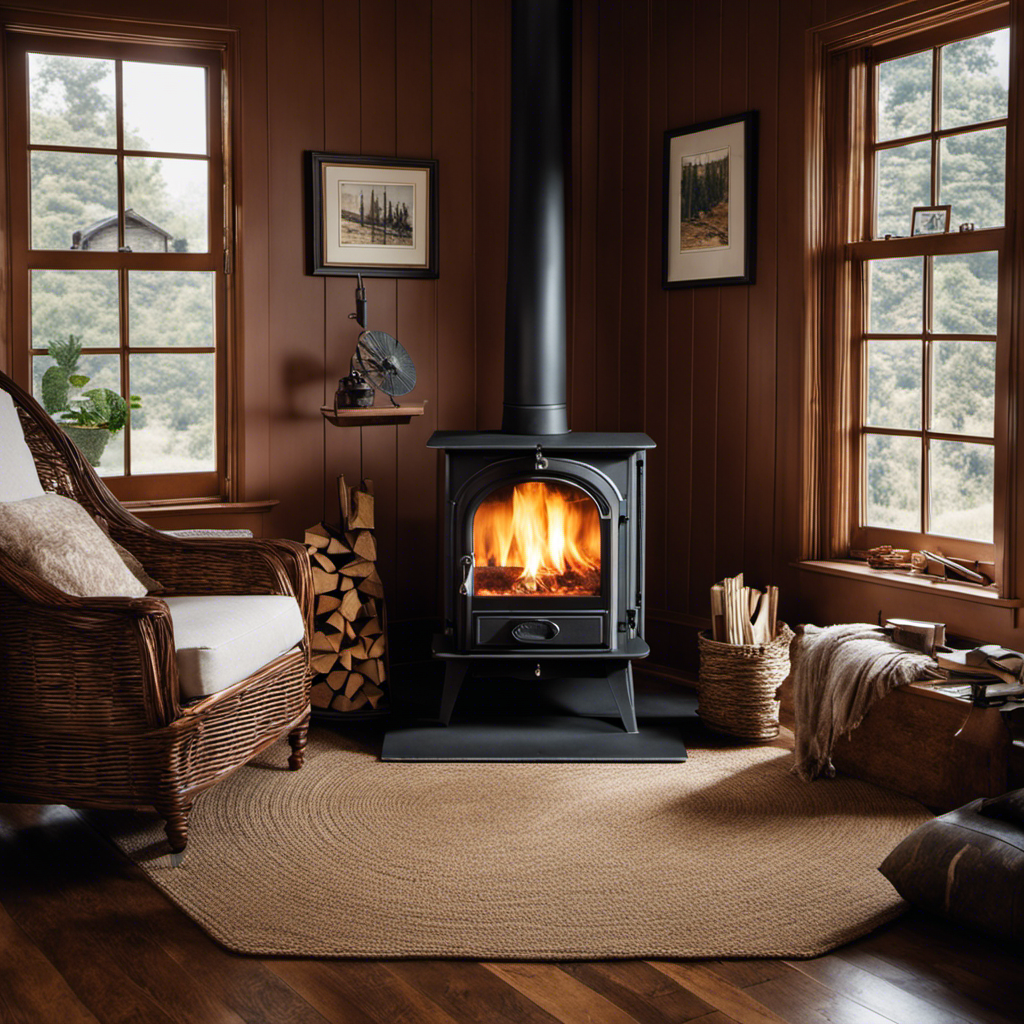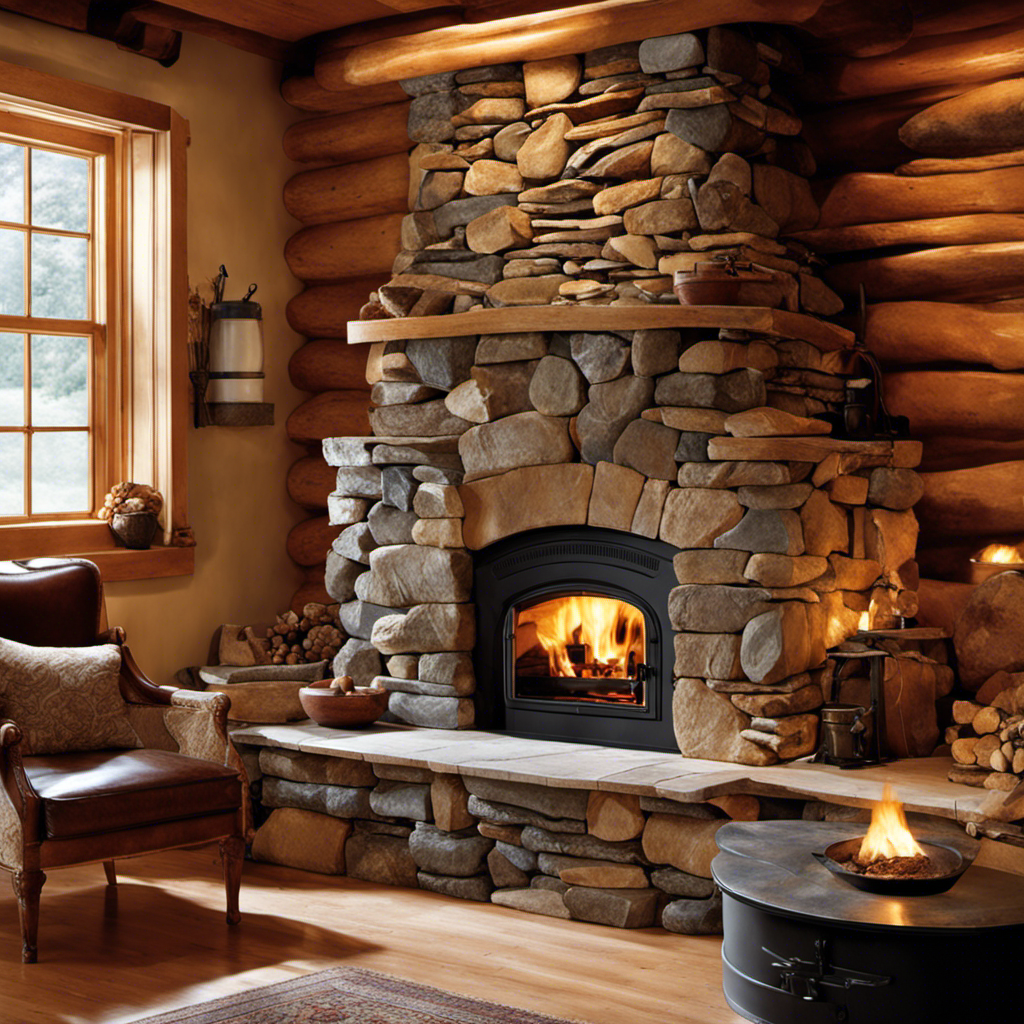
As I began constructing the stone veneer fireplace for my wood-burning stove, I continuously envisioned the cozy atmosphere it would bring to my house.
Choosing the right materials and preparing the foundation were essential first steps.
With precision and attention to detail, I carefully installed the stone veneer, grouted and sealed the hearth, and added the finishing touches.
Join me as I share my tips and techniques for creating a stunning and durable hearth for your wood stove.
Key Takeaways
- Consider aesthetics and durability when choosing the stone type for a veneer hearth.
- Natural stones like granite, limestone, or slate are popular choices for stone veneer hearths.
- Manufactured stones offer a more affordable option without compromising quality.
- Proper installation and regular maintenance, including cleaning and sealing, are important for the longevity of the stone veneer hearth.
natural stone veneer for fireplace hearth
As an affiliate, we earn on qualifying purchases.
As an affiliate, we earn on qualifying purchases.
Choosing the Right Materials
What materials should I use when choosing the right ones for building a stone veneer hearth for my wood stove?
When selecting the stone type for the veneer hearth, it’s important to consider both aesthetics and durability. Natural stones like granite, limestone, or slate are popular choices due to their strength and timeless appeal. However, there are also manufactured stones available that offer a more affordable option without compromising on quality.
Cost considerations play a significant role in the decision-making process. It’s essential to compare prices and evaluate the long-term value of the materials. Additionally, factors like ease of installation and maintenance should be taken into account.
By carefully considering these aspects, I can ensure that I choose the right materials for my stone veneer hearth.
This leads us to the next step of preparing the foundation.
mortar mix for stone veneer installation
As an affiliate, we earn on qualifying purchases.
As an affiliate, we earn on qualifying purchases.
Preparing the Foundation
I need to gather all the necessary tools and materials for preparing the foundation of my stone veneer hearth.
Foundation preparation is a critical step in building a sturdy and durable hearth for my wood stove.
To start, I’ll need a shovel to excavate the area and remove any grass or debris.
Next, I’ll use a level to ensure that the ground is even and properly sloped for drainage.
A tamper will come in handy for compacting the soil and creating a solid base.
Additionally, I’ll need landscape fabric to prevent weed growth and a layer of gravel for proper drainage.
Lastly, I’ll gather a masonry trowel, mortar mix, and a mallet for laying the stone veneer.
With these tools and materials, I can confidently begin the foundation preparation and use leveling techniques to ensure a successful stone veneer hearth installation.
stone hearth sealing and cleaning products
As an affiliate, we earn on qualifying purchases.
As an affiliate, we earn on qualifying purchases.
Installing the Stone Veneer
After compacting the soil, I can begin installing the stone veneer by applying mortar and pressing each piece firmly into place. Stone veneer installation requires precision and attention to detail to ensure a seamless and professional-looking finish. Here are some tips and tricks to help you achieve the best results:
| Tips and Tricks for Stone Veneer Installation |
|---|
| 1. Start from the bottom and work your way up. |
| 2. Apply mortar evenly and generously to the back of each stone. |
| 3. Press the stone firmly into place, ensuring a tight fit. |
| 4. Use a level to check for plumb and level as you go. |
landscape fabric for foundation drainage
As an affiliate, we earn on qualifying purchases.
As an affiliate, we earn on qualifying purchases.
Grouting and Sealing the Hearth
To ensure the longevity and visual appeal of my stone veneer hearth, I’ll apply grout and sealant to protect it from stains and damage. Grouting techniques play a crucial role in creating a strong and seamless bond between the individual stones.
I’ll start by mixing the grout according to the manufacturer’s instructions, ensuring the right consistency. Using a grout bag or a trowel, I’ll carefully fill the gaps between the stones, making sure to apply the grout evenly. After allowing it to set for a specific period of time, I’ll clean off any excess grout using a damp sponge.
Once the grout is fully cured, I’ll proceed with sealing the hearth using high-quality sealing products. This will provide an extra layer of protection against stains, moisture, and everyday wear and tear, ensuring the stone veneer hearth remains beautiful for years to come.
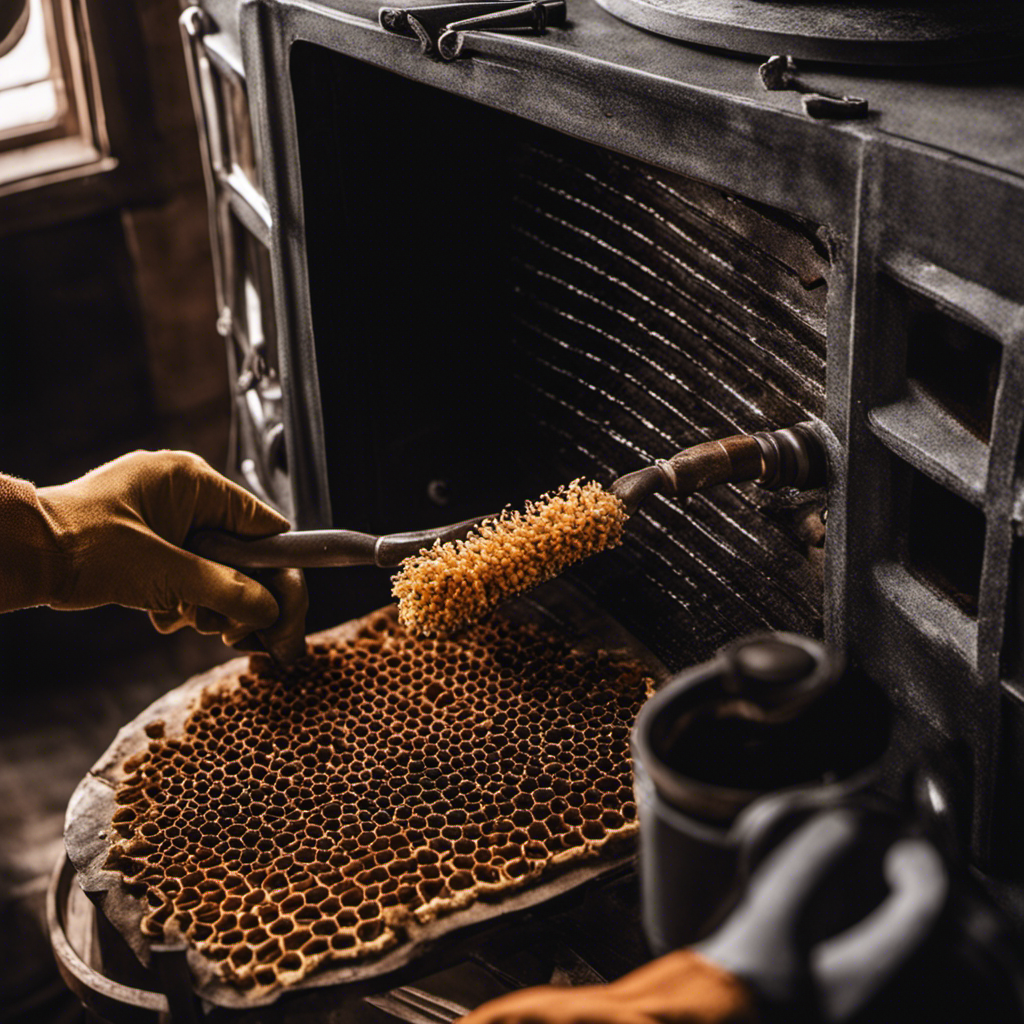
Finishing Touches and Maintenance Tips
In order to keep the stone veneer hearth looking its best, I’ll regularly clean and reseal it, ensuring its longevity and durability.
Cleaning the stone veneer hearth is essential to remove any dirt, dust, or debris that may accumulate over time. To do this, I’ll use a soft brush or vacuum cleaner to gently remove any loose particles. For stubborn stains, a mild detergent mixed with water can be applied and then rinsed off thoroughly.
Once the cleaning is complete, I’ll proceed to reseal the stone veneer hearth using a high-quality stone sealer. This will protect the surface from moisture, stains, and other damages.
Additionally, I’ll also consider using fireplace accessories such as a fire screen or firewood holder to enhance both the aesthetic appeal and functionality of the hearth.
Frequently Asked Questions
How Much Weight Can a Stone Veneer Hearth for a Wood Stove Support?
A stone veneer hearth for a wood stove can support varying weights depending on factors such as the type of stone used, the thickness of the hearth, and the underlying support structure.
Are There Any Special Considerations for Installing a Stone Veneer Hearth on a Concrete Foundation?
Special considerations for installing a stone veneer hearth on a concrete foundation include ensuring proper anchoring, allowing for expansion and contraction, and using appropriate adhesives. The advantages of a concrete foundation include stability and durability.
Can a Stone Veneer Hearth Be Installed on a Wooden Floor?
Yes, a stone veneer hearth can be installed on a wooden floor. However, it is important to ensure that the floor is structurally sound and can support the weight of the hearth. Additionally, proper insulation and fireproofing measures should be taken to ensure safe wood stove installation. Stone veneer hearths offer several benefits, including enhanced aesthetics, durability, and heat resistance.
How Long Does the Grout Need to Dry Before the Wood Stove Can Be Used?
The grout should dry for at least 24-48 hours before using the wood stove. To properly clean dried grout, use a grout cleaner and scrub with a brush. When choosing grout color, consider the stone veneer color for a cohesive look.
What Is the Recommended Frequency for Resealing the Stone Veneer Hearth to Maintain Its Appearance and Durability?
To maintain the appearance and durability of a stone veneer hearth, it is recommended to reseal it periodically. Tips for maintaining its durability include regular cleaning, avoiding harsh chemicals, and inspecting for any cracks or damage.
Conclusion
In conclusion, building a stone veneer hearth for a wood stove requires careful material selection, proper foundation preparation, precise installation of the stone veneer, and thorough grouting and sealing.
Attention to detail and regular maintenance will ensure the longevity and functionality of the hearth.
By following these steps, you can create a beautiful and durable hearth that adds charm and warmth to your wood stove area.