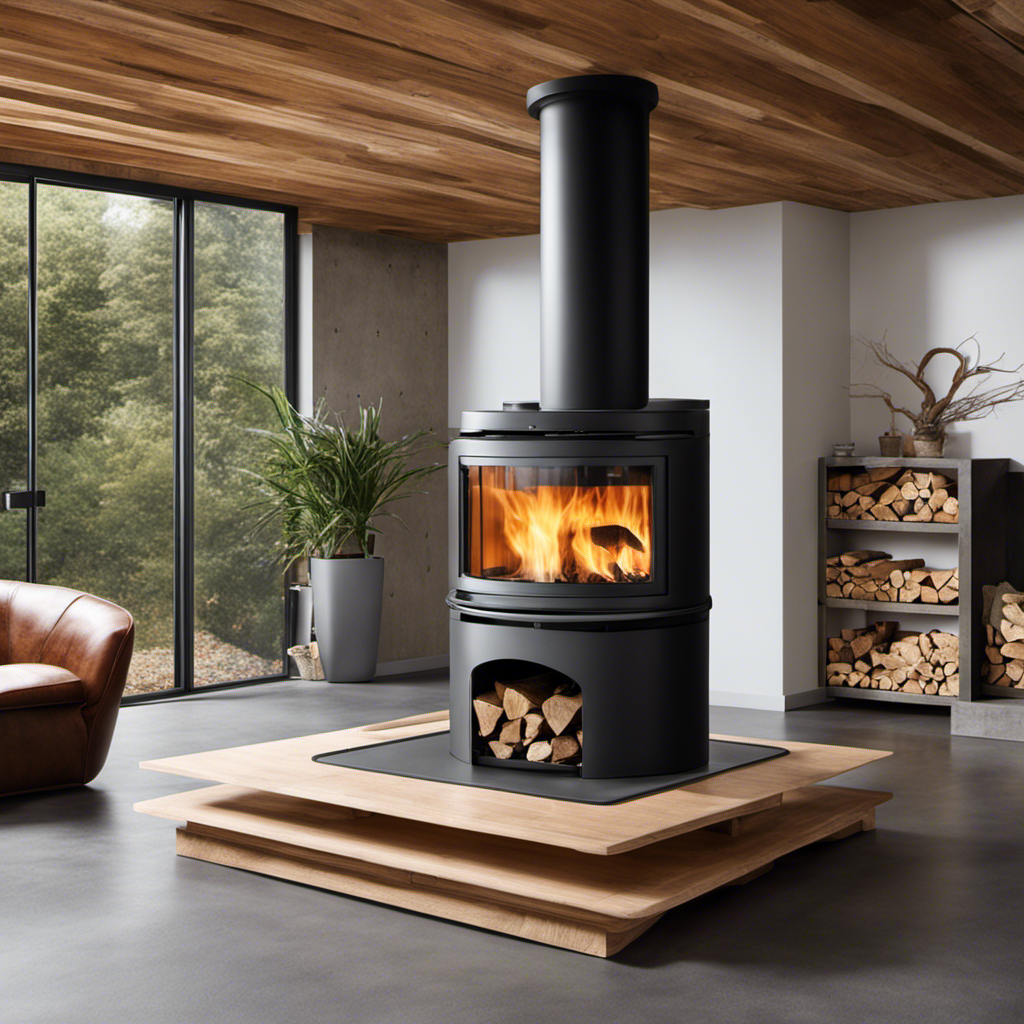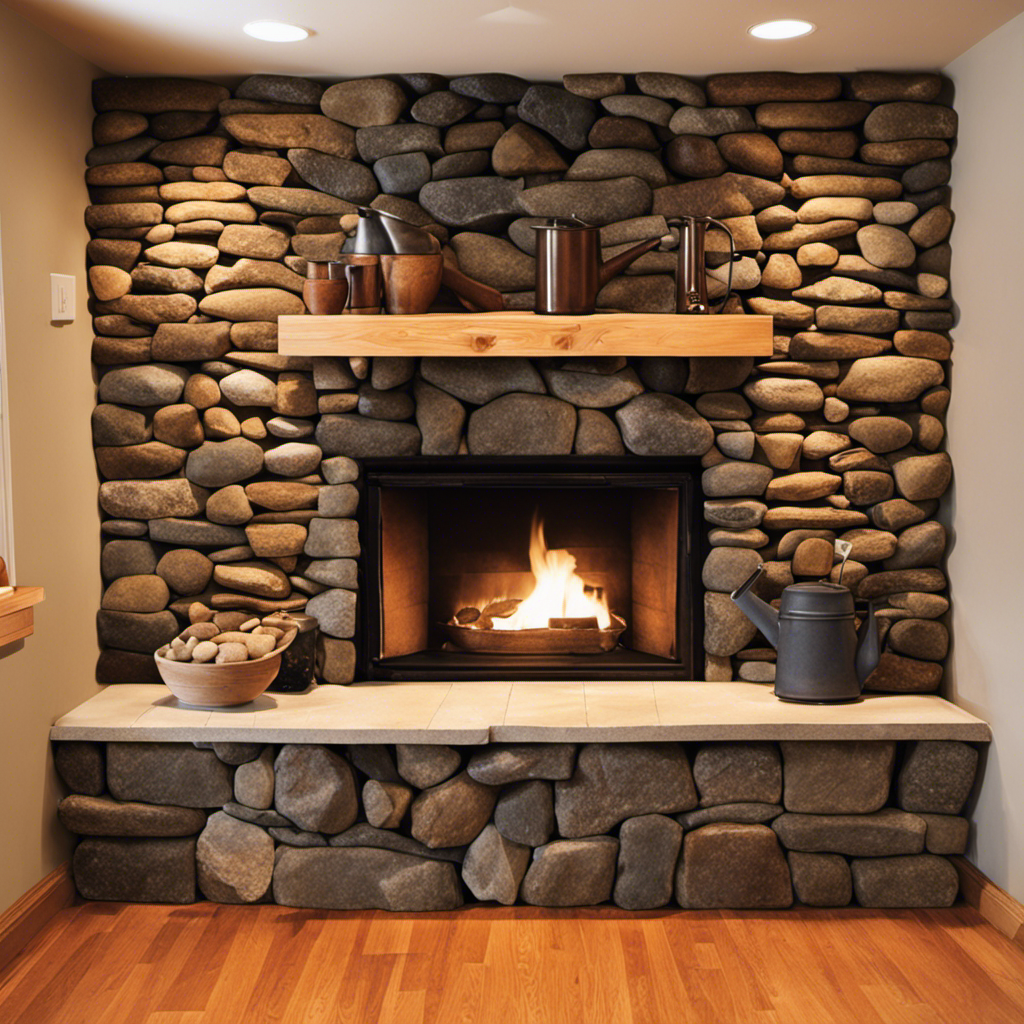

Have you ever imagined relaxing evenings next to a wood-burning stove, encircled by a stunning stone wall? Now is the perfect opportunity to make that vision come true! In this article, I will walk you through the steps of constructing your own stone wall for your wood stove.
From selecting the perfect rocks to arranging and mortaring them, you’ll learn all the steps necessary to create a beautiful and functional addition to your home.
Get ready to transform your space and enjoy the warmth and beauty of a rock wall.
Key Takeaways
- Select natural stones for durability, aesthetics, and resistance to weathering.
- Thoroughly clean and level the ground surface before preparing the rock wall.
- Ensure the first row of rocks is tightly packed together and level for stability.
- Carefully arrange and mortar the rocks, choosing the appropriate type of mortar for the desired characteristics.

AirStone Primary Stones: Spring Creek Color Blend, Manufactured Stone Wall Covering, Indoor & Outdoor Home Décor
This carton contains Primary Wall Stones (8 square feet), which are the basic wall covering unit
As an affiliate, we earn on qualifying purchases.
As an affiliate, we earn on qualifying purchases.
Choosing the Right Rocks for Your Rock Wall
I need to research which rocks are best for my rock wall, so I can ensure it’s sturdy and long-lasting.
When it comes to choosing the right rocks for your rock wall, there are a few rock selection tips to keep in mind.
Firstly, it’s important to choose natural stones instead of synthetic ones. Natural stones have several benefits, such as durability, aesthetics, and resistance to weathering. They also provide better drainage and are more environmentally friendly.
Additionally, natural stones come in a variety of shapes, sizes, and colors, allowing you to create a unique and visually appealing rock wall.

QUIKRETE Construction Grade Mortar Mix of Masonry Cement and Graded Sand for Laying Brick, Concrete Units, and Stone, 10 Pounds
QUIKRETE Construction Grade Mortar Mix of Masonry Cement and Graded Sand for Laying Brick, Concrete Units, and Stone,…
As an affiliate, we earn on qualifying purchases.
As an affiliate, we earn on qualifying purchases.
Preparing the Surface for the Rock Wall
Before beginning the construction, it’s crucial to thoroughly clean and level the ground surface, as well as remove any debris or vegetation, in order to ensure a solid foundation for the rock wall.
To prepare the surface for the rock wall, the first step is to clean and seal the surface. This involves removing any loose dirt or dust and then using a power washer or scrub brush to thoroughly clean the surface.
Once the surface is clean, it’s important to apply a layer of mortar. This will help to create a strong bond between the rocks and provide additional stability to the wall. The mortar should be applied evenly and allowed to dry before proceeding with the construction of the rock wall.

Noch 58470 Granite Rock Wall H0,Tt Scale Model Kit
Quality scenery for use on model railway layouts or dioramas
As an affiliate, we earn on qualifying purchases.
As an affiliate, we earn on qualifying purchases.
Building the Foundation of the Rock Wall
Once the surface is prepared, it’s important to carefully lay the first row of rocks in order to build a strong foundation for the rock wall. Before starting, make sure the ground is level and free from any debris or vegetation. This will ensure a stable base for your wall.
Begin by securing the base with a layer of gravel or crushed stone. This will help with drainage and prevent any shifting of the rocks over time. Place the first row of rocks, making sure they’re tightly packed together and level. Use a level to check for any unevenness and make adjustments as needed.
This initial row is crucial for the stability of the entire wall, so take your time to get it right. Once the first row is in place, you can begin arranging and mortaring the rocks in your rock wall.

ESreake 2 Pcs Pointing Trowel and Gauging Trowel Set,6" Masonry Hand Tool Set with Soft Grip Handle,Margin Trowels Bricklaying Trowels Building Products (6 Inch)
【Package Included】: 1 X 6” Pointing trowel ; 1 X 6” Gauging trowel
As an affiliate, we earn on qualifying purchases.
As an affiliate, we earn on qualifying purchases.
Arranging and Mortaring the Rocks in Your Rock Wall
To ensure a strong and stable rock wall, carefully arrange and mortar the rocks, ensuring they’re tightly packed and level.
When it comes to mortar types, there are various options to consider, such as cement, lime, or a combination of both. Each type has its own advantages and characteristics, so it’s important to choose the one that suits your rock wall design best.
A well-constructed rock wall not only serves its practical purpose but also adds aesthetic appeal to your surroundings. The sight of the rocks fitting perfectly together, held in place by mortar, can evoke a sense of satisfaction and pride. It’s a testament to the craftsmanship and attention to detail that went into its creation.
Now, let’s move on to the next section and discuss the finishing touches and maintenance for your rock wall.
Finishing Touches and Maintenance for Your Rock Wall
I’ll be discussing the importance of applying a protective sealant to the rocks of my rock wall for added durability and longevity. When it comes to maintaining the beauty and integrity of my rock wall, sealing is a crucial step that shouldn’t be overlooked.
By applying a high-quality sealant, I can protect the rocks from weathering, cracking, and erosion caused by moisture, UV rays, and other environmental factors. This not only enhances the aesthetic appeal of the wall but also ensures its structural strength over time.
To seal the rock wall effectively, I follow a few maintenance tips. First, I clean the surface thoroughly to remove any dirt or debris. Then, I apply the sealant evenly using a brush or sprayer, making sure to cover all the rocks. Lastly, I allow sufficient drying time for the sealant to fully bond and provide maximum protection.
With regular sealing, my rock wall will remain beautiful and resilient for years to come.
Conclusion
In conclusion, building a rock wall for your wood stove is a rewarding and practical project that adds both beauty and functionality to your home.
By carefully choosing the right rocks and properly preparing the surface, you can create a sturdy foundation for your wall.
With precise arranging and mortaring techniques, your rock wall won’t only provide a stylish aesthetic, but also ensure the safe and efficient use of your wood stove.
Remember, a well-built rock wall is worth its weight in gold when it comes to heating your home.