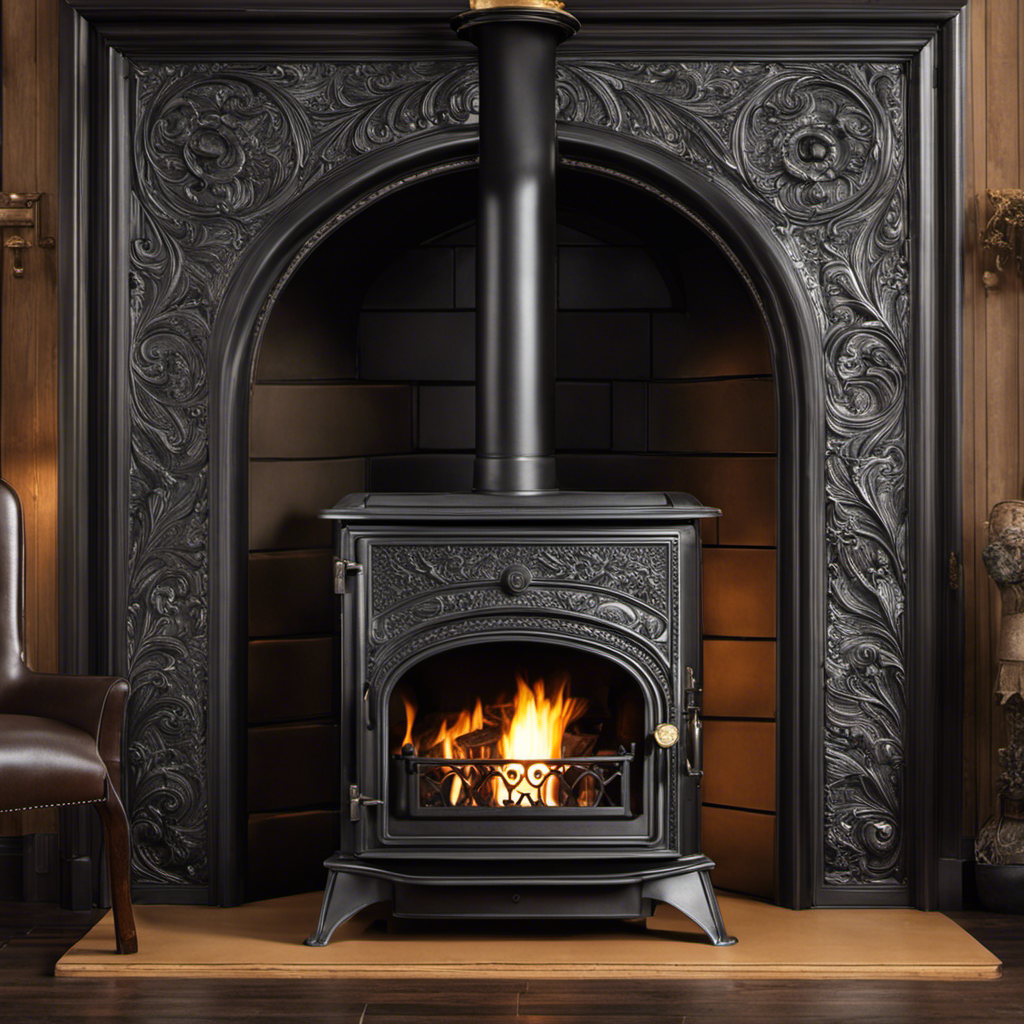
Wood Stove
How Often To Clean Ash Out Of Wood Stove
I’ve learned that it is essential to regularly remove ash to ensure the wood stove operates at its best. Accumulated ash can obstruct airflow and decrease the stove’s efficiency, resulting in a less effective heating system.
Determining the frequency of cleaning depends on several factors, such as the type of wood and frequency of use.
In this article, I will provide a recommended cleaning schedule, signs that indicate immediate ash removal, and some tips and tricks for efficient cleaning.
Key Takeaways
- Regular ash removal ensures optimal stove performance.
- Cleaning the ash regularly reduces the risk of fire hazards.
- Ash can be used as a fertilizer for plants.
- Wood stove ash acts as a natural pest repellent.
The Importance of Regular Ash Removal
I can’t stress enough how important it’s to regularly remove the ashes from your wood stove. Not only does it ensure the efficient functioning of your stove, but it also has several other benefits.
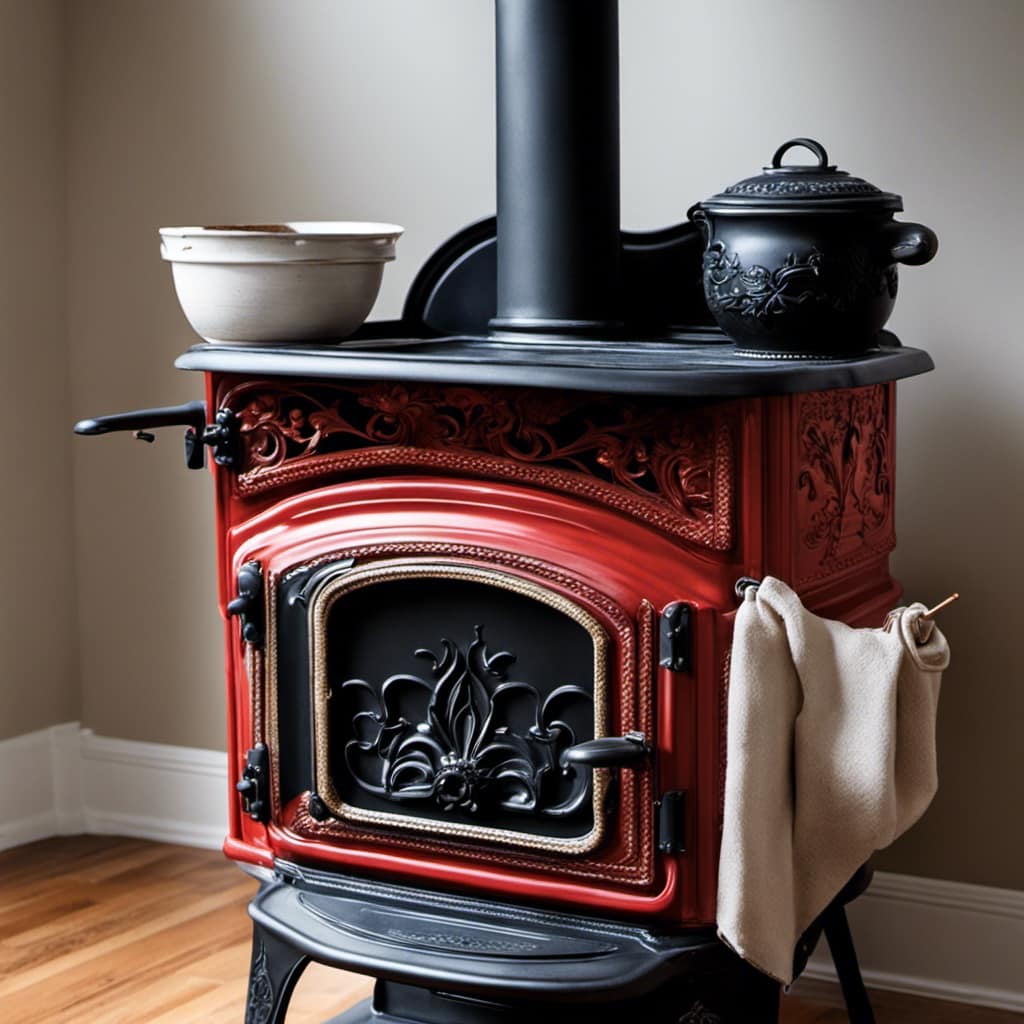
One of the main advantages of wood stove ash is its use as a fertilizer. Ash contains essential nutrients like potassium, calcium, and magnesium, which are beneficial for plants. It can be spread in the garden or mixed with compost to enrich the soil.
Additionally, wood stove ash has alternative uses. It can be used as a natural pest repellent, as it deters slugs and snails. It can also be used to melt ice on driveways and sidewalks.
Considering these benefits, it’s crucial to determine the frequency of ash removal based on factors like stove usage, ash accumulation, and stove performance.
Factors to Consider When Determining Frequency
Determining the frequency of ash removal requires considering factors such as stove usage and ash accumulation. Several factors play a role in determining how often ash should be cleaned out of a wood stove. These factors include the type of wood being burned, the size of the stove, the amount of use, and the level of ash accumulation.
Factors to Consider | Frequency Determination |
---|---|
Type of Wood | Hardwood burns longer and produces less ash compared to softwood. |
Size of Stove | Larger stoves can hold more ash, allowing for less frequent cleanings. |
Amount of Use | Frequent use may require more frequent ash removal. |
Taking these factors into account, it is generally recommended to clean out the ash from a wood stove every 1-2 weeks. However, it is important to regularly monitor the accumulation and adjust the frequency accordingly. By doing so, you can ensure optimal stove performance and reduce the risk of fire hazards.
Recommended Cleaning Schedule for Optimal Performance
Regularly cleaning the wood stove and removing accumulated ash is essential for maintaining optimal performance and reducing the risk of fire hazards. Here are some important points to consider when determining the recommended cleaning schedule:
-
Use a metal scoop or shovel: These tools are ideal for safely removing the ash from the wood stove. Avoid using plastic or any other flammable materials.
-
Clean the ash pan: Empty the ash pan regularly to prevent it from overflowing. This will ensure proper airflow and prevent the build-up of ash in the stove.
-
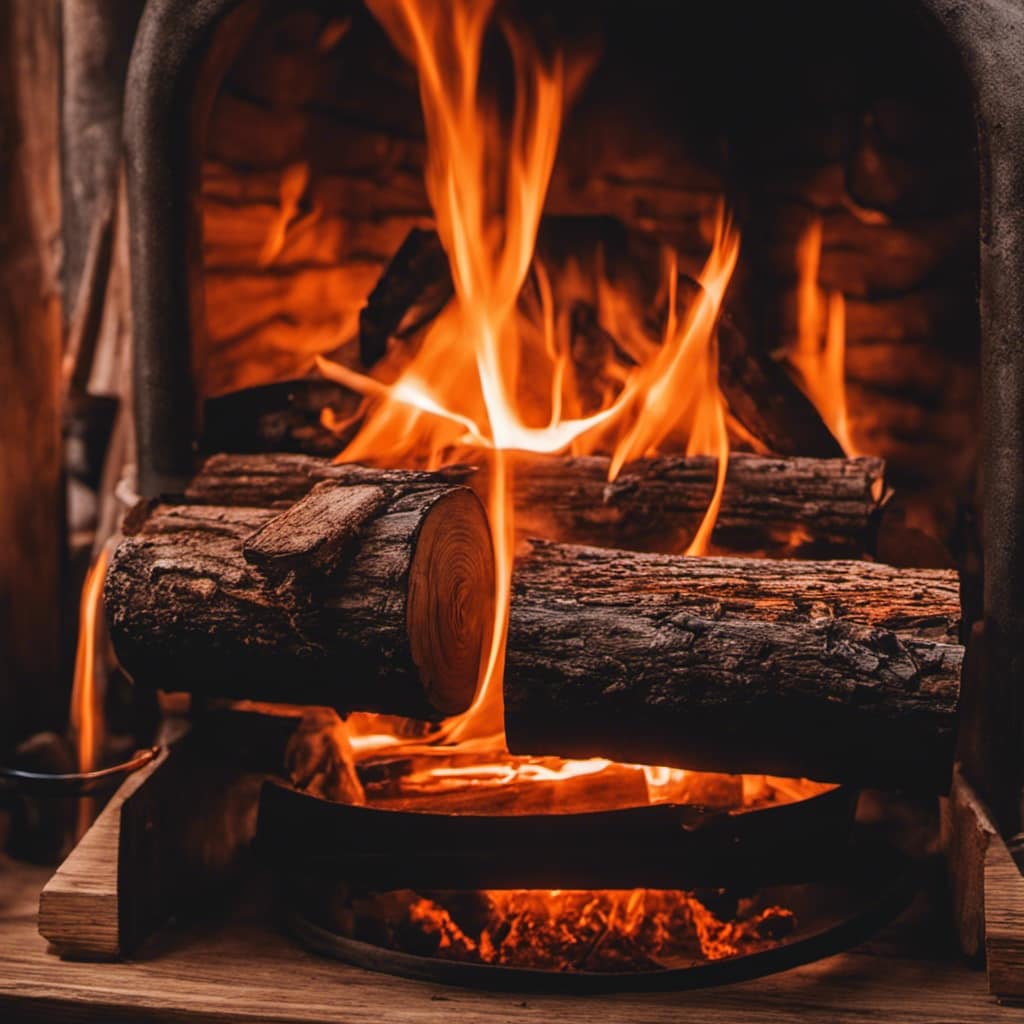
Check the chimney: Inspect the chimney regularly for any blockages or creosote buildup. This will help maintain efficient airflow and reduce the risk of chimney fires.
-
Avoid cleaning while the stove is hot: Allow the stove to cool down completely before starting the cleaning process. This will prevent any accidental burns or injuries.
Signs Your Wood Stove Needs Immediate Ash Removal
When should you determine if your wood stove needs immediate ash removal, and what steps should you take? It is crucial to regularly clean the ash out of your wood stove to ensure its optimal performance and safety. Neglecting ash removal can lead to a variety of dangers, including increased risk of chimney fires, reduced heat output, and decreased efficiency. To determine if your wood stove needs immediate ash removal, you should visually inspect the stove and check for the following signs:
Signs Your Wood Stove Needs Immediate Ash Removal |
---|
1. Excessive ash buildup in the firebox. |
2. Difficulty in achieving and maintaining a hot fire. |
3. Unpleasant odors or smoke coming from the stove. |
If any of these signs are present, it is important to take immediate action. To safely remove ash from your wood stove, follow these steps:
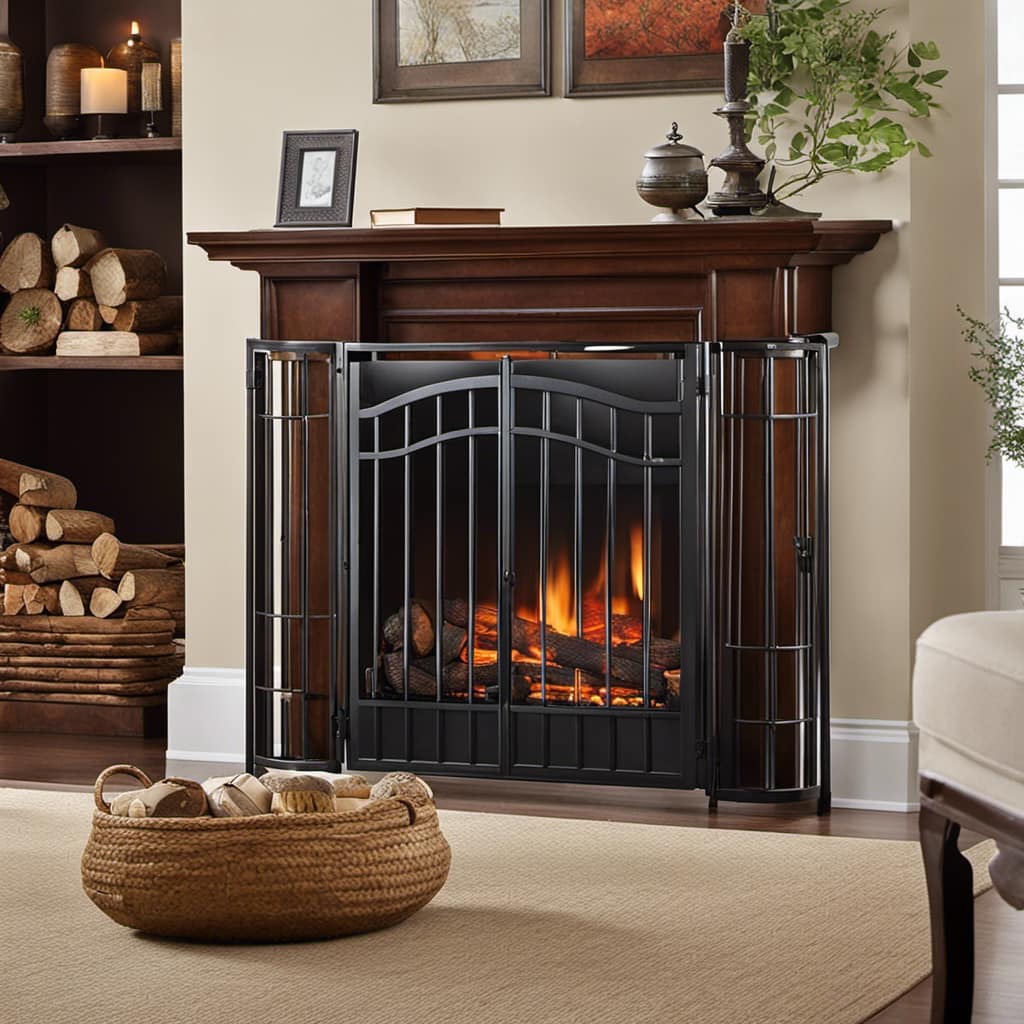
- Allow the stove to cool down completely.
- Use a metal ash shovel to scoop out the ash.
- Dispose of the ash in a metal container, away from combustible materials.
Tips and Tricks for Efficient Ash Cleaning
I’ve found that using a metal ash shovel is the most efficient way to clean out my wood stove’s ash. The sturdy construction and heat resistance of the shovel make it perfect for handling hot ash without any risk of damage.
In addition to the ash shovel, there are several other tools that can greatly enhance the effectiveness of ash cleaning. These include:
-
Ash vacuum: A specialized vacuum designed to safely and effectively remove ash from the stove.
-
Ash pan: A metal pan that can be placed under the stove to catch the falling ash for easy disposal.
-
Ash brush: A brush with stiff bristles that helps in loosening and removing stubborn ash deposits.
-
Dust mask: A protective mask that filters out fine ash particles, preventing them from being inhaled.
Frequently Asked Questions
Can I Leave the Ash in My Wood Stove for Extended Periods of Time Without Cleaning It?
Leaving ash in a wood stove for extended periods can have negative effects. It can reduce the stove’s efficiency, increase the risk of fire, and release harmful particles into the air. It is not safe to leave ash in a wood stove.
Will Leaving Ash in My Wood Stove Affect Its Overall Performance?
Leaving ash in your wood stove for extended periods of time can negatively impact its overall performance. The buildup of ash can reduce heating efficiency and affect the stove’s ability to properly burn wood.
Are There Any Specific Types of Wood That Produce More Ash and Require More Frequent Cleaning?
Types of wood with high ash content, such as oak and maple, may require more frequent cleaning of the wood stove. To properly dispose of wood stove ash, wait until it has completely cooled and then place it in a metal container.
Can I Use the Ash From My Wood Stove for Any Other Purposes?
I can use the ash from my wood stove for multiple purposes. Some uses of wood stove ash include as a fertilizer, for making soap, as a de-icer, and even as a natural pest repellent. The benefits of reusing ash are numerous.
How Often Should I Clean the Chimney or Flue in Addition to Cleaning the Ash Out of the Wood Stove?
How often should I clean the chimney or flue? Leaving ash in the wood stove for extended periods can affect performance. To maintain optimal efficiency, I recommend cleaning both the chimney and removing ash regularly.
Conclusion
In conclusion, regularly cleaning the ash out of your wood stove is essential for maintaining optimal performance. By removing ash on a recommended schedule, you can prevent airflow blockages and ensure efficient heat production.
Think of it like cleaning out the clutter in your home – when you clear away the ash, your wood stove can breathe freely and provide cozy warmth.
So, don’t neglect this important maintenance task and enjoy a clean-burning, efficient wood stove all winter long.
Growing up surrounded by the vast beauty of nature, Sierra was always drawn to the call of the wild. While others sought the comfort of the familiar, she ventured out, embracing the unpredictable and finding stories in the heartbeat of nature.
At the epicenter of every remarkable venture lies a dynamic team—a fusion of diverse talents, visions, and passions. The essence of Best Small Wood Stoves is crafted and refined by such a trio: Sierra, Logan, and Terra. Their collective expertise has transformed the platform into a leading authority on small wood stoves, radiating warmth and knowledge in equal measure.
Wood Stove
How To Make A Wood Stove Burning Overnight
I have constantly faced challenges when trying to keep my wood stove burning through the night. However, after trying different approaches, I have now found techniques to sustain a fire for an extended period.
In this article, I’ll share my tried and true methods for choosing the right wood, building an efficient fire, controlling airflow, and insulating your wood stove. With these tips, you’ll be able to enjoy a cozy, warm night’s sleep without constantly tending to the fire.
Get ready to master the art of keeping your wood stove burning overnight.
Key Takeaways
- Choose seasoned wood with moisture content below 20% for optimal burning
- Build a proper fire using kindling and newspaper arranged in a pyramid shape
- Control airflow by adjusting dampers and air vents to regulate oxygen availability
- Insulate the wood stove using fire-resistant materials for improved heat retention and safety
Choosing the Right Wood
I think that it’s important to consider the moisture content when choosing the right wood for a wood stove. Splitting firewood and seasoning it properly are crucial steps in ensuring an efficient and long-lasting fire.
When wood is cut, it needs time to dry out, as green or wet wood will produce less heat and create more smoke. The moisture content should ideally be below 20% for optimal burning. This can be achieved by allowing the split firewood to season for at least six months in a well-ventilated area.
Seasoned wood will have a darker color, lighter weight, and make a hollow sound when tapped together. It will burn cleaner, produce more heat, and save you money in the long run.
Building an Efficient Fire
To build an efficient fire, start by arranging the kindling and newspaper in a pyramid shape. This allows for proper airflow and ensures that the fire will ignite quickly and evenly. Once the kindling is in place, carefully light the newspaper at the base of the pyramid. As the fire begins to burn, gradually add larger pieces of firewood to maintain a steady heat output. If you want to maximize heat output and ensure long-lasting warmth, consider using firebricks. These specially designed bricks are made to withstand high temperatures and can help retain and radiate heat more effectively. By placing firebricks around the perimeter of the fire, you can create a heat barrier that reflects and directs the warmth towards the desired area. This simple technique can significantly enhance the efficiency and effectiveness of your fire.
Controlling the Airflow
There are three main ways to control the airflow in a wood stove: adjusting the damper, opening or closing the air vents, and using a fan. These methods are crucial for managing heat output and ensuring efficient burning.
-
Adjusting dampers: By properly adjusting the dampers, you can control the amount of air entering the stove, which directly impacts the intensity of the fire. Opening the damper allows more air to flow, resulting in a hotter fire, while closing it reduces airflow and slows down the burn rate.
-
Opening or closing air vents: Wood stoves often have air vents that can be adjusted to regulate the amount of oxygen available for combustion. Opening the vents increases airflow, leading to a more robust fire, while closing them restricts air intake and slows down the burn.
-
Using a fan: Some wood stoves are equipped with fans that help circulate the heated air throughout the room. By turning on the fan, you can distribute the warmth more effectively, maximizing the stove’s efficiency.
Insulating Your Wood Stove
When insulating your wood stove, it’s important to use materials that are fire-resistant and can withstand high temperatures. Insulation materials such as ceramic fiber blankets and refractory bricks are ideal for this purpose.
Ceramic fiber blankets are made from high-purity alumina-silica fibers and can be wrapped around the stove to provide excellent heat retention. They’re lightweight, flexible, and have a high resistance to thermal shock.
Refractory bricks, on the other hand, are dense and heavy, providing excellent insulation and heat retention properties. They can be used to line the walls of the stove, creating a barrier between the fire and the surrounding environment.
In terms of insulating techniques, it’s important to ensure that the insulation materials are installed properly, with no gaps or spaces that could allow heat to escape. Additionally, regular maintenance and inspection of the insulation materials is crucial to ensure their effectiveness and safety.
Maintenance and Safety Tips
I always prioritize maintenance and safety in order to ensure the longevity and proper functioning of my wood stove. Taking care of my wood stove not only keeps it running efficiently but also reduces the risk of potential hazards. Here are three important maintenance and safety tips that I follow:
-
Regular cleaning procedures: I make sure to clean my wood stove regularly to prevent the buildup of creosote, which can lead to chimney fires. I remove ashes, sweep the chimney, and clean the glass door to maintain clear visibility.
-
Inspecting and troubleshooting common issues: I regularly inspect the stove for any signs of damage or wear. This includes checking the gaskets, seals, and firebricks for any cracks or deterioration. By addressing these issues promptly, I can prevent further damage and ensure the stove’s optimal performance.
-
Following manufacturer guidelines: I always refer to the manufacturer’s instructions for specific maintenance tasks and safety precautions. This ensures that I’m using the correct cleaning products, following the recommended schedule, and avoiding any potential mistakes that could compromise the stove’s safety.
Frequently Asked Questions
Can I Leave My Wood Stove Burning Overnight?
Yes, it is generally safe to leave a wood stove burning overnight if you take proper precautions. Ensure there is enough fuel, use a screen or glass door, and maintain a steady burn by adjusting the air intake.
How Long Does a Wood Stove Typically Burn for Overnight?
A wood stove typically burns for around 6-8 hours overnight, but this can vary depending on factors like the type of wood used and how well the stove is maintained. Using hardwoods like oak or maple and following proper airflow and loading techniques can help achieve a longer burn time.
What Is the Ideal Temperature for a Wood Stove Overnight?
The ideal temperature for a wood stove overnight depends on various factors, such as the size of the stove and the type of wood used. Best practices suggest keeping the temperature around 250-300 degrees Fahrenheit for efficient and safe overnight burning.
Can I Use Any Type of Wood for Burning Overnight?
I’ve learned that not all types of wood are suitable for burning overnight. Hardwoods like oak and maple are best, as they burn slower and produce more heat. Additionally, proper airflow and regular fuel additions are essential for maintaining a wood stove overnight.
How Often Should I Clean My Wood Stove to Ensure It Burns Efficiently Overnight?
To ensure efficient overnight burning, it’s important to clean your wood stove regularly. I recommend cleaning it at least once a week. If it still doesn’t burn efficiently, troubleshoot by checking the air vents and chimney.
Conclusion
In conclusion, maximizing the burn time of a wood stove overnight requires careful consideration of:
- Wood selection
- Efficient fire building techniques
- Airflow control
- Proper insulation
It’s fascinating to note that a well-insulated wood stove can retain heat for up to 10 hours after the fire has gone out, providing a steady source of warmth throughout the night.
By following these tips and practicing regular maintenance, you can ensure a safe and efficient wood stove experience.
Growing up surrounded by the vast beauty of nature, Sierra was always drawn to the call of the wild. While others sought the comfort of the familiar, she ventured out, embracing the unpredictable and finding stories in the heartbeat of nature.
At the epicenter of every remarkable venture lies a dynamic team—a fusion of diverse talents, visions, and passions. The essence of Best Small Wood Stoves is crafted and refined by such a trio: Sierra, Logan, and Terra. Their collective expertise has transformed the platform into a leading authority on small wood stoves, radiating warmth and knowledge in equal measure.
Wood Stove
How To Get Rust Off Cast Iron Wood Stove
Howdy, everyone! Have you ever thought about the best way to deal with rust on your favorite cast iron wood stove? Don’t worry anymore, because I have the perfect solution for you.
In this article, I’m going to share my tried-and-true methods for removing rust and keeping your wood stove looking as good as new. With a little know-how and some handy tools, you’ll be able to say goodbye to that unsightly rust and hello to cozy nights by the fire.
Let’s jump right in, shall we?
Key Takeaways
- Moisture is a main cause of rust on wood stoves.
- Proper maintenance and regular cleaning can help prevent rust formation.
- Wire brush, rust remover, sandpaper, and high-temperature paint are essential tools for rust removal.
- Applying a thin coat of vegetable oil after each use can create a protective barrier against moisture and prevent rust.
Understanding the Causes of Rust on Cast Iron Wood Stoves
As I research the causes of rust on cast iron wood stoves, I realize that understanding the factors involved is crucial for preventing future corrosion. One of the main causes of corrosion on wood stoves is moisture. When water comes into contact with the cast iron surface, it reacts with the metal and forms rust. This can be exacerbated by high humidity levels or exposure to rain and snow.
Additionally, improper maintenance and neglect can lead to rust formation. If the stove isn’t regularly cleaned and protected with a protective coating, it becomes vulnerable to rust.
The effects of rust on wood stoves can be detrimental. It weakens the structure of the stove, leading to potential leaks and damage to the internal components. Rust can also affect the efficiency of the stove, reducing its heating capabilities.
To prevent rust, it’s important to keep the stove dry and clean, and to regularly inspect and maintain it.
Essential Tools and Materials for Rust Removal
I need to gather some tools and materials, like a wire brush and rust remover, in order to effectively remove the rust from my cast iron wood stove. Rust can be a common issue with cast iron, but with the right tools and techniques, it can be easily prevented and removed.
Here are some essential tools and materials you’ll need:
- Wire brush: A wire brush is perfect for scrubbing away loose rust and dirt from the surface of the cast iron stove.
- Rust remover: There are various rust removers available, such as vinegar or commercial rust removers, that can effectively dissolve and remove rust.
- Sandpaper: Sandpaper can be used to smooth out any rough patches after rust removal.
- Protective gloves: It’s important to protect your hands while working with rust remover and other chemicals.
- High-temperature paint: Once the rust is removed, applying a high-temperature paint can help prevent future rusting.
When removing rust from cast iron, it’s important to avoid some common mistakes. One mistake is using a wire brush with too much force, which can damage the cast iron surface. Another mistake isn’t properly drying the cast iron after rust removal, as moisture can lead to future rust formation. Lastly, using the wrong type of paint can cause the paint to peel and further damage the cast iron.
Step-By-Step Guide to Removing Rust From a Cast Iron Wood Stove
To remove rust from my cast iron wood stove, I’ll need to follow a step-by-step guide that includes using a wire brush and rust remover. First, I’ll start by cleaning the stove thoroughly to remove any loose debris. Then, using a wire brush, I’ll gently scrub off the rust in circular motions. For stubborn rust spots, I’ll apply a rust remover and let it sit for a few minutes before scrubbing again. Here is a table that outlines the rust removal techniques and recommended cleaning products:
Rust Removal Technique | Recommended Cleaning Product |
---|---|
Wire brushing | Stiff wire brush |
Rust remover | Vinegar or lemon juice |
Preventing Rust and Maintaining the Beauty of Your Cast Iron Wood Stove
One effective way to prevent rust and maintain the beauty of my cast iron wood stove is by applying a thin coat of vegetable oil after each use. This simple step creates a protective barrier that prevents moisture from coming into contact with the metal, thereby reducing the risk of rust formation.
In addition to this technique, here are some other cleaning techniques that can help keep your cast iron wood stove in excellent condition:
- Regularly remove any ashes and debris from the stove to prevent buildup and potential rusting.
- Clean the stove’s exterior with a mixture of warm water and mild soap, using a soft cloth or sponge.
- Avoid using abrasive cleaners or scrub brushes that can damage the surface of the stove.
- Dry the stove thoroughly after cleaning to prevent any moisture from lingering on the metal.
- Consider using a cast iron conditioner or specialized stove polish to further protect the surface and enhance its appearance.
Pro Tips and Tricks for Restoring and Preserving Cast Iron Wood Stoves
As I researched pro tips and tricks for restoring and preserving cast iron wood stoves, I discovered that using a vinegar and water solution can be highly effective in removing rust and stains from the surface. This simple yet powerful cleaning method is a go-to for many stove enthusiasts. To give you a clear idea of how to use this technique, I have created a table outlining the step-by-step process.
Step | Instructions |
---|---|
1 | Mix equal parts vinegar and water in a spray bottle |
2 | Spray the solution onto the rusted areas |
3 | Let it sit for about 15 minutes |
4 | Scrub the surface with a non-abrasive brush or sponge |
5 | Rinse with clean water and dry thoroughly |
6 | Apply a thin layer of oil to prevent future rusting |
Frequently Asked Questions
Can I Use Regular Household Cleaning Products to Remove Rust From My Cast Iron Wood Stove?
Yes, vinegar can be used to remove rust from a cast iron wood stove. It is an effective natural cleaner. Sandpaper can also be used, with a grit of around 120 to start.
Is It Necessary to Remove All of the Rust From the Wood Stove, or Can I Leave Some Behind?
I personally found that leaving some rust behind on my cast iron wood stove didn’t affect its performance. However, if you prefer a clean look, there are alternatives for rust removal.
Will Removing the Rust From My Cast Iron Wood Stove Affect Its Performance or Efficiency?
Removing rust from my cast iron wood stove does not affect its performance or efficiency. However, leaving rust can impact the stove’s lifespan and hinder heat distribution. Regular maintenance ensures optimal functionality and longevity.
How Often Should I Inspect and Clean My Cast Iron Wood Stove to Prevent Rust?
To prevent rust on a cast iron wood stove, I inspect and clean it regularly. I recommend checking for rust every few months and cleaning it at least once a year to keep it in good condition.
Are There Any Specific Types of Paint or Coatings That I Should Use to Protect My Cast Iron Wood Stove From Rust in the Future?
I’ve found that using high-temperature paint or stove polish can protect my cast iron wood stove from rust. Regular cleaning and maintenance are also key to preventing rust and keeping it looking great.
Conclusion
In the journey of restoring and preserving a cast iron wood stove, we’ve discovered the secrets to removing rust and maintaining its timeless beauty.
Like a phoenix rising from the ashes, our stove has been transformed into a symbol of warmth, comfort, and durability.
With the right tools, materials, and a little bit of love, you too can revive your cast iron wood stove and create lasting memories around its cozy fire.
Embrace the magic of restoration and let your stove’s story unfold.
Growing up surrounded by the vast beauty of nature, Sierra was always drawn to the call of the wild. While others sought the comfort of the familiar, she ventured out, embracing the unpredictable and finding stories in the heartbeat of nature.
At the epicenter of every remarkable venture lies a dynamic team—a fusion of diverse talents, visions, and passions. The essence of Best Small Wood Stoves is crafted and refined by such a trio: Sierra, Logan, and Terra. Their collective expertise has transformed the platform into a leading authority on small wood stoves, radiating warmth and knowledge in equal measure.
Wood Stove
What Size Stove Pipe Do I Need For Franklin Wood Stove
Selecting the correct dimensions for the chimney pipe of my Franklin wood stove is akin to discovering the ideal puzzle piece. It must fit securely and effectively to guarantee maximum efficiency.
In this article, I will guide you through the process of measuring your stove and selecting the proper stove pipe size. With these technical details and expert tips, you’ll be able to install and maintain your Franklin wood stove with confidence.
Key Takeaways
- Stove pipe materials should be durable and heat-resistant, such as stainless steel.
- Proper stove pipe sizing is crucial for optimal performance and heat distribution.
- Accurate measurements of the flue collar diameter, stove height, clearance, width, and depth are essential for selecting the right stove pipe size.
- Regular inspection, cleaning, and removal of creosote buildup are necessary to maintain efficiency and prevent chimney fires.
Understanding the Basics of Stove Pipe Sizing
I can determine the correct size of stove pipe for my Franklin wood stove by understanding the basics of stove pipe sizing.
When it comes to choosing materials for the stove pipe, it’s important to select a durable and heat-resistant option. Stainless steel is a popular choice due to its strength and ability to withstand high temperatures.
Additionally, it’s essential to consider insulation options for the stove pipe. Insulated stove pipes help to prevent heat loss and improve the efficiency of the wood stove. They’re often made with a layer of insulation between the inner and outer walls of the pipe.
This insulation helps to keep the heat inside the pipe, allowing for better heat distribution throughout the room.
Factors to Consider When Choosing the Right Stove Pipe Size
When choosing the correct stove pipe, it’s important to consider factors such as the type of stove you have and the amount of heat it produces. To ensure proper ventilation and safety, here are three key points to keep in mind:
-
Choosing the right diameter: The diameter of the stove pipe should match the outlet size of your stove. Measure the opening on the top or back of your stove to determine the correct diameter. Common sizes range from 6 to 8 inches.
-
Considering the stove’s heat output: The heat output of your stove will determine the thickness of the stove pipe you need. Higher heat output stoves require thicker pipes to withstand the intense temperatures. Consult your stove’s manufacturer guidelines for recommended pipe thickness.
-
Evaluating the overall length: The length of the stove pipe should be sufficient to safely vent the smoke and gases outside. It’s important to follow local building codes and regulations to ensure the pipe is long enough and properly installed.
Measuring Your Franklin Wood Stove for the Proper Stove Pipe Size
To ensure accurate measurements for the correct stove pipe, I’ll measure the dimensions of my Franklin stove.
Measuring accuracy is crucial to avoid potential fire hazards.
Firstly, I’ll measure the diameter of the flue collar, which is the opening where the stove pipe connects. Using a tape measure, I’ll determine the exact size of the flue collar.
Next, I’ll measure the height of the stove from the floor to the top. This measurement will help me determine the length of the stove pipe needed.
Additionally, I’ll measure the distance from the wall to the stove to ensure proper clearance.
Lastly, I’ll measure the width and depth of the stove to determine the appropriate stove pipe size.
With these precise measurements, I can now move on to identifying the common stove pipe sizes for Franklin wood stoves.
Common Stove Pipe Sizes for Franklin Wood Stoves
After measuring the dimensions of my Franklin stove, I found that the common stove pipe sizes vary depending on the diameter of the flue collar. It’s crucial to choose the right size stove pipe to ensure proper ventilation and optimal performance of the wood stove.
Here are three common stove pipe materials and the benefits of using a properly sized stove pipe:
-
Cast iron: Known for its durability and heat retention properties, cast iron stove pipes are suitable for high-temperature environments. They provide a secure and long-lasting connection between the stove and the chimney.
-
Stainless steel: This material is resistant to corrosion and can withstand high temperatures. Stainless steel stove pipes offer excellent durability and are easy to clean.
-
Galvanized steel: Galvanized steel stove pipes are affordable and widely used. They’re coated with zinc to prevent rust and provide decent heat resistance.
Using a properly sized stove pipe ensures efficient airflow, reduces the risk of creosote buildup, and maximizes the heat output from your Franklin wood stove.
Tips for Installing and Maintaining the Stove Pipe on Your Franklin Wood Stove
I found it helpful to regularly inspect and clean the stove pipe to ensure optimal performance and reduce the risk of any potential issues with my Franklin wood stove.
When installing the stove pipe, it’s important to choose the correct size to ensure proper airflow and efficient operation. The size of the stove pipe needed for a Franklin wood stove typically depends on the size of the stove’s flue collar. It’s crucial to measure the diameter of the flue collar accurately before purchasing the stove pipe.
Once the stove pipe is installed, regular maintenance is essential. This includes removing any creosote buildup, which can lead to chimney fires, and checking for any signs of damage or leaks. Cleaning the stove pipe regularly will help to maintain its efficiency and prolong its lifespan.
Frequently Asked Questions
Can I Use a Stove Pipe That Is Larger Than the Recommended Size for My Franklin Wood Stove?
Using a larger stove pipe than recommended for my Franklin wood stove may cause potential issues. It could lead to improper ventilation, decreased efficiency, and increased risk of fire hazards.
How Do I Know if I Need a Single Wall or Double Wall Stove Pipe for My Franklin Wood Stove?
I need to determine if my Franklin wood stove requires a single wall or double wall stove pipe. I should consider the benefits of using a double wall stove pipe and explore alternative stove pipe options.
Are There Any Specific Safety Regulations or Codes I Need to Follow When Installing the Stove Pipe for My Franklin Wood Stove?
When installing the stove pipe for my Franklin wood stove, it is crucial to follow specific safety regulations and codes. These guidelines ensure a safe installation process and minimize the risk of fire hazards.
Can I Connect Multiple Sections of Stove Pipe Together to Reach the Chimney?
Yes, I can connect multiple sections of stove pipe to reach the chimney. However, it’s important to ensure that the connections are secure and properly sealed to prevent any leaks or issues with the alternative chimney options.
What Type of Material Is Recommended for the Stove Pipe for Franklin Wood Stoves?
For a Franklin wood stove, it is recommended to use a stove pipe made of stainless steel or double-wall black stove pipe. The stove pipe size should be compatible with the stove’s flue collar.
Conclusion
In conclusion, selecting the correct size stove pipe for your Franklin wood stove is crucial for optimal performance and safety. Remember to carefully measure your stove to ensure the proper fit.
Proper installation and maintenance of the stove pipe will help prevent any potential issues and maintain the efficiency of your Franklin wood stove.
By following these guidelines, you can enjoy the warmth and comfort of your stove while ensuring the safety of your home.
Growing up surrounded by the vast beauty of nature, Sierra was always drawn to the call of the wild. While others sought the comfort of the familiar, she ventured out, embracing the unpredictable and finding stories in the heartbeat of nature.
At the epicenter of every remarkable venture lies a dynamic team—a fusion of diverse talents, visions, and passions. The essence of Best Small Wood Stoves is crafted and refined by such a trio: Sierra, Logan, and Terra. Their collective expertise has transformed the platform into a leading authority on small wood stoves, radiating warmth and knowledge in equal measure.
-
Wood Stove8 months ago
How To Build A Thermoelectric Generator For A Wood Stove
-
Wood Stove5 months ago
What Can I Use As Insulation On Wood Stove Pipes
-
Wood Stove3 weeks ago
How To Use Damper And Draft On Wood Stove
-
Wood Stove8 months ago
How Far Does Wood Stove Have To Be From Wall
-
Wood Stove8 months ago
How To Make A Heat Shield For A Wood Stove
-
Wood Stove3 weeks ago
When To Open And Close Damper On Wood Stove
-
Wood Stove5 months ago
How To Install A Wood Stove Pipe And Chimney
-
Wood Stove8 months ago
How To Use The Flue On A Wood Stove