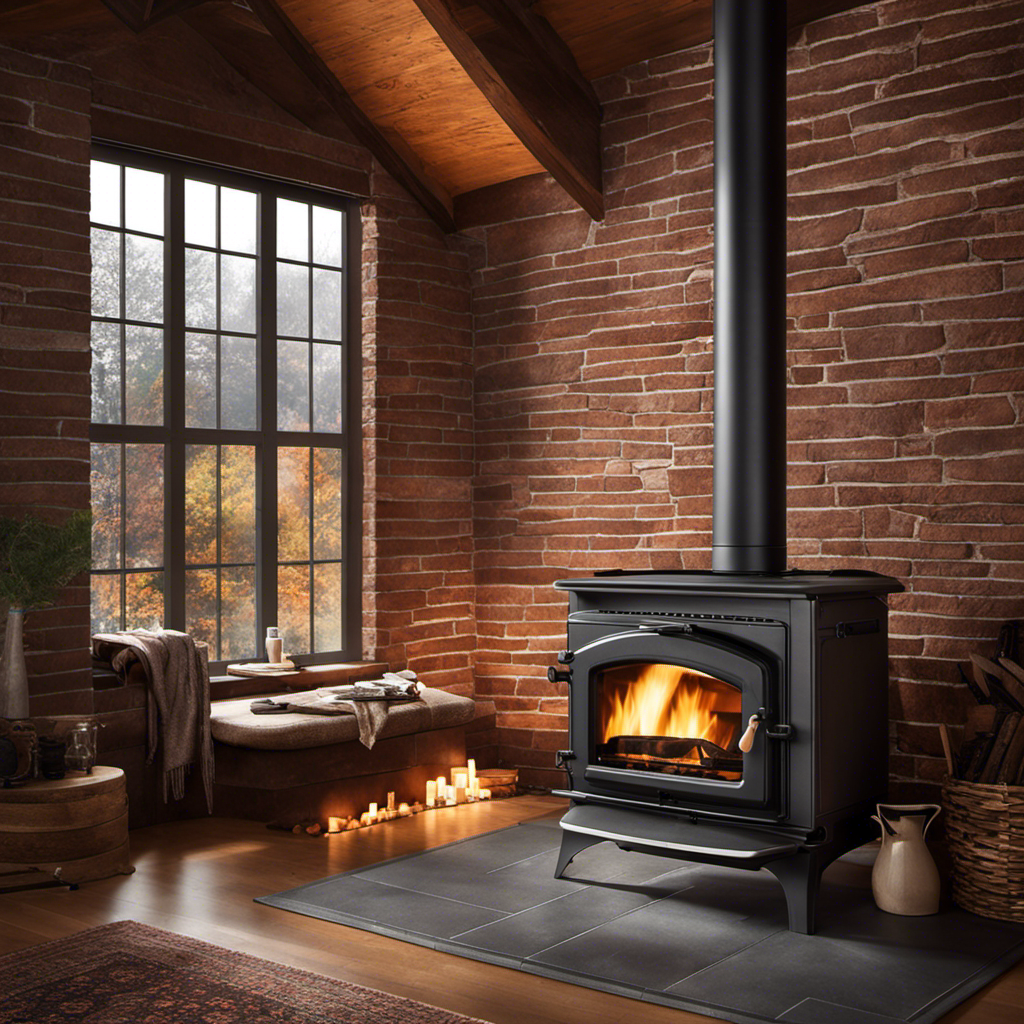
If you have a Franklin Wood Stove and are wondering how to set it up for the best performance, don’t worry! I’m here to guide you through the process.
In this article, I will guide you through the step-by-step process of connecting your Franklin Wood Stove, ensuring both safety and efficiency. From understanding the stove’s anatomy to gathering the necessary materials, this detailed and informative guide will equip you with the knowledge you need to successfully connect your wood stove.
Let’s dive in!
Key Takeaways
- The main parts of a Franklin Wood Stove include the firebox, baffle, damper, flue, ash pan, and grate.
- Troubleshooting steps for issues include checking for blocked flues, adjusting the damper, and inspecting the air intake.
- Gathering necessary materials for connection involves choosing the right stovepipe, measuring the distance from the stove to the chimney, and purchasing venting pipes suitable for the specific model.
- Preparing the installation site involves ensuring proper clearance from combustible materials, considering ventilation requirements, and following safety guidelines.
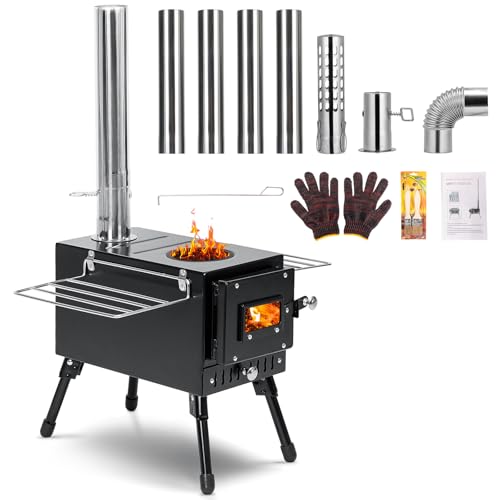
Wood Stove,YRenZ Hot Tent Stove with 7-Section Stainless Steel Chimney, HeatControl Stovepipe and Elbow Pipe, Wood Burning for Outdoor Camping and Ice Fishing
【Exclusive upgraded accessories】:We have foreseen the challenges of airtight temperature control from design.YRenZ Wood Stove is equipped with…
As an affiliate, we earn on qualifying purchases.
As an affiliate, we earn on qualifying purchases.
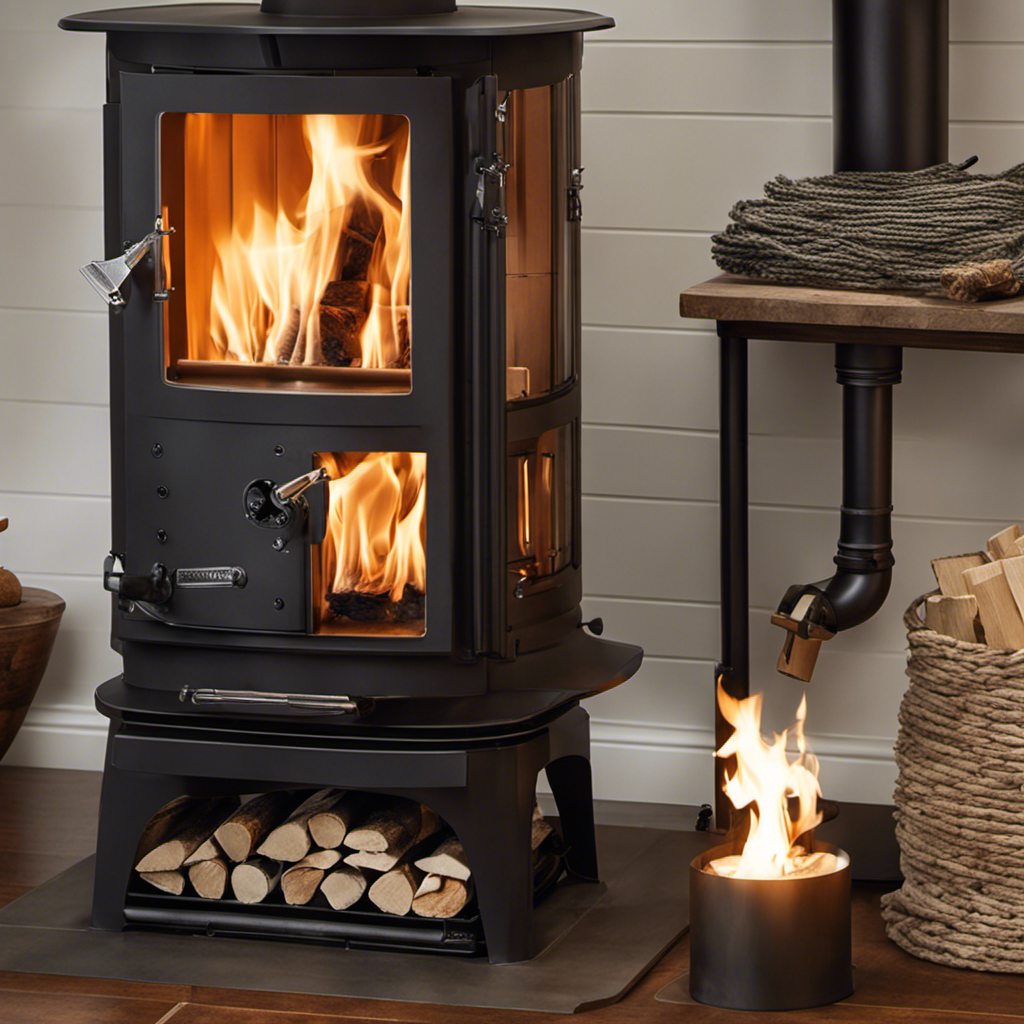
Understanding the Anatomy of Your Franklin Wood Stove
I can easily understand the anatomy of my Franklin Wood Stove with the help of the provided diagram. When it comes to franklin wood stove maintenance, it’s crucial to have a good understanding of its components.
The main parts of the stove include the firebox, the baffle, the damper, the flue, the ash pan, and the grate. The firebox is where the wood is burned, while the baffle helps to direct the heat into the room.
The damper controls the airflow, allowing for efficient combustion. The flue is responsible for releasing the exhaust gases outside. Regularly cleaning the ash pan and the grate is important to ensure proper functioning.
If you encounter any issues with your franklin wood stove, common troubleshooting steps include checking for blocked flues, adjusting the damper, and inspecting the air intake. Understanding the anatomy of your franklin wood stove is essential for its maintenance and troubleshooting.

Fireside Chimney Supply Basic Flexible Chimney Liner Insert Kit – 6 Inch x 15 Feet
Your FireFlex Chimney Liner Kit will include a FireFlex 316 .006 thick stainless steel liner 13" x 13"…
As an affiliate, we earn on qualifying purchases.
As an affiliate, we earn on qualifying purchases.
Gathering the Necessary Materials for Connection
Before connecting my Franklin Wood Stove, I need to gather all the necessary materials, such as the appropriate venting pipes, chimney liner, and stove pipe. Here’s a step-by-step guide on how to gather these materials and prepare for the connection:
-
Choosing the right stovepipe: Select a stovepipe that’s compatible with your Franklin Wood Stove and meets local building codes. Consider factors like material, diameter, and insulation to ensure proper ventilation and efficiency.
-
Measuring the distance from the stove to the chimney: Measure the distance from the stove to the chimney to determine the length of the venting pipes and chimney liner needed. Ensure accurate measurements to avoid any issues during installation.
-
Acquiring venting pipes: Purchase venting pipes that are suitable for your specific Franklin Wood Stove model. These pipes should be durable, heat-resistant, and have the correct diameter for optimal airflow.
-
Obtaining a chimney liner: Install a chimney liner that’s appropriate for your wood stove and chimney setup. The liner should be able to withstand high temperatures and provide a safe and efficient venting system.
DuraVent DVL Double-Wall Chimney Stove Pipe, 6" x 48" – Galvanized Steel Vent and Exhaust Connector for Wood, Oil, Coal or Gas Stoves, Quick Install, Draft-Enhancing Venting Stovepipe
Double-wall pipe works to ensure that as you ignite your wood-burning stove, the comforting warmth it provides is…
As an affiliate, we earn on qualifying purchases.
As an affiliate, we earn on qualifying purchases.
Preparing the Installation Site for Your Franklin Wood Stove
Finding a suitable location for the Franklin Wood Stove is crucial in ensuring proper installation and safety. Before beginning the connection process, it’s essential to consider clearance requirements and proper ventilation.
The stove should be placed at least 36 inches away from combustible materials, such as walls or furniture, to prevent the risk of fire. Additionally, it’s important to ensure that there’s proper ventilation in the area where the stove will be installed. Sufficient airflow is necessary for the stove to function efficiently and to prevent the buildup of harmful gases, such as carbon monoxide.
Once you have identified the ideal location, you can proceed to the step-by-step guide to connecting your Franklin Wood Stove, which will be discussed in the next section.
Now, let’s move on to the step-by-step guide to connecting your Franklin Wood Stove.

Midwest Hearth Fireplace Damper Clamp | Flue Stop Clamp for Gas Logs
KEEPS FLUE FROM SHUTTING – Use damper stop to lock flue open and comply with local laws.
As an affiliate, we earn on qualifying purchases.
As an affiliate, we earn on qualifying purchases.
Step-by-Step Guide to Connecting Your Franklin Wood Stove
Let’s start by gathering all the necessary materials for connecting your Franklin Wood Stove. Here’s a step-by-step guide to help you through the process:
-
Pipe and Venting: Ensure you have the correct size and type of pipe and venting for your stove. Common mistakes include using incompatible materials or incorrect sizing, which can lead to poor performance and potential safety hazards.
-
Clearances: Check the manufacturer’s guidelines for proper clearances around the stove. Failure to maintain the recommended distances can result in overheating or fire hazards. Make sure to follow the instructions meticulously.
-
Chimney Cleaning: Before connecting the stove, ensure that your chimney is clean and free from any blockages. A blocked chimney can cause smoke and harmful gases to back up into your home.
-
Draft Control: Finally, ensure that your stove’s draft control mechanism is functioning properly. This will help regulate the air intake and ensure efficient combustion.
Ensuring Safety and Efficiency in Your Franklin Wood Stove Connection
I always double-check the clearances around my Franklin Wood Stove to ensure its safety and efficiency.
When connecting a Franklin Wood Stove, there are common mistakes that can compromise its performance. One common mistake isn’t providing enough space around the stove. It’s crucial to follow the manufacturer’s guidelines for clearances to combustible materials, such as walls, furniture, and curtains.
Another mistake is neglecting regular maintenance. To maintain the stove’s efficiency, it’s important to clean the chimney regularly to prevent creosote buildup, which can lead to chimney fires. Additionally, inspecting the stove’s components, such as the door gasket and the baffle, and replacing them if damaged or worn out is essential.
Frequently Asked Questions
How Much Does It Cost to Connect a Franklin Wood Stove?
Connecting a Franklin wood stove involves the cost of materials and labor fees. The total cost will depend on factors such as the type of materials needed, the complexity of the installation, and any additional services required.
Can I Connect My Franklin Wood Stove to a Chimney That Is Already Being Used by Another Appliance?
I can connect my Franklin wood stove to an existing chimney, but it’s important to make sure it can handle the additional load. If not, alternative options like a dedicated chimney or venting system may be needed.
Do I Need to Hire a Professional to Connect My Franklin Wood Stove?
I don’t need to hire a professional to connect my Franklin wood stove. However, I should consider the cost of DIY installation and take necessary safety precautions when connecting the stove.
Can I Connect My Franklin Wood Stove to a Metal Chimney?
Yes, you can connect your Franklin wood stove to a metal chimney. It is a common alternative installation option. Make sure to follow the manufacturer’s instructions and consult a professional if needed.
Are There Any Specific Building Codes or Regulations I Need to Follow When Connecting My Franklin Wood Stove?
When connecting my Franklin wood stove, it’s important to follow building code requirements and safety precautions. This ensures proper installation and reduces the risk of fire hazards or carbon monoxide leaks.
What is the Proper Way to Clean and Maintain a Wood Stove Insert Chimney?
When it comes to cleaning a wood stove chimney, proper maintenance is essential. Regularly removing creosote buildup, inspecting for any damage or blockages, and using appropriate cleaning tools will ensure optimal performance and prevent potential fire hazards. Hire a professional chimney sweep if you’re unsure about the process.
Conclusion
In conclusion, connecting your Franklin wood stove requires a thorough understanding of its anatomy, gathering the necessary materials, and preparing the installation site. Following a step-by-step guide ensures a safe and efficient connection.
Just like a well-built fire, a properly connected Franklin wood stove brings warmth and comfort to your home. So, take the time to carefully connect your stove and enjoy the cozy atmosphere it creates, like a crackling fire on a cold winter night.