
Flashing and storm collars are crucial for keeping water out of your roof around vents and chimneys. Proper installation ensures a tight seal that handles heavy weather and prevents leaks. Choose compatible materials like aluminum or copper, and make certain the flashing fits securely around pipes. The storm collar should snugly seal the joint just below the bend, with sealant for extra protection. Continuing further will help you master these essential roofing skills for lasting durability.
Key Takeaways
- Flashing provides a waterproof barrier around roof penetrations like vents and chimneys.
- Storm collars secure the flashing around pipes, preventing water leaks during storms.
- Proper material selection, such as aluminum or copper, ensures compatibility and durability with roofing materials.
- Correct installation involves precise placement, secure fastening, and sealing to prevent water intrusion.
- Regular inspection and maintenance help identify damage and ensure long-term roof protection.
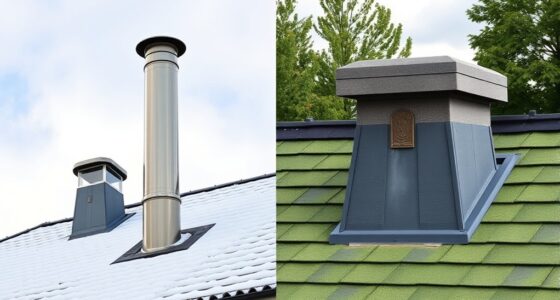
Have you ever wondered how roofing systems stay watertight around vents and chimneys? It’s all about the right flashing techniques and accessories like storm collars. These components are crucial in preventing water from seeping into your home at vulnerable points where pipes and vents penetrate the roof. Proper installation of flashing and storm collars ensures your roof remains durable and leak-proof, especially during heavy storms.
Proper flashing and storm collars keep your roof watertight around vents and chimneys during heavy storms.
When considering ventilation options, you need to recognize that different types of vents and chimneys require specific flashing methods. For example, metal vents, plumbing stacks, and attic exhaust vents all have unique needs. Not all flashing materials are compatible with every roofing material, so you must choose wisely. Asphalt shingles, for instance, work well with aluminum or copper flashing, but some plastics or rubber seals might not hold up over time. Compatibility is key to guaranteeing your roof’s integrity, especially since mismatched materials can lead to corrosion or leaks. Always verify that the flashing and storm collar materials you select are suitable for your roof’s existing roofing material to guarantee a long-lasting seal.
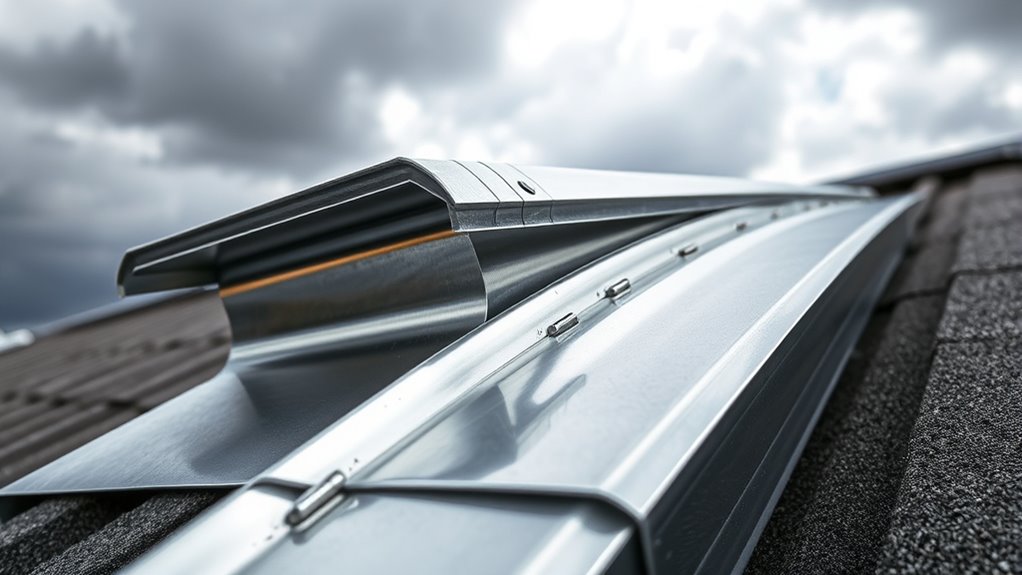
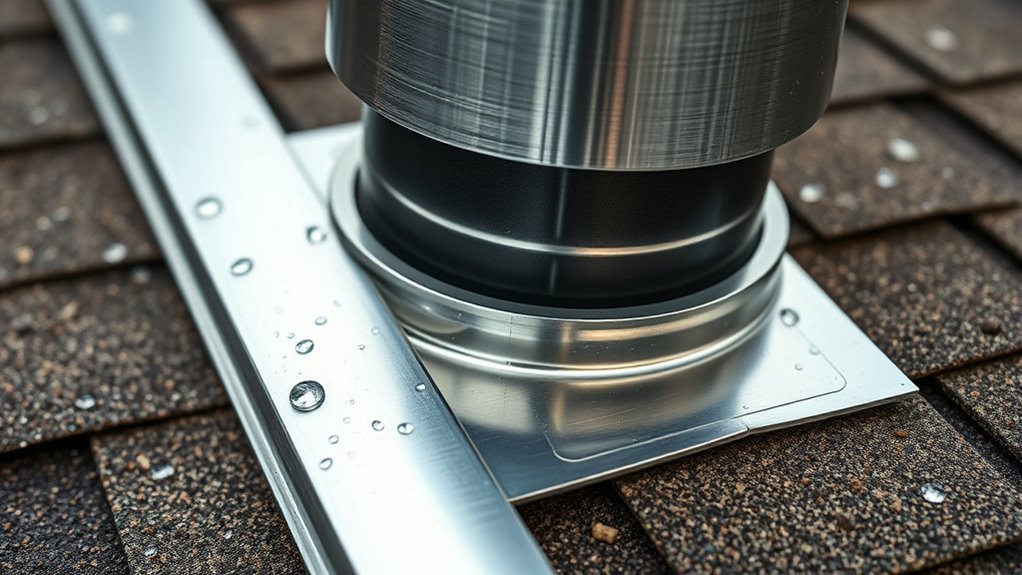
Installing flashing correctly involves precise placement and secure fastening. You want the flashing to form a tight, continuous barrier around vents and chimneys, directing water away from these penetrations. When it comes to storm collars, their role is to seal the joint where the pipe passes through the flashing, preventing water from entering around the pipe. You should ensure the storm collar fits snugly and is properly sealed with roofing cement or silicone to prevent leaks. Remember, the storm collar should be installed above the roofing surface, sitting just below the flashing’s bend, so water flows over and away from the pipe rather than pooling around it.
Choosing the right flashing and storm collar is about more than just matching colors or styles. It involves understanding the compatibility of materials and how they work together to create a watertight seal. Regular inspections and maintenance are also crucial, especially after storms, to check for any signs of damage or shifting. If you notice cracking, corrosion, or loose fittings, it’s time to replace or repair those components. Properly installed flashing and storm collars will give you peace of mind, knowing your roof is protected from water intrusion at critical points, regardless of weather conditions. Additionally, using fire safety standards and ensuring proper installation can help prevent potential hazards associated with roof penetrations.
Frequently Asked Questions
What Materials Are Best for Flashing Installation?
You should use durable metal types like aluminum, copper, or galvanized steel for flashing installation. These materials resist weathering and provide long-lasting protection. To guarantee a secure seal, choose sealant options such as roofing cement, silicone, or polyurethane sealants. Applying the right metal and sealant combination helps prevent leaks and water intrusion, giving your roof a reliable, waterproof barrier that withstands the elements over time.
How Often Should Storm Collars Be Replaced?
Think of your storm collar as a guardian standing watch—its duty is to protect your home from water infiltration. You should inspect it annually and replace it if you notice cracks, rust, or damage. Storm collar maintenance is key to extending the flashing lifespan. Generally, replace your storm collar every 5-10 years or sooner if signs of deterioration appear, ensuring your roof stays sealed and secure against the elements.
Can Flashing Be Used on Flat Roofs?
Yes, flashing can be used on flat roofs, but you need to choose the right type. Flat roofs often have a low or no roof slope, so you must use specially designed flat roof flashing that resists corrosion and water seepage. Proper installation is essential to prevent flashing corrosion and leaks. Regular inspections can help catch issues early, ensuring your flat roof stays protected and lasts longer.
Are There Diy-Friendly Flashing Installation Kits?
Yes, there are DIY-friendly flashing installation kits available. These kits come with step-by-step instructions and all necessary materials, making it easier for you to complete the project yourself. Look for flashing kits designed specifically for DIY installation, which often include clear guidance and pre-cut pieces. This way, you can confidently tackle your flashing installation without needing professional help, saving time and money while ensuring a proper, waterproof seal.
How Do I Fix Leaks Around Flashing or Storm Collars?
Don’t let a small leak turn into a big problem—take action now. To fix leaks around roof penetrations, inspect the chimney flashing for cracks or gaps. Remove any damaged sections, then reseal with high-quality roofing cement or replace the flashing if needed. Make sure the storm collar fits snugly around the chimney pipe, sealing it tightly to prevent water from sneaking in. A quick fix now saves headaches later.
Conclusion
Now that you understand flashing and storm collars, you’re ready to protect your roof like a seasoned pro. Imagine rain sliding harmlessly off your sturdy flashing, while a storm collar keeps water from sneaking into vulnerable spots. With these basics in place, your home stands firm against the fiercest weather, like a fortress with a resilient shield. Keep these skills in mind, and watch your roof stay dry, no matter what the sky throws your way.