To create a DIY heat shield for your wood stove, you’ll want to measure and plan your design carefully to guarantee proper coverage and airflow. Use fire-resistant materials like metal, cement board, or ceramic tiles, and cut them precisely to fit your space. Assemble a sturdy frame, secure all joints, and extend the shield beyond the stove for better protection. Keep safety standards in mind, and if you continue, you’ll find tips to make your installation both effective and safe.
Key Takeaways
- Measure the area around your wood stove to determine the size and clearance needed for your heat shield.
- Choose fire-resistant materials like cement board, ceramic tiles, or metal for durability and safety.
- Cut panels precisely using appropriate tools, smoothing edges for a snug fit against the wall.
- Assemble and secure panels with metal joints or brackets, ensuring stability and proper spacing for ventilation.
- Regularly inspect and maintain the shield, cleaning and checking for damage to ensure ongoing safety.

26'' x 48''Reinforced Exhaust Heat Shield Mat with Adhesive Backed Resistant High-Temp
【Heat Shield Barrier】—- Multi-Purpose Adhesive Backed Heat Barrier No matter what area of your Automobile or Home needs…
As an affiliate, we earn on qualifying purchases.
As an affiliate, we earn on qualifying purchases.
Understanding the Importance of a Heat Shield
Have you ever wondered why heat shields are essential in various applications? They play a crucial role in fire safety by protecting surrounding structures and people from excessive heat. A heat shield acts as a barrier, reducing heat transfer and preventing fires or damage caused by high temperatures. Their heat resistance ensures that heat isn’t conducted or radiated to nearby surfaces, which could ignite or weaken them. thermal insulation is a key component in managing heat transfer effectively, especially in high-temperature environments. Properly installed heat shields can significantly prevent structural damage and enhance safety during operation. Additionally, using materials with superior heat resistance boosts the effectiveness and longevity of the shield. Whether installed around a wood stove or in automotive engines, heat shields help maintain safe operating temperatures. Without them, the risk of heat-related hazards increases considerably. Understanding their importance helps you see why installing a proper heat shield is indispensable for safety, durability, and peace of mind during operation.

SIMOND STORE Ceramic Fiber Insulation Board – 2300F – 1" x 18" x 24" – Ceramic Thermal Insulation Board for Wood Stoves Fireplaces Furnaces Forges Kilns Boilers Pizza Ovens – Pack of 1
Dimensions: This aluminosilicate refractory ceramic fiber board measures 1 inch x 18 inches x 24 inches in size
As an affiliate, we earn on qualifying purchases.
As an affiliate, we earn on qualifying purchases.
Gathering Materials and Tools Needed
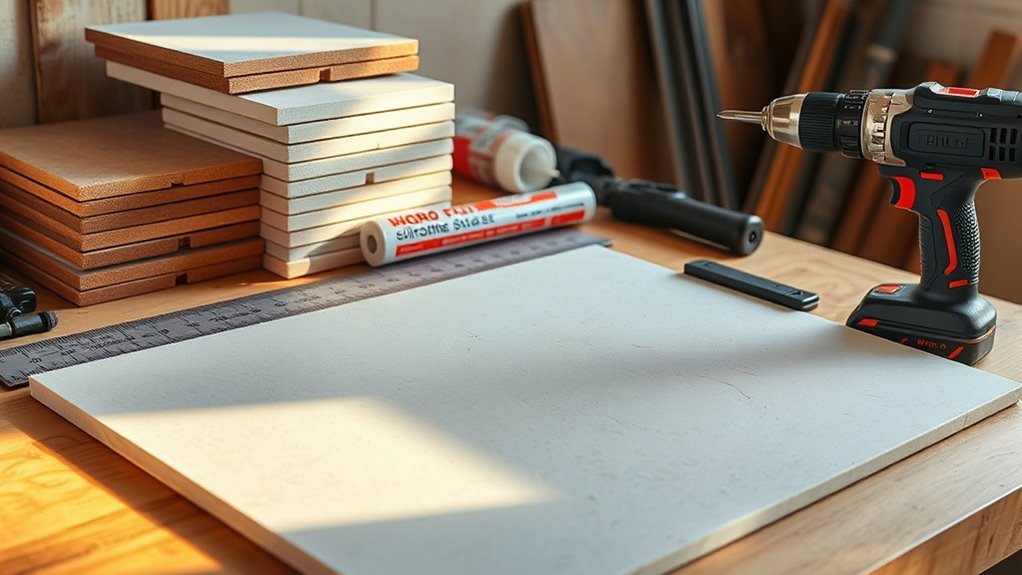
To build an effective heat shield, you’ll need to gather specific materials and tools that can withstand high temperatures and provide proper insulation. Focus on material selection by choosing fire-resistant panels, such as metal or heat-resistant boards, and insulating materials like mineral wool or ceramic tiles. These guarantee safety and durability. Incorporating AI-powered monitoring can help track the heat shield’s performance over time and ensure safety standards are maintained. Proper material selection is crucial for durability and safety, especially when working with high-temperature environments. Tool organization is essential; gather a drill, screws, a measuring tape, a level, and cutting tools like a saw or angle grinder. Keep everything within reach to streamline the process. Double-check your list before starting, making sure you have all necessary supplies. Proper preparation minimizes delays and helps maintain focus during construction. Additionally, integrating automation technologies can help monitor and control the heat shield’s performance over time. Selecting the right insulation materials can further improve heat management and safety. Being aware of fire-resistant options available in the market can enhance the overall effectiveness of your heat shield. With the right materials and organized tools, you’ll set a solid foundation for building a reliable, heat-resistant barrier.

uxcell Heat Sound Deadening Insulation Mat Deadener Pad Car Auto Exhaust Muffler Hood Door Waterproof 394mil 6.4sqft 40x24inch for Car
Strong sound insulation and absorption performance,heat insulation mat
As an affiliate, we earn on qualifying purchases.
As an affiliate, we earn on qualifying purchases.
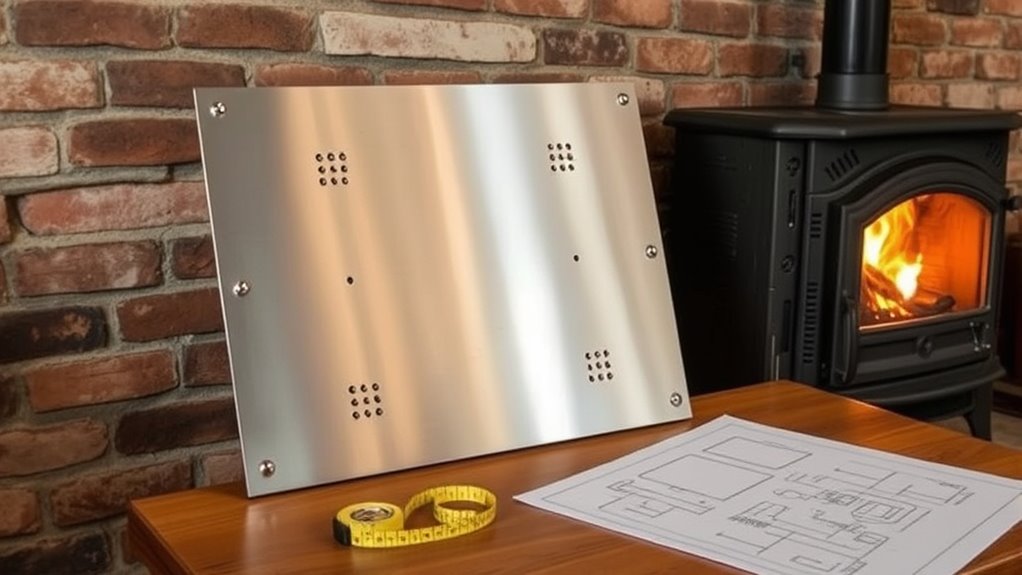
Measuring and Planning Your Shield Design
Start by measuring the area where you’ll install your heat shield to determine the right dimensions. Next, select materials that can withstand high temperatures and suit your budget. Additionally, consider the state tax implications for any potential financial planning related to your project. Proper planning can also help you maximize space and organization, ensuring that the shield fits seamlessly into your existing setup. Incorporating thermal resistance considerations during planning ensures the shield effectively protects your wall from heat damage. Evaluating the nutritional advantages of green juice can also be helpful if you plan to incorporate healthy habits into your safety routine. Furthermore, understanding the efficiency of wood-burning stoves can guide you in designing a shield that optimizes heat retention and safety.
Determine Shield Dimensions
Before cutting any materials, you need to carefully measure and plan your shield’s dimensions to guarantee it fits your setup and provides adequate protection. Proper sizing is key to fire safety and effective insulation. Start by measuring the distance between your wood stove and the nearby wall or furniture. Consider the required clearance for heat dissipation and airflow. Use these measurements to determine the width, height, and depth of your shield. Remember to add extra space for insulation materials and mounting brackets. Accurate measurements ensure your shield will be both functional and safe. Keep in mind that the shield should extend beyond the stove’s sides and top for optimal protection. Proper planning minimizes fire hazards and maximizes the shield’s effectiveness. Additionally, understanding the Preppy Dog Names can inspire a stylish and sophisticated aesthetic for your project’s design details.
Choose Suitable Materials
Have you considered which materials will best withstand the heat and provide effective insulation for your shield? Choosing the right materials is essential for safety and durability. Look for fire-resistant options like cement board, metal, or specialized heat shields. Keep ventilation requirements in mind; materials should allow for proper airflow to prevent overheating and ensure safety. Aesthetic considerations also matter—select finishes or coverings that blend with your room’s decor or serve a functional purpose without compromising heat resistance. Avoid materials that warp, crack, or emit fumes when exposed to high temperatures. Planning your material selection carefully helps create a sturdy, safe, and visually appealing shield, ensuring your wood stove remains protected while matching your space’s style. Additionally, understanding heat transfer mechanisms can help you optimize your shield’s design for maximum safety and efficiency. Being aware of fire safety regulations can further guide your choices to ensure compliance and safety in your home project. Considering the insulation properties of your materials can also enhance the shield’s effectiveness by reducing heat flow. By staying informed about AI’s impact on privacy and regulation, you can better assess the safety measures needed for your home project.
Map Out Placement Strategy
Mapping out your placement strategy is a crucial step to guarantee your heat shield fits correctly and provides effective protection. Start by measuring the distance between your wood stove and the nearby wall, considering ventilation requirements to make certain airflow isn’t obstructed. Plan the shield’s height and width to cover the hot surfaces without blocking necessary vents. Think about aesthetic considerations—choose a design that complements your space while maintaining safety. Use these steps as a guide:
- Measure clearances around the stove, factoring in ventilation needs.
- Decide on the shield’s size and positioning for maximum coverage.
- Sketch your design to visualize placement relative to walls and vents.
- Confirm that your plan meets safety codes and aesthetic goals.
- Remember that proper placement enhances both safety and the effectiveness of your heat shield. Proper placement also involves understanding heat-resistant materials to ensure durability and safety over time. Additionally, incorporating industry standards can help you comply with safety regulations and optimize performance. When planning, consider spatial layout to maximize protection while maintaining accessibility and airflow. Incorporating professional guidance can further ensure your heat shield meets all safety requirements and performs reliably.
Careful planning ensures your heat shield is both functional and visually appealing.

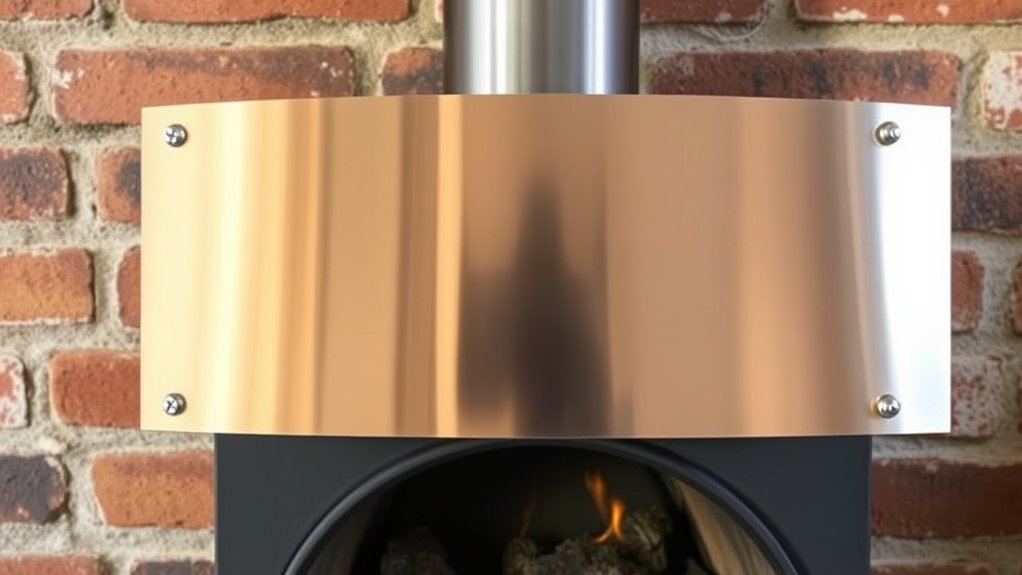
Heat Shield Automotive Aluminum Reflects 95% of Radiant Heat, 12" x 24" Stove Heat Shield to Protect Refrigerator, Heat Shield Wrap for Exhaust, Motorcycle, Wood Stove, Cabinet, Fireplace (Black)
【Reflects 95% of Heat】This heat shield wrap withstands temperatures up to 1022℉(550℃) with a 95% reflective surface, effectively…
As an affiliate, we earn on qualifying purchases.
As an affiliate, we earn on qualifying purchases.
Cutting and Preparing the Protective Panels
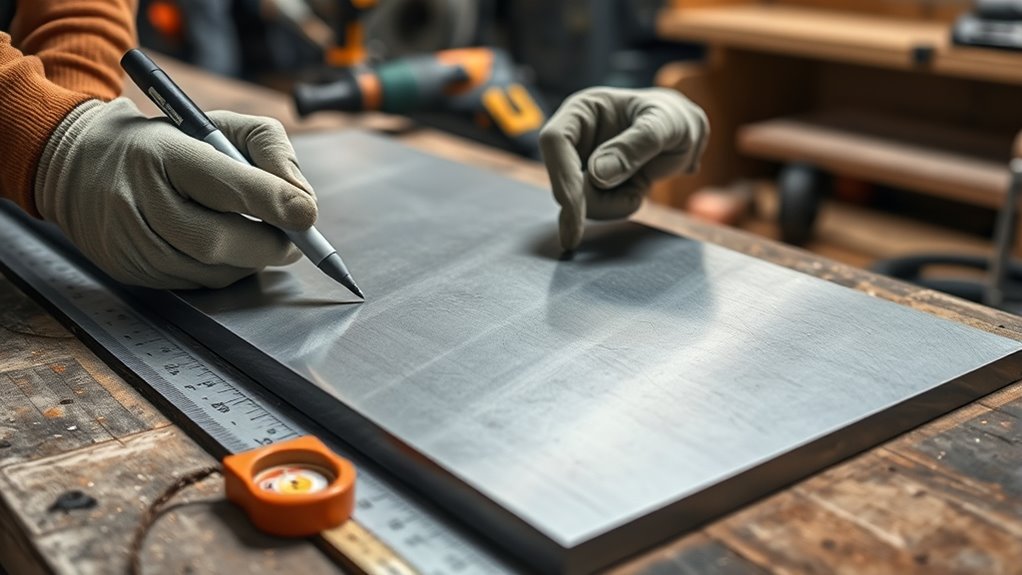
First, choose materials that can withstand high temperatures and are easy to cut, like metal or heat-resistant composites. Next, carefully measure and mark your panels before cutting them to match your design. To ensure safety, verify that your selected materials meet heat resistance standards for durability under high temperatures. Finally, shape and smooth the edges to guarantee a snug fit and prevent any damage during installation. Incorporating best materials for heat resistance can enhance safety and durability of your heat shield.
Selecting Suitable Materials
Choosing the right materials for your heat shield is crucial to guarantee effective protection and ease of installation. You need durable, fire-resistant materials that can withstand high temperatures without warping or deteriorating. Metal options like steel or aluminum are popular because they’re sturdy and fire-resistant. You should also consider other fire resistant materials such as ceramic or fiberboard for added safety.
Here are some ideas to get started:
- Steel panels for durability and fire resistance
- Aluminum sheets for lightweight options
- Ceramic tiles for high heat tolerance
- Fiberboard as an insulative backing
Select materials that match your space, budget, and safety requirements to ensure a reliable and effective wall barrier.
Cutting and Shaping Panels
Once you’ve selected the appropriate materials for your heat shield, the next step is to cut and shape the panels to fit your designated area. Pay attention to panel thickness, as thicker materials may require stronger cutting tools. Use proper cutting techniques, like scoring with a utility knife for metal or applying a jigsaw for thicker panels, to guarantee clean edges. Measure carefully before cutting to avoid mistakes. Here’s a quick overview:
| Material | Recommended Cutting Technique | Panel Thickness Suitability |
|---|---|---|
| Metal Sheets | Jigsaw or angle grinder | 1/16″ to 1/8″ |
| Firebrick | Masonry saw or angle grinder | 1″ or more |
| Ceramic Tile | Wet saw or tile cutter | 1/4″ to 1/2″ |
| Heat-resistant panels | Jigsaw or snips | Varies, check manufacturer |
Accurate cutting guarantees a snug fit and maximum safety.
Assembling the Heat Shield Frame
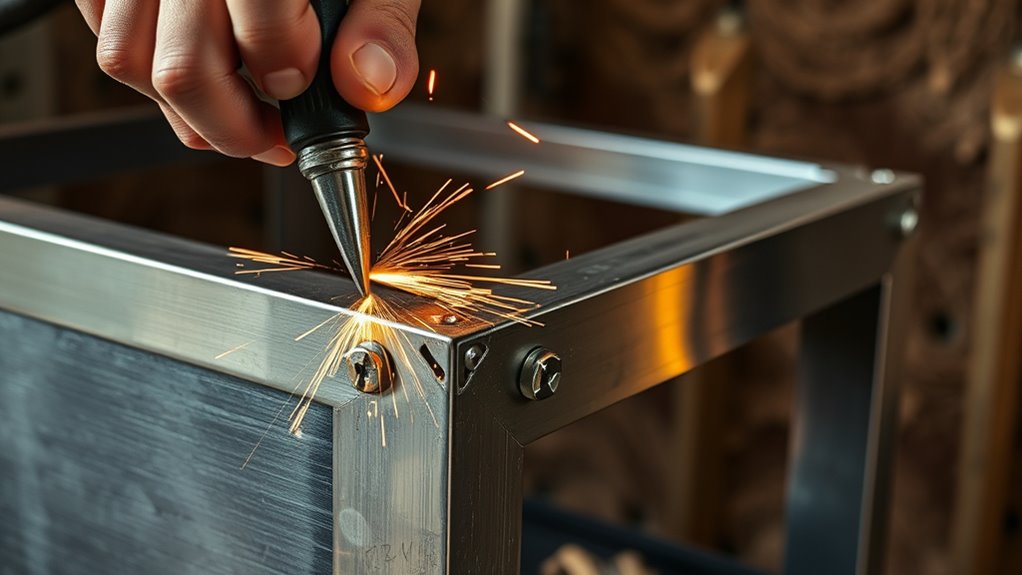
To begin assembling the heat shield frame, lay out all the components and organize them for easy access. Make certain you have your metal joints, insulation layers, and panels ready. Start by connecting the panels using metal joints, securing each joint tightly to maintain stability. Incorporate insulation layers between panels if needed, which helps improve heat protection. Carefully align everything to form a sturdy rectangular or square frame. Check that each joint is secure before moving on. Use clamps or clamps to hold pieces temporarily if necessary. Confirm the frame is square and level. Once assembled, double-check all connections, especially where metal joints meet, to ensure safety and durability. This foundation sets the stage for the protective layers you’ll add next.
Installing the Shield Safely and Securely
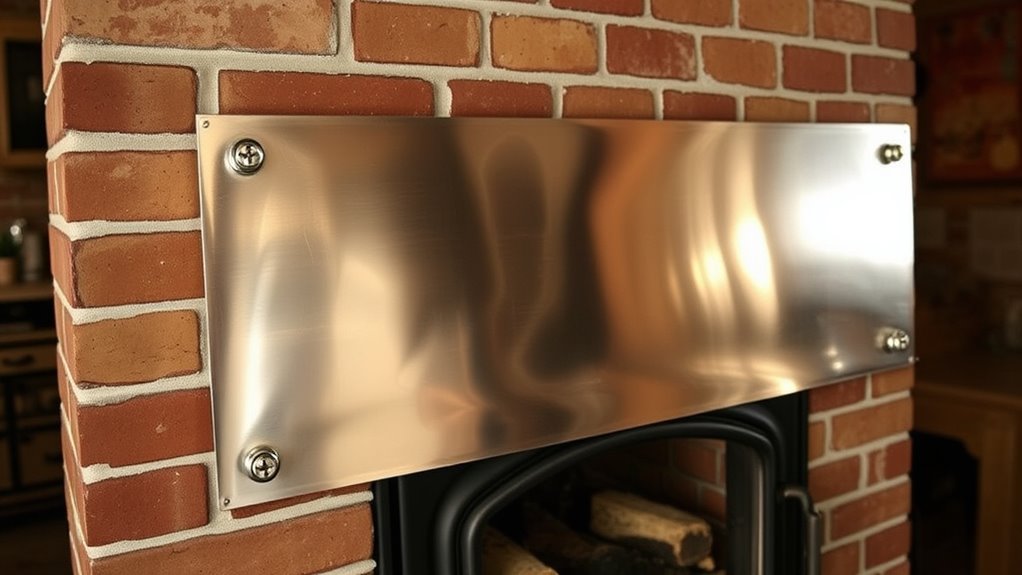
How can you guarantee your heat shield stays securely in place during operation? Start by attaching the shield using sturdy mounting brackets designed for heat-resistant surfaces. Position the brackets at key points along the frame, ensuring even support and stability. Use secure fasteners, such as high-temperature screws or bolts, to firmly anchor the brackets to the wall or floor. Tighten all fasteners properly, avoiding over-tightening that could cause damage. Double-check that the shield is level and firmly attached before completing the installation. Properly mounted brackets and secure fasteners prevent shifting or accidental dislodging, ensuring safety during stove use. Taking these steps guarantees your DIY heat shield remains stable, providing reliable protection for your space.
Tips for Maintaining and Enhancing Your Shield

Regularly inspecting your heat shield helps guarantee it stays in top condition and continues to provide effective protection. To maintain its integrity, check for rust, warping, or damage, and clean it regularly to prevent buildup. You can also enhance its appearance and safety with these tips:
- Improve ventilation tips by adding small vents or gaps to ensure proper airflow and prevent overheating.
- Aesthetic enhancements like repainting with heat-resistant paint or adding decorative trim can make your shield more attractive.
- Tighten or replace mounting hardware to ensure the shield stays securely in place.
- Apply protective coatings to prevent rust and extend the shield’s lifespan.
These steps keep your shield functional, safe, and visually appealing.
Troubleshooting Common Issues During Installation

Installing a heat shield can sometimes present challenges, especially if components don’t line up correctly or if hardware is missing. You might encounter ventilation issues if the shield blocks airflow needed for safe operation, so double-check clearance requirements. Material compatibility is also critical; make certain your chosen materials withstand high temperatures and are approved for stove installation. If parts don’t fit properly, don’t force them, as this could cause damage or reduce effectiveness. Instead, review the instructions carefully, verify all components, and adjust as needed. If ventilation becomes problematic, consider modifying the shield or adding ventilation gaps. Always prioritize safety by ensuring the shield remains secure and doesn’t interfere with stove operation or heat dispersion. Troubleshooting these issues early helps prevent hazards and ensures a successful installation.
Frequently Asked Questions
Can I Customize the Heat Shield’S Design for Aesthetic Purposes?
You can definitely customize your heat shield’s design for aesthetic purposes. Consider exploring decorative options like patterned panels or textured finishes to match your interior style. Color customization also works well—paint or stain the shield in hues that complement your space. Just make certain any materials used are heat-resistant and safe for high temperatures, so your design enhancements don’t compromise safety or functionality.
What Safety Precautions Should I Take During Installation?
Think of safety as your shield against unforeseen sparks. Before you start, guarantee your fire extinguisher is within reach, symbolizing readiness. Wear personal protective equipment like gloves and safety glasses, representing your armor. Keep the area clear of clutter, like a fortress’s walls, to prevent accidents. Carefully follow installation instructions, treating each step as building a sturdy foundation. This approach safeguards your home and makes your project a secure success.
How Often Should I Inspect the Heat Shield for Damage?
You should inspect your heat shield regularly, ideally every few months, to guarantee safety. An inspection schedule helps you catch any damage early, such as warping, cracks, or corrosion. Conduct a damage assessment during each inspection, looking for signs of deterioration that could compromise its effectiveness. By staying vigilant and maintaining a consistent inspection routine, you protect your home and ensure your wood stove remains safe to operate.
Are There Specific Materials Recommended for Different Stove Types?
You might think finding the perfect material is as simple as choosing a sandwich, but when it comes to stove safety, it’s a whole world of importance. Different stove types demand specific materials for maximum safety and efficiency. Always check material compatibility and follow installation guidelines carefully. For example, metal sheets work well for some, while non-combustible materials are necessary for others. Prioritize safety and adhere to manufacturer instructions.
Can I Remove or Relocate the Heat Shield Easily Later?
You might wonder about the removal difficulty and relocation ease of your heat shield. Generally, if you build it with accessible fasteners, you can remove or relocate it fairly easily later. However, some materials or fixed installations could make this process more challenging. To guarantee flexibility, use screws or brackets that allow quick disassembly, so you can adapt your setup as needed without much hassle in the future.
Conclusion
By taking the time to craft your own heat shield, you’re gently guiding your wood stove towards safer operation. With patience and care, you’ll create a cozy haven that whispers reassurance rather than worry. Think of it as adding a quiet guardian, softly working behind the scenes to keep your home warm and secure. Embrace the process—your effort turns safety into an artful, comforting addition to your space.