
To DIY your wood stove caulking and sealing, start by inspecting your stove and chimney for cracks or gaps, especially where they connect. Clean all surfaces thoroughly to remove dust, grease, and old sealant. Use high-temperature silicone or refractory caulk and apply it evenly along seams and joints with a caulking gun. Smooth the sealant for a neat finish and let it cure as directed. For more proven tips and techniques, keep exploring the essential steps to guarantee safety and efficiency.
Key Takeaways
- Inspect chimney and stove pipe for cracks or gaps before sealing, focusing on connection points.
- Use high-temperature, fireproof sealants like silicone or refractory caulk for effective sealing.
- Clean surfaces thoroughly with a wire brush or scraper to ensure proper adhesion of sealant.
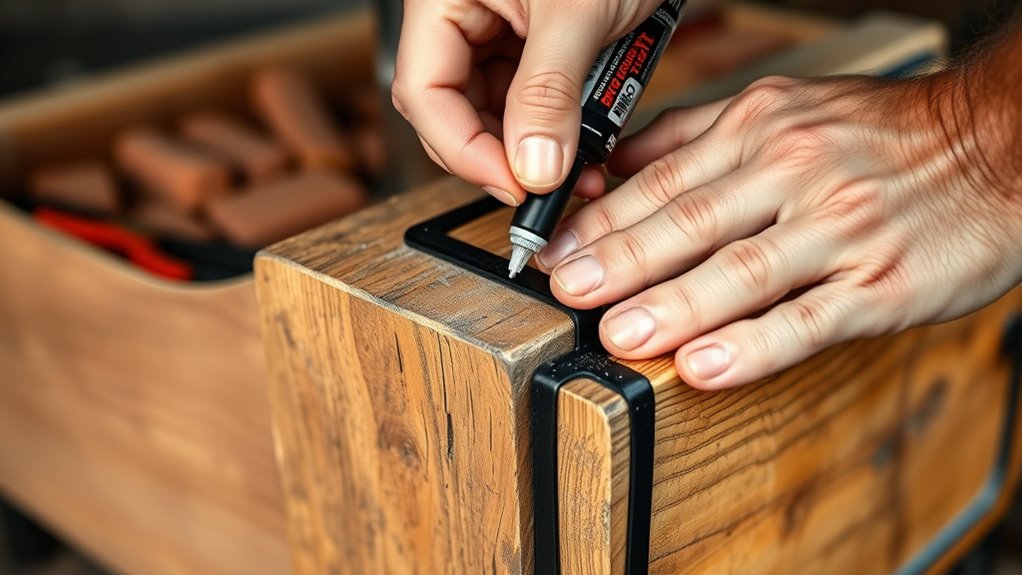
- Apply sealant evenly along joints with a caulking gun, smoothing for a neat finish and complete gap filling.
- Regularly inspect and reapply sealant as needed to maintain safety, efficiency, and extend stove lifespan.

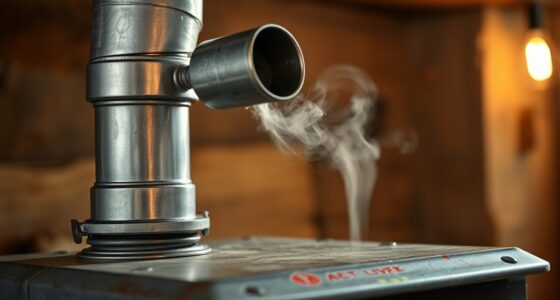
Sealing your wood stove properly is essential for safety and efficiency, and doing it yourself can save you money while guaranteeing the job gets done right. When it comes to maintaining your stove, attention to detail in sealing gaps and joints can prevent dangerous smoke leaks and improve heat retention. One of the first steps is inspecting your chimney and stove pipe for any cracks or gaps. If you notice leaks, you’ll want to focus on chimney insulation, which helps maintain consistent temperatures and reduces the risk of creosote buildup. Proper chimney insulation also makes sealing easier because it minimizes temperature fluctuations that can cause sealant failure over time.
Next, gather the right materials. Fireproof sealants are crucial because they can withstand high temperatures without degrading or emitting harmful fumes. Look for high-temperature silicone or refractory caulks designed specifically for stove and chimney applications. These sealants are flexible enough to handle expansion and contraction caused by heat changes, guaranteeing long-lasting seals. When applying fireproof sealants, clean the area thoroughly to remove dust, grease, or old sealant residue. Use a wire brush or a scraper to ensure a smooth surface for better adhesion.
To achieve a tight seal, apply the fireproof sealant evenly along the joints and seams of your stove and chimney. Use a caulking gun for precision, and make sure to fill gaps completely without leaving air pockets. Pay special attention to the connection points between the stove and chimney pipe, as these are common spots for leaks. For added security, you can use high-temperature refractory cement around larger gaps or cracks. Once applied, smooth out the sealant with a putty knife or your finger (wearing gloves) to guarantee a consistent, neat finish.
Sealing isn’t just a one-time task. Regular inspection is imperative, especially after the first few heating seasons. As your stove heats and cools, small cracks can develop or expand, reducing efficiency and potentially compromising safety. Reapply fireproof sealants when needed, and always follow the manufacturer’s curing instructions for the best results. Remember, using quality chimney insulation and fireproof sealants helps your stove operate efficiently, reduces fire hazards, and extends the lifespan of your entire heating system. Doing this yourself might require some effort, but it’s a rewarding way to guarantee your wood stove remains a safe, effective heat source for years to come.
high temperature silicone caulk for wood stove
As an affiliate, we earn on qualifying purchases.
As an affiliate, we earn on qualifying purchases.
Frequently Asked Questions
How Often Should I Reapply Caulking on My Wood Stove?
You should reapply caulking on your wood stove every 1 to 3 years to ensure maximum stove maintenance. The caulking lifespan varies depending on usage and weather conditions, so regularly inspect for cracks or gaps. If you notice deterioration, it’s best to reapply promptly to maintain proper sealing and safety. Staying on top of caulking maintenance helps your stove operate efficiently and prolongs its lifespan.
Can I Use Silicone Caulk for Outdoor Wood Stoves?
Yes, you can use silicone caulk for outdoor wood stoves. Imagine a sturdy, waterproof shield protecting your stove from harsh weather—silicone’s durability makes it perfect for outdoor weatherproofing. Its flexibility and resistance to high temperatures guarantee it stays intact, even with temperature swings and moisture. Just make certain you choose a high-quality, heat-rated silicone caulk designed specifically for outdoor use, so your stove stays sealed and safe year-round.
Is It Safe to Seal Around a Wood Stove With Household Sealants?
You shouldn’t use household sealants to seal around your wood stove because they may not withstand high temperatures and could release harmful fumes. Safety considerations are vital, so choose sealants specifically designed for high heat and stove applications. Always follow manufacturer instructions to guarantee proper sealing and safety. If unsure, consult a professional to avoid fire hazards or health risks associated with improper sealing.
What Tools Are Best for Applying Stove Caulking?
You should use a caulking gun for precise, even application of stove caulking, ensuring a strong seal. An applicator brush is also handy for smoothing out the caulk and reaching tight spots or edges. Together, these tools let you control the flow and placement of the sealant, making sure it adheres properly and provides a durable, safe seal around your wood stove.
How Do I Know if My Stove Needs Resealing?
You’ll know your stove needs resealing if you notice signs like smoke escaping around seams or unusual odors during operation. Do a thorough stove inspection, checking for cracks, gaps, or deteriorating seals. If you see any sealing signs of wear or damage, it’s time to reseal your stove. Regularly inspecting guarantees safe, efficient use and prevents potential hazards caused by compromised seals.
refractory chimney sealant
As an affiliate, we earn on qualifying purchases.
As an affiliate, we earn on qualifying purchases.
Conclusion
Sealing your wood stove is like giving it a warm, cozy blanket—preventing drafts and keeping heat where it belongs. With just a few simple tools and some patience, you can guarantee your stove operates safely and efficiently. Remember, a well-sealed stove is the heart of a cozy home, just like a lighthouse guides ships safely ashore. So, take your time, follow the steps, and enjoy a safer, warmer space all season long.

Akfix Heat Fighter Black Fireplace Sealant – 2700 °F (1×10.1 oz.) – Heat Resistant Fireplace Stove Caulk for Chimneys, Ovens, Grills, Wood Stoves | Non-Flammable, Quick-Drying & Paintable Cartridge
Withstands Extreme Heat Up to 2700°F: Built for direct flame contact. Ideal for sealing and insulating fireplaces, stoves,…
As an affiliate, we earn on qualifying purchases.
As an affiliate, we earn on qualifying purchases.

Protalwell Wood Stove Gasket, 1/2" Wood Stove Door Gasket Kit, High Temperture Resistant Gasket Rope Replacement for Stove or Fireplace Doors, Grey Color Fiberglass Gasket
High Temperature Resistance Gasket Rope – Made by Graphite Impregnated Fiberglass, will not burn and withstand to temperatures…
As an affiliate, we earn on qualifying purchases.
As an affiliate, we earn on qualifying purchases.