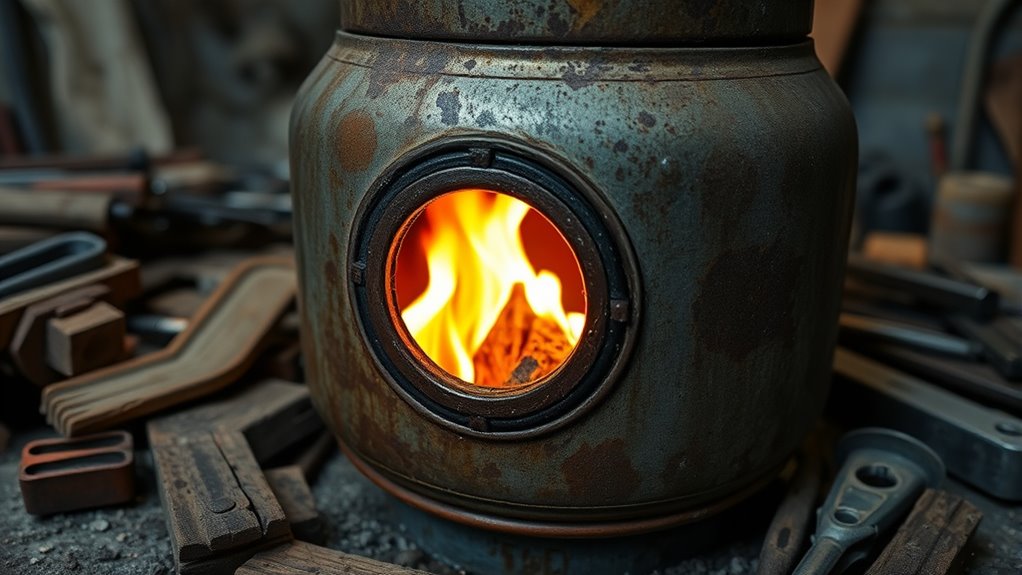
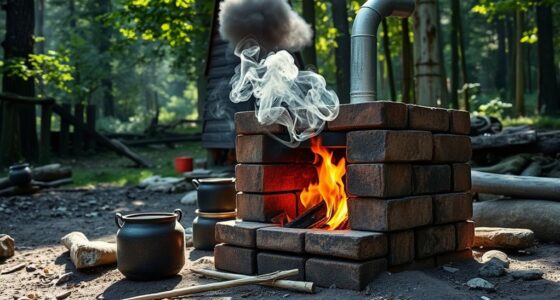
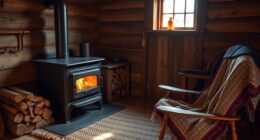
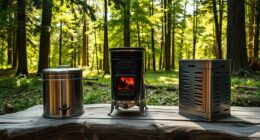
To turn a scrap propane tank into a wood stove, start by thoroughly inspecting and cleaning the tank, ensuring it’s completely empty and vented for safety. Next, cut appropriate access holes for air intake, chimney, and ash removal, then add venting and attach a chimney pipe for proper exhaust. Secure hinges or doors for easy access and finish with heat-resistant paint. For detailed step-by-step instructions and safety tips, continue exploring the process to create an efficient and safe heater.
Key Takeaways
- Properly clean and vent the propane tank to remove residual gases before cutting and modifying.
- Cut and customize the tank to include an access door, ventilation holes, and a chimney connection for efficient operation.
- Securely attach heat-resistant chimney pipe and ensure proper sealing for safe smoke exhaust.
- Install insulation, a durable door, and ventilation components to optimize heating efficiency and safety.
- Conduct safety checks, test burn, and regularly inspect seals, welds, and vents before regular use.
Gathering Materials and Tools
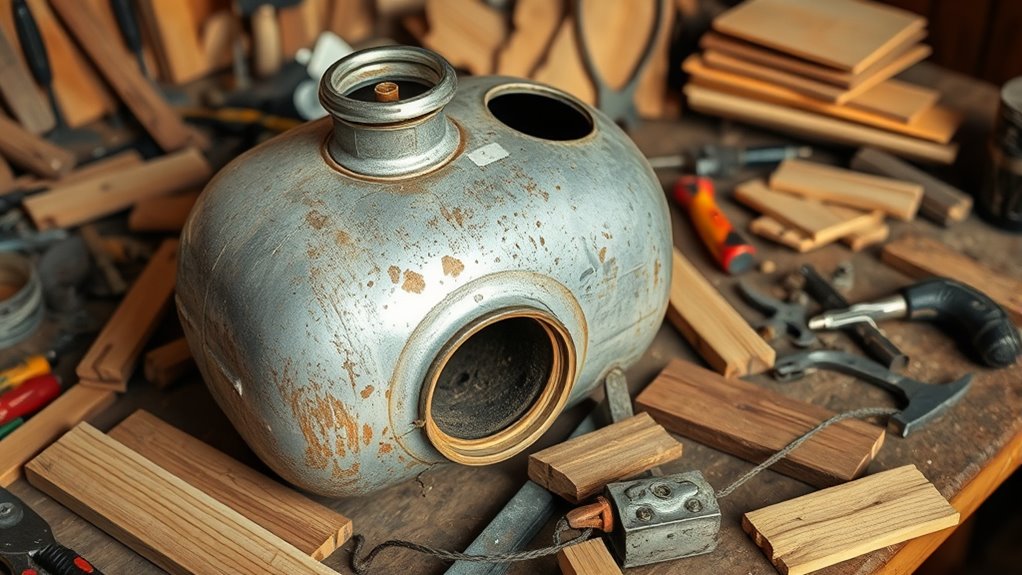
Before you begin building your DIY propane tank wood stove, it’s crucial to gather all the necessary materials and tools. Focus on selecting a propane tank that’s in good condition and suitable for conversion. You’ll also need basic tools like a grinder, drill, and safety gear such as gloves and goggles. To maximize fuel efficiency, choose high-quality insulation materials and venting components. For aesthetic design, consider paint or finishes that resist heat and rust, enhancing the stove’s appearance. Don’t forget to gather a chimney pipe, hinges, and a door for easy access and cleaning. Having everything ready beforehand ensures a smoother build process and helps you achieve a functional, attractive stove that heats efficiently. Proper preparation sets the foundation for a successful project. Additionally, understanding fire safety regulations can provide important guidance to ensure your DIY stove operates safely and complies with local standards. Consulting proper ventilation guidelines is also essential to prevent dangerous buildup of fumes and ensure safe operation. Being aware of local codes will help you avoid potential legal issues and ensure your stove meets all safety requirements. Moreover, researching insulation techniques can be beneficial in optimizing heat retention and energy efficiency for your homemade stove.
Preparing the Propane Tank for Conversion

Before converting your propane tank, you need to prioritize safety by inspecting and thoroughly cleaning it. You should also plan for proper cutting and venting to prevent dangerous buildup of gases. Taking these steps guarantees your project is safe and ready for the next phase. Additionally, reviewing best practices for propane safety can help ensure you handle the tank correctly throughout the process. Incorporating precautions for gas leaks into your preparation can further reduce risks during the conversion. Ensuring proper tank pressure regulation is also essential to prevent accidents during your project. Proper toilet maintenance and repairs practices can also help prevent unexpected issues during your project. Being aware of glycolic acid benefits for skin can also be useful if you plan to treat skin irritation from handling tanks.
Safety Precautions
To safely convert a propane tank into a wood stove, you must first prioritize proper preparation to prevent accidents. Handling propane requires caution—always work in a well-ventilated area, wear gloves, and avoid sparks. Remember, fire safety is vital; a small mistake can lead to dangerous situations. Before starting, ensure the tank is completely emptied and depressurized. Use the table below to visualize key safety steps:
| Step | Focus Area |
|---|---|
| 1 | Ventilate the workspace |
| 2 | Wear protective gear |
| 3 | Confirm propane is fully released |
| 4 | Keep a fire extinguisher nearby |
| 5 | Avoid open flames during prep |
These precautions help you handle propane safely and prepare for a secure conversion process. Additionally, understanding the flammability of propane is essential to prevent accidental ignition during the process.
Tank Inspection & Cleaning
Have you thoroughly inspected the propane tank before starting the conversion? Ensuring it’s clean and free of residues is key to maximizing fuel efficiency and achieving a sleek aesthetic design. Here’s what you should do:
- Remove any remaining propane by safely venting or draining the tank.
- Rinse the interior thoroughly with water to eliminate dirt, oil, or rust.
- Scrub the outside with a wire brush to smooth rough surfaces and improve appearance.
- Check for corrosion, rust, or leaks, replacing or repairing the tank if necessary.
- Understanding the importance of tank inspection and cleaning can also prevent safety hazards and improve the longevity of your wood stove.
- Properly inspecting and maintaining the tank aligns with best practices in safety standards for DIY conversions.
- Regular maintenance and thorough cleaning help maintain optimal fuel efficiency, ensuring your heater performs reliably over time.
- Incorporating recycled materials into your project can further enhance sustainability and reduce costs.
Proper inspection and cleaning not only make your stove safer but also help it burn fuel more efficiently. A well-maintained tank contributes to a more attractive, functional heater that’s built to last.
Cutting & Venting
Preparing your propane tank for cutting and venting is a critical step that guarantees safety and ease during the modification process. First, verify the tank is completely empty and free of fumes. Use a paint color or decorative finish to mark the cutting line clearly, helping you stay precise. Before cutting, vent the tank by drilling a small hole at the top to release residual pressure and gases. Wear protective gear, and work in a well-ventilated area. Proper venting prevents dangerous flare-ups. Once vented, carefully cut along your marked line using a suitable saw. Taking these precautions ensures a safer, smoother process, making it easier to shape the tank into your wood stove while maintaining safety standards and a clean, finished look. Additionally, understanding the Power Consumption Insights principles can inspire safer and more mindful craftsmanship during your project. Always remember to double-check that the tank has no remaining flammable residues before starting the cutting process. Maintaining awareness of Best Practices in handling propane tanks further enhances safety during your DIY project.
Designing the Stove Layout and Cutouts
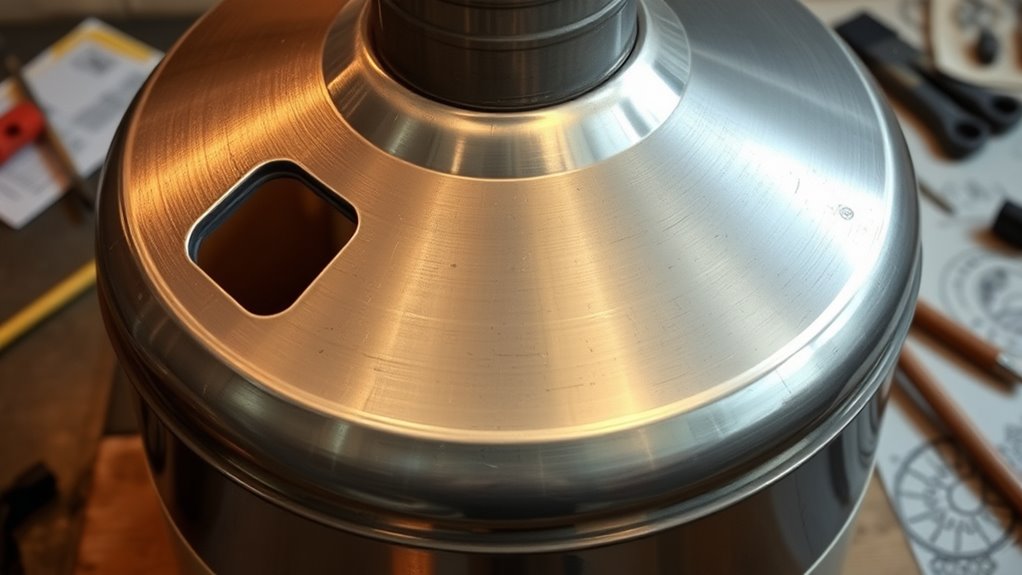
Designing the stove layout and cutouts requires careful planning to guarantee proper airflow, safety, and functionality. First, decide where to place the air intake and exhaust openings to ensure efficient combustion. Second, mark the locations for the main door, ash removal, and access panels, considering aesthetic modifications that improve appearance and usability. Third, plan for any additional cutouts needed for handles or vents, making sure they don’t weaken the tank’s structure. Fourth, sketch out the layout with precision to avoid misalignments. Proper placement of these cutouts ensures airflow, safety, and aesthetic appeal, blending functionality with aesthetic modifications that make your stove both effective and attractive. This thoughtful planning sets the foundation for a successful build. Additionally, referencing design principles can help optimize the overall layout for safety and efficiency. Incorporating ergonomic considerations can also enhance usability and comfort during operation. When planning your cuts, it’s important to account for structural integrity to prevent weakening the tank over time. For example, understanding material strength can guide your decisions on cutout size and placement to maintain durability.
Cutting and Modifying the Tank
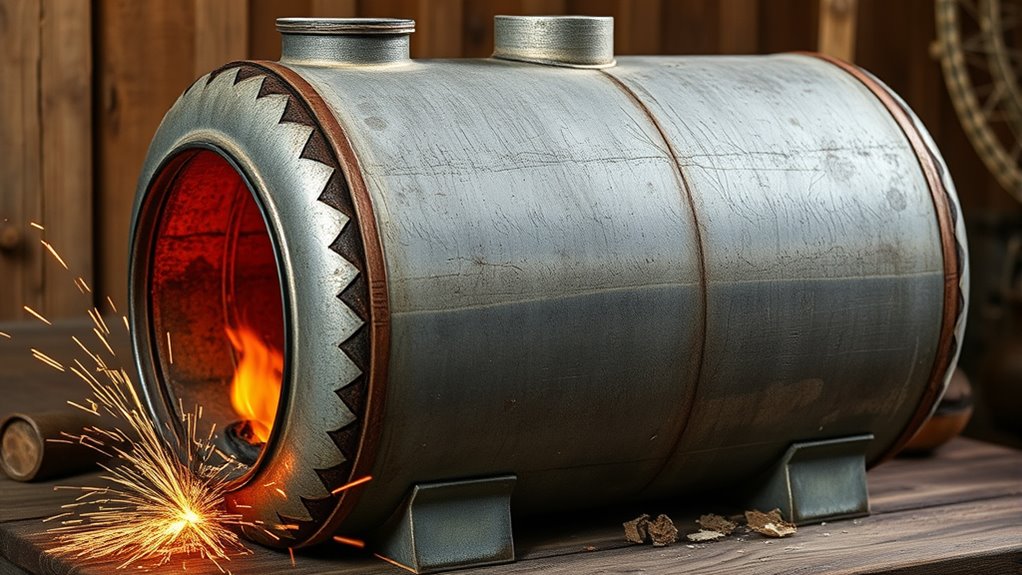
Before cutting into the propane tank, verify it’s completely empty and free of any residual gas or pressure. Carefully assess the metal thickness, which typically ranges from 14 to 16 gauge, to determine the best cutting method. Use a reciprocating saw with a metal-cutting blade or an angle grinder to make precise cuts. Wear safety gear, including gloves and eye protection. When modifying the tank, smooth rough edges with a file to prevent injury. If welding is necessary for attaching components, choose appropriate welding techniques like MIG welding, which works well with thin metal sheets. Proper metal cutting techniques and accurate cuts ensure a safe, durable modification, setting a solid foundation for your DIY wood stove project. Modern farmhouse decor emphasizes the importance of safety and precision when working with metal materials.
Assembling and Securing Components
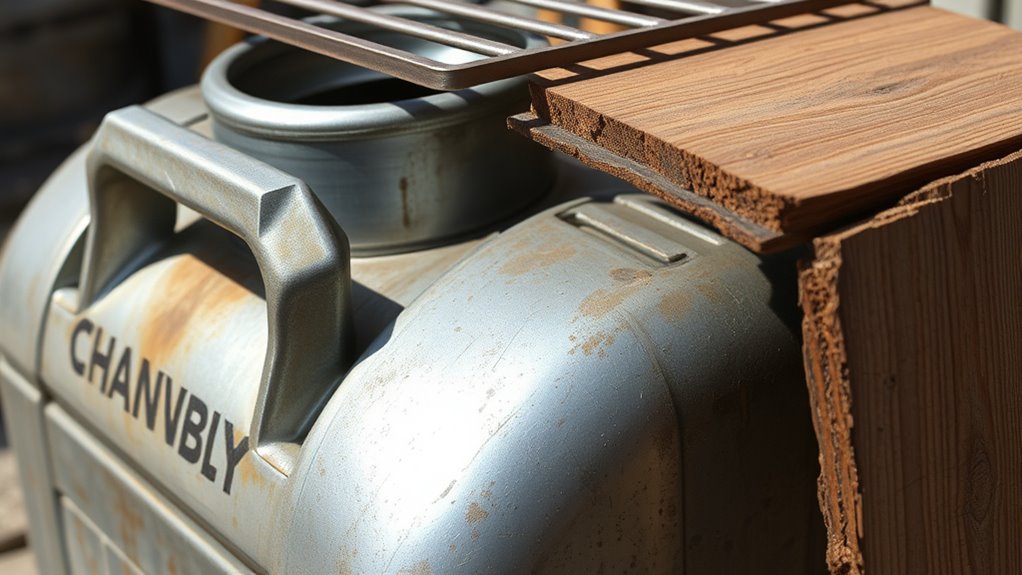
Once you’ve cut and modified the propane tank, it’s time to start assembling and securing the components. First, verify all parts fit snugly to maintain safety and stability. Next, secure the components with high-temperature bolts or welds where necessary. Then, focus on achieving a smooth paint finish to protect the metal and enhance the aesthetic design of your stove. Fourth, confirm that all connections are tight to prevent leaks and ensure efficient operation. Use clamps or brackets to hold parts in place until secured. Finally, double-check the stability of the assembled stove, making adjustments if needed. Proper assembly and securing are vital for safety, durability, and a professional look that complements your aesthetic design.
Adding Ventilation and Chimney Connections
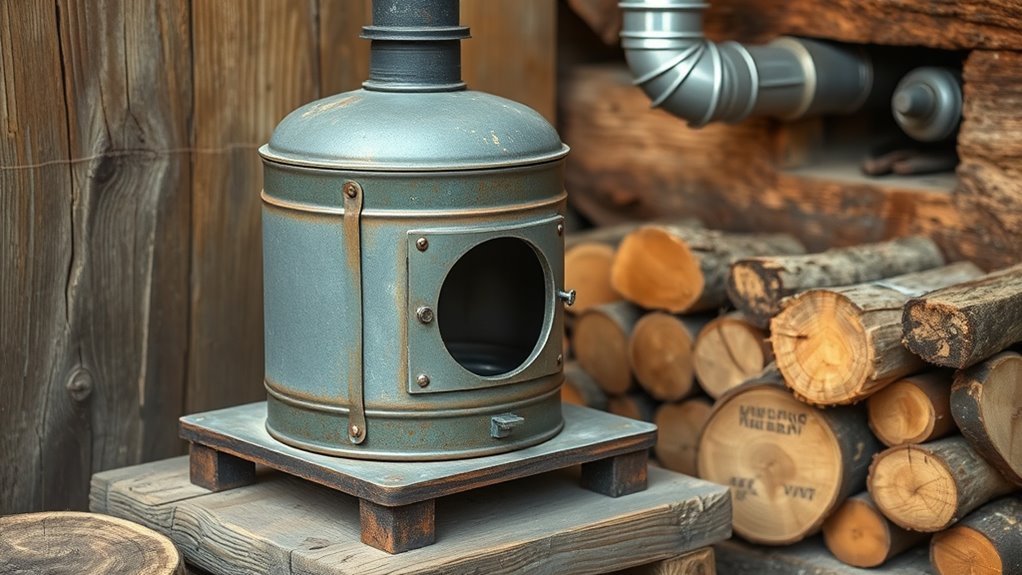
Proper ventilation is essential to keep your stove safe and efficient, so make sure airflow isn’t obstructed. When attaching the chimney, follow the best tips to ensure a secure fit and prevent leaks. Always prioritize safety measures to protect yourself and your environment while setting up ventilation and chimney connections.
Ensuring Proper Airflow
To guarantee your wood stove operates efficiently and safely, you need to focus on proper airflow by adding ventilation and chimney connections. Good airflow improves fuel efficiency and maintains a steady burn. Here are key steps:
- Ensure the ventilation system allows fresh air to feed the combustion chamber without obstruction.
- Connect the chimney securely to direct smoke upward, preventing smoke buildup inside.
- Choose a chimney placement that complements your aesthetic design while maximizing airflow.
- Regularly inspect and clean vents and chimney to prevent blockages that could hinder performance.
Proper airflow not only enhances fuel efficiency but also keeps the stove’s appearance neat and attractive. Maintaining these connections guarantees your DIY stove heats effectively and remains safe to operate.
Chimney Attachment Tips
When attaching the chimney to your DIY propane tank wood stove, guarantee a tight, secure fit to prevent smoke leaks and drafts. Use heat-resistant sealants around the connection point to make certain a proper seal, avoiding any escape of smoke or gases. Before sealing, consider applying fireproof paint to the top of the stove where the chimney connects; this adds an extra layer of protection against heat damage and prolongs the lifespan of your setup. Make sure your chimney pipe fits snugly into the stove’s outlet, and use clamps if necessary for added security. Regularly inspect the connection for gaps or deterioration, reapplying heat resistant sealants if needed. Proper attachment ensures safe operation and efficient venting of smoke and fumes.
Ventilation Safety Measures
Ensuring good ventilation is key to maintaining a safe and efficient DIY propane tank wood stove setup. Proper ventilation improves fuel efficiency and preserves the aesthetic design of your stove. To achieve this, consider these safety measures:
- Install a chimney or flue that directs smoke outdoors, preventing indoor buildup.
- Seal all connections tightly to avoid leaks that compromise ventilation.
- Use heat-resistant materials for connections to ensure durability.
- Regularly inspect and clean the chimney to maintain proper airflow and prevent blockages.
These steps help maximize fuel efficiency by ensuring complete combustion and keep your setup safe. Proper ventilation also maintains the aesthetic appeal by preventing soot buildup and structural damage, keeping your DIY stove both functional and visually appealing.
Testing and Safety Checks
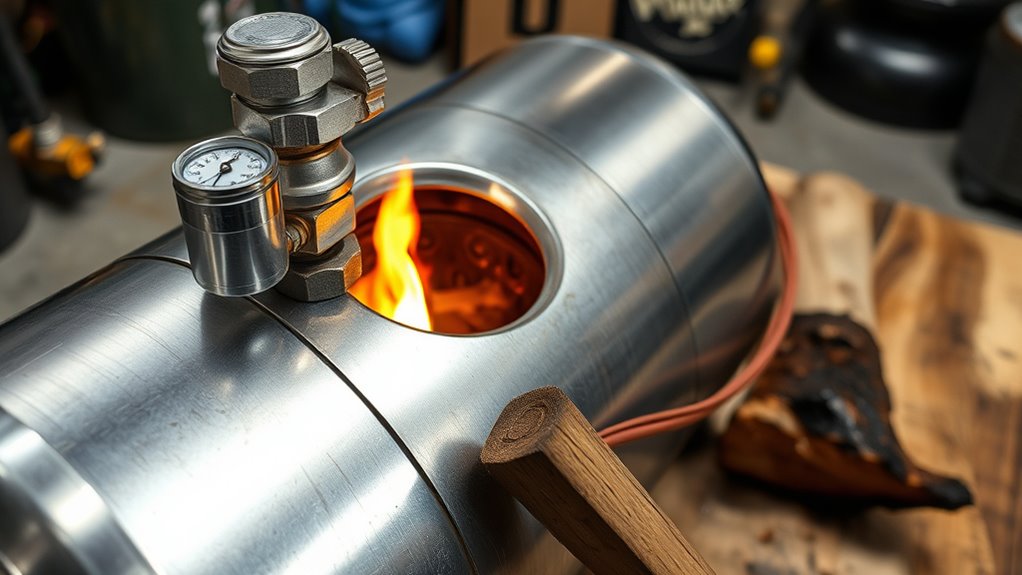
Have you thoroughly tested your DIY propane tank wood stove before use? Safety checks are vital to ensure it operates correctly and safely. Start by inspecting welds, joints, and the fuel line for leaks or cracks—any weakness could cause hazards. Conduct a small burn test to evaluate fuel efficiency, making sure the stove heats evenly and maintains a consistent flame. Check that the aesthetic design is sturdy and stable, preventing accidental tipping. Confirm proper ventilation to prevent dangerous buildup of fumes. Always have a fire extinguisher nearby and know how to shut off the fuel supply quickly. These safety checks will help you catch potential issues early, ensuring your stove is both safe and efficient for long-term use.
Frequently Asked Questions
What Safety Precautions Should I Follow During the Project?
You should prioritize safety during your project by ensuring proper fire extinguisher placement nearby, so you’re ready for emergencies. Follow ventilation requirements strictly to avoid dangerous fumes and buildup of gases. Always wear protective gear like gloves and goggles, and work in a well-ventilated area. Double-check all connections and test the stove carefully before use. Staying cautious helps prevent accidents and keeps you safe throughout the process.
How Do I Prevent Propane Leaks in the Finished Stove?
Imagine the danger lurking if a propane leak goes unnoticed. To prevent leaks, perform thorough leak detection using soapy water on all connections before lighting your stove. Always guarantee proper ventilation safety by installing vents or exhausts to prevent gas buildup. Regularly check hoses and fittings for cracks or corrosion, and never ignore the faint smell of propane. Staying vigilant keeps you safe and your homemade heater reliable.
Can I Customize the Stove Size for Different Spaces?
You can definitely customize the stove size for different spaces by adjusting the stove dimensions to fit your needs. Measure your area carefully, then modify the propane tank and fire chamber accordingly. This space adaptation allows you to create a more efficient heater tailored to your room size. Just guarantee your custom design maintains safety standards and proper ventilation for ideal performance and safety.
What Types of Wood Are Best for the Stove’s Burn Chamber?
Ever wonder what makes your fire burn brighter and longer? When choosing wood for your stove’s burn chamber, opt for seasoned hardwoods like oak, maple, or hickory. These woods offer better wood selection and burn efficiency, igniting easily and producing steady heat. Avoid softwoods like pine, which burn quickly and create creosote buildup. Proper wood choice guarantees your stove operates safely, efficiently, and heats your space effectively.
How Do I Maintain and Clean the Stove After Use?
To keep your stove in top shape, follow a regular cleaning schedule and maintenance tips. After each use, let it cool, then remove ash and debris from the burn chamber. Wipe down surfaces with a damp cloth to prevent soot buildup. Periodically check for rust or damage, and confirm vents are clear. Proper maintenance ensures safe, efficient operation and prolongs your stove’s lifespan.
Conclusion
Now, you’ve turned scrap into warmth, proving that even the most unlikely materials can become life’s cozy essentials. Ironically, what once held fuel now sustains comfort, reminding us that ingenuity often lies in repurposing what we’d rather forget. So, enjoy your DIY propane tank stove—proof that with a little craftsmanship, you can transform trash into treasure, all while staying warm and saving money. Who knew that safety precautions could be so poetic?

