
A DIY heat distribution system transfers heat from a central source to multiple rooms using insulated ducting, strategically placed vents, and inline fans for even airflow. You install insulated ducts in ceilings or walls, seal all connections, and position vents centrally to maximize efficiency. Adjusting damper controls and adding fans can improve circulation. If you’d like detailed steps on setup, optimization, and troubleshooting, there’s plenty more to explore.
Key Takeaways
- Install insulated ducting to efficiently transfer heat from a central source to various rooms via ceiling or wall vents.
- Use inline fans and properly sealed duct connections to ensure consistent airflow and prevent heat loss.
- Strategically place vents high on walls or ceilings for even heat distribution and minimal drafts.
- Seal and insulate all duct joints and vents to maximize system efficiency and reduce heat loss.
- Incorporate thermostats, dampers, and zone controls for automated, customizable temperature regulation.
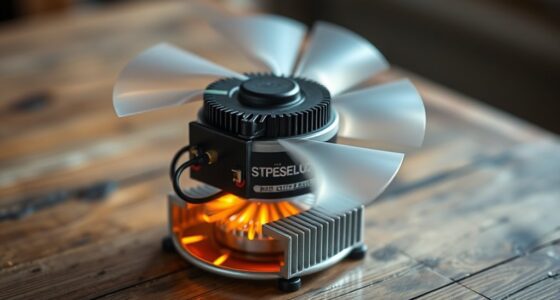
DIY heat distribution system kit
As an affiliate, we earn on qualifying purchases.
As an affiliate, we earn on qualifying purchases.
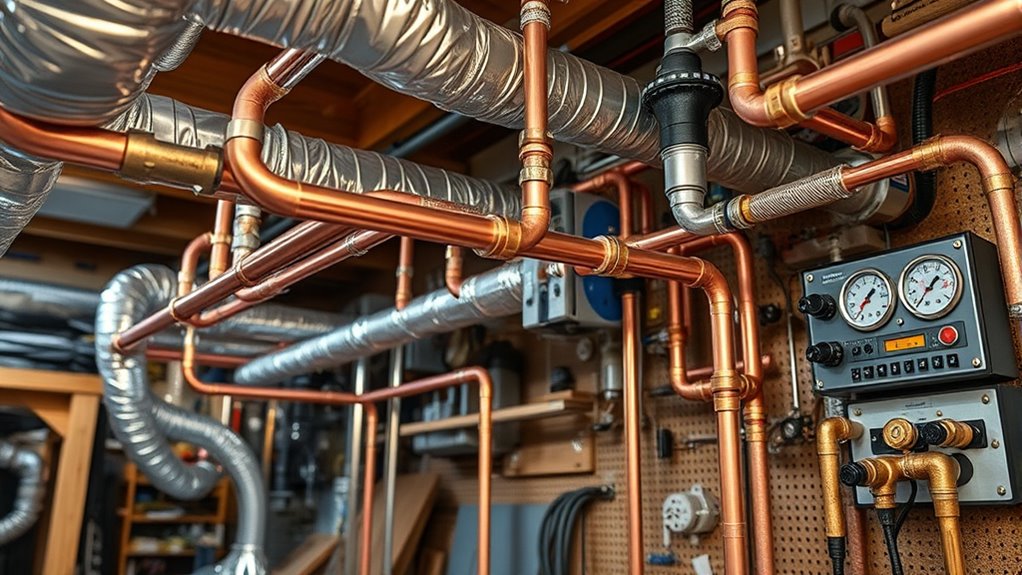
Understanding How Heat Distribution Systems Operate
Heat distribution systems work by moving excess heat from a central source to different rooms in your home. This process relies on heat transfer, which occurs as warm air is circulated through ducting installed in ceiling spaces. The ducting is insulated to prevent heat loss, ensuring that more warmth reaches each room efficiently. Proper placement of vents and insulated ducting is vital for maximum heat transfer, preventing hot or cold spots and maximizing energy efficiency. Air vents play an essential role by allowing heated air to exit into individual spaces, helping to distribute heat evenly. The system exhausts air via vents in the heat source room, creating a continuous flow that maintains consistent temperatures. Many setups incorporate a European inline fan, which actively moves heated air through the ducting. Regular maintenance of vents and ducting further ensures optimal system efficiency and longevity. Additionally, selecting the appropriate heat transfer methods can enhance the overall performance of your heat distribution system. Properly designed ducting systems can also help accommodate advanced materials that increase strength while reducing weight, which can improve installation and operational efficiency. Incorporating remote monitoring technology can also help track system performance and detect issues early, further improving efficiency.
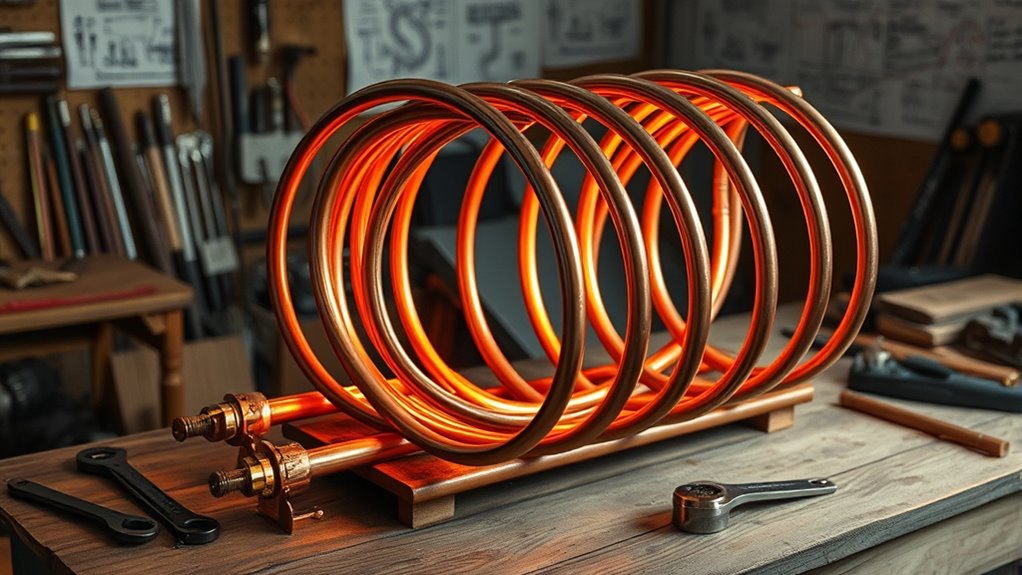
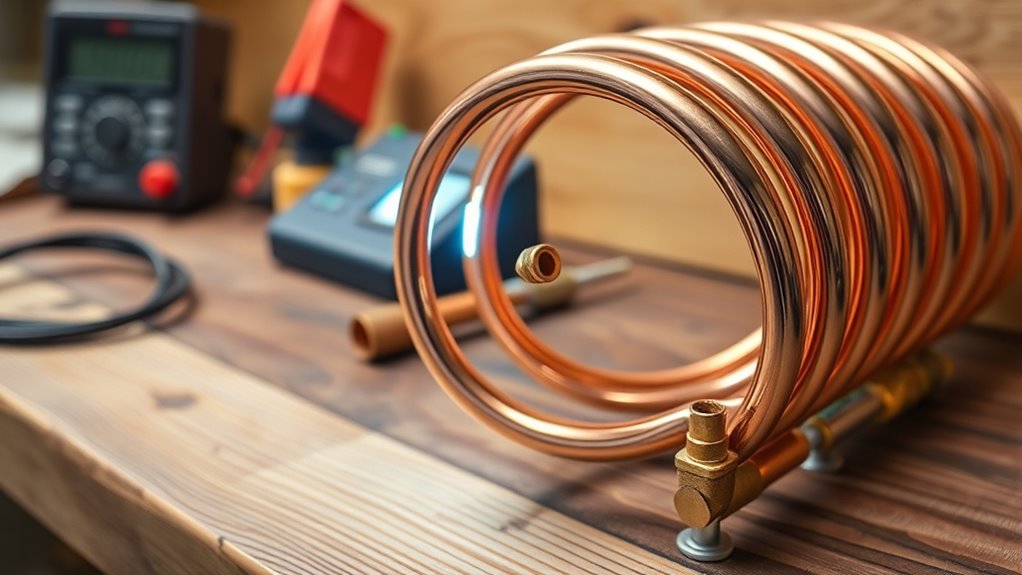
insulated ducting for heating
As an affiliate, we earn on qualifying purchases.
As an affiliate, we earn on qualifying purchases.
Key Components of DIY Heat Transfer Kits
A typical DIY heat transfer kit includes essential components like high-quality European inline fans, insulated ducting, and strategically placed vents. These parts work together to guarantee efficient heat movement. Here’s what you’ll find:
A DIY heat transfer kit features quality fans, insulated ducting, and strategic vents for maximum efficiency.
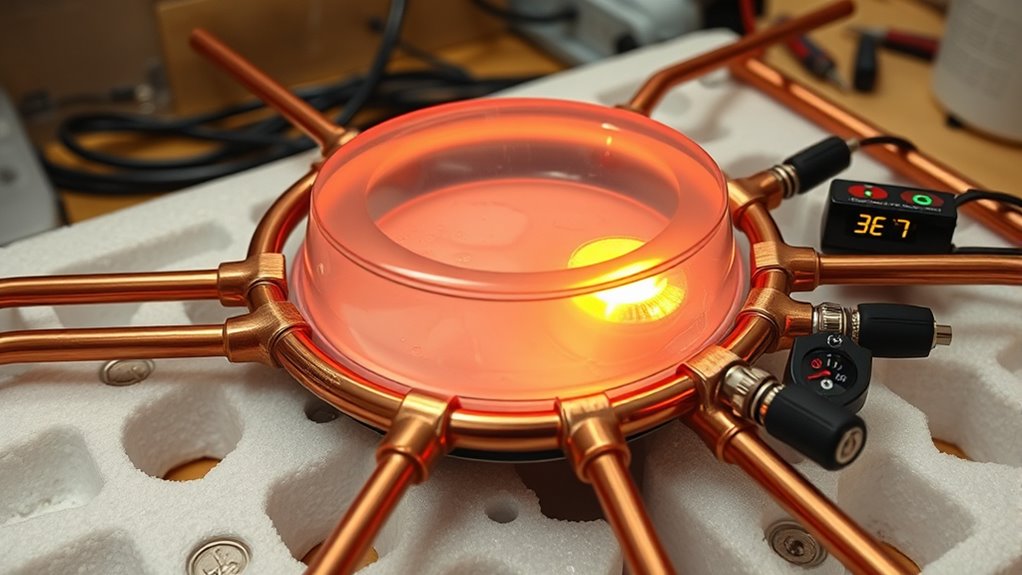
- Inline fans – usually plug-and-play with leads and plugs for easy connection to standard outlets. Selecting the right inline fans with proper airflow capacity ensures effective heat distribution throughout your space.
- Insulated ducting – minimizes heat loss and condensation, boosting system efficiency.
- Vents – strategically positioned to optimize air flow.
- Thermostats – optional but valuable for automating temperature control, though wiring may require an electrician. Additionally, selecting components with proper specifications ensures compatibility and optimal performance.
These components simplify installation and assure your heat transfer system runs smoothly. Proper selection and setup of inline fans, insulated ducting, and thermostats help maximize performance and energy savings in your DIY project. Proper component selection is crucial for achieving optimal heat distribution.
inline fan for air circulation
As an affiliate, we earn on qualifying purchases.
As an affiliate, we earn on qualifying purchases.
Installing Your Heat Distribution System
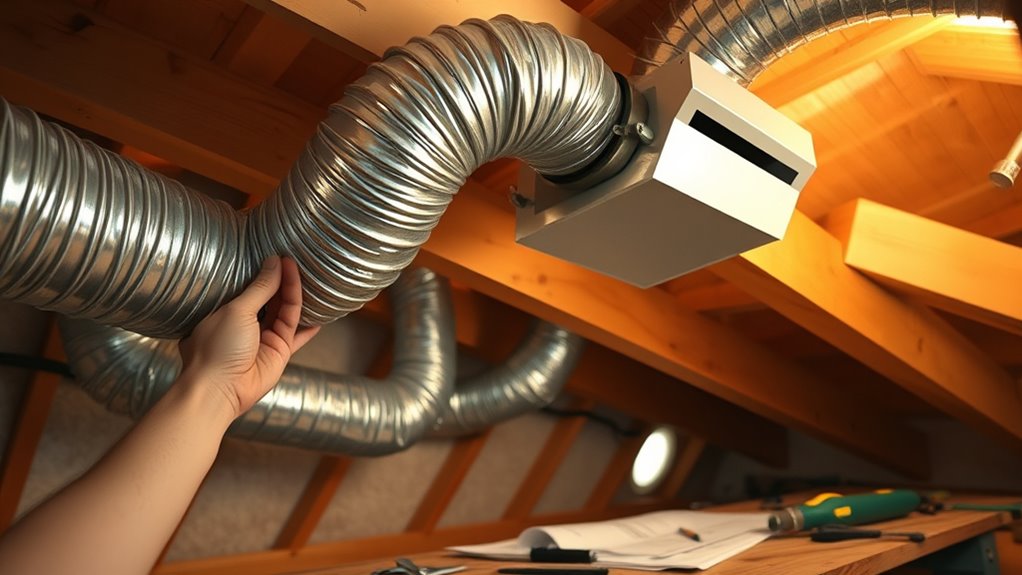
When installing your heat distribution system, start by choosing the right vent placement to guarantee efficient heat flow. Make sure your ducting is well insulated to prevent heat loss, and connect all ducts securely with the proper fittings. Proper installation of the inline fan and vents will help your system operate smoothly and maximize comfort. Regular inspection and maintenance of the system are essential to ensure safety and optimal performance, especially considering fire prevention techniques such as cleaning ducts and monitoring for leaks. Incorporating system monitoring can further enhance safety by detecting potential issues early. Additionally, establishing a routine for remote work practices can help you stay organized and attentive to maintenance schedules, even when working from home. Recognizing the importance of vibrational energy in maintaining system efficiency can also contribute to overall performance. Understanding airflow dynamics can help optimize heat distribution and prevent uneven heating issues.
Choosing Proper Vent Placement
Have you considered where to place your vents to maximize efficiency? Proper vent placement is key to effective heat distribution, ensuring warm air reaches every corner. Focus on these factors:
- Position vents centrally in each room for even air circulation.
- Install vents high on walls or ceilings to minimize cold drafts and improve airflow.
- Keep external vents clear of debris, snow, or pests, and add weatherproof covers to prevent water ingress.
- Seal and insulate around vents and duct connections to reduce heat loss and avoid drafts.
- Understanding airflow optimization can help ensure your system operates smoothly without false alarms or disruptions.
- Proper vent placement also reduces heat loss through gaps and leaks, enhancing overall system performance.
- Considering automation in heating systems can further improve efficiency and comfort by maintaining optimal temperatures automatically.
- Additionally, regular maintenance of vents and ductwork helps sustain system efficiency and prolongs the lifespan of your heating setup.
Strategic vent placement prevents heat from escaping through gaps and promotes consistent warmth. With careful positioning, you’ll enhance overall system efficiency and comfort while optimizing your insulation efforts.
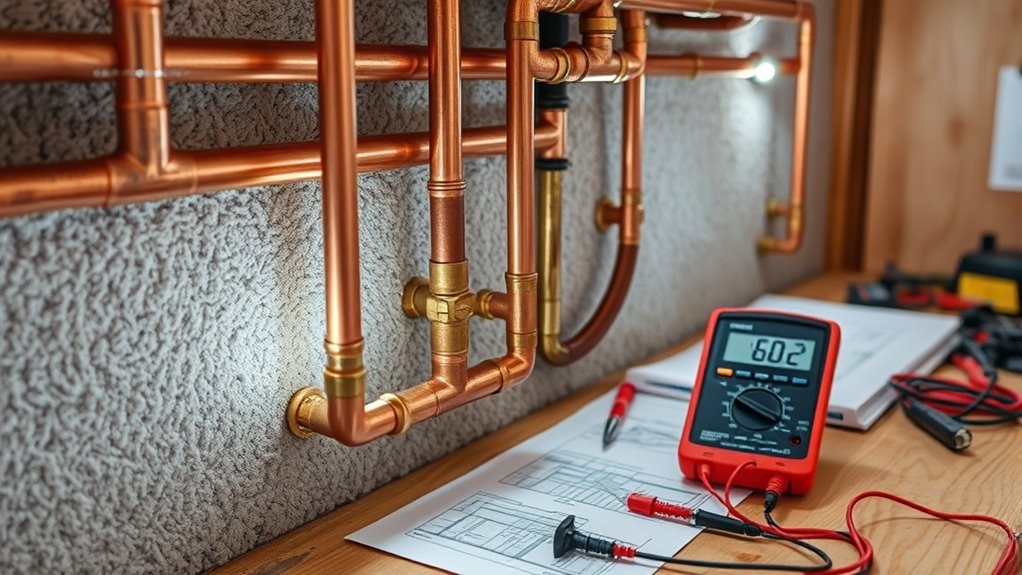
Ensuring Adequate Insulation
Ensuring adequate insulation is vital for maximizing the efficiency of your heat distribution system. Proper insulation of ductwork and vents minimizes heat loss, helping your home stay warm without wasting energy. Insulating ductwork in ceiling spaces with foam or fiberglass can reduce heat loss by up to 30%, making your system more effective. It’s also important to seal all joints and leaks to keep hot air from escaping and to maintain airtight ductwork, which guarantees ideal airflow. Using insulated vents and external ducting prevents cold drafts and condensation, especially in unconditioned spaces. Additionally, installing insulation around the heat source and duct connections boosts overall system efficiency and cuts down on energy consumption. Proper insulation keeps heat where it belongs—inside your home. Regular maintenance and appliance testing can ensure your system remains safe and functioning efficiently. Incorporating proper insulation techniques can further enhance the overall performance of your heat distribution system. Employing air sealing methods can also significantly reduce energy loss through leaks and drafts, which is especially important given the energy-saving benefits associated with effective insulation. Furthermore, understanding sound vibrations and their impact on energy efficiency can help optimize your insulation choices for better comfort.
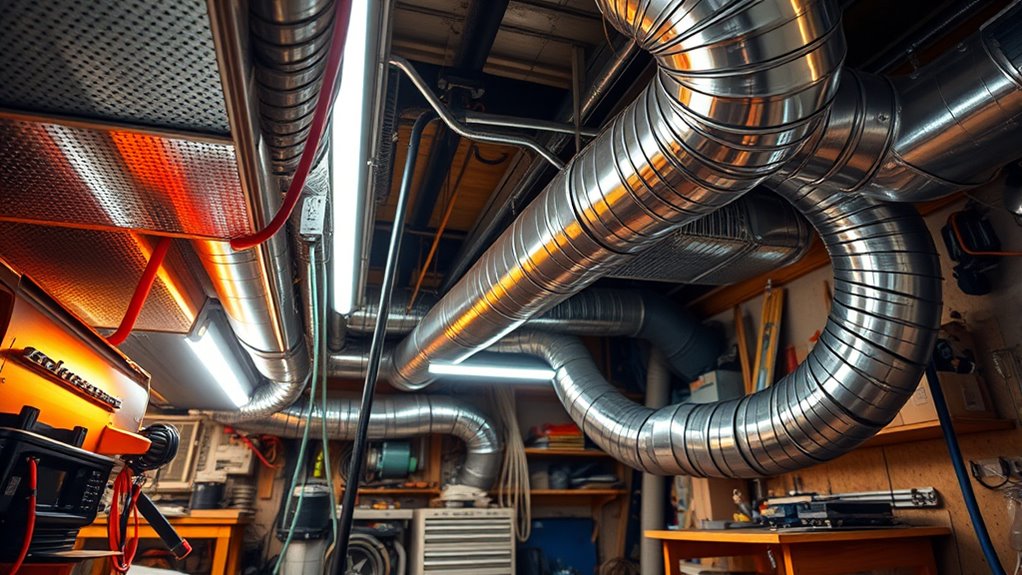
Connecting Ducts Securely
To guarantee your heat distribution system works efficiently, it’s essential to connect ducts securely. Proper connections prevent air leaks, maintain pressure, and improve efficiency. Here’s what you should do:
- Use appropriate connectors and clamps to attach ducts to vents and fans firmly.
- Seal all duct joints with foil tape or mastic sealant to ensure airtightness.
- Mount duct components securely to ceiling or wall surfaces with brackets or hangers to prevent disconnection.
- Support ducts properly to avoid sagging, maintaining a gentle slope for condensate drainage and ideal airflow.
- Regularly inspect and maintain your system to identify and address any potential issues before they affect performance.
home zone control thermostats
As an affiliate, we earn on qualifying purchases.
As an affiliate, we earn on qualifying purchases.
Optimizing Airflow for Maximum Efficiency
To get the most out of your heat system, make sure your duct placement promotes even airflow throughout your space. Use airflow balance techniques like adjustable dampers to fine-tune how air moves to different rooms. Regularly inspecting and adjusting vents guarantees consistent temperatures and maximum efficiency. Incorporating proper vent placement can significantly improve overall airflow and comfort. Additionally, integrating aesthetic wall organization systems can help keep your space tidy and enhance airflow distribution by reducing obstructions.
Proper Duct Placement
Proper duct placement is essential for achieving efficient airflow and even heat distribution throughout your space. To optimize your system, consider these key tips:
- Position vents centrally to promote balanced airflow.
- Install supply vents higher and return vents near the floor to boost natural air circulation.
- Insulate ductwork in unconditioned spaces to prevent heat loss and maintain system efficiency.
- Avoid sharp bends and kinks, which cause airflow resistance and reduce heated air volume.
Airflow Balance Techniques
Achieving ideal airflow balance is vital for maximizing your heat distribution system’s efficiency. To do this, start by adjusting dampers and registers to guarantee even airflow across all rooms. Using a flow meter or anemometer helps measure airflow rates in ducts, allowing you to make precise balancing adjustments. Installing adjustable registers gives you fine control over airflow to each zone, preventing hot or cold spots. Sealing leaks and gaps in ductwork minimizes unwanted air loss, ensuring the proper airflow reaches its destination. Regularly inspecting and recalibrating your airflow settings is imperative, especially as system components or room conditions change over time. Proper balancing not only improves comfort but also boosts your system’s overall efficiency, saving energy and reducing costs.
Managing Heat Output and Burn Times
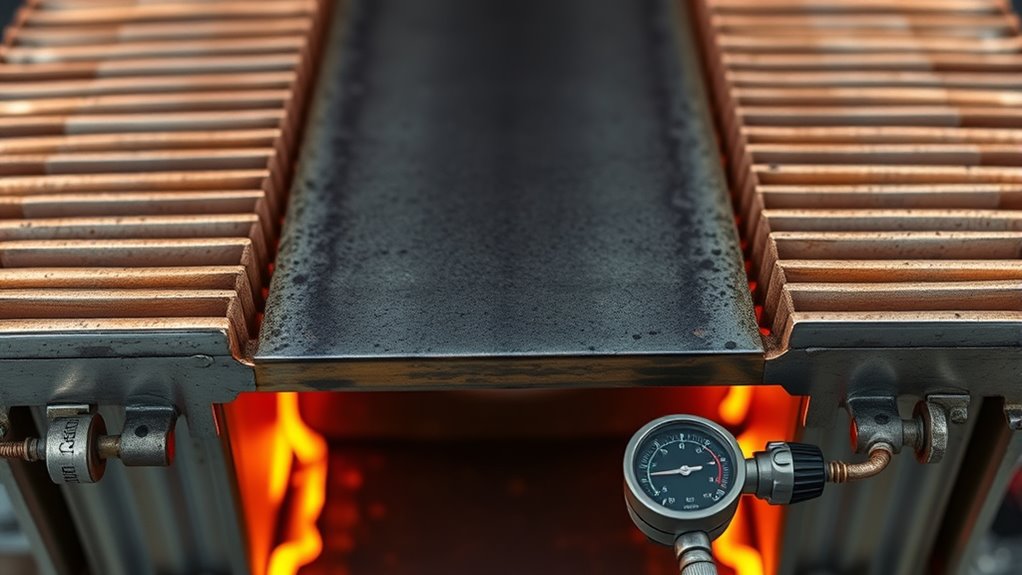
Controlling your heat output and burn times hinges on managing airflow and draft. Proper adjustments can prolong burn times and optimize heat transfer. Consider these key strategies:
Managing airflow and draft is key to extending burn times and optimizing heat transfer effectively.
- Block or partially close the outside air vent to reduce excess draft, extending burn times from 4-5 hours to longer periods.
- Increase chimney height to boost draft, which improves heat output and burn efficiency, creating steadier fires.
- Use a damper or adjust airflow restrictors to limit oxygen flow, slowing combustion and extending burn duration.
- Select dry, well-seasoned wood like birch or spruce for more complete combustion, resulting in longer burn times compared to green or wet wood.
Balancing airflow and draft ensures efficient heat transfer and maximizes the system’s performance.
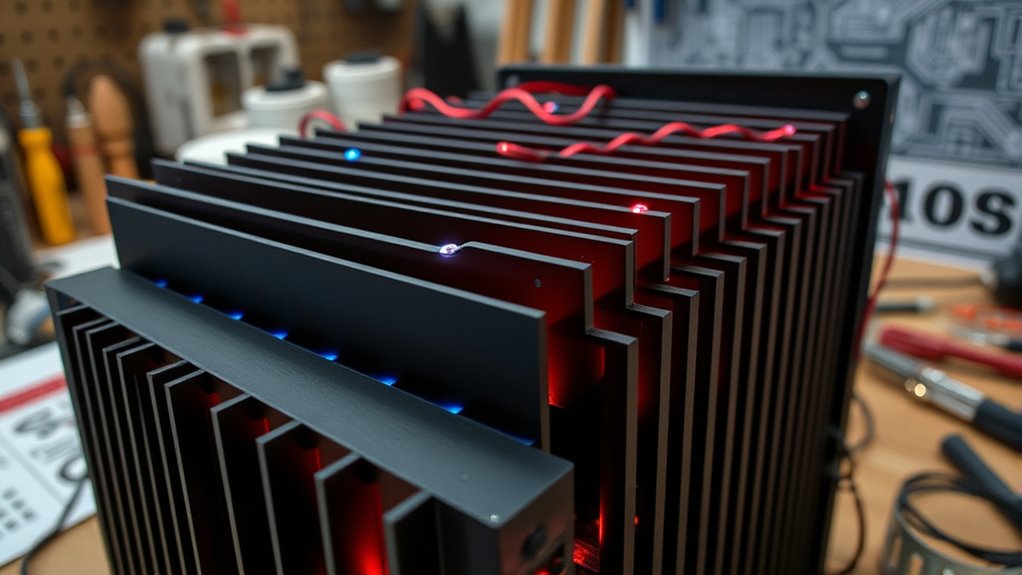
Enhancing System Performance With Modifications
Modifications to your heat distribution system can greatly boost its efficiency and consistency. Start by upgrading to insulated ducting and adding a loop in the outside air intake; this reduces cold air ingress and condensation, maintaining better heat flow. Reposition vents and add fans strategically to improve heat distribution, especially in larger or multi-zone homes. Incorporate thermostatic controls and multiple zone valves to fine-tune temperature regulation, saving energy and increasing comfort. Seal all duct joints with proper insulation and sealants to prevent air leaks that waste heat. Upgrading to quieter, high-efficiency inline fans helps improve airflow while reducing noise. These modifications work together to enhance overall system performance, ensuring your heat is distributed evenly, efficiently, and reliably throughout your space.
Troubleshooting Common Installation and Operation Issues
Proper installation is key to guaranteeing your heat distribution system works efficiently, so it’s important to identify and resolve common issues early on. First, check that all duct connections are airtight and well-insulated to minimize heat loss and pulsation problems. Second, verify vents are correctly placed to promote proper airflow, preventing hot air from lingering in ceilings and creating cold spots in basements. Third, regularly clean inline fans and filters to maintain ideal airflow and prevent noise or pulsation caused by debris buildup. Fourth, ensure external vent caps are properly sealed and insulated to prevent cold air ingress and condensate formation. By addressing these factors, you’ll improve system efficiency, reduce heat loss, and guarantee consistent, even heat distribution throughout your space.
Integrating Heat Distribution With Existing Heating Solutions
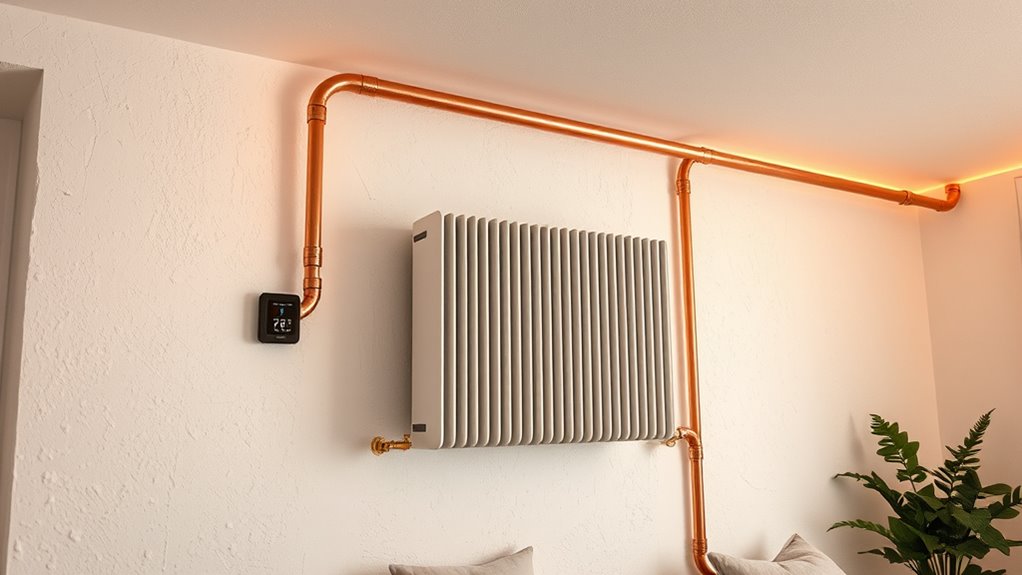
Integrating a heat distribution system with your existing heating setup can substantially improve your home’s comfort and efficiency. You can do this by installing insulated ducting and vents that channel warm air from your current heat source to multiple rooms. Using inline fans and duct adapters ensures good airflow, consuming about ten times less power than electric heaters. Proper placement of vents and ducting—like in ceiling spaces or alongside existing ductwork—helps eliminate cold spots and maximize heat spread. Adding zone controls and thermostats to your system allows you to regulate temperatures in different areas effectively. As a DIY project, consider your current electrical outlets, vent locations, and insulation. This approach makes your heating more targeted, energy-efficient, and easy to customize to your home’s needs.
Future Improvements and Customization Options
Enhancing your heat distribution system offers numerous opportunities for better comfort and efficiency. You can customize your setup by considering key improvements. First, upgrading ductwork with insulated ducting and adding loops or dampers helps retain heat and enables zone control. Second, re-routing ducts ensures vents are positioned closer to heat sources, reducing cold spots. Third, installing thermostats with separate controls for each zone allows tailored heating schedules and better energy management. Fourth, selecting quieter inline fans or upgrading existing ones improves airflow while reducing noise. These adjustments not only optimize heat delivery but also increase system efficiency. By focusing on insulation, zone control, ductwork, and thermostats, you tailor your system to meet your specific comfort needs while maximizing performance.
Frequently Asked Questions
Can You Install a Heat Transfer System Yourself?
You can definitely install a heat transfer system yourself if you’re comfortable with basic tools and following instructions. Most kits come with all the parts and clear assembly guides, making DIY installation manageable. Just verify you have a suitable ceiling space and understand proper vent and duct placement. While connecting wiring or thermostats might need an electrician, the main setup is straightforward, saving you time and money.
Can I Install My Own Heat Pump System?
Sure, you can install your own heat pump—if you enjoy risking electrical shocks, refrigerant leaks, and HVAC code violations. It’s not just about following instructions; you’ll need to handle wiring, refrigerant lines, and system sizing. Unless you’re a trained technician, it’s smarter to call in the pros. They’ll guarantee safety, efficiency, and compliance, saving you from costly mistakes and potential hazards.
How Do You Distribute Heat Evenly in a House?
To distribute heat evenly in your house, you need a well-planned system. Install insulated ducts connected to a central heat source, ensuring warm air reaches all rooms. Place vents strategically to promote uniform airflow, and use dampers or adjustable registers to fine-tune temperature zones. Proper insulation minimizes heat loss, and high-quality fans help maintain consistent airflow, so every room stays cozy and balanced.
What Is the Simplest Heating System?
The simplest heating system is one with a single heat source, like a space heater or stove, that directly warms the room. You don’t need complex ductwork or multiple zones, making it easy to set up. It relies on natural convection or fans to distribute heat, providing localized warmth. While inexpensive and straightforward, this type isn’t very energy-efficient or precise in controlling temperature across larger areas.
Conclusion
Think of your DIY heat distribution system as a well-orchestrated symphony—each part working in harmony to keep your space warm. When you understand how it operates and make thoughtful adjustments, you’ll notice your system runs smoother and more efficiently. Just like tuning an instrument, fine-tuning your setup can turn a basic project into a reliable, cozy solution. With patience and care, you’ll master your heat transfer symphony and enjoy consistent warmth all season long.