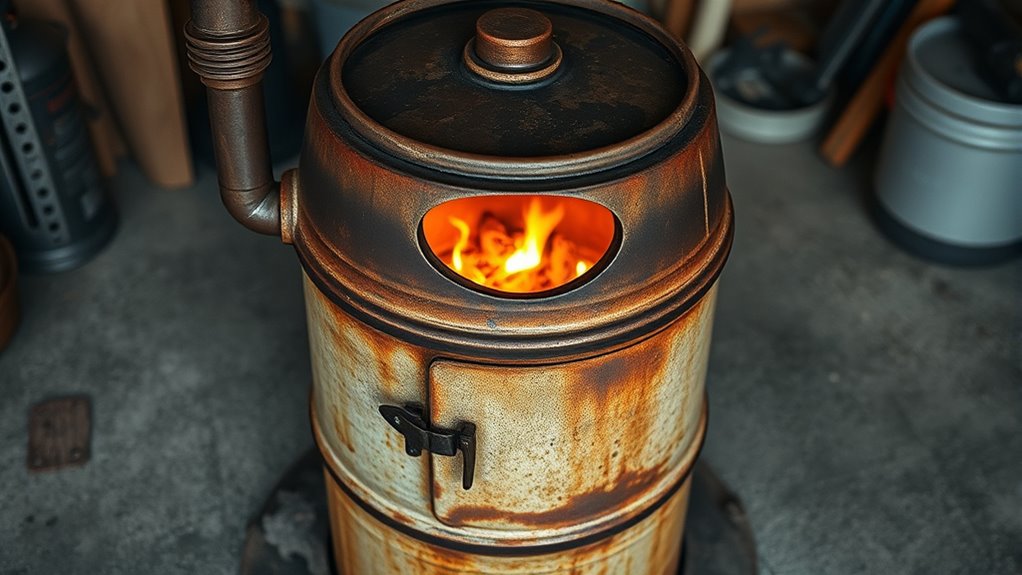
To convert a 55-gallon drum into a DIY wood stove, gather safety gear, tools, and heat-resistant materials, then prepare the drum by removing coatings and cleaning it thoroughly. Cut openings for the door and ventilation, install a chimney for proper exhaust, and assemble the firebox carefully following safety guidelines. After finishing, test your stove to guarantee safety and efficiency. Keep going to discover detailed steps for building a safe, functional wood heater from your drum.
Key Takeaways
- Inspect and clean the 55-gallon drum thoroughly, removing coatings and rust for safe heating.
- Cut openings for the firebox door and air vents, smoothing edges for safety and proper airflow.
- Install a heat-resistant chimney and flue system, sealing joints securely to ensure proper ventilation.
- Test the assembled stove with small fires, adjusting vents for optimal airflow and safety.
- Perform regular maintenance and inspections to ensure safe, efficient operation and minimal environmental impact.
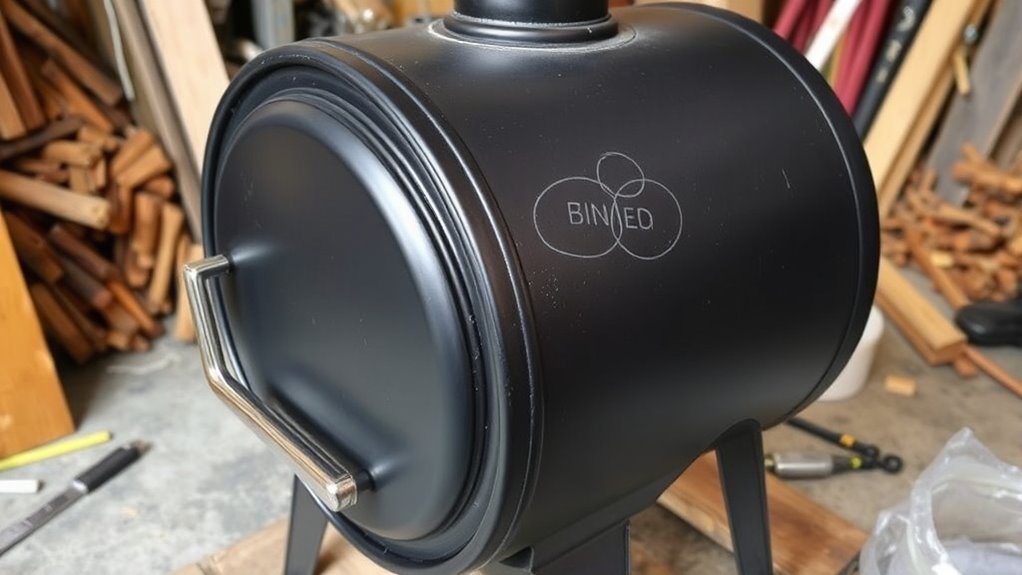
55-gallon drum metal stove kit
As an affiliate, we earn on qualifying purchases.
As an affiliate, we earn on qualifying purchases.
Gathering Materials and Tools Needed

Before you begin building your DIY barrel stove, it’s essential to gather all the necessary materials and tools. Metal welding is a critical step, so ensure you have a reliable welder, protective gear, and appropriate metal supplies. Safety precautions are vital—wear gloves, goggles, and a mask to protect yourself from sparks and fumes. You’ll need a sturdy 55-gallon drum, a drill, cutting tools, and measuring tape. Double-check that you have enough metal for the stove’s components, including a chimney pipe and air vents. Having everything ready beforehand prevents interruptions and keeps the project safe. Proper financial planning can also help you budget effectively for unexpected expenses during your project. Remember, proper preparation not only makes your build smoother but also helps you work safely throughout the process. Incorporating sound vibrations in your workspace can also promote focus and relaxation during your project. Ensuring you understand building safety guidelines is crucial for a successful and secure construction process.
DIY wood stove chimney pipe
As an affiliate, we earn on qualifying purchases.
As an affiliate, we earn on qualifying purchases.
Preparing the 55-Gallon Drum for Conversion
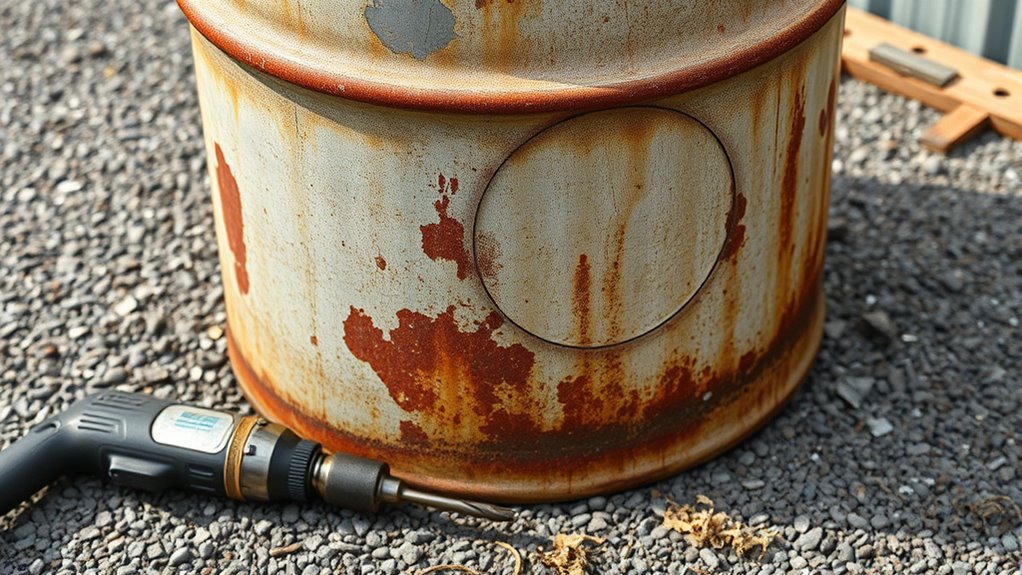
How do you prepare a 55-gallon drum for converting it into a stove? First, inspect the drum for any residual metal coating, rust, or paint that could emit harmful fumes when heated. You need to remove these coatings thoroughly, using wire brushes or sandblasting if necessary. Once clean, wash the drum with soap and water to eliminate debris and residue. After drying, consider applying heat insulation around the exterior of the drum to improve efficiency and safety. This insulation helps retain heat and protects surfaces from high temperatures. Ensuring the metal is free of coatings and properly insulated prepares your drum for the next steps, making it safe and effective for your DIY barrel stove project. Additionally, addressing fire safety practices and personal growth and wellness aspects like proper preparation and safety measures can enhance your overall project experience. It’s also important to familiarize yourself with AI security to prevent potential hazards during operation and future modifications.
heat-resistant welding gloves
As an affiliate, we earn on qualifying purchases.
As an affiliate, we earn on qualifying purchases.
Cutting Openings for the Door and Ventilation
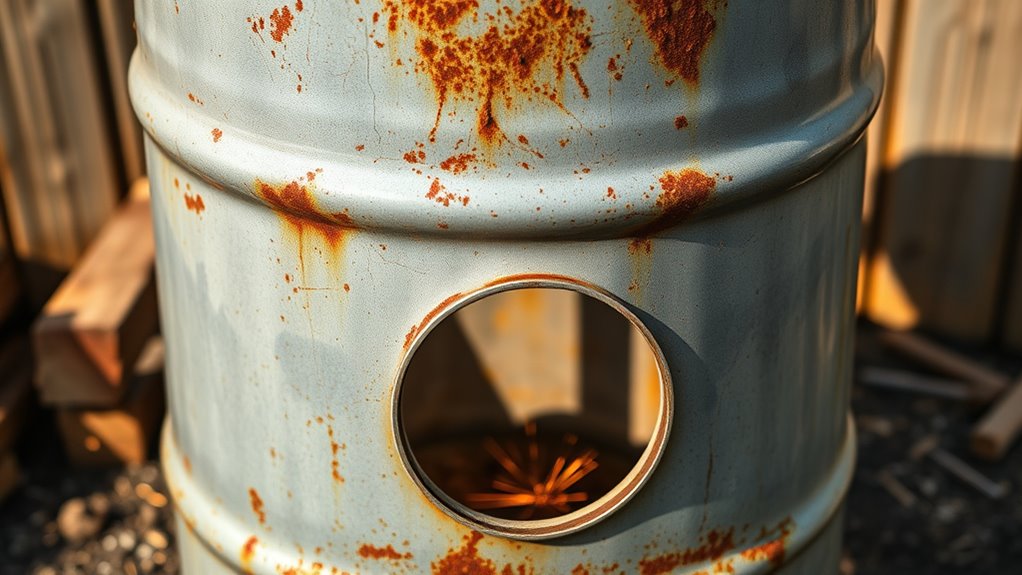
Have you figured out where to cut the openings for the door and ventilation? Using a metal cutting tool, carefully mark and cut the door opening on the side of the drum, ensuring it’s large enough for easy access. Next, plan your ventilation design by marking small holes or slots near the bottom for airflow. Use a metal drill or jigsaw to make precise cuts, avoiding warping or jagged edges. Smooth out rough edges with a file or grinder to prevent injuries and improve fit. Properly placed openings are essential for airflow and safe operation. Keep in mind, the door should fit snugly to retain heat, while ventilation allows combustion air to circulate efficiently. Take your time—precision here ensures your stove functions safely and effectively. Additionally, understanding airflow dynamics can help optimize your stove’s efficiency and safety. Recognizing the importance of contrast ratio in image quality can also be crucial when selecting components for your project. Incorporating proper insulation around the openings can further improve heat retention and overall efficiency. To enhance safety and performance, consider adding ventilation controls to regulate airflow and temperature effectively. Being mindful of industry standards can also ensure your homemade stove meets safety guidelines and performs reliably.
metal cutting tools for stove fabrication
As an affiliate, we earn on qualifying purchases.
As an affiliate, we earn on qualifying purchases.
Installing the Chimney and Flue System
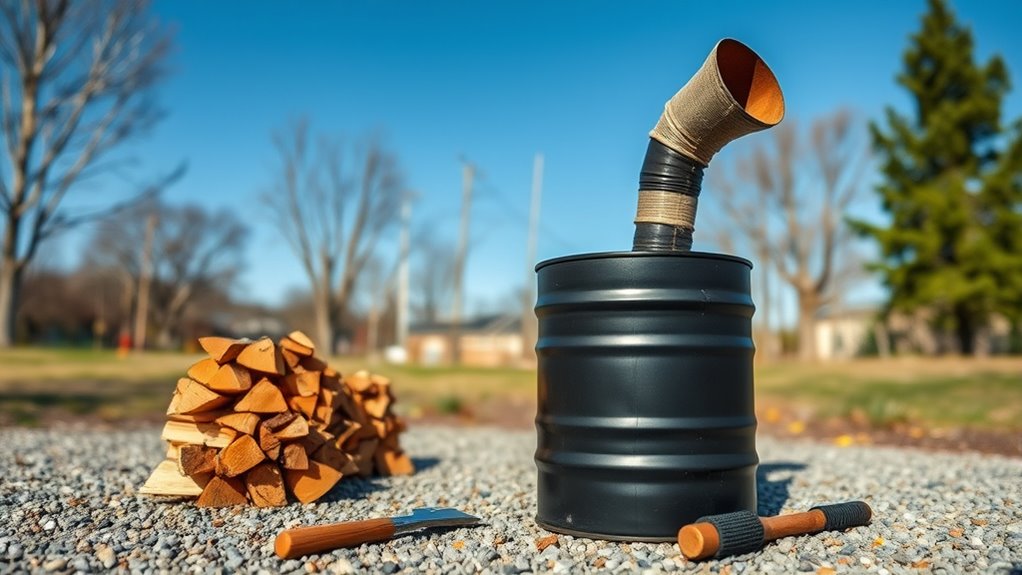
Installing the chimney and flue system is a crucial step to guarantee proper smoke venting and safe operation of your stove. You’ll want to confirm metal safety by choosing durable, heat-resistant materials and applying appropriate insulation techniques to prevent heat transfer. Securely attach the chimney pipe to the stove’s outlet, sealing joints tightly to avoid leaks. Use the following table to visualize your setup:
| Component | Purpose |
|---|---|
| Chimney Pipe | Vent smoke safely outside |
| Insulated Flue Liner | Protects against heat loss |
| Metal Support Brackets | Hold chimney steady |
| Flashing and Sealant | Prevent leaks around the roof |
| Cap or Damper | Control airflow and draft |
Proper installation prioritizes metal safety and insulation techniques to ensure your stove operates efficiently and safely. Additionally, ensuring proper clearances and following local building codes is essential for a secure venting system. Incorporating proper airflow considerations can further enhance the safety and efficiency of your installation.
Remember to check local building codes to ensure compliance and safety standards are met throughout your installation process.
Assembling the Firebox and Ensuring Safety
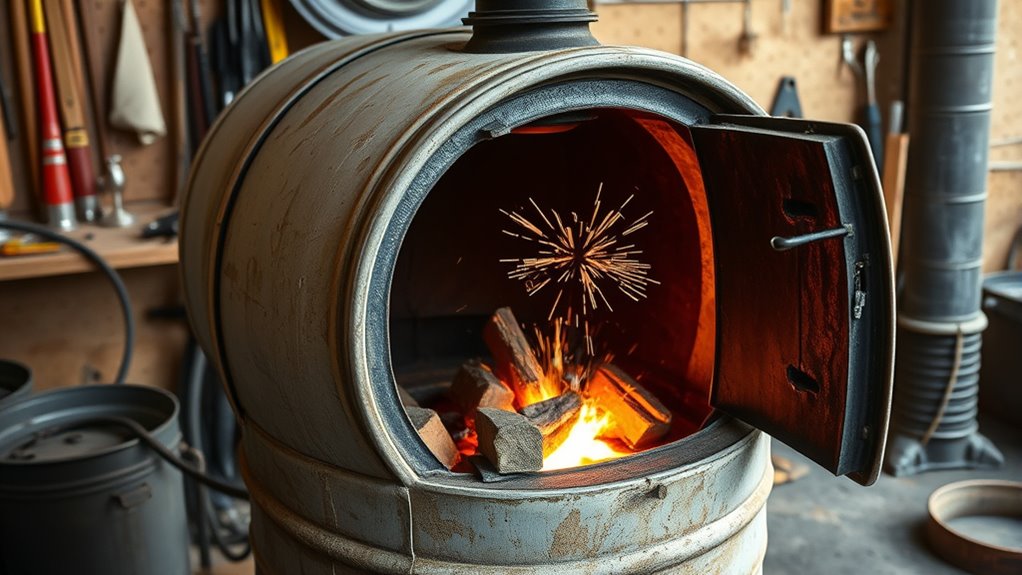
Before you start assembling the firebox, it’s essential to prioritize safety by selecting heat-resistant materials and following proper construction guidelines. Guarantee your firebox design includes adequate ventilation safety to prevent dangerous smoke buildup and ensure proper airflow. Use fireproof insulation around the firebox to contain heat and improve efficiency, reducing the risk of accidental burns or fires. Secure all joints tightly to prevent leaks and ensure stable operation. When installing the firebox, keep clear of combustible materials and maintain a safe distance from walls. Regularly inspect your assembly for cracks or gaps that could compromise safety. Proper heat insulation combined with ventilation safety measures helps your DIY barrel stove operate safely and efficiently, giving you peace of mind during use. Additionally, incorporating fire safety standards into your design can further protect your home and loved ones. Exploring protective styling benefits can also help you understand ways to enhance safety and durability of your setup. Ensuring compliance with local fire safety regulations is critical to prevent hazards and maintain safety during operation. Considering effective heating solutions during the design process can optimize performance and safety features of your stove.
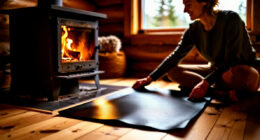
Finishing Touches and Testing Your Stove
Once you’ve completed the assembly of your stove, the next step is to add finishing touches and thoroughly test its performance. Start by checking all joints and seams for leaks, sealing any gaps to guarantee safety and efficiency. Consider ventilation options, like installing a proper chimney or flue, to ensure smoke exhausts safely outside. Proper ventilation not only improves performance but also reduces health risks. Before lighting your first fire, review safety precautions—keep a fire extinguisher nearby, and ensure your stove is on a stable, non-combustible surface. Test your stove with small fires first, observing how well it heats and how effectively smoke exits. Adjust vents or dampers as needed to optimize airflow and safety. Additionally, routinely inspecting your setup and maintenance routines can help maintain a safe and efficient heating environment. Incorporating proper airflow management can significantly enhance the stove’s efficiency and safety. For optimal results, it’s also important to consider environmental considerations, such as minimizing emissions and operating the stove responsibly. Being aware of market volatility and how it affects the availability of alternative energy sources can guide better decision-making. Proper testing and finishing ensure your DIY stove operates safely and efficiently.
Frequently Asked Questions
What Safety Precautions Should I Take During the Entire Project?
When working on this project, you should prioritize safety. Always wear protective gear like gloves, goggles, and a mask to prevent injuries from sparks, fumes, or sharp edges. Keep a fire extinguisher nearby in case of emergencies, and guarantee your workspace is well-ventilated. Never rush, and double-check all connections and openings before igniting your stove. Safety precautions protect you and make the project run smoothly.
How Do I Prevent Rust and Corrosion on the Drum?
To prevent rust and corrosion, you need to take proactive steps. Apply a rust-proof primer and high-temperature paint for rust prevention, ensuring your drum resists moisture and heat. Keep the drum dry, store it in a covered area, and regularly inspect for signs of corrosion. Use corrosion-resistant materials when possible, and seal any openings tightly to minimize exposure, ultimately extending your stove’s lifespan through consistent rust prevention and corrosion resistance efforts.
Can I Use Recycled or Salvaged Materials for Parts?
You can definitely use reclaimed materials and salvage options for parts, which helps save money and reduces waste. Just make sure the materials are safe and heat-resistant, like stainless steel or fireproof bricks. Check for any signs of rust, corrosion, or contaminants before using salvaged parts. Always prioritize safety—avoid materials that emit toxic fumes or aren’t designed to withstand high temperatures. Properly inspect and clean your reclaimed components for best results.
What Are the Best Types of Wood to Burn in This Stove?
When choosing the best burning types of wood, you’ll want to select hardwoods like oak, maple, or hickory because they produce more heat and burn longer. Avoid softwoods like pine or spruce, as they ignite quickly and create more creosote buildup. Using seasoned, dry wood is essential for efficient burning. This guarantees your stove heats effectively, reduces smoke, and minimizes creosote, making your fire safer and more efficient.
How Do I Maintain and Clean the Stove After Use?
After each use, you should remove ash regularly to prevent buildup and guarantee efficient burning. Use a small shovel or brush to safely clear ash from the stove’s bottom. For soot cleaning, wipe down the interior with a damp cloth or brush to prevent soot accumulation that could reduce airflow. Always wear gloves and ensure the stove is completely cool before cleaning. This routine keeps your stove safe and functioning efficiently.
Conclusion
Once you finish your DIY barrel stove, you’ll have a heating powerhouse that could warm an entire city! It’s like turning a simple barrel into a fiery beast capable of melting snow and powering entire homes. With your new stove, cold winters won’t stand a chance. Prepare to be the envy of every neighbor and the master of your own cozy kingdom. Get ready to warm the world, one 55-gallon drum at a time!