To turn an ammo can into a mini wood burner, start by cleaning and preparing it, then drill holes for ventilation in strategic spots. Install a fireproof base inside, like firebrick or ceramic tiles, and secure a cooking grate on top. Add vents positioned low for airflow and a proper exhaust outlet. With safety precautions and proper materials, you’ll create a portable, efficient stove ideal for outdoor cooking. Keep exploring for detailed step-by-step guidance to craft your own mini wood burner.
Key Takeaways
- Remove labels, drill ventilation holes, and cut air vents in the ammo can for proper airflow and combustion.
- Install a fireproof base inside the can using ceramic tiles or firebricks to withstand high temperatures.
- Secure heat-resistant materials with adhesives or brackets to ensure safety and stability during use.
- Add an ash tray and position exhaust outlets to manage fumes, heat, and simplify cleaning.
- Ensure vents are properly sized and placed low on the can for optimal air intake and efficient burning.

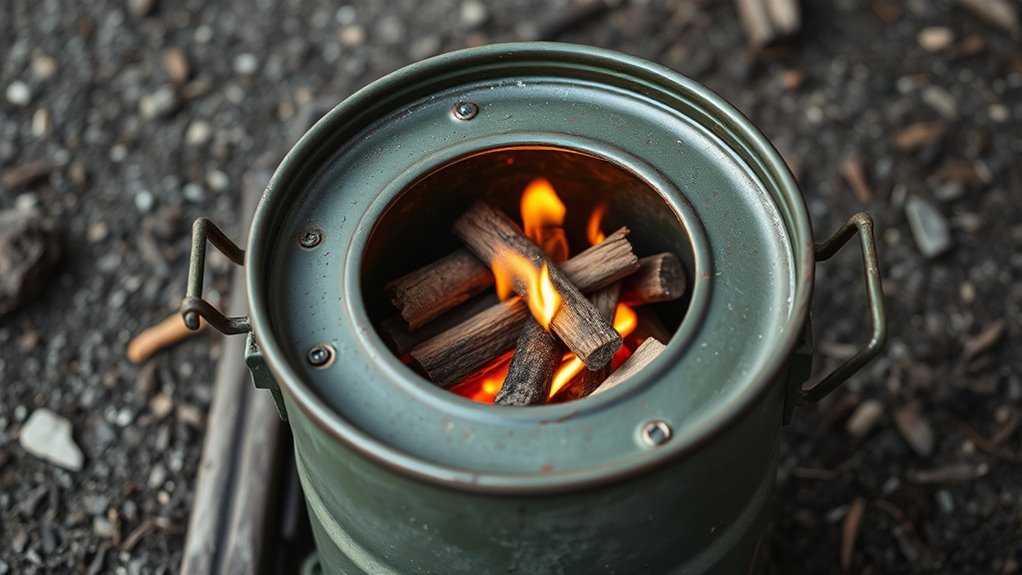
Single Burn Rate Stove
Heats up to 900 sq. ft.
As an affiliate, we earn on qualifying purchases.
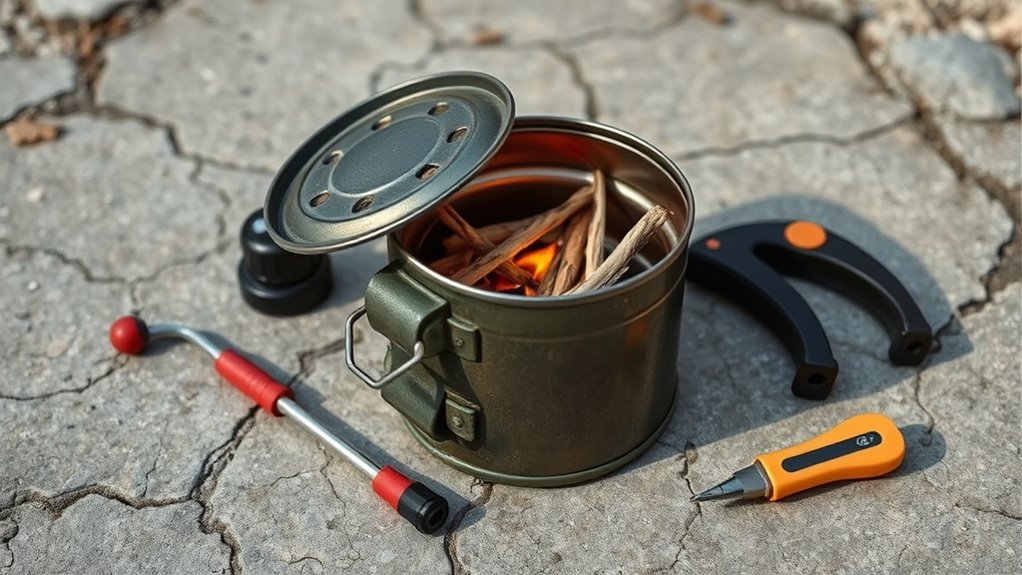
Gathering Materials and Tools
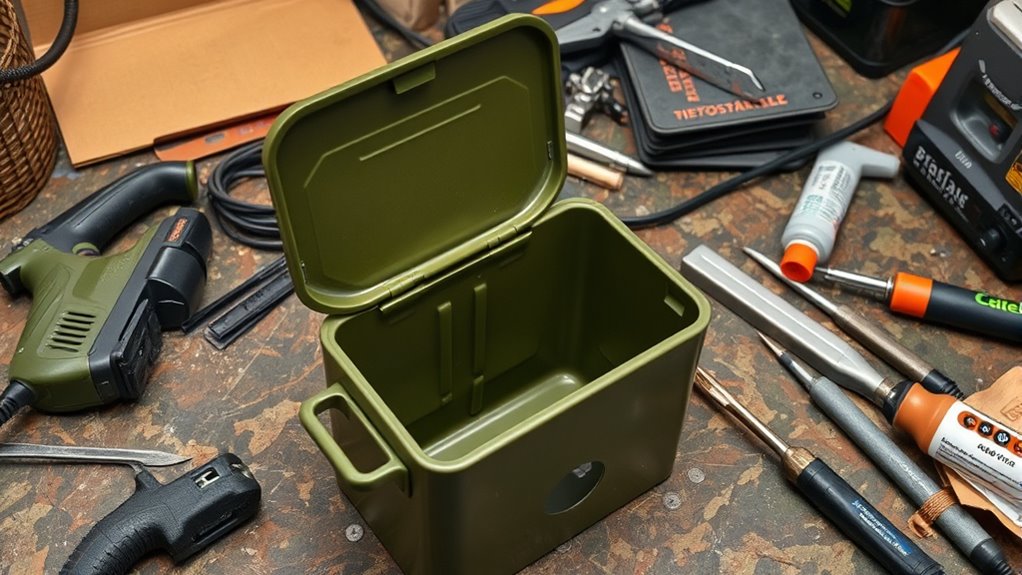
Before you begin constructing your DIY portable camp stove, gathering all the necessary materials and tools is essential. You’ll need an empty ammo can, a small fuel source like a camping stove or wood, and basic tools such as a drill, screwdriver, and metal snips. Make certain the materials you choose promote fuel efficiency, helping you minimize fuel consumption during outdoor adventures. For emergency preparedness, select durable, rust-resistant metals and reliable fuel types to guarantee safety and longevity. Having everything ready beforehand prevents delays and keeps the project on track. Double-check that you have safety gear like gloves and goggles. Being well-prepared with the right materials and tools will make your build smoother, more efficient, and safer for outdoor use. Additionally, considering portable camping toilets can enhance your outdoor experience by ensuring sanitation and convenience during extended trips. Incorporating fire-safe materials ensures your stove remains durable and safe to use in various outdoor conditions. Understanding project safety precautions is also vital to prevent accidents during construction and use. Moreover, understanding the cost range of portable electric bikes can help you select accessories and features that suit your outdoor activity needs.

Guide Gear Outdoor Wood Burning Stove; Portable with Chimney Pipe for Cooking and Camping
OUTDOOR WOOD STOVE – We designed our camp stove for use outside. Perfect for use during camping trips...
As an affiliate, we earn on qualifying purchases.
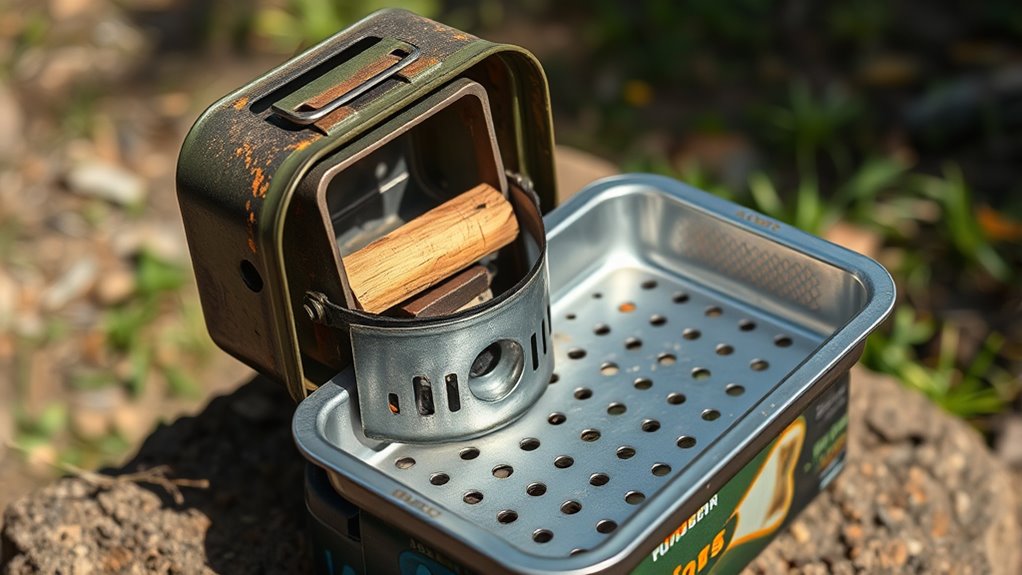
Preparing the Ammo Can for Conversion
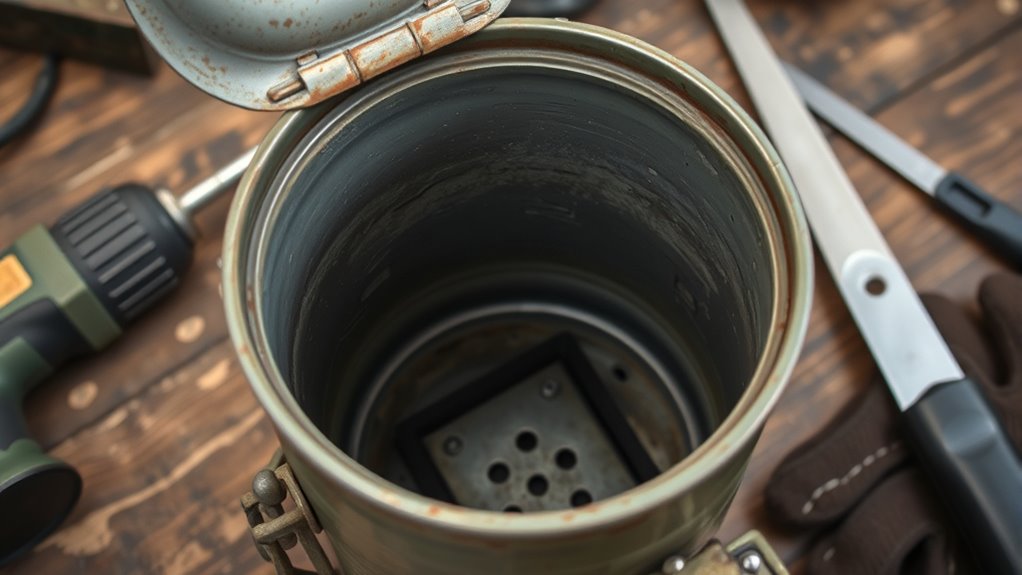
Start by thoroughly cleaning the ammo can to remove any dirt, grease, or residue that could interfere with its performance. This guarantees a clean surface for safe conversion. Next, inspect the can for rust or corrosion and sand those areas down. Consider the fuel types you’ll use—wood, alcohol, or other options—and plan your modifications accordingly. Always follow safety precautions when working with metal and potential fumes. Mark and drill holes for ventilation, ensuring proper airflow for combustion. Keep in mind that different fuel types require different venting setups. Additionally, understanding the rust resistance of the metal can help prevent future corrosion issues during use. Finally, remove any labels or markings that could cause confusion or safety concerns during use. A well-prepared can is essential for a safe, efficient wood burner stove.

Trailblazer Cookstove – Wood Fired Stovetop with Oven for Off-Grid Living, Camping, RV, Hunting, Prepping, Emergency Heat & Cooking
Heirloom Steel, Built to Last – Solid-steel construction, folding legs, and gasket-free door design proven in remote village...
As an affiliate, we earn on qualifying purchases.
Cutting Air Vents for Proper Airflow
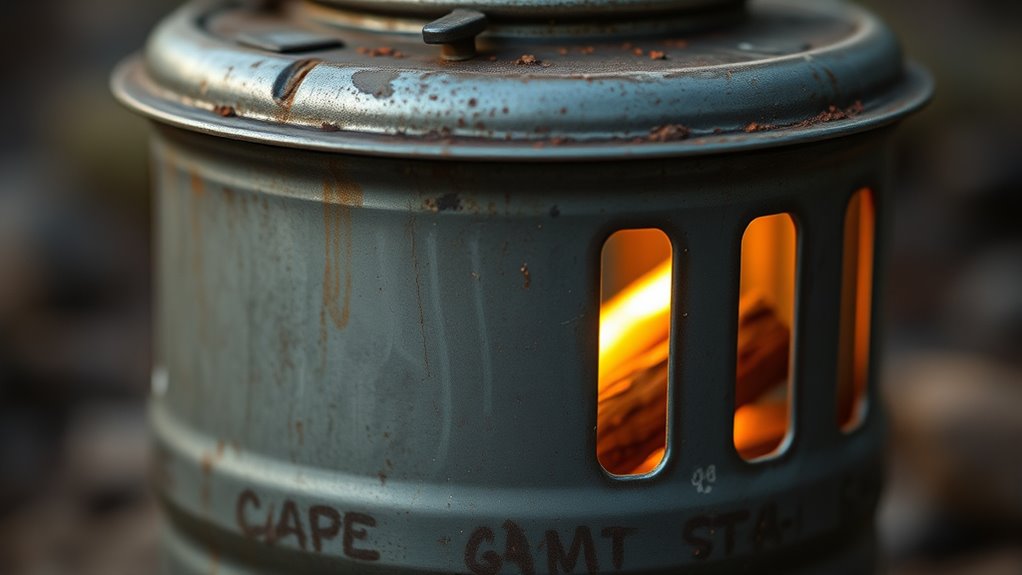
To guarantee your stove burns efficiently, you need to carefully plan vent placement and size. Proper vent positioning improves airflow, which is key to consistent heating. Let’s look at how to choose the right vent sizes and placement strategies for ideal performance. Ensuring proper airflow can also help prevent skin changes or nipple discharge during use. Additionally, understanding the role of automation in business can inspire innovative methods to design your vent system for optimal airflow. Incorporating space and organization principles can further streamline your vent layout, making maintenance easier and enhancing overall safety. Regularly inspecting and adjusting vents based on industry trends ensures your stove remains efficient over time. Considering fan efficiency can help you select the most effective vent configurations for your setup.
Vent Placement Strategies
Proper vent placement is vital to guarantee adequate airflow and efficient combustion in your DIY camp stove. The position of vents influences how air circulates, impacting how well your wood burns. Think about chimney design to enhance smoke escape and optimize exhaust placement for smooth airflow. Proper vent placement ensures oxygen enters at the right spots, fueling the fire effectively. Additionally, understanding airflow dynamics can help you fine-tune your vent positions for optimal performance and safety. Considering natural convection can further improve airflow efficiency and ensure consistent burning. Recognizing venting principles is essential for creating a safe and effective stove design.
Optimal Vent Size Selection
Selecting the right size for your air vents is key to guaranteeing your DIY camp stove burns efficiently. Accurate vent size calculations help control airflow dynamics, which directly impact combustion. If vents are too small, airflow will be restricted, causing incomplete burns and smoke buildup. Too large, and the stove may burn too quickly or become difficult to regulate. To determine suitable vent size, consider the stove’s dimensions and expected fuel load. A good starting point is to cut vents that are about 1/4 to 1/2 inch wide, adjusting based on burn performance. Remember, the goal is to balance airflow with heat output. Fine-tuning vent size ensures proper oxygen flow, leading to efficient, steady burning while preventing issues like smoke or overdraft. For optimal results, referencing vent size guidelines can help refine your vent dimensions for the best burn quality. Additionally, understanding the importance of airflow management can greatly influence your stove’s overall performance and safety. Achieving proper combustion efficiency also involves monitoring how your adjustments affect the burn, ensuring safety and effectiveness.
Ensuring Adequate Airflow
Cutting air vents correctly is essential for ensuring your DIY camp stove gets enough oxygen for efficient combustion. Proper vent placement helps regulate airflow, preventing smoldering or inefficient burning. To optimize airflow regulation, consider the following:
- Position vents low on the side of the ammo can to draw in fresh air.
- Make vents large enough for sufficient oxygen intake without compromising safety.
- Keep vent placement consistent for even airflow distribution.
- Use multiple vents if needed to balance airflow and prevent hotspots.
- Remember that proper airflow is crucial for effective aerodynamics and overall stove performance. Proper vent design can also influence how well your stove burns, making it more efficient and reliable. Additionally, understanding how home security systems deter intruders can inspire innovative ventilation solutions that enhance safety and efficiency in your DIY projects.

YRenZ Upgraded Portable Wood Stove for Camping, Compact Tent Stove with Large Firebox, High Airtightness for Outdoor Cooking & Heating
【Upgraded Tent Camping Wood Stove】: Compact yet powerful wood stove for tents and outdoor use, with high airtightness,...
As an affiliate, we earn on qualifying purchases.
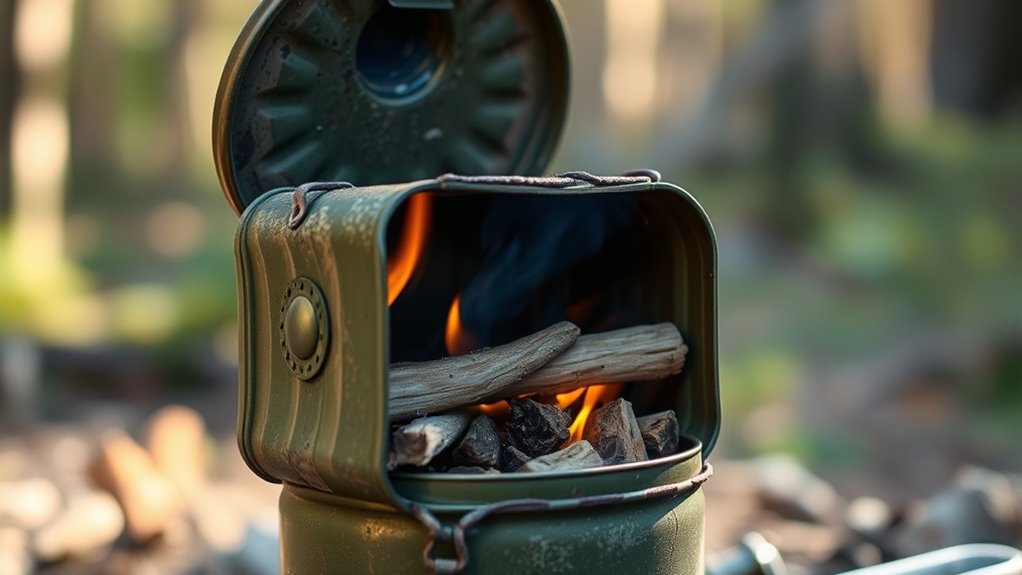
Creating a Fireproof Base Inside the Can
To create a safe fireproof base inside your can, you need to choose materials that won’t catch fire easily, like ceramic or fire-resistant bricks. Make sure you secure the base firmly so it stays in place during use, preventing accidents. Properly securing and selecting the right materials will keep your stove safe and effective. Additionally, understanding heat pump technology can help in managing stress and ensuring safety during your DIY project. It’s also helpful to verify local store hours if you plan to purchase materials, as hours can vary by location. Incorporating knowledge of fire-resistant materials can further enhance the safety of your homemade stove.
Selecting Fireproof Materials
When creating a fireproof base inside the can, choosing the right materials is essential for safety and durability. You need materials that can withstand high temperatures without degrading. Fire resistant coatings are a good option—they create a protective barrier on surfaces. Heatproof adhesives help secure layers and prevent shifting during use. Consider using ceramic tiles or firebrick fragments to form a sturdy, heat-resistant layer. Metal mesh or wire can support insulation materials and improve airflow. Always verify that the materials you select are rated for high heat and are non-toxic. Using these fireproof materials guarantees your stove operates safely and lasts longer, providing a reliable, fire-resistant foundation for your mini wood burner. Additionally, consulting tuning Hyundai models can offer insights into customizing your setup for optimal performance and safety. Incorporating vibrational energy awareness into your material choices can further enhance safety and efficiency by aligning your project with positive vibrational principles.
Securing the Base Properly
Ensuring the fireproof base inside the can is securely in place is crucial for safety and stability. You want to make sure the base is firmly secured to prevent it from shifting during use, which could cause accidents or damage. To do this, use heat-resistant adhesive or brackets to attach the fireproof material to the can’s interior. Properly securing the base also helps prevent fuel spills, which can be hazardous. Double-check that the base is level and stable before proceeding. Avoid gaps or loose fittings that could cause the base to wobble or shift while you’re cooking. Taking these steps ensures your mini wood burner stays safe, stable, and effective during outdoor use.
Installing a Cooking Surface or Grate
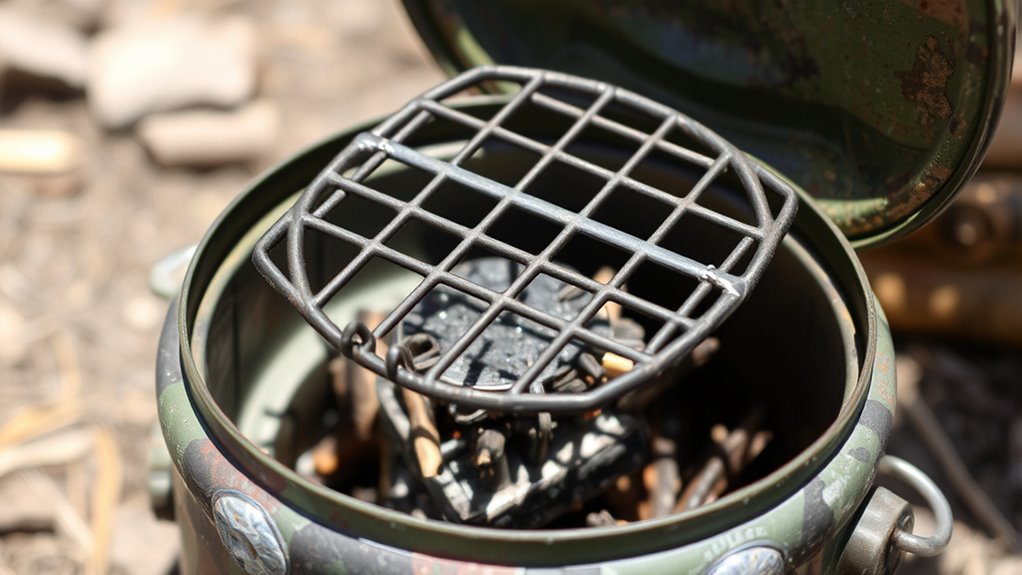
Installing a cooking surface or grate is a straightforward step that considerably enhances your camp stove’s functionality. It provides a stable platform for pots and pans, improving heat distribution and fuel efficiency. To guarantee a secure fit, measure carefully before placing the grate over the opening. Use durable materials like metal or cast iron that withstand high heat and weight. You might need to cut or modify the grate to match your stove’s dimensions precisely. Proper installation helps optimize heat transfer, making cooking more efficient. Additionally, a good grate prevents pots from wobbling, reducing spills. Regularly check for stability while cooking. With a well-fitted grate, you’ll enjoy better heat control and more efficient fuel use during your outdoor adventures.
Adding an Ash Collection Tray
Have you considered adding an ash collection tray to your camp stove? It simplifies ash removal and reduces soot buildup, keeping your stove cleaner and more efficient. A tray catches ash and debris, preventing clogging and making cleanup easier. You can customize the tray’s size and placement for ideal access. Here’s a quick visual to spark ideas:
| Tray Material | Placement Options | Benefits |
|---|---|---|
| Metal Sheet | Beneath the firebox | Easy ash removal, durability |
| Wire Mesh | Inside the stove | Good airflow, easy cleaning |
| Recycled Container | Adjacent to stove | Cost-effective, customizable |
Adding a tray minimizes mess and guarantees your stove stays in top shape, making your camping experience smoother.
Ensuring Proper Ventilation and Exhaust
To keep your camp stove operating safely and efficiently, you need to pay close attention to proper ventilation and exhaust. Good ventilation ensures ventilation efficiency, preventing dangerous smoke buildup and heat accumulation. Proper exhaust design directs fumes away from your cooking area and reduces the risk of backdrafts.
Make sure to:
- Create sufficient gaps or vents in the ammo can for airflow
- Position exhaust openings to direct fumes upward and away from your face
- Use heat-resistant materials around exhaust areas
- Regularly check for blockages or buildup that could hinder ventilation
These steps help maintain ideal airflow and prevent dangerous fumes from lingering. Proper ventilation and exhaust design are essential for safe and effective operation of your mini wood burner.
Testing the Stove for Stability and Safety
Before you start cooking, it’s essential to test your stove for stability and safety to prevent accidents or malfunctions. Begin with stability testing by placing your stove on a flat, level surface. Gently press down on different areas to ensure it doesn’t wobble or tip over easily. Check that all components are securely attached and stable during use. Follow safety precautions by inspecting for any sharp edges or loose parts that could cause injury. Make sure the ammo can lid is firmly closed and that the structure can support the weight of your pot or pan without shifting. Confirm there are no fuel leaks or unstable connections. Taking these steps helps guarantee your mini wood burner operates safely and reliably during your outdoor adventures.
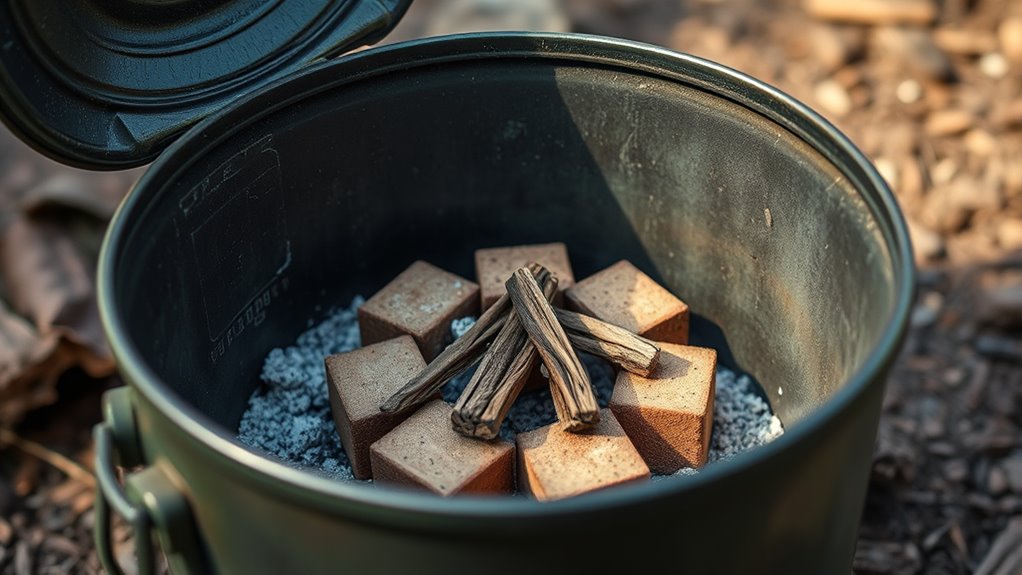
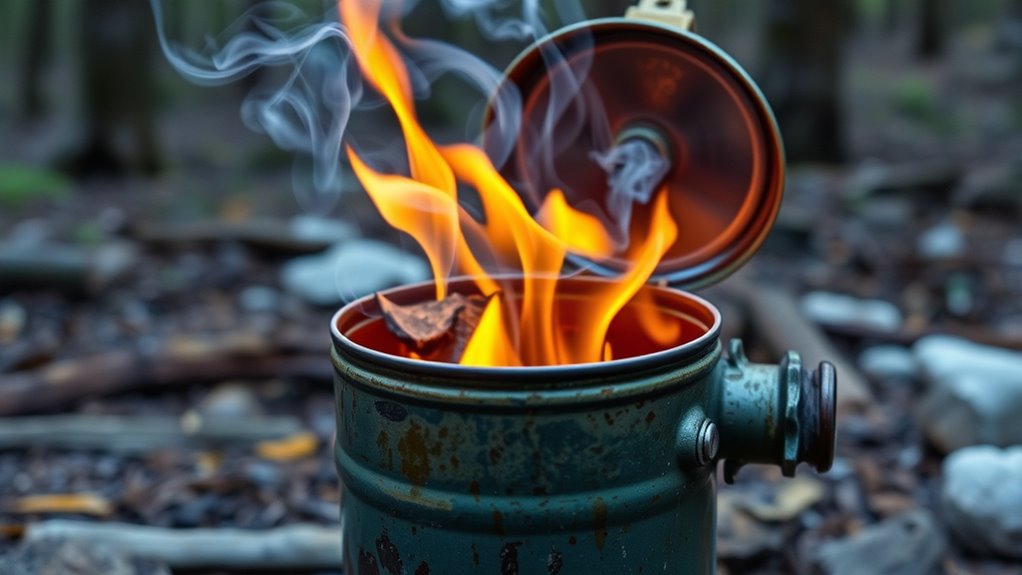
Fueling and Using Your Mini Wood Burner
Make certain your mini wood burner is ready for use by properly fueling it and understanding how to operate it safely. Use appropriate fuel types, such as small sticks or wood chips, to ensure efficient burning. Always check for proper ventilation and keep a safe distance from flammable materials. Before lighting, ensure the stove is stable and clear of debris. When fueling, avoid overloading to prevent smoke or sparks. Follow these safety precautions:
Ensure your mini wood burner is fueled safely with dry wood, proper ventilation, and a stable, debris-free setup.
- Use dry, seasoned wood for cleaner combustion
- Keep a fire extinguisher nearby
- Never leave the stove unattended while lit
- Allow the stove to cool completely before handling
Tips for Maintenance and Safety During Use
Maintaining safety during use requires constant vigilance and proper handling of your mini wood burner. Always monitor the stove while it’s burning, and never leave it unattended. Regular cleaning procedures are essential to prevent ash buildup, which can block airflow and cause unsafe conditions. After each use, wait until the stove cools completely before handling or storing it. When cleaning, remove ash and debris carefully, and check for any damage or corrosion. Storage tips are just as important; keep the stove in a dry, protected place to prevent rust and deterioration. Ensure it’s cool and clean before storing. Proper maintenance and attention during use help keep your mini wood burner safe, efficient, and ready for your next adventure.
Frequently Asked Questions
Can I Customize the Size of the Stove for Different Ammo Can Models?
Yes, you can customize the size of your stove for different ammo can models through ammo can modifications. To achieve this, measure the specific dimensions of each can and adjust your design accordingly. Custom stove dimensions guarantee a perfect fit and peak performance. Keep in mind that precise modifications are key to maintaining safety and functionality, so plan carefully and tailor your build to each ammo can’s unique size.
What Types of Wood Are Best for Efficient Burning?
Imagine the most effective wood for burning, and you’ll find that dense, hardwoods like oak, hickory, and maple top the list. These woods have high wood density, providing more energy per burn, and low moisture content, which helps them ignite quickly and burn steadily. Softwoods like pine burn faster but produce more creosote. For ideal efficiency, choose dry, seasoned hardwoods for your camp stove.
How Do I Prevent Rust and Corrosion Over Time?
To prevent rust and corrosion on your camp stove, you should regularly clean and dry it after use. Apply a thin layer of high-temperature paint or a rust-inhibiting coating to protect the metal. Store it in a dry place and consider using silica gel packs or a moisture absorber inside. These rust prevention and corrosion control tips help extend your stove’s lifespan and keep it functioning efficiently during your adventures.
Is It Safe to Use Indoors or in Enclosed Spaces?
While it might seem tempting to use your mini wood burner indoors, ventilation concerns make this risky. You need proper airflow to prevent dangerous carbon monoxide buildup, which can be deadly in enclosed spaces. For indoor safety, always guarantee good ventilation, use the stove in well-ventilated areas, and consider alternative indoor heating options. Never assume it’s safe without adequate airflow, as safety should always come first.
Can This Stove Be Adapted for Use With Alternative Fuels?
You can adapt your stove for alternative fuels, but you must prioritize safety considerations. Using fuels like alcohol or propane requires modifications to guarantee proper ventilation and prevent leaks or flare-ups. Always test the stove in a controlled environment, follow manufacturer guidelines, and avoid risky fuel combinations. Remember, safety comes first—never compromise on proper setup or ventilation when experimenting with different fuel types.
Conclusion
Now, with your homemade ammo can stove, you’ve got a portable masterpiece—perfect for wilderness cooking or emergency prep. Just remember, as impressive as your DIY skills are, never underestimate the power of a simple fire. After all, what’s more gratifying than turning scrap into sustenance? So go ahead, light that mini wood burner—just maybe keep a fire extinguisher nearby. Because in the end, safety’s the real fuel for your outdoor adventures.