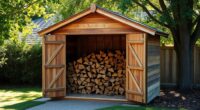
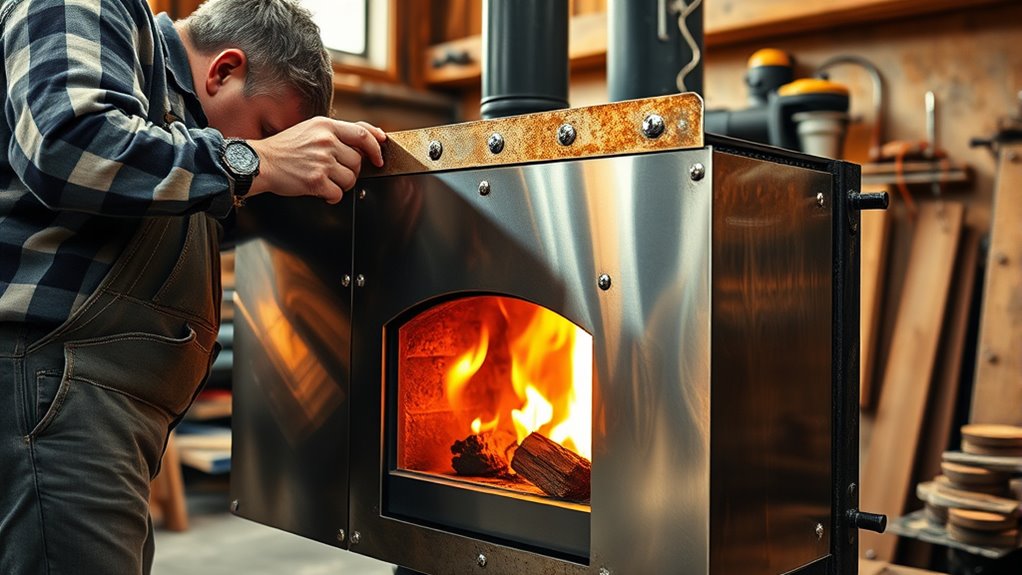
To construct a heat shield for your wood stove, measure and cut high-temperature insulation materials like mineral wool or ceramic fiber to fit the space, ensuring proper clearance from the stove’s surface. Secure the panels with heat-resistant brackets, making sure the shield extends beyond the stove edges for effective reflection and safety. Keep surfaces clean and inspect regularly for damage. Following safety standards and proper installation steps will help protect your home—continue exploring for detailed tips and guidelines.
Key Takeaways
- Select high-temperature insulation materials like mineral wool, ceramic fiber, or reflective metal shields that meet safety standards.
- Measure and cut insulation panels precisely to fit the stove area, maintaining proper clearance from the stove surface.
- Mount the heat shield securely with heat-resistant brackets, ensuring it extends beyond stove edges for maximum protection.
- Position insulation at a safe distance from the stove, ensuring proper air circulation and avoiding compression of materials.
- Regularly inspect the heat shield for damage or deterioration and replace components as needed to maintain safety and efficiency.
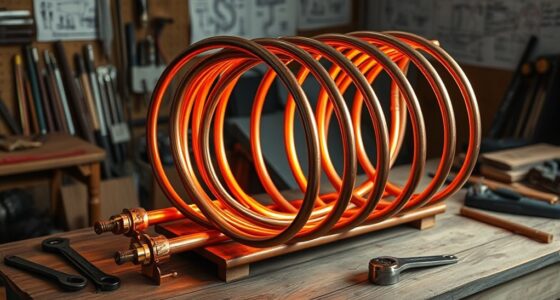
Are you looking to enhance the safety and efficiency of your wood stove? Building a heat shield is an excellent way to protect surrounding surfaces while improving heat reflection and reducing heat loss. To start, you’ll want to focus on selecting the right insulation materials, which are vital for both safety and performance. Insulation materials like mineral wool, ceramic fiber board, or even metal shields with reflective surfaces can withstand high temperatures and prevent heat transfer to combustible materials. Verifying your chosen insulation meets safety regulations is essential; these regulations specify the maximum temperatures insulation can handle and the proper installation methods to avoid fire hazards. Before you begin, check local building codes and safety standards to verify your heat shield design complies, keeping your home safe and your insurance valid.
Once you’ve gathered your insulation materials, measure the space where you plan to install the heat shield. Accurate measurements will help you cut the panels or insulate sections precisely, avoiding gaps that could compromise safety or efficiency. When cutting, use appropriate tools and wear safety gear, especially when working with ceramic fiber or mineral wool, which can irritate your skin or lungs if mishandled. After cutting, position your insulation materials at a safe distance from the stove’s surface, maintaining the clearance specified by safety regulations. This guarantees the heat shield effectively deflects heat without risking overheating or igniting nearby combustible items. Additionally, selecting high-temperature resistant materials will ensure the durability and safety of your shield over time.
Mounting your heat shield requires sturdy, heat-resistant hardware. Use brackets or mounting systems designed for high temperatures to secure the insulation panels firmly in place. Keep in mind that the shield should extend beyond the edges of the stove for maximum protection and reflectivity. When installing, avoid compressing the insulation materials, as this can reduce their effectiveness and violate safety regulations. Leave adequate space around the shield for air circulation, which helps dissipate heat and prevents heat buildup behind the shield. If you’re installing a reflective metal surface, ensure it’s clean and free of dust or debris to maximize heat reflection.
Finally, review your installation to confirm it adheres to all safety regulations. Proper installation not only enhances safety but also boosts your stove’s efficiency by reducing heat loss. Regularly inspect the heat shield for signs of damage, warping, or deterioration, and replace any compromised components promptly. By carefully choosing insulation materials, following safety regulations, and securing your heat shield properly, you’ll create an effective barrier that safeguards your home while optimizing your wood stove’s performance.
Frequently Asked Questions
What Materials Are Best for DIY Heat Shields?
For DIY heat shields, you should use fireproof paint on durable, heat-resistant materials like steel or brick. Reflective foil is great for reflecting heat away, especially when placed behind the shield. Combining these materials helps protect your walls and improve stove efficiency. Make sure the reflective foil is heat-resistant, and apply fireproof paint to any combustible surfaces to guarantee safety and longevity of your heat shield.
How Thick Should a Wood Stove Heat Shield Be?
You should aim for a heat shield thickness of about 1/8 to 1/4 inch, depending on your insulation options. Thicker shields offer better protection but can be bulkier. Use sturdy mounting techniques, like brackets or wall anchors, to securely attach your shield without risking heat damage. Confirm the insulation you choose, such as mineral wool or ceramic tiles, is rated for high temperatures to maximize safety and effectiveness.
Can a Heat Shield Affect Stove Efficiency?
Yes, a heat shield can affect your stove’s efficiency. It improves fire safety by preventing heat from escaping or causing damage, and it reflects heat back into the stove, boosting heat reflection. This helps you get more warmth from less wood, making your stove more efficient. Properly installed, a heat shield enhances safety without compromising performance, ensuring you stay warm while keeping your space safe and energy-efficient.
Are There Safety Regulations for Heat Shield Installation?
Yes, there are fire safety regulations and installation codes you must follow when installing a heat shield. You need to make certain the shield is properly spaced from walls and combustible materials, adhering to local building codes and manufacturer instructions. Check with your local fire department or inspection authority to confirm specific safety standards. Following these regulations helps prevent fire hazards and guarantees your stove operates safely and efficiently.
How Do I Maintain and Clean the Heat Shield?
You might think maintaining your heat shield is simple, but neglecting it can lead to hazards. To keep it in top shape, regularly inspect for soot buildup or damage, then follow cleaning tips like gentle scrubbing with a wire brush and using a damp cloth for residue. Remember, proper heat shield installation isn’t enough; consistent maintenance guarantees safe, efficient operation. Stay vigilant, and your stove will serve you safely for years.
Conclusion
Adding a heat shield not only protects your walls but also keeps your home warmer and safer. I know it might seem like extra work, but think of the comfort and peace of mind you’ll gain knowing your loved ones are safe. Don’t let fear of installation stop you—this simple upgrade makes a real difference. Take action today and enjoy a cozy, worry-free home, knowing your stove is as safe as it is warm.