
To add a manual damper to your single-wall pipe, first select a damper compatible with your pipe size and material. Turn off your system and carefully install the damper near the outlet or intake point, following manufacturer instructions. Guarantee it’s properly sealed and moves smoothly. Regular maintenance will keep it functioning well. If you follow these steps, you’ll gain more control over airflow and system efficiency—more helpful tips are just ahead.
Key Takeaways
- Select a damper compatible with your pipe size and material for proper fit and durability.
- Position the damper near the outlet or intake point for easy access and effective airflow control.
- Turn off power or fuel supplies before installing to ensure safety during the process.
- Install the damper securely, ensuring a proper seal to prevent leaks and maintain system efficiency.
- Test the damper post-installation to confirm smooth operation and proper airflow regulation.
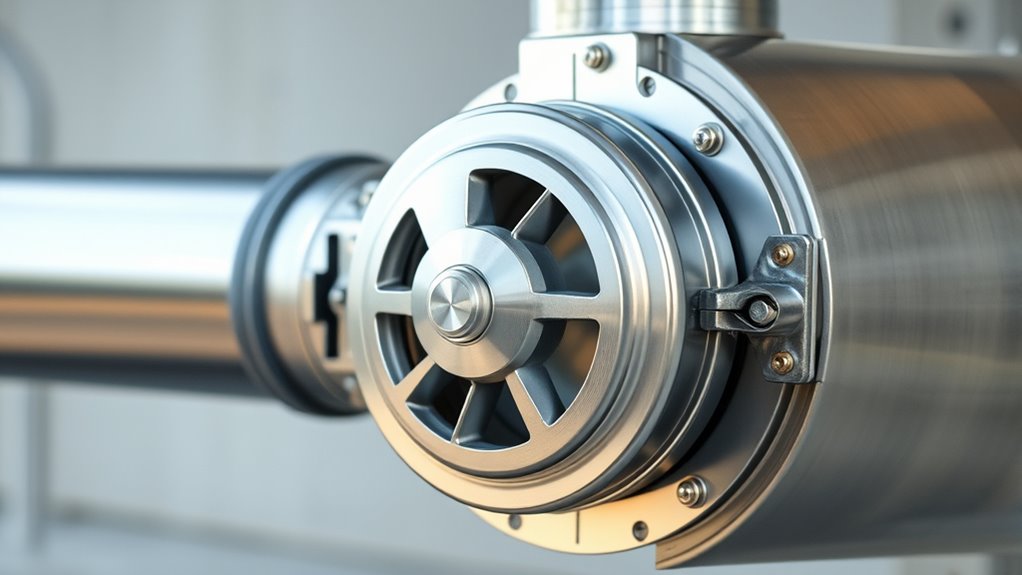
Adding a manual damper to a single-wall pipe is an effective way to control airflow and improve your heating or ventilation system’s efficiency. When you install a damper, you gain the ability to regulate the amount of air passing through the pipe, which can help optimize comfort and energy consumption. Proper ventilation control ensures that your space maintains a healthy environment by adjusting airflow as needed, whether you’re ventilating fumes, controlling temperature, or managing exhaust. But before you begin, it’s important to consider safety considerations to prevent potential hazards.
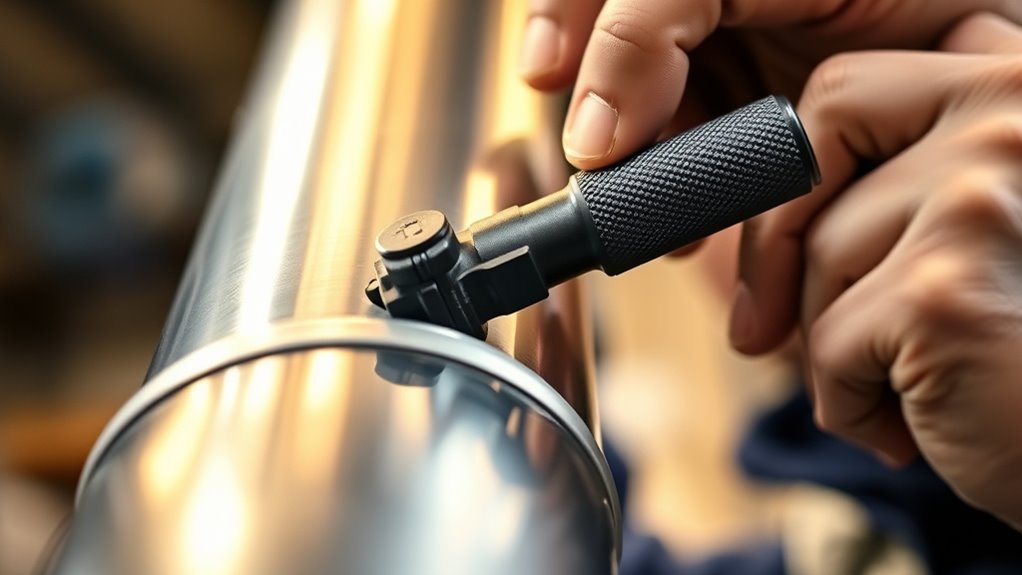
First, make sure you select a damper that’s compatible with your pipe’s size and type. Manual dampers come in various sizes and materials, so choosing the correct one helps maintain system integrity and prevents leaks. When installing, you want to position the damper in a location that allows easy access for adjustments, ideally near the outlet or intake point. This improves ventilation control, making it simple to open or close the damper as needed. Keep in mind that a poorly installed damper can cause airflow issues or create leaks, both of which compromise system efficiency and safety.
Safety considerations are paramount during installation. If your system involves combustible gases or high temperatures, make sure the damper material is rated accordingly. Always turn off power or fuel supplies before beginning work to prevent accidents. Use proper tools and follow manufacturer instructions carefully. Check the pipe for any signs of damage or corrosion before installing the damper, since compromised pipes could pose safety risks. Additionally, ensure that the damper’s manual handle or control mechanism is robust and easy to operate, so you can quickly adjust airflow without straining or risking injury. Incorporating proper ventilation ensures that airflow is effectively regulated and reduces potential hazards. Understanding system compatibility can help prevent installation issues and ensure safety.
Furthermore, selecting a damper with a durable construction can extend its lifespan and reduce the need for frequent replacements. After installation, test the damper thoroughly to confirm it moves smoothly and seals properly when closed. Proper ventilation control depends on a well-sealed damper that doesn’t allow air leaks, which could reduce system efficiency or cause unwanted odors or fumes to escape. Regular maintenance is also crucial; inspect the damper periodically for rust, debris, or damage. Keep the moving parts clean and lubricated to ensure reliable operation. Remember that a damaged or improperly adjusted damper can compromise safety by allowing unfiltered or unregulated airflow, so address any issues promptly.

Therwen Backdraft Damper Duct Manual Volume Damper with Sleeve Galvanized Sheet Adjustment Airflow Ducting Branch HVAC Air Balancing for Range Hoods, Fans(1 Pc,6 Inch)
Suitable Size: the bend end interface of air duct damper measures about 5.87 inches/ 14.92 cm in diameter…
As an affiliate, we earn on qualifying purchases.
As an affiliate, we earn on qualifying purchases.
Frequently Asked Questions
Can Manual Dampers Be Used With Insulated Pipes?
Yes, you can use manual dampers with insulated pipes. Just make certain the damper materials are compatible with the insulation, preventing damage or corrosion. Choose dampers made from heat-resistant or non-corrosive materials like stainless steel or cast iron. Properly installed dampers maintain efficiency and safety, allowing you to control airflow effectively without compromising the insulation’s integrity or performance.
How Do I Prevent Air Leaks Around the Damper?
To prevent air leaks around the damper, guarantee airtight sealing by using high-quality gaskets designed for your pipe size. Select a gasket material that’s compatible with your duct’s temperature and material, and install it properly around the damper frame. Tighten all connections securely, and check for gaps or loose fittings regularly. Proper gasket selection and careful installation are key to maintaining an airtight seal and preventing leaks.
Are Manual Dampers Suitable for High-Temperature Applications?
Manual dampers can be suitable for high-temperature applications if you select the right damper material. Look for dampers made from high-temperature durable materials like stainless steel or cast iron, which resist heat and maintain durability. These materials ensure the damper can withstand the heat without warping or failing, making them effective for controlling airflow in high-temperature environments. Always verify the temperature ratings of your damper to ensure compatibility.
How Often Should I Inspect or Replace the Damper?
You should inspect your damper at least once a year, more often if you notice issues like difficulty opening or closing it. Follow your maintenance schedule, and replace the damper if it shows signs of corrosion, warping, or damage. Regular inspections help catch problems early, preventing system inefficiencies. Replacement triggers include persistent sticking, leaks, or damage that can’t be repaired, ensuring your system stays safe and effective.
Can I Install a Damper on Existing Single-Wall Piping Easily?
Yes, you can install a damper on existing single-wall pipe, but be aware of potential installation challenges like fitting and securing it properly. Compatibility considerations are vital; verify the damper matches your pipe diameter and material. You might need to modify the duct or use adapters. Take your time to plan the installation, and if you’re unsure, consulting a professional can help guarantee a safe, effective setup.

Aulmscn 6" Motorized Duct Damper,Adjustable Volume Damper, Stainless Steel Backdraft Damper Airflow Control for HVAC Ventilation System,AC 24V (6inch)
[Remote Motorized Control]: The damper features a AC 24V electric actuator. Simply connect the switch to the actuator…
As an affiliate, we earn on qualifying purchases.
As an affiliate, we earn on qualifying purchases.
Conclusion
Adding a manual damper to your single-wall pipe is quick and straightforward, giving you better control over airflow and heat. Some might think it’s unnecessary or complicated, but taking this simple step can improve comfort and efficiency in your space. Don’t overlook small upgrades—they can make a big difference. With just a little effort, you’ll enjoy safer, more efficient ventilation, proving that even minor improvements are worth your time and attention.
Aulmscn 6" Motorized Duct Damper,Adjustable Volume Damper, Stainless Steel Backdraft Damper Airflow Control for HVAC Ventilation System,AC 24V (6inch)
[Remote Motorized Control]: The damper features a AC 24V electric actuator. Simply connect the switch to the actuator…
As an affiliate, we earn on qualifying purchases.
As an affiliate, we earn on qualifying purchases.

5Pcs Harmonic Balancer Installer Tool Set, Long Reach Crank Pulley Underdrive Damper Puller Installation Tool Kit, Compatible with Ford, GM, Dodge and Chrysler V8 and V6 Engines
Kit Include: This harmonic balancer installer set comes with 4 long reach adapters, a nut/bearing assembly for easy…
As an affiliate, we earn on qualifying purchases.
As an affiliate, we earn on qualifying purchases.