To make a camping rocket stove with minimal tools, start by selecting a clean, sturdy metal can and a few bricks or cinder blocks for the base. Cut a small hole near the bottom for air intake, then insert a metal tube or pipe as the combustion chamber, securing it with fire-resistant adhesive or mortar. Stack bricks around the can to form the enclosure. Keep safety in mind, and if you keep going, you’ll discover how to optimize its performance and safety.
Key Takeaways
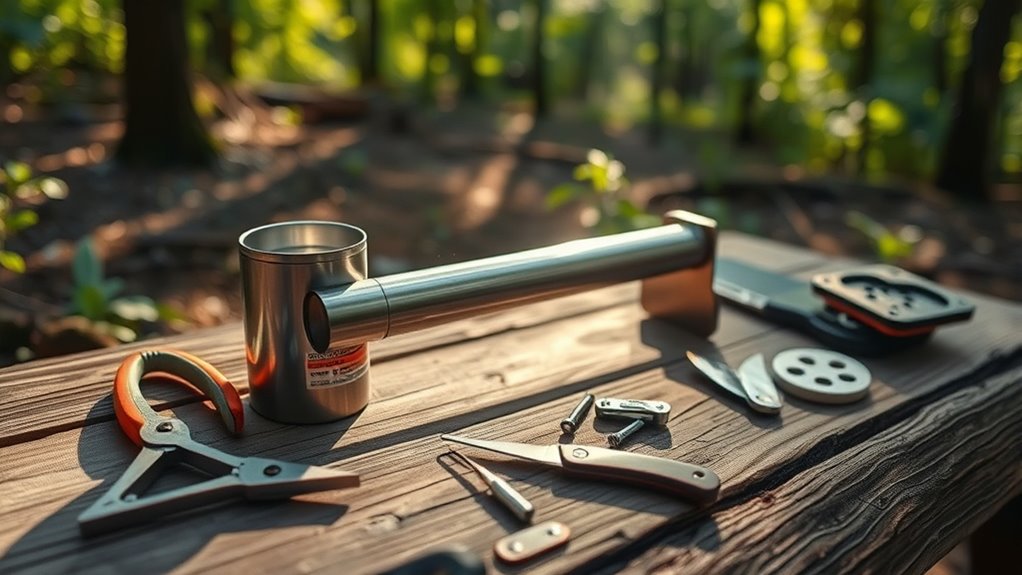
- Use simple, readily available materials like an empty can, bricks, and metal pipes to minimize tool requirements.
- Cut openings and insert pipes with basic tools such as a knife or scissors, ensuring safety precautions.
- Secure components with fire-resistant adhesive or mortar, avoiding complex fasteners for ease.
- Stack bricks or cinder blocks around the can to form the base and airflow enclosure without specialized equipment.
- Test the stove outdoors, making adjustments for airflow and combustion efficiency using minimal tools.
If you’re looking for an efficient way to cook while camping, building a rocket stove with minimal tools is a smart choice. This project relies on simple DIY materials, making it accessible even if you don’t have advanced crafting skills. Before you start, it’s important to gather basic supplies such as an empty tin can, bricks or cinder blocks, a few metal tubes or pipes, and some fire-resistant adhesive or mortar. These materials are usually easy to find at hardware stores or around your campsite. Keep in mind, safety precautions are essential throughout the process to prevent injuries and ensure your stove functions safely and effectively.
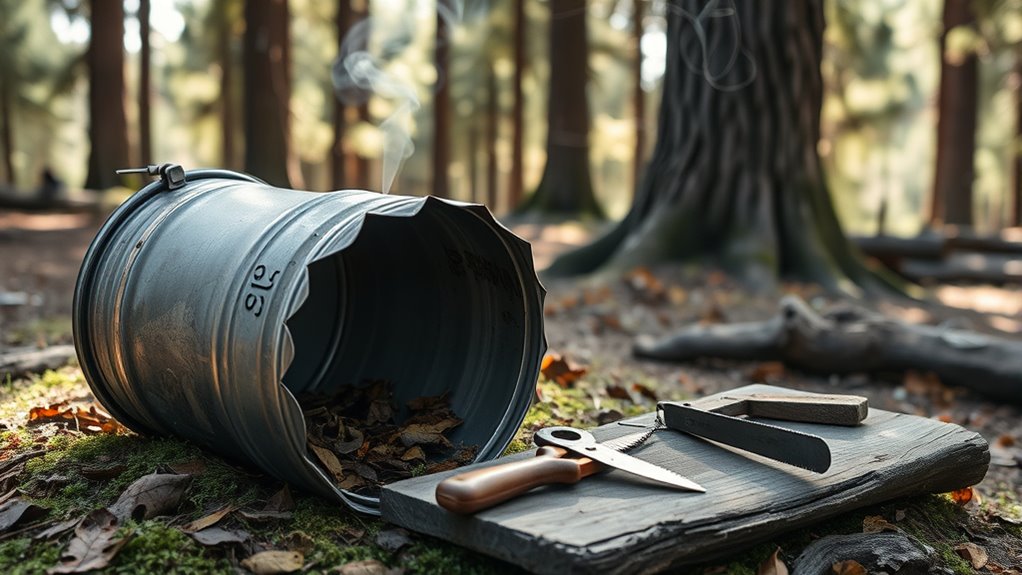
Begin by selecting a sturdy can, like an empty coffee or soup can, which will serve as the main body of your stove. Make sure the can is clean and free of sharp edges. Next, cut a small hole near the bottom of the can—this will be your air intake. Use a can opener or a metal punch to do this carefully. For the combustion chamber, you’ll insert a metal pipe or tube that extends into the can, creating a chamber where your fire will burn efficiently. Secure it with fire-resistant adhesive or mortar to prevent any leaks and to keep the setup stable. When positioning the tube, ensure it’s slightly elevated from the bottom to promote good airflow.
Assembling the stove involves stacking bricks or cinder blocks around the can to form a stable base and a surrounding enclosure that directs airflow. Leave an opening at the top for loading wood or other combustible materials. When working with DIY materials, always double-check that no gaps or loose parts could cause sparks or collapse. Use gloves and eye protection when handling sharp tools or hot materials, and work in a well-ventilated area. Remember, safety precautions also include keeping a fire extinguisher nearby and ensuring your cooking area is free of flammable debris.
Once assembled, test your rocket stove in a controlled environment before heading out on your camping trip. Make sure it heats efficiently, and observe how the airflow and combustion work together. Incorporating basic safety precautions is essential during construction and use to prevent accidents and ensure optimal performance. By using minimal tools and DIY materials, you create a reliable, safe, and resourceful cooking solution. Always prioritize safety, both during construction and use, to enjoy your camping experience confidently and worry-free. With a little effort and attention to safety precautions, you’ll have a homemade rocket stove that’s perfect for outdoor adventures.

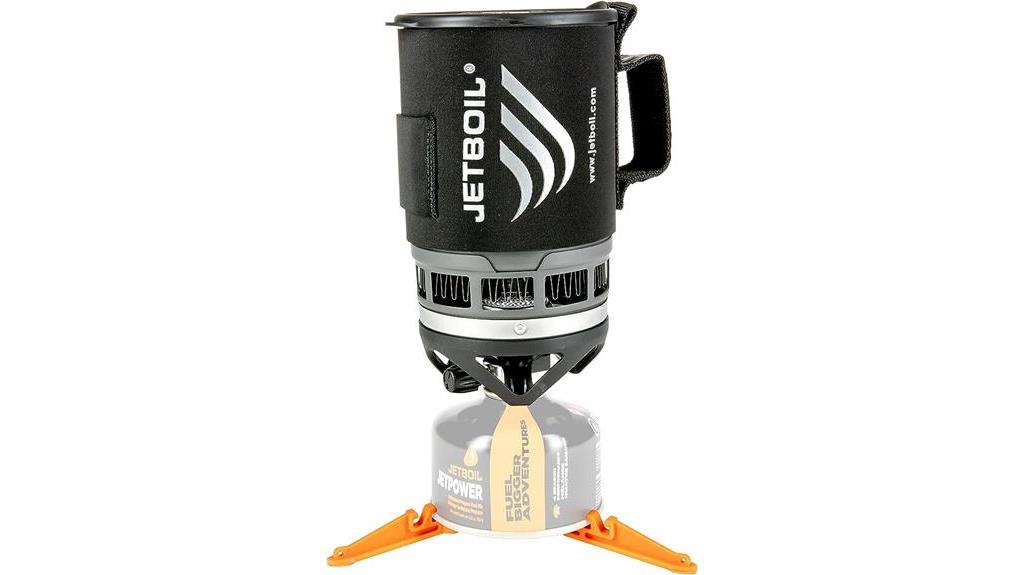
MSR PocketRocket 2 Ultralight Camping and Backpacking Mini Stove Kit
- Compact Stove Kit: Ultralight for solo backpackers
- Fast Boiling: Boils 1L water in 3.5 minutes
- Multi-Functional Pot: Insulated grip doubles as a vessel
As an affiliate, we earn on qualifying purchases.
As an affiliate, we earn on qualifying purchases.
Frequently Asked Questions
What Safety Precautions Should I Take During Assembly?
During assembly, you should wear protective gloves to prevent burns or cuts and guarantee your safety. Keep a fire extinguisher nearby in case of accidental sparks or fire. Work in a well-ventilated area to avoid inhaling fumes, and handle sharp tools carefully. Double-check all connections before use, and never leave the stove unattended while lit. Safety gear and precautions help you avoid injuries and assure a safe building process.
Can I Customize the Stove’s Size and Design?
Absolutely, you can customize your stove’s size and design—they’re like a blank canvas waiting for your touch. When considering stove customization and design modifications, think about how each change impacts efficiency and safety. Adjust the dimensions or add features to suit your needs, but always test thoroughly. Remember, a tailored stove can be a perfect companion, just like a well-worn map guiding you through uncharted territory.
How Long Does the Stove Typically Last?
Your camping rocket stove typically lasts several years, depending on its stove durability and how often you use it. With proper care, it remains fuel-efficient and withstands outdoor elements well. Regularly cleaning and avoiding harsh impacts can extend its lifespan. Since it’s built with simple materials, it’s designed for durability, but heavy use or rough handling may shorten its longevity. Overall, expect it to serve you reliably on multiple camping trips.
What Are Alternative Fuel Options Besides Wood?
Did you know that over 70% of campers seek eco-friendly options for cooking? Besides wood, you can use alternatives like alcohol burners, canned fuels, or pellet inserts. These alternative fuels are portable, efficient, and environmentally friendly, making them great for camping trips. They burn cleaner, produce less smoke, and are often safer, helping you enjoy your outdoor cooking while reducing your ecological footprint.
Is It Suitable for Cooking All Types of Meals?
Yes, your camping rocket stove is suitable for cooking all types of outdoor meals and campfire cooking. It efficiently heats pots and pans, making it versatile for breakfast, lunch, or dinner. You can prepare soups, stews, and even grilled foods. Just make certain your fuel source is appropriate and stable. With this stove, you can enjoy a variety of outdoor meals, enhancing your camping experience without needing complex equipment.
Conclusion
Once you’ve built your rocket stove, you’ll feel like a campfire hero, transforming simple materials into a powerful cooking tool. Just like a tiny spark can ignite a blazing fire, your minimal tools can create a reliable stove that heats your meal and fuels your adventure. Remember, every successful build is a small victory, proof that with effort and ingenuity, you can turn humble supplies into something extraordinary. Now, go cook up your next outdoor masterpiece!