
To install an outside air kit (OAK) yourself, start by choosing a suitable exterior wall location away from obstructions, pollution, and noise. Gather tools like a drill, saw, and sealant, and carefully measure and cut a hole for the vent. Attach the vent cover securely, connect ducting, and verify all seals are airtight. Remember to follow safety guidelines and local codes. If you keep going, you’ll discover detailed steps for a smooth installation process.
Key Takeaways
- Select an accessible exterior wall location away from obstructions, wind, pollution, and noise for optimal airflow.
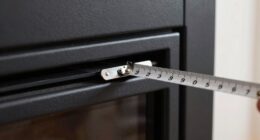
- Measure and mark the vent opening accurately, then cut the wall hole using appropriate tools, avoiding utilities.
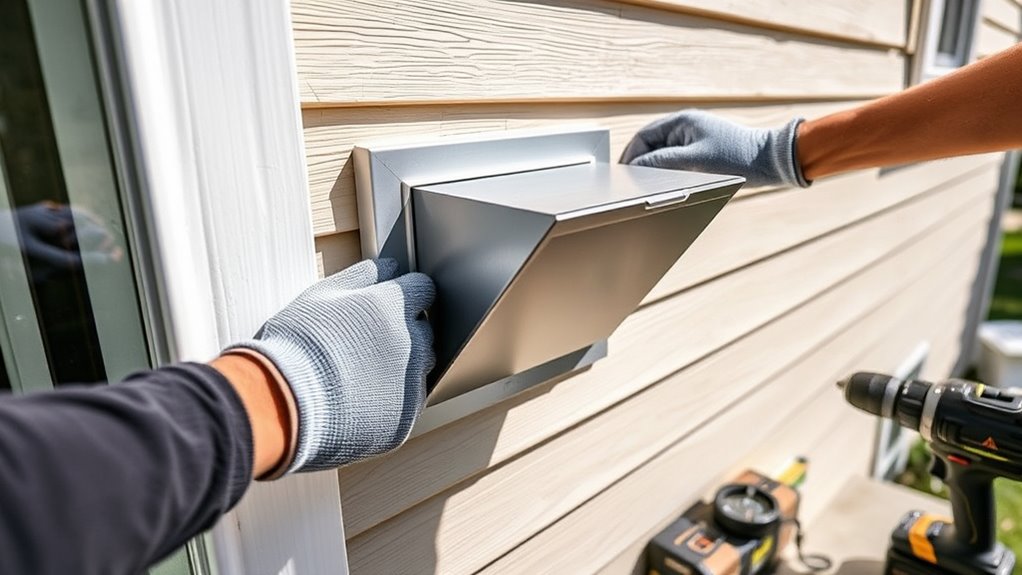
- Install the exterior vent cover securely, sealing gaps to ensure airtightness and prevent leaks.
- Connect ducting from the outside vent to the interior intake port, using clamps or sealant as recommended.
- Test airflow after installation, verify proper operation, and seal any gaps to ensure system efficiency and safety.
Installing an Outside Air Kit (OAK) yourself can improve your home’s ventilation and indoor air quality. An OAK allows fresh air to enter your living space directly from outside, reducing indoor pollutants and balancing humidity levels. When considering ventilation options, adding an outside air kit is an effective way to supplement your existing HVAC system without the need for costly upgrades or complex ductwork. Doing it yourself not only saves money but also gives you control over the process, guaranteeing it’s tailored to your home’s specific needs.
Installing an outside air kit enhances ventilation and air quality, saving money and customizing your home’s airflow.
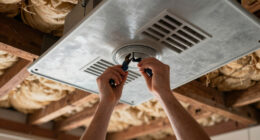
Before starting, gather all the necessary tools and materials. You’ll typically need a drill, screwdriver, measurement tape, a saw if modifications are required, and the kit components—usually a vent cover, ducting, and mounting hardware. Carefully read the manufacturer’s instructions to familiarize yourself with the installation steps. This preparation is vital for a smooth DIY experience and helps you identify potential challenges beforehand.
When selecting the installation location, choose a spot on an exterior wall that’s easily accessible and away from obstructions like gutters or landscaping. Consider the prevailing wind direction and potential sources of pollution or noise outside. Proper placement guarantees efficient airflow and minimizes issues with debris or pests entering the home. Mark the spot for the vent opening, ensuring it aligns with the ducting length and doesn’t interfere with other utilities or wall structures.
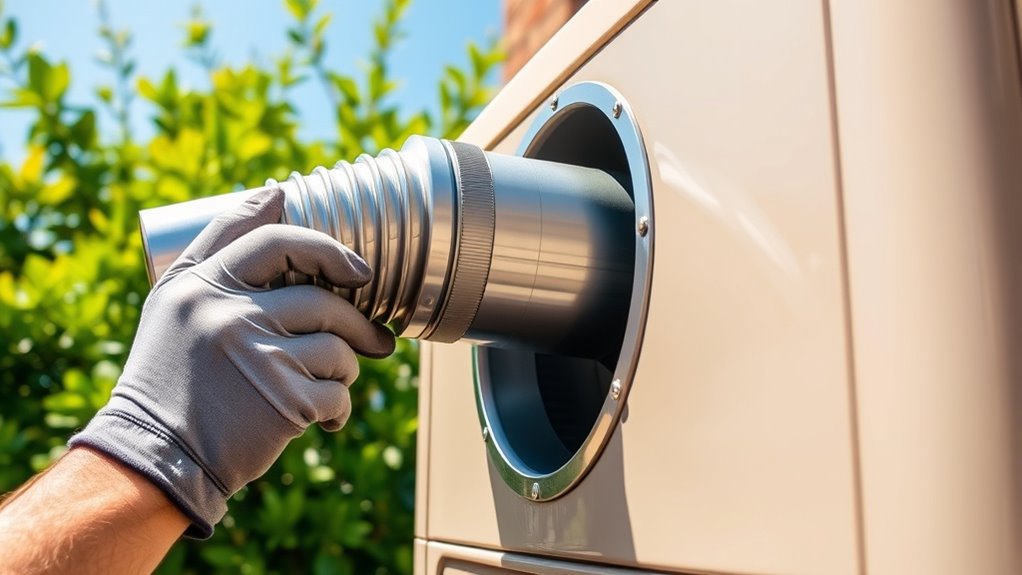
Start by cutting an appropriately sized hole in the exterior wall. Use your measurements and a saw suitable for your wall material—masonry, siding, or drywall. Be cautious to avoid electrical wires or plumbing behind the wall. Once the opening is made, install the vent cover from the outside, securing it firmly to prevent leaks or drafts. Connect the ducting from the outside vent to the intake port inside your home, ensuring airtight connections. Use clamps or sealant if recommended to prevent air leaks.
Throughout the DIY installation, keep safety in mind. Wear protective gear when cutting or handling tools, and double-check measurements before drilling. Also, ensure that your work complies with local building codes and permits, if necessary. Additionally, understanding ventilation standards can help ensure your system meets recommended airflow and efficiency requirements. After installation, test the system by turning on the ventilation option and checking for proper airflow. Make adjustments if needed, sealing any gaps to maximize efficiency.
outside air vent cover
As an affiliate, we earn on qualifying purchases.
As an affiliate, we earn on qualifying purchases.
Frequently Asked Questions
Can I Install an OAK Without Professional HVAC Experience?
You can install an OAK without professional HVAC experience, but it’s not recommended. Follow DIY tips carefully, like reading the manufacturer’s instructions thoroughly and double-checking measurements. Be aware of common pitfalls, such as improper sealing or incorrect placement, which can reduce efficiency. If you’re comfortable with basic tools and have patience, you might succeed. However, if unsure, consulting a professional guarantees a safe, effective installation.
What Tools Are Necessary for Installing an Outside Air Kit?
You’ll need a basic tools overview, including a drill, screwdriver, saw, and measuring tape. Safety gear like gloves, safety glasses, and a dust mask is crucial to protect yourself during installation. Make sure you also have a level to ensure proper alignment and a pencil for marking. These tools and safety gear help you work efficiently and safely while installing your outside air kit yourself.
How Do I Select the Right Size OAK for My System?
You need to take into account airflow considerations and sizing calculations to select the right OAK size. Measure your home’s square footage and ventilation needs, then consult manufacturer guidelines to match the kit size accordingly. An appropriately sized OAK ensures proper airflow without overloading your system. If unsure, it’s best to consult a professional or use online calculators to accurately determine the ideal size, maximizing efficiency and comfort.
Is Additional Ductwork Required for Installation?
Yes, additional ductwork may be necessary for your installation. You might need a ductwork extension to connect the OAK to your existing system properly. This upgrade guarantees proper airflow and ventilation. Before starting, measure the distance from your outdoor intake point to the main duct, and plan for any necessary modifications. Proper ductwork ensures your ventilation upgrade works efficiently without causing airflow issues or system strain.
What Safety Precautions Should I Take During Installation?
During installation, you should wear safety gear like gloves and goggles to protect yourself from debris and sharp edges. Make sure to turn off the power supply to prevent electrical safety hazards before working on any wiring. Be cautious around electrical connections, and double-check all connections are secure. Working carefully and following safety protocols helps prevent accidents, ensuring a safe installation process.
ducting for outside air kit
As an affiliate, we earn on qualifying purchases.
As an affiliate, we earn on qualifying purchases.
Conclusion
So, after all that effort, you might find yourself marveling at how simple it was—until you realize you’ve just added a whole new level of fresh air to your home. Who knew installing an outside air kit could turn into your latest DIY obsession? Now, you can proudly say you’ve taken control of your indoor environment—just don’t be surprised if your friends start asking for your “expert” advice on their own projects. Cheers to becoming a DIY pro!
vent installation kit
As an affiliate, we earn on qualifying purchases.
As an affiliate, we earn on qualifying purchases.
airtight sealant for vents
As an affiliate, we earn on qualifying purchases.
As an affiliate, we earn on qualifying purchases.