
To create a stove bench that’s both comfortable and stylish, start with careful planning to guarantee ergonomic design, matching seat height and slope for maximum comfort. Choose durable, heat-resistant materials like moisture-resistant MDF and treated timber, then cut and shape these precisely using guides and supports. Assemble the components securely with seamless joints, reinforce with battens, and finish with sanding, primer, and quality paint for a professional look. If you continue, you’ll discover detailed steps to turn your vision into a beautiful, functional piece.
Key Takeaways
- Prioritize ergonomic design with sloped seats and matching heights for comfort and seamless integration with existing furniture.
- Use high-quality, heat-resistant, and durable materials like moisture-resistant MDF and treated timber for longevity.
- Ensure precise cuts, angles, and support battens for seamless joints and structural stability during assembly.
- Finish surfaces with thorough sanding, filling, priming, and multiple coats of water-based paint for a smooth, professional look.
- Incorporate safety features, such as non-slip surfaces and protective sealants, to enhance comfort and durability.
Top picks for "creat stove bench"
Open Amazon search results for this keyword.
As an affiliate, we earn on qualifying purchases.
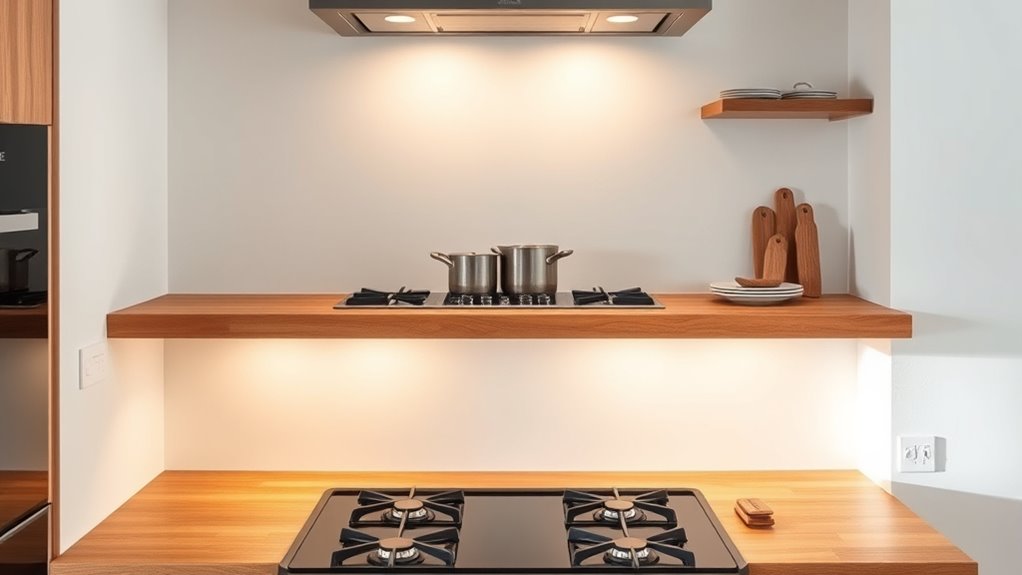
Planning and Designing for Ergonomic Comfort
To guarantee your stove bench is comfortable for extended use, careful planning and design of its ergonomic features are essential. The structural elements, like the sloping back and seat angle, help keep the user comfortable by reducing strain during prolonged sitting. Properly matching the seat height with cushions and surrounding furniture creates a seamless, inviting space, making it a lot less awkward to sit for longer periods. Adjusting the slope—such as adding MDF strips—avoids an uncomfortable V-shape, which can cause discomfort. Precise angle cuts and supporting battens are key to maintaining a consistent, ergonomic slope across the entire bench. Visualizing and testing your design with temporary supports allows you to fine-tune these features, ensuring maximum comfort before final assembly. Additionally, considering regional legal resources can help if you need expert guidance on building codes and safety standards for your project. Incorporating ergonomic principles into your design ensures that the bench not only looks good but also promotes user comfort and safety throughout its use. Incorporating material selection considerations can further enhance the durability and comfort of your finished bench. Using user feedback during the testing phase can help identify any overlooked discomforts and improve overall design. To enhance your understanding of payment security, reviewing recent security breach statistics can help you implement more effective protective measures.
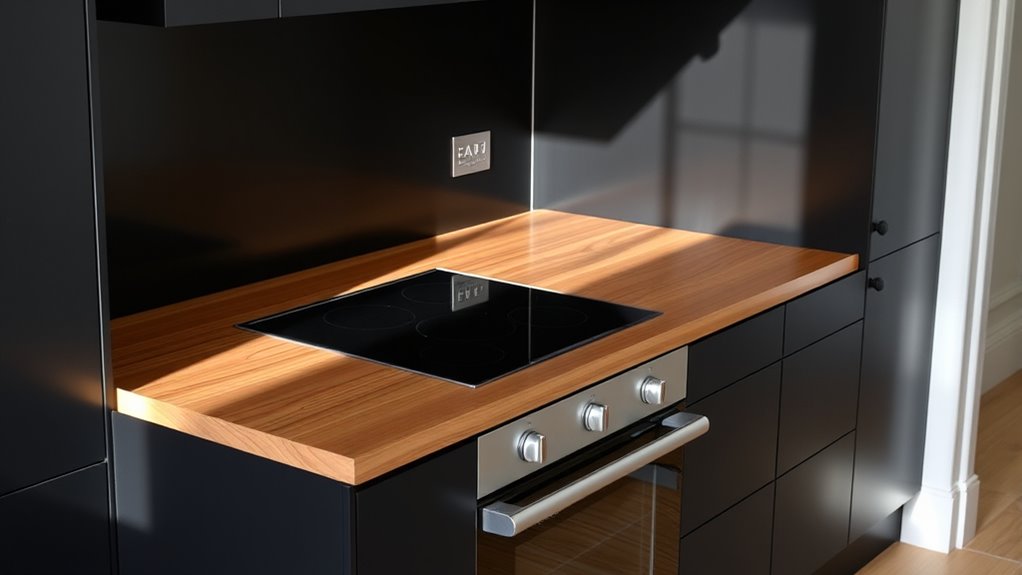
Selecting Materials for Durability and Aesthetics
Choosing the right materials is essential to guarantee your stove bench remains both durable and visually appealing. Moisture-resistant MDF was selected for the outer paneling to withstand spills and temperature changes, ensuring longevity. The MDF’s 18mm thickness provides strength for structural sections, while 12mm boards are used for the back and base panels to keep weight manageable. To reinforce joints and create a stable framework, treated timber battens measuring 25x50mm are incorporated. Special MDF screws from Spax prevent splitting and secure components during assembly. Before painting, the surface is carefully prepared with sanding, filling, and sealing, which enhances durability and results in a smooth, attractive finish. Additionally, understanding sound healing science can inspire your choice of calming colors and textures to create a more relaxing space. Considering paint compatibility is crucial to ensure the chosen finishes adhere properly and resist wear over time. Being aware of local store hours can also help you plan your shopping trips for materials more efficiently. Selecting appropriate fasteners, such as corrosion-resistant screws and nails, ensures the structural integrity of your project over time. Incorporating moisture-resistant materials further helps prevent issues caused by humidity and spills, extending the lifespan of your stove bench. These materials strike the perfect balance between durability and aesthetics for your stove bench.
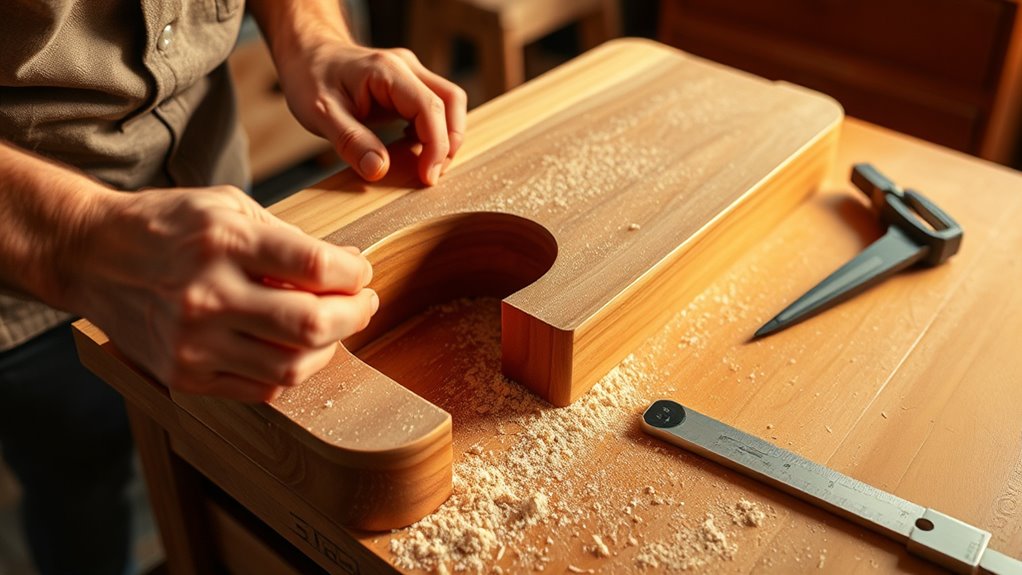
Cutting and Shaping Components With Precision
To achieve clean, accurate cuts, you should use a track saw with a guide rail on your MDF or timber. Supporting large sheets with battens or sawhorses keeps everything stable and safe during cutting. Remember to drill holes before jigsawing for complex shapes to minimize splintering and improve accuracy. Additionally, monitor market trends and insights for potential fluctuations that could affect your project timeline or material costs. Recognizing AI’s role in modern research can also inform innovative approaches to material selection and project planning. Incorporating precision tools like a track saw ensures higher accuracy and efficiency in your woodworking projects. Paying attention to latest advancements in techniques can further enhance your craftsmanship and results.
Accurate Cutting Techniques
Achieving accurate cuts is essential for a professional-looking stove bench, and using the right tools makes a significant difference. A track saw with a guide or straight edge ensures precise, straight cuts on MDF or paneling, helping you maintain consistent dimensions. Support large sheets on sturdy sawhorses or clamped supports to prevent movement, increasing accuracy. For curved or angled cutouts, drill holes at intervals before using a jigsaw; this creates clean, precise edges. Always set and verify angles with a protractor or sliding bevel before cutting, and use planing for fine adjustments to guarantee a perfect fit. When cutting angled edges, like the 13° front or 45° corners, double-check measurements and mark carefully to achieve seamless assembly and a polished look. Using a Vetted 1st Home Theatre Projector can also help ensure your workspace is well-lit for detailed cuts and measurements. Additionally, selecting the appropriate cutting tools based on the material type will enhance precision and reduce errors during the process. Proper measurement accuracy is crucial to ensure all components fit together correctly and achieve a professional finish. Incorporating tuning techniques from vehicle customization can inspire meticulous attention to detail, leading to a superior result and AI-powered tools can assist in designing precise cut lists and layouts.
Support and Stability
Maintaining support and stability during cutting and shaping is essential for precision. Use a long track with your track saw to keep edges straight and accurate. Creating templates for sloped seat sections helps guide your saw for consistent, angled cuts. Drilled holes in MDF pieces allow you to use a jigsaw for detailed shaping of complex profiles, ensuring clean, precise cuts. During assembly, screw support battens of 25x50mm timber temporarily to the MDF to prevent movement, maintaining alignment. For angled cuts like the 13° front edge, set your protractor and sliding bevel accurately. Make fine adjustments with planing to ensure a perfect fit. Employing clamp systems can further enhance stability and safety during cutting and shaping. These steps keep your components stable and supported, resulting in cleaner cuts and a more professional finish. Supporting stability is crucial for achieving high-quality results in woodworking projects, and employing portable tools can enhance accuracy and ease of handling. Additionally, selecting keto-friendly adhesives and sealants can help maintain the integrity of your project without introducing unnecessary carbs. Ensuring proper dust collection methods can also improve safety and visibility during shaping tasks.
Assembling the Frame for Strength and Stability
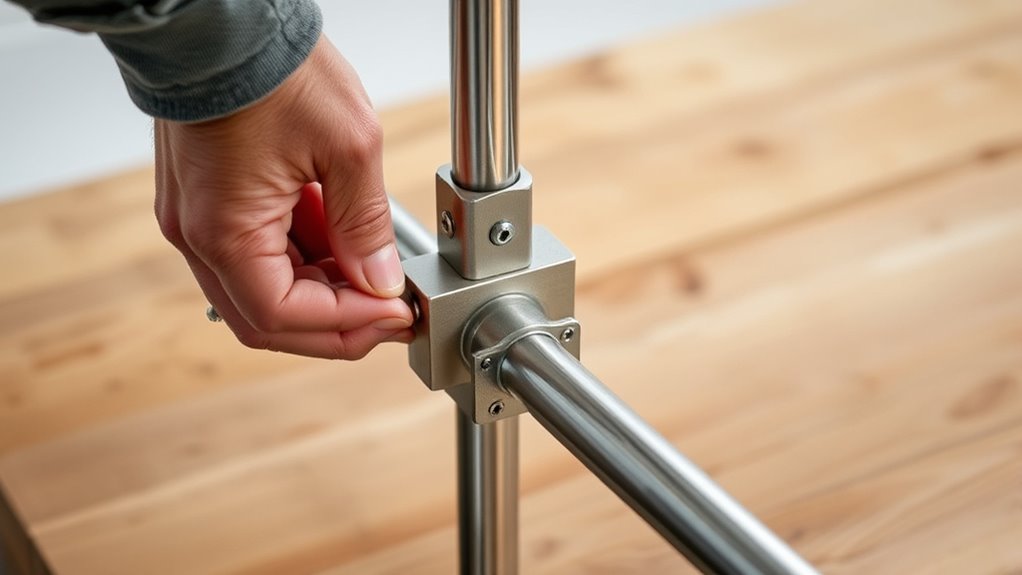
Building a sturdy stove bench begins with securely attaching support battens made from 25x50mm treated timber to the MDF frame. First, mark the positions where the battens will go, making certain they support the panels evenly. Second, use screws to firmly attach each batten, checking for level and alignment as you go. Third, reinforce corner joints by cutting 45° angles and gluing in battens, which strengthens the connections and creates a seamless look. Additionally, precise angle cuts, like the 13° slope on the front panel, ensure proper fit, verified with a protractor. Support elements, carefully placed and glued, prevent warping and movement. Proper fastening techniques and the use of the right fasteners are essential for a secure build, ensuring long-term stability. This systematic assembly guarantees a robust, durable frame that will hold up over time.
Creating Seamless Joints and Structural Support

To create seamless joints and make sure your bench stays sturdy, focus on precise alignment during assembly. Reinforcing connections with glued battens and carefully cut angles will strengthen the structure and hide gaps. By paying attention to these details, you’ll achieve a professional look that’s both durable and stylish.
Achieving Precise Alignment
Achieving precise alignment of panels is essential for creating seamless joints and ensuring the overall stability of your stove bench. To do this, start by setting accurate angles with a protractor and sliding bevel, checking for consistency with planing if needed. Next, support MDF pieces with temporary battens before gluing and nailing to keep everything in place during assembly. Finally, focus on butt joints to expose only a single sheet of grain, which minimizes gaps and enhances the seamless look. Strategic placement of side panels and corner joins also helps hide gaps, reducing the need for excessive filling. By carefully aligning panels and supporting joints, you create a sturdy, attractive stove bench that combines both form and function.
Reinforcing Structural Connections
Reinforcing structural connections is essential for guaranteeing your stove bench is both durable and visually seamless. To strengthen joints, add glued battens on vertical sections for increased span support. Use angled cuts—like 45° or 13°—at panel joints for tight, gap-free connections. Apply glue generously to end grains and butt joints to enhance bonding and prevent separation. During assembly, support MDF pieces with temporary battens to maintain precise alignment and avoid shifting. Finish joints with careful sanding, fill gaps as needed, and strategically position panels to create a seamless look. These techniques ensure your stove bench remains sturdy and attractive over time.
| Technique | Benefit |
|---|---|
| Glued battens on vertical sections | Increases span strength and stability |
| Angled cuts at joints | Ensures tight, seamless connections |
| Generous glue application on end grains | Improves bonding, reduces separation |
| Temporary battens during assembly | Maintains alignment during construction |
| Finish with sanding and filling | Creates a smooth, seamless appearance |
Finishing Surfaces for a Smooth and Clean Look
Before applying paint, guarantee all surfaces are perfectly smooth and free of imperfections. Start by thoroughly sanding with a random orbit sander and fine-grit paper to eliminate rough spots. Next, fill any gaps, pinholes, or flaws with a two-part wood filler, then sand again for a seamless surface. Finally, use a trim router with a flat bit to create clean, rounded edges or level raised areas for an even look. These steps ensure your surface is flawless before painting. Once prepared, apply a primer like Johnson’s MDF primer to promote proper adhesion and prevent absorption issues. Finish with multiple coats of water-based satin paint, allowing each coat to dry fully. This process results in a smooth, clean, and professional-looking surface for your stove bench.
Painting and Surface Treatments for Durability
To guarantee your stove bench withstands daily use, applying a high-quality finish is essential. Start with a primer like Johnson’s MDF primer to ensure better paint adhesion and long-lasting coverage. Use a small roller for large areas and a fine brush for corners to achieve an even application, reducing brush marks. Apply at least three coats of a water-based satin finish, such as Aqua Guard, to build a durable, washable surface that resists wear. After painting, seal the top edge with a roller to create an airtight barrier, protecting against moisture and extending the paint’s lifespan.
| Step | Tip |
|---|---|
| Primer | Use a high-quality primer for adhesion |
| Coats | Apply multiple coats for durability |
| Tools | Use appropriate brushes and rollers |
| Sealing | Seal edges for moisture protection |
Addressing Challenges During Construction
During construction, addressing challenges promptly guarantees your stove bench turns out both comfortable and visually appealing. First, you’ll need to correct the initial slope, which created an uncomfortable V-shape, by adding MDF strips on top of the battens for better ergonomics. Second, precise angle cuts—like the 13° front edge and angled base panels—require careful setup, using a protractor and planing for accuracy. Third, support structures such as temporary battens and sacrificial offcuts help ensure proper alignment during cutting and assembly, preventing missteps. Additionally, dealing with end grain bonding and visible gaps demands strategic panel placement, filling, and finishing techniques. By tackling these challenges early, you set a solid foundation for a stylish, comfortable stove bench.
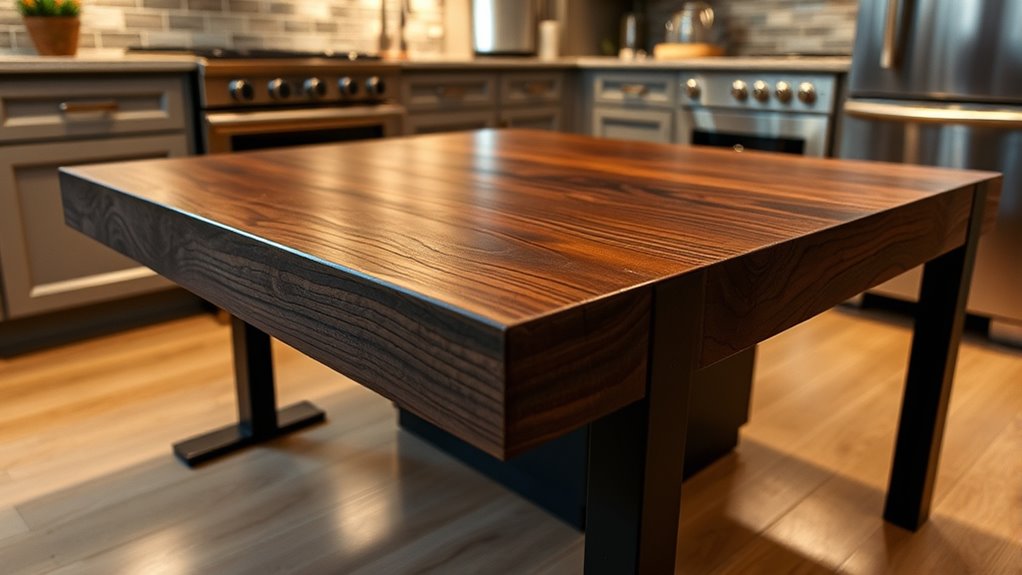
Final Assembly and Fitment in the Space
Make certain your stove bench fits tightly in the designated space by measuring carefully and adjusting dimensions as needed. Pay close attention to the angles of cuts on the base and back panels to keep everything level and stable. Use shims or wedges during installation to ensure a flush fit against uneven surfaces for a seamless, secure finish.
Precise Space Measurements
Ensuring a perfect fit for your stove bench begins with meticulous measurements of the available space. Start by measuring the height, width, and depth accurately to ensure the bench fits snugly without blocking access or movement. Next, account for wall irregularities by using scribing techniques or adjustable components, which help achieve a seamless fit along uneven surfaces. Finally, measure angles precisely with tools like a protractor or sliding bevel for sloped sections, ensuring they match existing structures. Remember to allow clearance around the stove and fixtures for safety and ventilation. During construction, test-fit your assembled sections multiple times within the space, making adjustments as needed before finalizing the build. Accurate measurements are key to a comfortable, well-fitted stove bench.
Seamless Fitting Techniques
Achieving a seamless fit during final assembly hinges on precise cutting and careful alignment. Use accurate angle cuts, like 45° and 13°, to ensure corner joints and panels sit flush. Support MDF pieces with temporary battens while gluing to maintain correct positioning and reduce gaps. Once assembled, fill any small gaps with two-part wood filler, then sand smooth for a flawless surface. To accommodate uneven wall surfaces, scribe edges with a vintage block plane for a perfect fit. Strategic placement of side panels and corner joins helps hide panel gaps, giving your bench a professional look. Take your time during assembly, double-check alignments, and always aim for tight, clean joints. This attention to detail guarantees a polished finish that blends seamlessly into your space.
Tips for Maintaining and Enhancing Your Stove Bench
Regular maintenance is key to keeping your stove bench both functional and attractive. Start by inspecting the joints and screws regularly, tightening or reinforcing them to ensure stability. Next, protect your bench’s surface by applying a sealant or water-based paint like Aqua Guard, which shields against moisture and makes cleaning easier. Finally, focus on comfort and appearance: add cushions or upholstery to the seat to prevent direct contact with hot surfaces and enhance coziness. Keep the surface free of dust and debris by vacuuming and wiping with a damp cloth, preserving the finish. Additionally, check for chips or cracks and repair them promptly to maintain both the aesthetic and structural integrity of your stove bench. Consistent care keeps it looking great and functioning well.
Frequently Asked Questions
How to Make Bench Seating Comfortable?
To make bench seating comfortable, you should focus on ergonomic design. Incorporate a slight slope, around 13°-15°, on the backrest and seat for better support. Use cushions or padded upholstery for softness, and guarantee the seat height matches standard furniture, about 45-50cm. Rounded edges prevent pressure points, and adjusting the slope and depth avoids awkward angles that cause strain, making sitting more enjoyable and comfortable.
How Can I Make My Bench More Comfortable?
To make your bench more comfortable, start with soft, supportive cushions that snugly suit your seat and back. Shape the slope of the backrest and seat to prevent pressure points, and guarantee the height aligns with standard tables for natural sitting. Smooth, rounded edges and sturdy joints add stability, while ergonomic angles ease strain. By blending plush padding with precise positioning, you’ll provide perfect, prolonged comfort for every sit-down.
What Makes a Bench Comfortable?
A comfortable bench supports your natural posture with an ergonomic slope on the seat and backrest. You’ll want a seat height that matches your knee level for easy sitting and standing. Adding cushions or foam reduces pressure points, and smooth, rounded edges prevent discomfort. Make sure the frame is sturdy and joints are well-reinforced to provide stability, so you feel secure and relaxed whenever you sit down.
What Is the Height of a Comfortable Bench?
Ever wondered what height makes a bench comfortable? Generally, a height between 45 to 50 centimeters (17.7 to 19.7 inches) from the floor works best. This allows you to sit with your feet flat and knees at a 90-degree angle, providing comfort and accessibility. Adjusting slightly higher or lower can suit different preferences or specific stove placements. Aim for a balance between comfort, style, and functionality.
Conclusion
Now that you’ve crafted your stove bench, it’s like giving your kitchen a stylish backbone that’s both sturdy and inviting. With your hands and eye for detail, you’ve built a haven where comfort meets elegance, turning functionality into a piece of art. Keep it well-maintained, and it’ll stand tall through every meal and moment. Your project isn’t just a bench — it’s the heart of your space, ready to support your culinary adventures with flair and confidence.