Wood Stove
How Do I Connect My Wood Stove To The Wall Thimble?

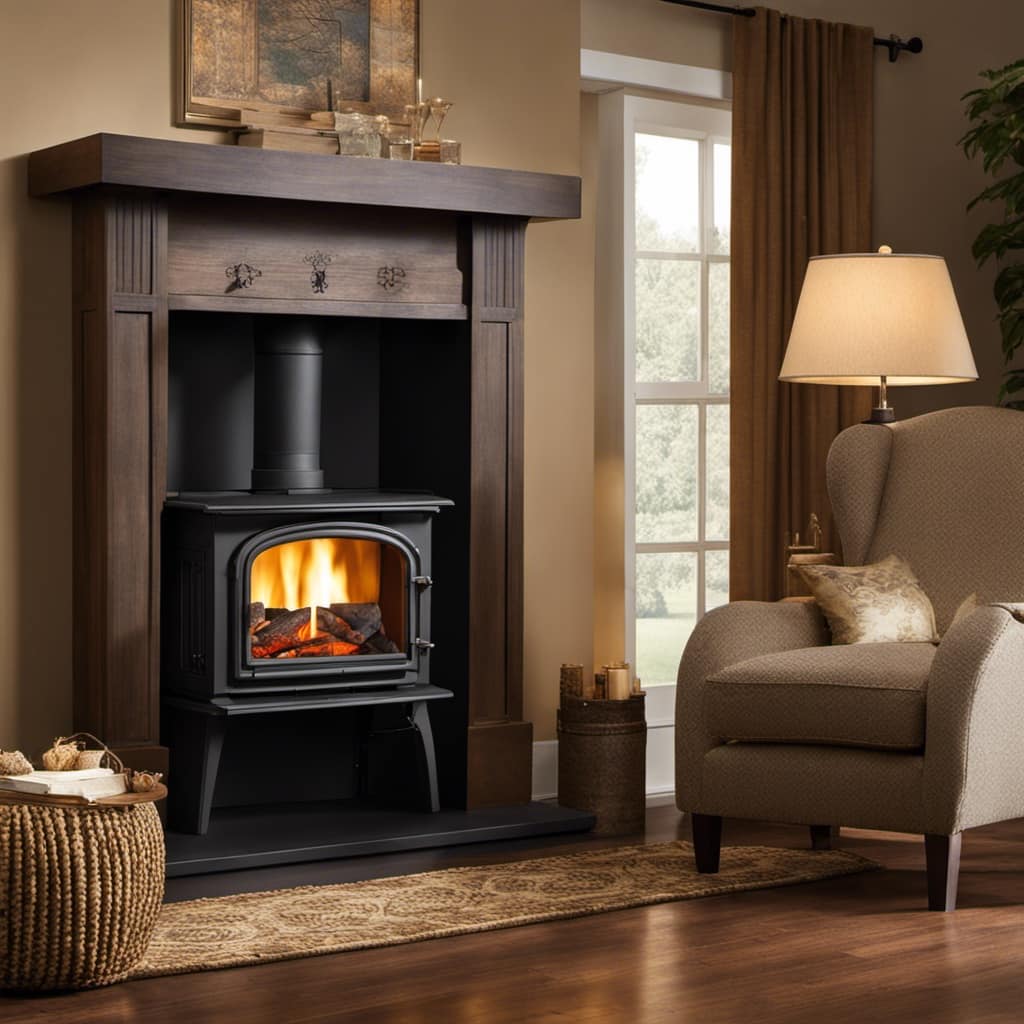
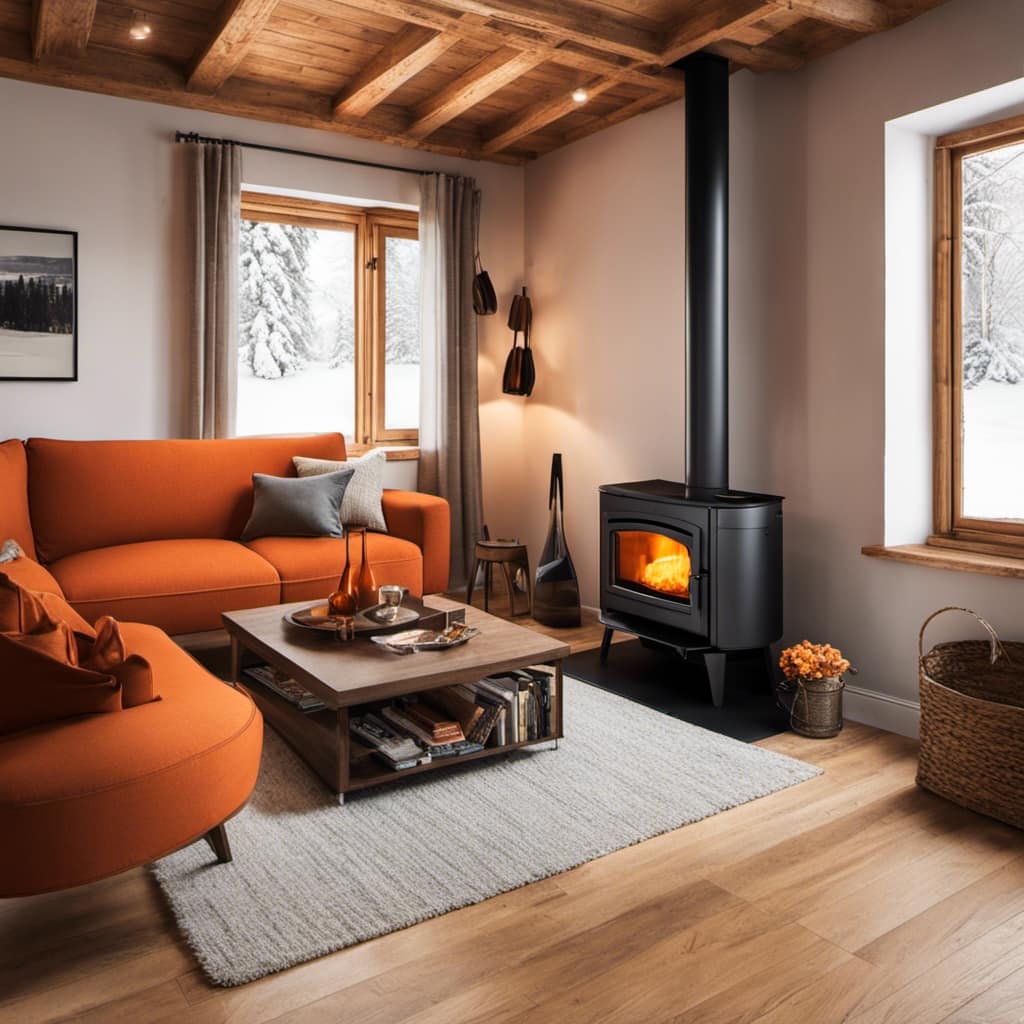
Greetings! It looks like you possess a wood stove and are seeking information on connecting it to a wall thimble, right? If that’s the case, you’ve arrived at the ideal location!
In this article, I’ll walk you through the steps to make sure your wood stove is properly connected to the wall thimble. We’ll cover everything from choosing the right thimble to sealing and insulating the connection.
So let’s dive in and get your wood stove up and running safely and efficiently!
Key Takeaways
- Consider the dimensions and material composition of the wall thimble and choose a diameter that matches the stove pipe.
- Stainless steel is a popular choice for the wall thimble material.
- Gather the necessary tools and materials including a tape measure, screwdriver, adjustable wrench, tin snips, drill, vent pipe, wall thimble, high-temperature sealant, pipe insulation, and screws.
- Prepare the wall for installation by repairing any damage, measuring the wall thickness, cleaning and prepping the wall, patching up holes and fixing cracks, and ensuring a sturdy and even wall surface.
Choosing the Right Wall Thimble for Your Wood Stove
I should consider the dimensions and material composition when selecting the right wall thimble for my wood stove. The wall thimble acts as the connection point between the stove and the flue pipe, ensuring proper ventilation and safe operation.
When choosing a wall thimble, it’s crucial to consider the size and shape of the stove pipe. The wall thimble should have a diameter that matches the stove pipe to ensure a proper fit.
Additionally, it’s important to consider the material composition of the wall thimble. Stainless steel is a popular choice due to its durability and resistance to corrosion.
Regular maintenance and cleaning of the wall thimble are also essential to ensure optimal performance and prevent any buildup of creosote or debris.
Following these ventilation requirements and maintenance and cleaning tips will help ensure the safe and efficient operation of your wood stove.
Gathering the Necessary Tools and Materials
I need to gather all the necessary tools and materials for connecting my wood stove to the wall thimble. Selecting the appropriate tools and equipment is crucial to ensure a safe and efficient installation. Here is a list of the items I will need:
Tools | Materials |
---|---|
Tape Measure | Vent Pipe |
Screwdriver | Wall Thimble |
Adjustable Wrench | High-Temperature Sealant |
Tin Snips | Pipe Insulation |
Drill | Screws |
Before starting the installation process, it is essential to measure and cut the vent pipe accurately. This step ensures a proper fit and allows for efficient airflow. I will use a tape measure to measure the distance between the wood stove and the wall thimble. Then, using tin snips, I will cut the vent pipe to the required length, making sure to leave enough space for the pipe to connect securely to the wall thimble. By following these steps and using the appropriate tools and materials, I can ensure a successful connection between my wood stove and the wall thimble.
Preparing the Wall for Installation
How should I properly prepare the wall for installation? When it comes to installing something on a wall, it’s crucial to ensure that the wall is in good condition and suitable for the installation. Here are three important steps to follow:
Repair any wall damage: Before beginning the installation process, it’s essential to repair any existing damage on the wall. This includes patching up holes, fixing cracks, and smoothing out any imperfections. A sturdy and even wall surface will provide a solid foundation for the installation.
Measure wall thickness: It’s important to accurately measure the thickness of the wall. This will help determine the type and size of fasteners or brackets needed for the installation. Use a measuring tape or a stud finder to determine the thickness and choose appropriate hardware accordingly.
Clean and prep the wall: Before installing anything, make sure to thoroughly clean the wall surface. Remove any dirt, dust, or debris that might interfere with the installation. Additionally, consider priming the wall if necessary, especially if you’re planning to paint or apply any kind of finish after the installation.
Following these steps will ensure that your wall is properly prepared for installation, resulting in a secure and long-lasting outcome.
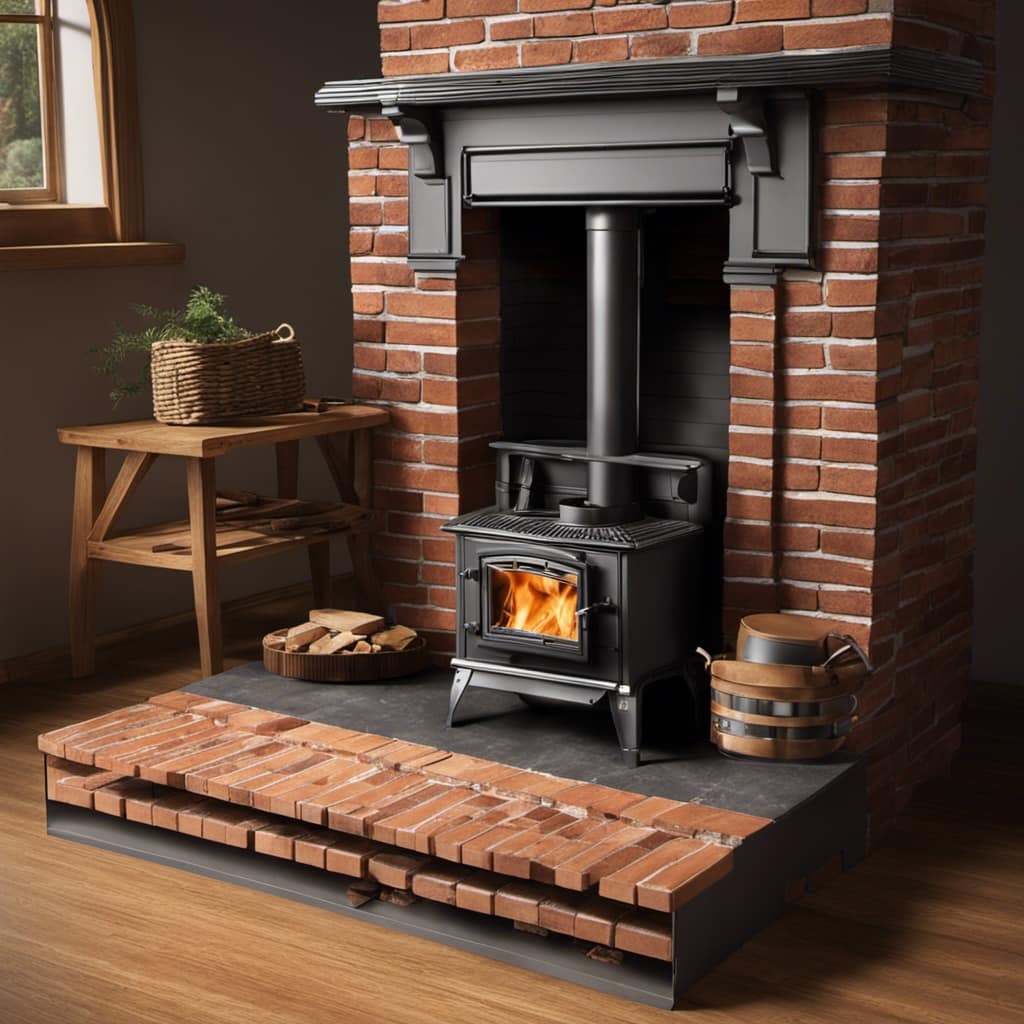
Connecting the Wood Stove to the Wall Thimble
I need to securely connect the wood stove to the wall thimble, so I’ll use sturdy brackets and screws.

When installing a wood stove, it’s crucial to ensure proper venting to maintain safety and efficiency. There are various venting options available, including through-the-wall and chimney venting.
Connecting the wood stove to the wall thimble is an essential step in the installation process. Firstly, I’ll position the stove near the thimble and mark the location for the brackets.
Next, I’ll attach the brackets to the stove and align them with the corresponding holes on the wall thimble. Using strong screws, I’ll securely fasten the brackets to both the stove and the thimble.
This will provide a sturdy and reliable connection, ensuring proper venting for the wood stove.
Properly Sealing and Insulating the Connection
To ensure maximum efficiency, it’s crucial to properly seal and insulate the connection between the wood stove and the wall thimble. This not only prevents the escape of heat and smoke but also minimizes the risk of fire hazards. Here are three sealing techniques and insulation methods that can help you achieve a secure and efficient connection:
Use high-temperature silicone sealant: Apply a generous amount of silicone sealant around the joint between the wood stove and the wall thimble. This creates an airtight seal that prevents any leaks.
Install a chimney liner: A chimney liner acts as insulation, reducing heat loss and improving the draft. It also helps in preventing the buildup of creosote, a flammable substance that can cause chimney fires.
Insulate the wall thimble: Adding insulation around the wall thimble can further enhance the energy efficiency of your wood stove. Use fireproof insulation materials to create a barrier between the hot stovepipe and the surrounding walls.
Is a Wall Thimble Necessary When Piping a Wood Stove Through the Wall?
Yes, a wall thimble is necessary when piping a wood stove through a wall. It protects the wall and surrounding materials from heat and potential fire hazards. A properly installed wall thimble ensures the safe and efficient venting of the piping wood stove through the wall.
Frequently Asked Questions
How Do I Determine the Appropriate Distance Between the Wood Stove and the Wall Thimble?
To determine the appropriate distance between the wood stove and the wall thimble, it is important to consider safety regulations and manufacturer guidelines. Consulting a professional or referring to the stove’s installation manual can provide accurate guidance.
Can I Install a Wood Stove Without a Wall Thimble?
Installing a wood stove without a wall thimble is not recommended. A wall thimble provides necessary ventilation and safety. However, there are alternative stove venting options available, such as chimney installation or through-the-wall venting kits.
Are There Any Specific Building Codes or Regulations I Need to Follow When Connecting a Wood Stove to a Wall Thimble?
When connecting a wood stove to a wall thimble, it is important to follow building code requirements and consider safety. Ensure proper clearance, use appropriate materials, and consult a professional if needed.
What Type of Insulation Is Best for Sealing the Connection Between the Wood Stove and the Wall Thimble?
The best insulation for sealing the connection between the wood stove and the wall thimble is high-quality fire-resistant insulation. It ensures a tight seal and prevents any heat or smoke from escaping.
Is It Necessary to Hire a Professional for the Installation Process, or Can I Do It Myself?
I can definitely handle the installation process myself, but it’s crucial to prioritize safety. If you’re confident and knowledgeable about wood stove installation, DIY is possible. However, hiring a professional ensures expertise and minimizes risks.
Conclusion
In conclusion, connecting your wood stove to the wall thimble is a crucial step in ensuring safe and efficient operation.
By choosing the right wall thimble, gathering the necessary tools and materials, preparing the wall, and properly sealing and insulating the connection, you can create a secure and effective connection.
Just like a sturdy bridge connecting two landscapes, a well-connected wood stove and wall thimble create a seamless pathway for heat and comfort in your home.

Growing up surrounded by the vast beauty of nature, Sierra was always drawn to the call of the wild. While others sought the comfort of the familiar, she ventured out, embracing the unpredictable and finding stories in the heartbeat of nature.
At the epicenter of every remarkable venture lies a dynamic team—a fusion of diverse talents, visions, and passions. The essence of Best Small Wood Stoves is crafted and refined by such a trio: Sierra, Logan, and Terra. Their collective expertise has transformed the platform into a leading authority on small wood stoves, radiating warmth and knowledge in equal measure.
Wood Stove
Dutchwest Non-Catalytic Wood Stove How To Use

After many years of using different types of stoves, I have found the key to creating cozy and inviting winter evenings: the Dutchwest Non-Catalytic Wood Stove. This product is truly revolutionary, providing efficient warmth and a comforting atmosphere.
In this article, I’ll guide you through the steps of using this remarkable stove. From lighting the fire to controlling the airflow and maintaining the perfect temperature, I’ll share my knowledge and tips for getting the most out of your Dutchwest stove.
Get ready to warm up your home like never before.
Key Takeaways
- Open the damper fully for proper airflow.
- Gradually add larger pieces of wood for a steady burn.
- Adjust the damper to regulate air intake.
- Schedule regular chimney inspections to prevent creosote buildup.
Lighting the Fire
I’m going to grab some matches and start lighting the fire in the wood stove. Before I begin, it’s crucial to prioritize fire safety and ensure proper ventilation.
First, I’ll open the damper fully to allow for proper airflow. This will help prevent smoke from filling the room and ensure a more efficient burn.
Next, I’ll make sure that there are no flammable materials near the stove and that the area is clear. Safety is paramount when dealing with fire, so I’ll keep a fire extinguisher nearby, just in case.
Once I’ve taken these precautions, I’ll carefully light the kindling using the matches. As the flames start to dance, I’ll gradually add larger pieces of wood to ensure a steady and controlled burn.
Loading the Wood
Once the fire has been established, I’ll carefully open the stove and add more wood to continue loading the wood. It’s important to ensure that the wood is stored properly and that the size of the firewood is appropriate for optimal burning.
Here are some key points to consider:
-
Wood storage
-
Keep the firewood in a dry and well-ventilated area to prevent moisture buildup.
-
Stack the wood off the ground to avoid contact with dampness or insects.
-
Proper firewood size
-
Cut the firewood into pieces that are approximately 16 to 18 inches long.
-
Split the wood to a size that fits easily into the stove, ensuring proper air circulation for efficient combustion.
Controlling the Airflow
To control the airflow, I can adjust the damper and the stove’s vents. Proper airflow control is essential for ensuring efficient and effective combustion in a wood stove.
By adjusting the damper, I can regulate the amount of air that enters the stove, which directly affects the intensity of the fire. Opening the damper will increase the airflow and result in a hotter fire, while closing it will reduce the airflow and slow down the burn rate.
Additionally, the stove’s vents can be adjusted to further fine-tune the airflow. Troubleshooting airflow issues can involve checking for obstructions in the vents or chimney, cleaning out any built-up ash or debris, and ensuring that the damper is functioning properly.
Maintaining the Temperature
There are several ways I can maintain the temperature, such as regularly adding fuel and adjusting the airflow. When it comes to temperature control, it’s essential to ensure an even heat distribution throughout the wood stove.
Here are two techniques I use to achieve this:
-
Using a heat-resistant stove fan: This helps to circulate the warm air more efficiently, ensuring that every corner of the room receives the desired temperature.
-
Positioning the logs strategically: Placing the logs closer to the front of the firebox allows for more heat to radiate into the room, while positioning them towards the back helps to maintain a steady temperature for a longer period.
By implementing these techniques, I can achieve optimal temperature control and ensure that the heat is evenly distributed throughout the room.
Now, let’s move on to discuss the important topic of cleaning and maintenance.
Cleaning and Maintenance
I regularly perform cleaning and maintenance on my Dutchwest wood stove in order to ensure its longevity and efficiency.
One important aspect of maintenance is chimney inspection. Over time, creosote can build up in the chimney, posing a fire hazard. To prevent this, I schedule regular inspections by a professional chimney sweep who checks for any blockages or damage.
Another important task is ash disposal. After each use, I allow the ashes to cool completely before removing them from the stove. I use a metal shovel to scoop the ashes into a metal container with a tight-fitting lid. It’s crucial not to dispose of the ashes in plastic bags or cardboard boxes, as they can ignite.
Frequently Asked Questions
Can I Use My Dutchwest Non-Catalytic Wood Stove for Cooking Purposes?
Yes, you can use a Dutchwest non-catalytic wood stove for cooking purposes. It provides an alternative cooking method using wood as fuel. Follow proper safety guidelines and use cast iron cookware for best results.
How Long Does It Take for the Stove to Reach Its Optimal Heating Temperature?
Typically, it takes about 30 minutes for my Dutchwest Non-Catalytic Wood Stove to reach its optimal heating temperature. To maintain its efficiency, I ensure proper cleaning and follow maintenance tips for optimal heating.
Is It Safe to Leave the Wood Stove Unattended While It Is Burning?
Yes, it is safe to leave the wood stove unattended while it is burning if you follow proper safety precautions. Always make sure the stove is clean and well-maintained to minimize any potential risks.
Can I Use Any Type of Wood in the Dutchwest Non-Catalytic Wood Stove?
I can use various types of wood in my Dutchwest non-catalytic wood stove. It is important to follow best practices when choosing wood, such as using dry hardwood for maximum efficiency and minimizing creosote buildup.
Are There Any Special Safety Precautions I Should Take When Using the Wood Stove?
To ensure safe operation of the Dutchwest non-catalytic wood stove, it is crucial to take special safety precautions. These precautions include proper ventilation, regular chimney maintenance, and using only dry and seasoned wood.
Conclusion
In conclusion, using the Dutchwest non-catalytic wood stove is as simple as lighting the fire, loading the wood, controlling the airflow, and maintaining the temperature.
With these steps mastered, you can enjoy the warmth and coziness that this stove provides.
Remember, regular cleaning and maintenance are essential to keep your stove functioning efficiently.
So, get ready to bask in the heat and charm of your Dutchwest wood stove, and become the envy of all your friends!
Growing up surrounded by the vast beauty of nature, Sierra was always drawn to the call of the wild. While others sought the comfort of the familiar, she ventured out, embracing the unpredictable and finding stories in the heartbeat of nature.
At the epicenter of every remarkable venture lies a dynamic team—a fusion of diverse talents, visions, and passions. The essence of Best Small Wood Stoves is crafted and refined by such a trio: Sierra, Logan, and Terra. Their collective expertise has transformed the platform into a leading authority on small wood stoves, radiating warmth and knowledge in equal measure.
Wood Stove
How To Remove Bottom Wood Stove Door Pin

- Proper maintenance for wood stoves
- Common problems with wood stove doors and how to fix them
I have always enjoyed the comforting heat that a wood stove provides. However, when the pin in the lower door of my stove began to stick, it became a frustrating hindrance.
After some trial and error, I discovered a simple solution to remove the pin and get my wood stove back in working order. In this article, I’ll share step-by-step instructions on how to remove the bottom wood stove door pin, so you can keep enjoying the comforting heat without any hassle.
Key Takeaways
- Proper maintenance is crucial for wood stove efficiency and safety
- Removing the bottom door pin is necessary to fix loose or stuck pins
- Use a screwdriver to unscrew the bottom pin counterclockwise
- Apply lubricant to the pin and hinge area to facilitate easier removal
Tools and Materials Needed
I’ll need a screwdriver for removing the bottom wood stove door pin.
Proper maintenance for wood stoves is crucial to ensure their efficiency and safety. One common problem that wood stove owners often encounter is difficulty with their stove doors.
Over time, the door pins may become loose or stuck, making it challenging to open or close the door properly. To fix this issue, removing the bottom door pin is necessary.
First, locate the pin at the bottom hinge of the door. Then, using a screwdriver, carefully unscrew the pin counterclockwise until it’s completely removed.
This will allow you to inspect and clean the pin, as well as the hinge, ensuring smooth operation and preventing further problems.
Step 1: Preparing the Wood Stove Door
To begin, carefully remove the door handle and set it aside. Then use a screwdriver to loosen the screws attaching the door to the stove. Once the screws are removed, gently lift the door off its hinges and place it on a flat surface.
Now, let’s move on to preparing the surface for cleaning.
-
Start by wiping away any loose dirt or debris from the door using a dry cloth. This will ensure a clean starting point for the cleaning process.
-
Next, mix a solution of warm water and mild dish soap in a bucket. Dip a sponge or scrub brush into the soapy water and gently scrub the surface of the door, paying special attention to any stubborn stains or grime.
-
After scrubbing, rinse the door thoroughly with clean water and wipe it dry with a clean cloth or towel.
Following these steps will help you prepare the surface of your wood stove door for the cleaning process, ensuring a clean and well-maintained door.
Step 2: Loosening the Bottom Pin
I’ll use a screwdriver to loosen the screws, and then gently lift the door off its hinges.
When it comes to removing the bottom pin of a wood stove door, it’s essential to use the right technique to avoid any damage.
The loosening technique involves carefully unscrewing the screws that hold the bottom pin in place. It’s crucial to ensure that the screwdriver fits properly into the screw heads to avoid stripping them.
Applying gentle pressure while turning the screwdriver counterclockwise will gradually loosen the screws. It’s important not to force the screws as this can lead to damage.
Common mistakes to avoid include using the wrong size screwdriver or applying excessive force, which can result in stripped screws or even breakage.
Step 3: Removing the Bottom Pin
I carefully grasp the pliers and begin to gently twist, using them to unscrew the bottom pin from its slot. Removing the pin safely is an important step in troubleshooting common issues with wood stove doors.
Here are three key points to consider:
-
Inspect the pin for any signs of damage or wear. If the pin is bent or corroded, it may need to be replaced to ensure a proper fit and functionality.
-
Apply lubricant to the pin and hinge area to facilitate smoother removal. This will help reduce friction and make it easier to unscrew the pin from its slot.
-
Use steady and controlled force when twisting the pliers. Avoid applying excessive pressure, as this can damage the pin or hinge. Gradually loosen the pin until it comes out completely.
With the bottom pin successfully removed, we can now move on to the next step: reattaching the wood stove door.
Step 4: Reattaching the Wood Stove Door
After carefully aligning the hinges, I firmly secure the wood stove door back in place. Reattaching the wood stove door is an essential step in maintaining the functionality and safety of your wood stove.
When it comes to reattaching techniques, there are a few common mistakes that people often make. One of the most common mistakes isn’t properly aligning the hinges before securing the door. This can lead to an ill-fitting door that doesn’t close properly and allows air to escape, reducing the efficiency of your wood stove.
Another mistake isn’t using the correct size or type of screws to secure the door. Using screws that are too short or too long can compromise the door’s stability and pose a safety risk. It’s important to use screws that are specifically designed for wood stove doors.
Frequently Asked Questions
How Often Should the Bottom Wood Stove Door Pin Be Removed and Cleaned?
I recommend cleaning the bottom wood stove door pin annually. It’s important to use the proper tool to remove it, as using a different tool may cause damage.
Can I Use a Regular Screwdriver to Loosen the Bottom Pin?
Yes, you can use a regular screwdriver to loosen the bottom pin on a wood stove door. However, it is important to be cautious and make sure the screwdriver fits properly to avoid damage.
Is It Necessary to Remove the Bottom Pin to Clean the Wood Stove Door?
To properly clean a wood stove door without removing the bottom pin, you can use a vacuum or brush to remove any loose debris. Additionally, wiping it down with a damp cloth and mild detergent can help maintain its cleanliness.
Can I Replace the Bottom Pin With a Different Type of Pin?
Yes, you can replace the bottom pin with a different type of pin. There are various alternatives available that can be used to secure the wood stove door effectively.
How Do I Know if the Bottom Pin Is Damaged and Needs to Be Replaced?
To determine if the bottom pin is damaged and needs replacing, inspect it for any signs of wear, such as rust, bent or broken parts, or difficulty in opening and closing the door. Troubleshoot any issues accordingly.
Conclusion
Well, congratulations! You have now successfully learned the art of removing a bottom wood stove door pin.
With your newfound knowledge and skill, you can impress your friends and family with your ability to dismantle a wood stove door.
Just remember, with great power comes great responsibility. So, use your newfound expertise wisely and enjoy the warmth and coziness that your wood stove brings.
Happy pin removing!
Growing up surrounded by the vast beauty of nature, Sierra was always drawn to the call of the wild. While others sought the comfort of the familiar, she ventured out, embracing the unpredictable and finding stories in the heartbeat of nature.
At the epicenter of every remarkable venture lies a dynamic team—a fusion of diverse talents, visions, and passions. The essence of Best Small Wood Stoves is crafted and refined by such a trio: Sierra, Logan, and Terra. Their collective expertise has transformed the platform into a leading authority on small wood stoves, radiating warmth and knowledge in equal measure.
Wood Stove
How To Make A Wood Stove Gravity Fed

I have always appreciated the comfortable warmth that a wood stove provides, but I wanted to improve upon that experience.
That’s when I discovered the incredible world of gravity fed wood stoves. Imagine effortlessly feeding logs into your stove, as if it were magic.
In this article, I’ll share my knowledge and guide you through the process of making your own gravity fed wood stove.
Get ready to elevate your wood burning experience to new heights.
Key Takeaways
- Understanding the basics of a gravity fed wood stove, including the firebox, heat exchanger, and chimney components.
- Advantages of using a gravity fed wood stove, such as cost-effectiveness and steady heat output during power outages.
- Disadvantages of using a gravity fed wood stove, such as the risk of chimney fires and difficulty in controlling heat output.
- Considerations for choosing the right wood stove, including efficiency, size and capacity, design and construction, and air control features.
Understanding the Basics of a Gravity Fed Wood Stove
I’ve learned the three main components of a gravity fed wood stove: the firebox, the heat exchanger, and the chimney. A gravity fed wood stove works by utilizing the natural flow of hot air and gases.
The firebox is where the wood is burned, creating heat. The heat exchanger is a series of pipes or tubes that surround the firebox, allowing the heat to transfer to the surrounding air or water. The chimney is responsible for drawing the smoke and gases out of the stove and expelling them outside.
There are several advantages to using a gravity fed wood stove. Firstly, it’s a cost-effective heating solution, as it utilizes renewable resources such as wood. Additionally, it provides a steady and consistent heat output, even when the power is out.
However, there are a few disadvantages as well. One common issue with gravity fed wood stoves is the buildup of creosote in the chimney, which can lead to chimney fires. Regular cleaning and maintenance can help prevent this. Another common issue is the difficulty in controlling the heat output, as it relies on the natural flow of air.
Overall, understanding the basics of a gravity fed wood stove and troubleshooting common issues can ensure its efficient and safe operation.
Choosing the Right Wood Stove for Your Gravity Fed System
To ensure optimal performance, it’s important to research and compare different wood stove options before selecting the right one for your gravity fed system. Wood stove efficiency plays a crucial role in determining the heating capacity and fuel consumption of your system.
Here are some advantages of gravity fed systems and factors to consider when choosing a wood stove:
-
Efficiency: Look for stoves with high efficiency ratings to maximize heat output and minimize fuel usage.
-
Size and Capacity: Consider the size of your space and the heating requirements to choose a stove that can adequately heat the area.
-
Design and Construction: Look for stoves made with durable materials and a well-designed combustion chamber for efficient heat transfer.
-
Air Control: Opt for a stove with adjustable air vents to control the combustion process and maintain optimal burning conditions.
Building a Reliable Gravity Feeding Mechanism
I’m currently researching different materials to use in building a reliable gravity feeding mechanism for my wood stove. Designing a gravity fed mechanism for a wood stove is crucial for ensuring a consistent and efficient heat supply. The mechanism should allow for a steady flow of fuel into the firebox without the need for constant manual intervention.
When designing the gravity fed mechanism, there are a few key factors to consider. First, the material used should be durable and resistant to high temperatures. Stainless steel or cast iron are commonly used for their strength and heat resistance.
Second, the design should promote a smooth and uninterrupted flow of fuel. This can be achieved through the use of gravity-activated doors or hoppers.
Finally, it’s important to troubleshoot common issues such as fuel bridging, where the fuel gets stuck and prevents proper feeding. This can be addressed by incorporating agitators or augers to break up any clumps.
Installing and Setting Up Your Gravity Fed Wood Stove
When installing and setting up your gravity fed wood stove, it’s important to carefully position the stovepipe to ensure proper ventilation and to prevent any backdrafts. The gravity feed mechanism relies on the natural flow of air and the force of gravity to feed the wood into the stove.
Here are some key considerations for a successful gravity stove installation:
- Place the stovepipe in a vertical position, allowing for an uninterrupted flow of air and preventing any potential blockages.
- Ensure that the stovepipe is securely attached to both the stove and the chimney to prevent any leaks or disconnections.
- Position the stove in a central location, away from any combustible materials, and provide a clear space around it for easy access and maintenance.
- Install a chimney cap to prevent rain, debris, and animals from entering the chimney and causing any blockages.
Tips and Maintenance for Efficiently Operating Your Gravity Fed Wood Stove
I’ve found that regularly cleaning the ash and soot buildup from my gravity fed wood stove, and ensuring proper air circulation, really helps maintain its efficiency. To maintain optimal heat, it’s important to clean out the ash and soot buildup from the firebox and chimney at least once a week. This prevents any obstruction that can limit the flow of air and heat.
Additionally, checking the air vents and ensuring they’re open and unobstructed allows for proper combustion and heat transfer. Troubleshooting common issues such as poor heat output or difficulty in starting the fire can often be resolved by checking the wood quality and moisture content. Using dry, seasoned wood is essential for efficient burning and optimal heat production.
Regular maintenance and troubleshooting will ensure your gravity fed wood stove operates at its best, keeping you warm and cozy during the colder months.
Frequently Asked Questions
How Much Wood Do I Need to Burn in a Gravity Fed Wood Stove Each Day?
I burn around X amount of wood per day in my gravity fed wood stove. Its burning efficiency allows for longer burn times compared to other alternative heating methods, making it a cost-effective option.
Can I Use Any Type of Wood in a Gravity Fed Wood Stove?
Yes, you can use different types of wood in a gravity fed wood stove. Hardwoods like oak and maple burn longer and produce more heat, while softwoods like pine burn faster but may leave more residue.
How Long Does It Take for the Gravity Feeding Mechanism to Start Working After Lighting the Stove?
After lighting the stove, it typically takes around 15-30 minutes for the gravity feeding mechanism to start working. To troubleshoot common issues, ensure proper airflow and fuel placement. Regularly clean the stove to maintain efficiency.
Is It Possible to Adjust the Temperature of a Gravity Fed Wood Stove?
Yes, it is possible to adjust the temperature of a gravity fed wood stove. The benefit of these stoves is their self-regulating nature, allowing for easy control of the heat output without the need for electricity or manual adjustments.
Can I Use a Gravity Fed Wood Stove as the Primary Heating Source for My Entire House?
Yes, a gravity fed wood stove can be used as the primary heating source for your entire house. It provides efficient heat distribution and can be a cost-effective alternative to other heating options.
Conclusion
In the world of wood stoves, a gravity fed system is a game-changer. With its reliable feeding mechanism and efficient operation, it’s like having a loyal companion by your side, keeping you warm and cozy.
So, why settle for anything less than the best? By understanding the basics, choosing the right stove, and following proper installation and maintenance, you can experience the magic of a gravity fed wood stove and embrace the warmth it brings.
Growing up surrounded by the vast beauty of nature, Sierra was always drawn to the call of the wild. While others sought the comfort of the familiar, she ventured out, embracing the unpredictable and finding stories in the heartbeat of nature.
At the epicenter of every remarkable venture lies a dynamic team—a fusion of diverse talents, visions, and passions. The essence of Best Small Wood Stoves is crafted and refined by such a trio: Sierra, Logan, and Terra. Their collective expertise has transformed the platform into a leading authority on small wood stoves, radiating warmth and knowledge in equal measure.
-
Wood Stove8 months ago
How To Build A Thermoelectric Generator For A Wood Stove
-
Wood Stove5 months ago
What Can I Use As Insulation On Wood Stove Pipes
-
Wood Stove3 weeks ago
How To Use Damper And Draft On Wood Stove
-
Wood Stove8 months ago
How Far Does Wood Stove Have To Be From Wall
-
Wood Stove8 months ago
How To Make A Heat Shield For A Wood Stove
-
Wood Stove2 weeks ago
When To Open And Close Damper On Wood Stove
-
Wood Stove8 months ago
How To Use The Flue On A Wood Stove
-
Wood Stove5 months ago
How To Install A Wood Stove Pipe And Chimney