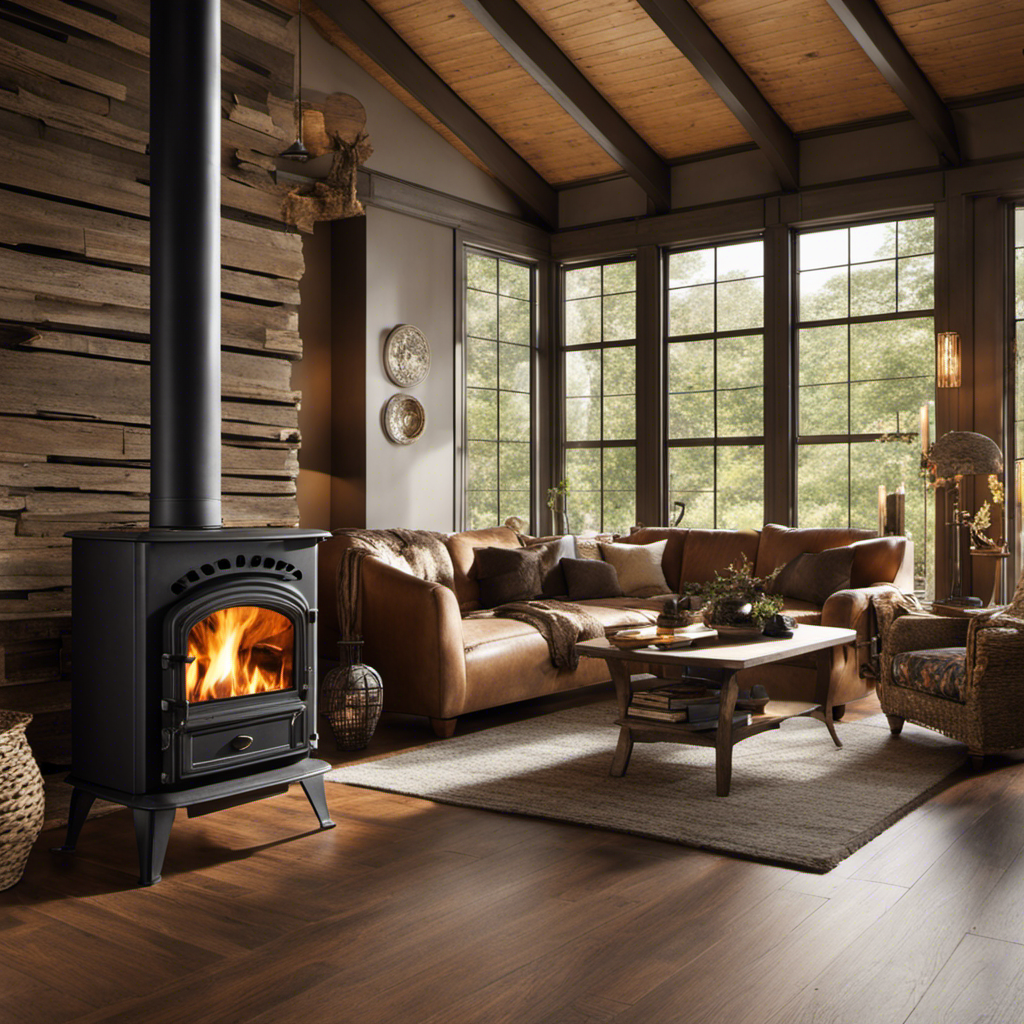
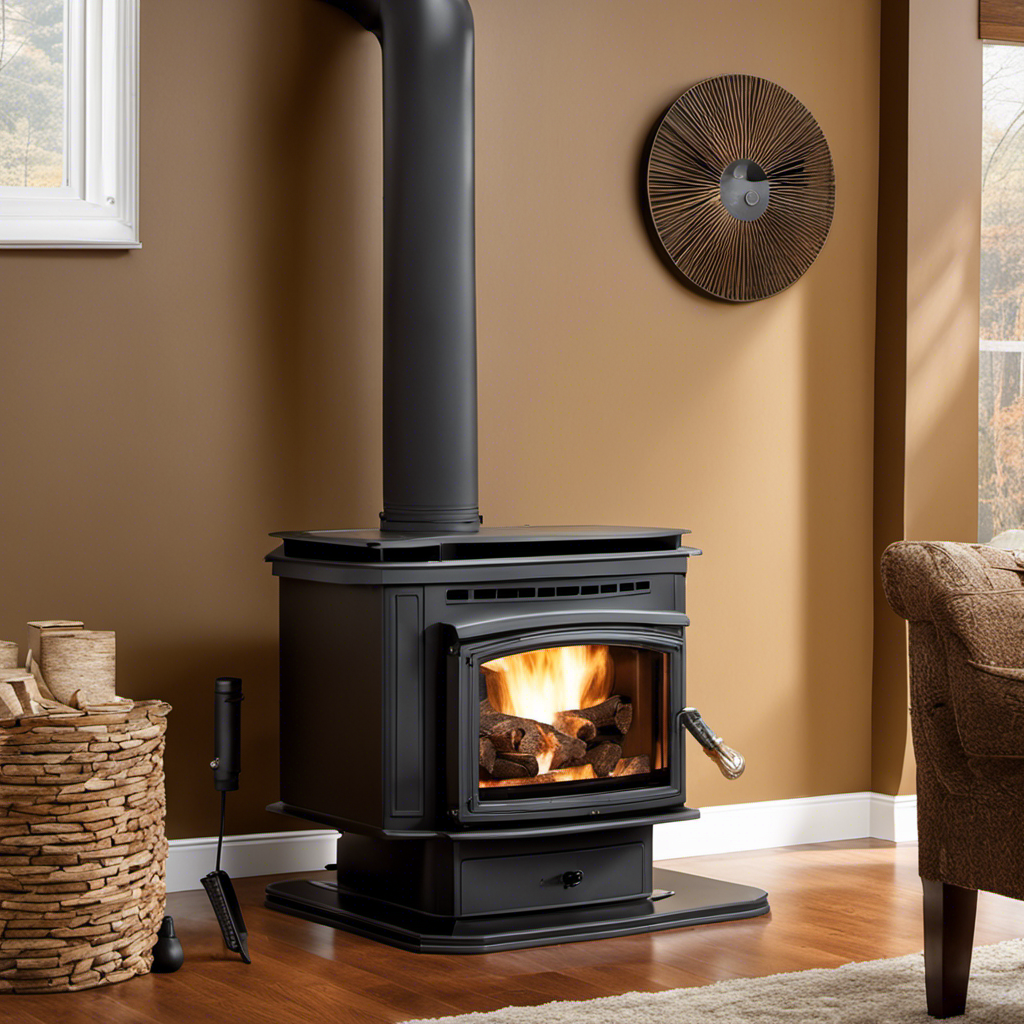
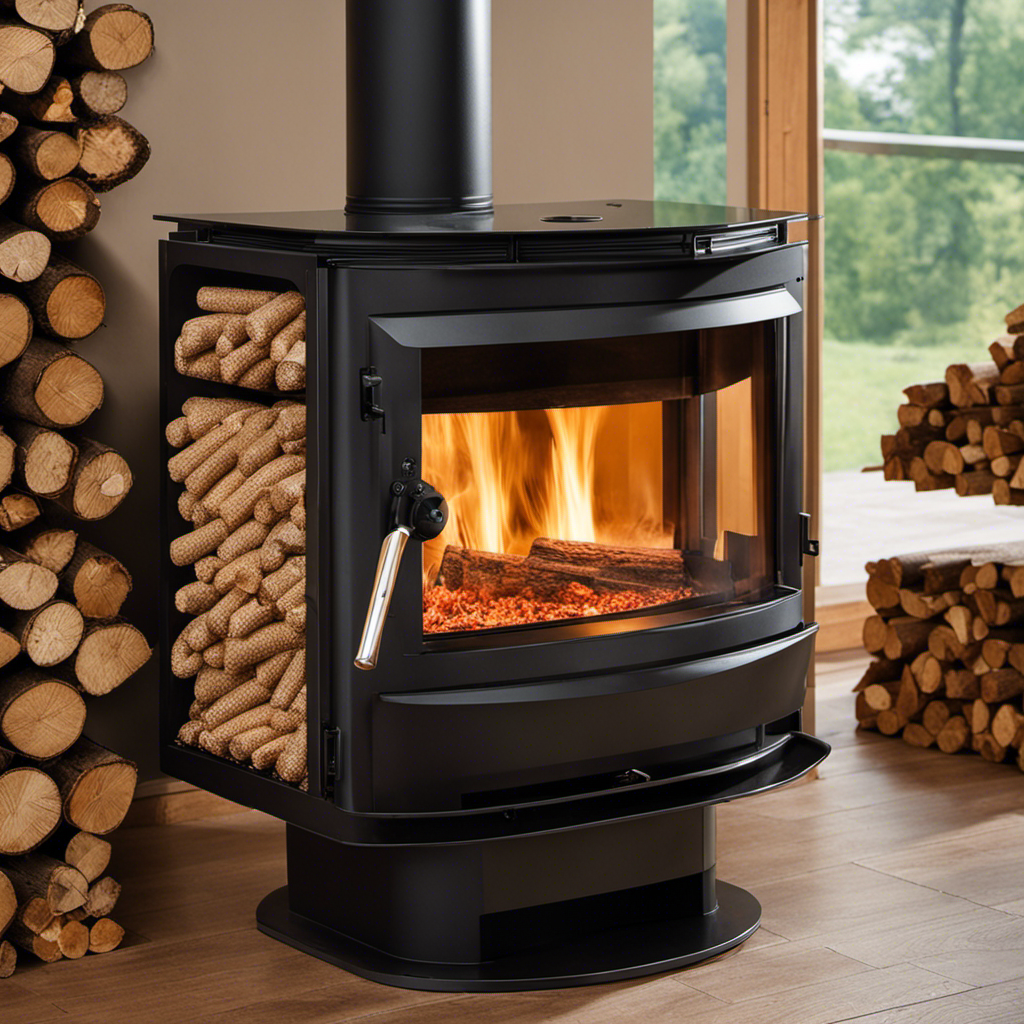
After experiencing it myself, I must admit, replacing a pellet stove with a wood stove genuinely changes the entire atmosphere. It provides not just a cozy, traditional feel but also improves the ability to regulate temperature and the efficiency of fuel consumption.
In this guide, I’ll walk you through each step, from assessing your current setup to properly disposing of the old stove.
So, let’s get started and make this transformation a reality!
Key Takeaways
- Assess the efficiency and performance of your current pellet stove
- Consider factors such as size, efficiency, and installation cost when selecting a wood stove
- Follow proper safety procedures and wear protective equipment during the installation process
- Dispose of the old stove responsibly by researching recycling or donation options
Assessing Your Current Pellet Stove Setup
Before you begin replacing your pellet stove with a wood stove, it’s important to assess your current setup. Evaluating the efficiency of your pellet stove will help you determine if a wood stove is a suitable replacement. Look for signs of poor performance, such as inconsistent heat output or high fuel consumption.
Additionally, troubleshooting common issues like ignition problems or excessive ash buildup can give you an idea of the overall condition of your pellet stove. This evaluation will help you understand if a wood stove is a necessary upgrade for your heating needs.
Once you have assessed your current setup, it’s time to move on to researching and selecting the right wood stove for your home.
Researching and Selecting the Right Wood Stove
While researching, it’s important to consider factors such as efficiency and size when selecting a new stove.
When comparing a wood stove vs. a pellet stove, there are advantages and disadvantages to both.
Wood stoves offer the traditional charm of a real fire and can be more cost-effective in terms of fuel. However, they require regular maintenance and have lower efficiency compared to pellet stoves.
On the other hand, pellet stoves are more efficient and produce less smoke and ash, but they require electricity to operate and are dependent on a steady supply of pellets.
Additionally, it’s crucial to consider the wood stove installation cost and explore budgeting and financing options if needed.
Now that you’ve researched and selected the right wood stove, it’s time to gather the necessary tools and materials for the installation process.
Gathering the Necessary Tools and Materials
When it comes to converting from a pellet stove to a wood stove, there are several essential tools that you will need. These include a reciprocating saw for removing the existing stove, a drill for making any necessary holes, and a level for ensuring proper installation.
In addition to the tools, you will also need a variety of materials for the installation process, such as stove pipe, chimney liner, and fireproof insulation.
Lastly, it is crucial to gather the necessary safety equipment, such as gloves, goggles, and a fire extinguisher, to ensure a safe and successful conversion.
Essential Tools for Conversion
To successfully convert your pellet stove to a wood stove, you’ll need a few essential tools.
Firstly, you’ll need a screwdriver to remove the screws that hold the pellet stove in place.
Next, a pair of pliers will come in handy for disconnecting any electrical connections.
Additionally, a socket wrench will be necessary to loosen and remove any bolts or nuts that secure the stove.
It’s also important to have a vacuum cleaner or shop vac to clean out any debris or ash that may have accumulated in the pellet stove.
Lastly, a wire brush will be useful for cleaning the stovepipe before installing the wood stove.
With these tools, you’ll be well-prepared to tackle the conversion process and troubleshoot any issues along the way.
Now, let’s move on to the required materials for installation.
Required Materials for Installation
You’ll need a few essential materials for installation, such as a chimney liner, fireproof insulation, and a fireproof hearth pad. These installation materials are crucial for ensuring the safe and efficient operation of your wood stove.
The chimney liner is necessary to create a proper venting system, while fireproof insulation helps to protect the surrounding walls and floors from heat. Additionally, a fireproof hearth pad provides a non-combustible base for your wood stove.
When it comes to the installation process, these materials are indispensable. They not only ensure the durability and longevity of your wood stove but also contribute to the overall safety of your home.
Now that we have discussed the required installation materials, let’s move on to gathering the safety equipment needed for the next phase.
Gathering Safety Equipment Needed
Now that we’ve covered the required installation materials, let’s gather the safety equipment we’ll need for the next phase.
When it comes to working with stoves, safety precautions are of utmost importance. First and foremost, it’s crucial to protect ourselves from potential hazards. Therefore, we should have safety glasses, gloves, and a dust mask on hand. These items will ensure that we are shielded from any debris, dust, or fumes that may be released during the process. Additionally, we should have a fire extinguisher nearby, just in case.
It’s also essential to maintain our equipment properly. This includes regularly checking and cleaning the stovepipe, inspecting the gaskets, and ensuring the stove is venting correctly. By doing so, we can prevent potential safety issues and ensure our stove operates efficiently.
Now, let’s move on to disconnecting and removing the pellet stove.
Disconnecting and Removing the Pellet Stove
When it comes to disconnecting and removing a pellet stove, it’s crucial to follow the proper disconnection steps and use safe removal techniques. This ensures that the process is done correctly and without any potential hazards.
In this discussion, I will guide you through the necessary steps and techniques to safely disconnect and remove your pellet stove.
Proper Disconnection Steps
First, make sure to shut off the power to the pellet stove before disconnecting it. This is crucial for a safe disconnection and proper removal. To ensure a smooth and hassle-free process, follow these steps:
| Steps to Proper Disconnection |
|---|
| 1. Turn off the power supply at the circuit breaker. |
| 2. Allow the stove to cool down completely. |
| 3. Disconnect the stove from the flue vent. |
| 4. Disconnect the stove from the electrical outlet. |
| 5. Carefully remove any remaining pellets from the hopper. |
Safe Removal Techniques
To safely remove the appliance, it is important to follow these proper techniques.
-
Disconnect the power: Ensure the stove is unplugged from the electrical outlet to avoid any potential electrical hazards during the removal process.
-
Shut off the fuel supply: Turn off the gas or oil supply valve, if applicable, to prevent any leaks or accidents.
-
Remove the venting pipe: Carefully detach the venting pipe from the stove, making sure to follow the manufacturer’s instructions to avoid damaging the pipe or stove.
-
Securely cap the openings: Once the appliance is disconnected and the venting pipe is removed, cap the openings with appropriate covers or plugs to prevent any drafts or debris from entering the space.
Preparing the Area for the Wood Stove Installation
Make sure you’ve cleared the area and removed any debris before installing the wood stove. Preparing the area is crucial to ensure a safe and efficient installation.
Start by measuring the dimensions of the space where the wood stove will be placed. This will help you determine the size of the stove you need and ensure proper clearance from combustible materials.
Next, remove any furniture or flammable items from the vicinity to create a safe distance. Clear the floor of any rugs or carpets that could pose a fire hazard.
It’s also important to check for any obstructions in the wall or ceiling where the chimney and venting system will be installed.
Installing the Chimney and Venting System
Now that the area is prepared, it’s time to move on to installing the chimney and ventilation system for your wood stove. This step is crucial to ensure proper airflow and the safe removal of smoke and gases from your home.
First, I recommend assessing your existing chimney to determine if any maintenance or repairs are needed. It’s important to have a clean and structurally sound chimney before proceeding.
Next, you’ll need to install the appropriate ventilation pipes, which will connect your wood stove to the chimney. These pipes should be made of durable materials, such as stainless steel, and installed according to the manufacturer’s instructions.
Once the chimney and ventilation system are in place, you’ll be ready to position and secure the wood stove in the next section.
Positioning and Securing the Wood Stove
Once you’ve chosen the ideal location, it’s important to ensure that the wood stove is securely positioned and ready for use. Proper positioning techniques are essential for safety and efficiency.
Start by placing the stove on a non-combustible surface, such as a hearth pad or a fireproof material. Use a level to ensure that the stove is perfectly balanced.
Next, secure the stove in place using securing methods like brackets or anchors. These will prevent any accidental movement or tipping over of the stove. It’s crucial to follow the manufacturer’s instructions for securing the stove, as different models may require specific methods.
Once the wood stove is securely positioned, you can proceed to connect the flue pipe and chimney, ensuring proper ventilation for your new heating system.
Connecting the Flue Pipe and Chimney
After securing the wood stove in place, you can proceed to connect the flue pipe and chimney for proper ventilation. This step is crucial to ensure the safe and efficient operation of your wood stove. Here are the key points to consider when connecting the flue pipe and chimney:
-
Measure and cut the flue pipe to the appropriate length, ensuring a snug fit between the stove and the chimney.
-
Attach the flue pipe to the stove’s flue collar using high-temperature silicone sealant and stainless-steel screws.
-
Connect the other end of the flue pipe to the chimney using a chimney connector or a thimble.
-
Secure the connection with a locking band or screws, ensuring a tight seal.
Testing and Adjusting the Wood Stove for Efficiency
To ensure optimal efficiency, you should begin by testing and adjusting your wood stove. There are several testing techniques that can help you identify any issues and make efficiency improvements.
First, check for any air leaks around the stove and seal them with high-temperature silicone or gaskets.
Next, ensure that the damper is working properly to control the airflow.
You can also use a stove thermometer to monitor the temperature and make adjustments accordingly.
Additionally, consider using a moisture meter to measure the moisture content of the wood you are burning. Burning dry wood with a moisture content below 20% will result in better efficiency.
By testing and adjusting your wood stove, you can ensure that it operates at its highest efficiency level and provides you with the most heat output.
Now, let’s move on to properly disposing of the old pellet stove.
Properly Disposing of the Old Pellet Stove
When it comes to properly disposing of an old pellet stove, there are a few key points to consider.
First, recycling options for stoves can vary depending on your location, so it’s important to research local recycling facilities that accept appliances.
Second, if your stove is still in good working condition, donation possibilities should be explored, such as local charities or organizations that accept used stoves.
Lastly, it’s essential to be aware of any disposal regulations in your area, as some locations may have specific guidelines or restrictions on how to dispose of appliances like pellet stoves.
Recycling Options for Stove
You can explore various recycling options for your stove. One option is to donate it to a local organization. This can provide an opportunity to give back to your community and help those in need. Many organizations accept donations of appliances, including stoves, and can repurpose them for individuals or families who may not have the means to purchase a new one.
Another option is to sell your stove to someone in need. This allows you to recoup some of the cost and ensure that it will be put to good use. By considering these donation options and repurposing ideas, you can contribute to a more sustainable and responsible approach to waste management.
Now, let’s explore the donation possibilities for your stove.
Donation Possibilities for Stove
Consider researching local organizations that accept appliance donations, as they may have specific guidelines and requirements for accepting stoves.
When it comes to replacing a stove, donating it can be a great option. Many local organizations, such as charities, community outreach programs, and thrift stores, accept appliance donations and can provide them to families in need. These donation options not only help individuals who may not be able to afford a new stove, but also contribute to sustainable practices by extending the life cycle of the appliance.
When donating a stove, make sure to contact the organization beforehand to inquire about their donation process and any specific requirements they may have.
Now, let’s move on to the next section and discuss the disposal regulations for stoves.
Disposal Regulations for Stove
Now let’s take a look at the regulations for disposing of stoves.
When it comes to getting rid of your old stove, it’s important to follow proper disposal methods to minimize the environmental impact.
One option is to contact your local waste management facility to see if they accept stoves for disposal. They can guide you on the proper procedures and recycling options available in your area.
Another option is to check with local scrap metal recyclers who may be interested in purchasing your old stove for its metal components.
By recycling your stove, you are not only reducing waste but also helping to conserve valuable resources.
Now that you know how to dispose of your old stove responsibly, let’s move on to the next section about maintaining and operating your new wood stove.
Maintaining and Operating Your New Wood Stove
To properly maintain and operate your new wood stove, it’s essential to regularly clean the ashes and inspect the chimney for any blockages.
Maintaining a wood stove is crucial for its longevity and efficiency. Cleaning the ashes not only ensures proper airflow but also prevents the buildup of creosote, a highly flammable substance that can lead to chimney fires. Use a metal shovel or ash vacuum to remove the ashes, making sure they are completely cooled before disposal.
Additionally, inspecting the chimney for blockages, such as bird nests or debris, can prevent smoke from backing up into your home. Regularly check the chimney cap and flue damper for proper functioning.
Remember to follow the manufacturer’s guidelines for operating the wood stove, including proper ventilation and using seasoned firewood for optimal performance.
What are the Benefits of Replacing a Pellet Stove with a Wood Stove?
If you’re considering replacing a pellet stove with wood, there are several benefits to consider. Wood stoves tend to produce more heat and create a cozy ambiance. They also give you more control over the type of wood you use and can potentially save you money on fuel costs.
Frequently Asked Questions
Can I Replace My Pellet Stove With a Wood Stove Without Professional Help?
Yes, you can replace your pellet stove with a wood stove without professional help. However, there may be potential challenges, such as proper ventilation and adapting the chimney. Necessary tools include a fireplace insert kit and basic tools for installation.
How Long Does It Typically Take to Replace a Pellet Stove With a Wood Stove?
On average, a DIY installation to replace a pellet stove with a wood stove can take several hours. It’s important to plan accordingly and ensure you have the necessary tools and materials for a successful project.
Are There Any Safety Concerns I Should Be Aware of When Replacing a Pellet Stove With a Wood Stove?
There are a few safety concerns to be aware of when replacing a pellet stove with a wood stove. It’s important to ensure proper installation and ventilation to prevent fire hazards and carbon monoxide buildup.
Can I Use the Same Chimney for My Wood Stove That Was Used for My Pellet Stove?
Yes, you can reuse the existing flue from your pellet stove for a wood stove, but necessary modifications may be required to ensure proper venting and safety. Consult a professional for guidance.
What Are Some Common Issues That Can Arise When Replacing a Pellet Stove With a Wood Stove, and How Can They Be Resolved?
When replacing a pellet stove with a wood stove, common issues can arise such as chimney compatibility and ventilation. These can be resolved by ensuring the chimney is suitable for wood burning and properly installing ventilation systems.
Conclusion
In conclusion, replacing my pellet stove with a wood stove was a game-changer. The process may seem daunting, but with the right tools and research, it became a breeze.
The warmth and coziness that radiates from my new wood stove is like being wrapped in a toasty blanket on a chilly winter’s night. Not only is it efficient and reliable, but it also adds a touch of rustic charm to my home.
I highly recommend making the switch – it’s a decision you won’t regret!

